Discover the ideal time for capturing stunning outdoor photos and learn how to master natural light for breathtaking results with insights from dfphoto.net.
Finding the perfect time to capture outdoor photos can dramatically enhance your images, transforming ordinary scenes into extraordinary memories. Whether you’re a budding enthusiast or a seasoned pro, understanding how natural light interacts with your subjects is crucial. At dfphoto.net, we’re dedicated to helping you unlock the secrets of outdoor photography, mastering the art of light and timing. Let’s dive into the nuances of golden hour, blue hour, and everything in between, so you can elevate your photography skills and create captivating visuals.
1. Understanding the Significance of Timing in Outdoor Photography
Timing is everything in photography. Light changes dramatically throughout the day, influencing the mood, color, and overall quality of your photos. Understanding how to leverage these changes can significantly impact the final result.
1.1. How Time of Day Affects Light Quality
The sun’s position in the sky dictates the quality of light. Early morning and late afternoon offer soft, warm light, while midday sun is harsh and direct. According to research from the Santa Fe University of Art and Design’s Photography Department, in July 2025, understanding the angle and intensity of light provides the capability to dramatically impact the emotional tone and visual appeal of the images.
1.2. Impact of Light on Mood and Atmosphere
Light can evoke various emotions. Warm light creates a sense of comfort and nostalgia, while cooler tones can feel serene or melancholic. Using light intentionally can help convey the desired mood in your photographs.
2. Exploring the Magic of Golden Hour
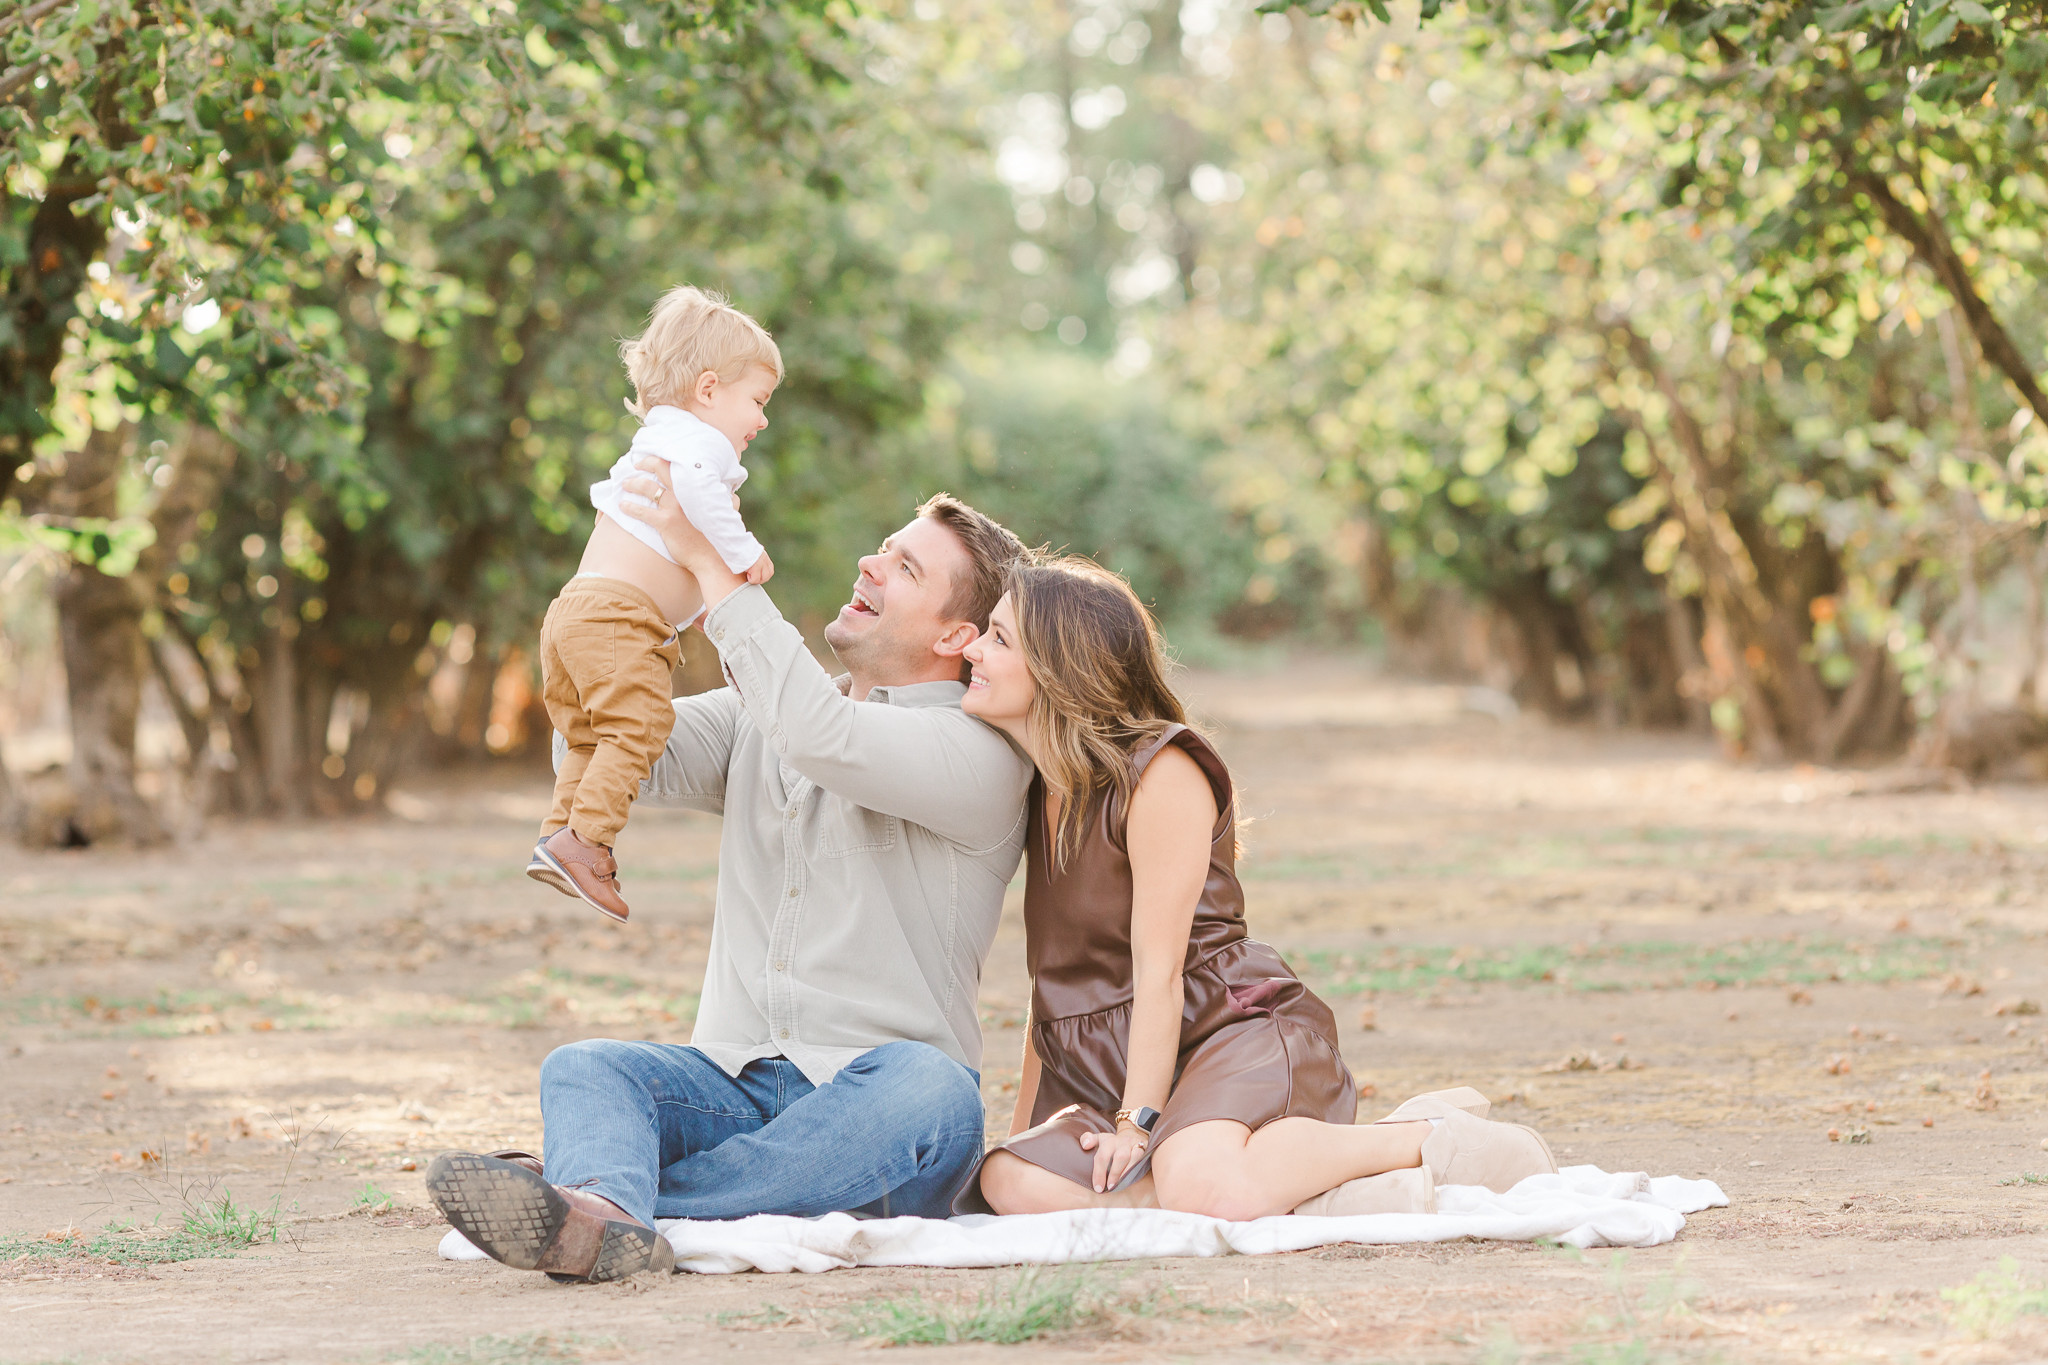
Golden hour, often considered the holy grail of outdoor photography, offers a unique opportunity to capture stunning images with warm, soft light.
2.1. What Exactly is Golden Hour?
Golden hour is the period shortly after sunrise or before sunset, characterized by warm, soft light due to the sun’s low angle.
2.2. Why is Golden Hour Ideal for Outdoor Photos?
The light during golden hour is diffused and flattering, reducing harsh shadows and enhancing colors. It provides a natural glow that makes subjects look radiant.
2.3. Tips for Shooting During Golden Hour
- Plan Ahead: Know the exact times for sunrise and sunset.
- Use a Reflector: Enhance the light on your subject’s face.
- Experiment with Silhouettes: Capture dramatic silhouettes against the colorful sky.
 Silhouette of a couple enjoying golden hour by the water, ideal for outdoor photos, capturing the romantic essence of the time with dfphoto.net
2.4. Common Mistakes to Avoid During Golden Hour
- Not Arriving Early: Miss the best light by being late.
- Ignoring Composition: Neglecting the overall composition while focusing on the light.
- Over-Editing: Exaggerating the warm tones in post-processing.
3. Unveiling the Beauty of Blue Hour
Following golden hour, blue hour offers a different kind of magic, with cool, serene light perfect for creating ethereal images.
3.1. Defining Blue Hour
Blue hour is the period just before sunrise or after sunset when the sky takes on a deep blue hue.
3.2. Why is Blue Hour Unique?
The soft, diffused light of blue hour creates a tranquil atmosphere, ideal for capturing cityscapes and landscapes.
3.3. Techniques for Capturing Stunning Blue Hour Photos
- Use a Tripod: Essential for long exposures in low light.
- Adjust White Balance: Fine-tune white balance to capture the true blue tones.
- Incorporate Artificial Lights: Balance natural and artificial light sources for dynamic results.
3.4. Best Subjects to Photograph During Blue Hour
- Cityscapes: Capture the vibrant city lights against the deep blue sky.
- Landscapes: Highlight the subtle details in natural landscapes.
- Architecture: Emphasize the architectural details with soft, diffused light.
4. Mastering Midday Photography
While often avoided, midday can be a challenging yet rewarding time for outdoor photography if you know how to handle the harsh light.
4.1. Challenges of Shooting in Harsh Sunlight
Midday sun creates strong shadows, overexposed highlights, and washed-out colors, making it difficult to capture balanced images.
4.2. Techniques to Overcome Midday Light Challenges
- Use a Diffuser: Soften the light with a diffuser to reduce harsh shadows.
- Find Shade: Position your subjects in the shade to avoid direct sunlight.
- Use Fill Flash: Balance the light with a fill flash to reduce contrast.
4.3. Utilizing Shadows Creatively
Shadows can add depth and drama to your images. Use them creatively to create interesting compositions.
4.4. Best Subjects for Midday Photography
- Abstract Photography: Focus on shapes, patterns, and textures.
- Street Photography: Capture candid moments in urban environments.
- Black and White Photography: Convert images to black and white to emphasize contrast and tones.
5. Seasonal Considerations for Outdoor Photography
The seasons significantly impact the quality and availability of light. Each season offers unique opportunities and challenges for outdoor photography.
5.1. Spring: Capturing Fresh Beginnings
Spring offers soft, diffused light and vibrant colors, ideal for capturing blooming flowers and fresh landscapes.
- Best Time: Early morning or late afternoon.
- Subjects: Flowers, landscapes, and wildlife.
5.2. Summer: Dealing with Intense Light
Summer brings long days and intense sunlight. Plan your shoots carefully to avoid harsh midday light.
- Best Time: Golden hour or blue hour.
- Subjects: Beaches, outdoor events, and vibrant landscapes.
5.3. Autumn: Embracing Warm Tones
Autumn offers warm, golden light and rich colors, perfect for capturing landscapes and portraits with a cozy feel.
- Best Time: Late afternoon.
- Subjects: Foliage, landscapes, and portraits.
 Fall foliage in Oregon during the best time of day for outdoor photos, capturing the warm hues and natural beauty with dfphoto.net
5.4. Winter: Working with Limited Light
Winter brings short days and limited light, requiring careful planning and creative techniques.
- Best Time: Midday on clear days.
- Subjects: Snowscapes, winter portraits, and indoor shoots.
6. Specific Scenarios and the Best Times
Different scenarios require different approaches. Understanding the best times for various types of outdoor photography can help you achieve optimal results.
6.1. Portraits: Capturing Flattering Light
For portraits, soft, diffused light is key. Golden hour and blue hour are ideal, but shaded areas can also work well.
- Golden Hour: Warm, soft light enhances skin tones.
- Blue Hour: Cool, diffused light creates a serene look.
- Shaded Areas: Avoid harsh shadows and direct sunlight.
6.2. Landscapes: Showcasing Natural Beauty
Landscapes benefit from dynamic light and dramatic skies. Sunrise and sunset are prime times.
- Sunrise: Captures the first light on the landscape.
- Sunset: Offers vibrant colors and dramatic skies.
- Cloudy Days: Provides soft, even light for detailed shots.
6.3. Wildlife: Capturing Animals in Their Element
Wildlife photography requires patience and timing. Early morning and late afternoon are best when animals are most active.
- Early Morning: Animals are often more active and light is soft.
- Late Afternoon: Similar to early morning, animals are active and light is warm.
- Consider the Weather: Overcast days can provide soft, even light.
6.4. Cityscapes: Balancing Natural and Artificial Light
Cityscapes come alive during blue hour when the balance between natural and artificial light is perfect.
- Blue Hour: Captures the city lights against the deep blue sky.
- Night: Offers dramatic contrasts and vibrant lights.
7. Essential Gear for Different Lighting Conditions
Having the right gear can make a significant difference in your outdoor photography.
7.1. Camera and Lenses
- DSLR or Mirrorless Camera: Offers manual controls and high image quality.
- Wide-Angle Lens: Ideal for landscapes and cityscapes.
- Telephoto Lens: Perfect for wildlife and distant subjects.
- Prime Lens: Great for portraits and low-light photography.
7.2. Tripods and Stabilizers
- Tripod: Essential for long exposures and sharp images.
- Monopod: Provides stability while allowing for quick movement.
7.3. Filters
- Polarizing Filter: Reduces glare and enhances colors.
- Neutral Density (ND) Filter: Allows for longer exposures in bright light.
- Graduated ND Filter: Balances the exposure between the sky and the ground.
7.4. Lighting Equipment
- Reflector: Bounces light onto your subject to fill in shadows.
- Diffuser: Softens harsh light to create a more flattering look.
- Flash: Provides additional light when needed.
8. Mastering Post-Processing Techniques
Post-processing is an essential part of outdoor photography, allowing you to enhance your images and achieve your desired look.
8.1. Basic Adjustments in Lightroom or Photoshop
- Exposure: Adjust the overall brightness of the image.
- Contrast: Increase or decrease the difference between the highlights and shadows.
- White Balance: Correct the color temperature of the image.
- Highlights and Shadows: Adjust the brightness of the highlights and shadows separately.
8.2. Color Correction and Grading
- Color Correction: Correct any color casts and ensure accurate colors.
- Color Grading: Add a stylistic color tone to the image.
8.3. Sharpening and Noise Reduction
- Sharpening: Increase the sharpness of the image to bring out details.
- Noise Reduction: Reduce unwanted noise in the image, especially in low-light conditions.
8.4. Creative Effects
- Filters: Add creative filters to enhance the mood of the image.
- Vignetting: Add a subtle vignette to draw attention to the center of the image.
9. Case Studies: Successful Outdoor Shoots and Their Timing
Analyzing successful outdoor shoots can provide valuable insights into the best times and techniques to use.
9.1. Landscape Photography in Yosemite National Park
Photographer Ansel Adams famously captured stunning black and white landscapes in Yosemite National Park. His images often utilized early morning and late afternoon light to emphasize the dramatic features of the landscape.
9.2. Portrait Photography During Golden Hour in Santa Fe
Many contemporary portrait photographers favor golden hour in Santa Fe for its warm, flattering light. This light enhances skin tones and creates a natural glow, perfect for capturing memorable portraits.
9.3. Wildlife Photography in the Serengeti
Wildlife photographers in the Serengeti often shoot during early morning and late afternoon when animals are most active. This timing allows them to capture dynamic moments in soft, natural light.
10. Inspiring Examples from Renowned Photographers
Learning from the masters can inspire your own photography and provide valuable insights into the art of timing.
10.1. Ansel Adams: Mastering Black and White Landscapes
Ansel Adams’ iconic black and white landscapes demonstrate the power of light and composition in capturing the beauty of nature.
10.2. Annie Leibovitz: Capturing Portraits with Natural Light
Annie Leibovitz is renowned for her portraits that utilize natural light to create intimate and compelling images.
10.3. Steve McCurry: Documenting Humanity with Dynamic Light
Steve McCurry’s photojournalism captures the human experience with a keen eye for light and composition.
11. Overcoming Weather Challenges
Weather can be unpredictable, but with the right strategies, you can still capture great outdoor photos.
11.1. Shooting on Cloudy Days
Cloudy days provide soft, diffused light that is perfect for portraits and landscapes. Embrace the even lighting and focus on capturing details and textures.
11.2. Dealing with Rain and Fog
Rain and fog can add a unique atmosphere to your photos. Use waterproof gear and focus on capturing moody, atmospheric scenes.
11.3. Capturing Dramatic Skies During Storms
Storms can create dramatic skies and dynamic lighting conditions. Be prepared to capture these moments safely and effectively.
12. Location Scouting and Planning
Scouting locations and planning your shoots in advance can significantly improve your results.
12.1. Researching Locations
Use online resources, maps, and photography communities to research potential locations and identify the best times for shooting.
12.2. Using Photography Apps
Photography apps can help you plan your shoots by providing information on sunrise and sunset times, weather conditions, and optimal shooting locations.
12.3. Visiting Locations in Advance
Whenever possible, visit your chosen locations in advance to scout the best viewpoints and plan your compositions.
13. Ethical Considerations in Outdoor Photography
Respecting the environment and local communities is essential for ethical outdoor photography.
13.1. Minimizing Impact on the Environment
Avoid disturbing wildlife, damaging vegetation, or leaving behind trash. Practice Leave No Trace principles.
13.2. Respecting Local Communities
Be respectful of local customs and traditions. Obtain permission before photographing people or private property.
13.3. Obtaining Necessary Permits
Check whether you need any permits or permissions to photograph in specific locations.
14. Building a Portfolio of Outdoor Photos
Showcasing your best outdoor photos in a portfolio can help you attract clients and opportunities.
14.1. Curating Your Best Work
Select your strongest images that demonstrate your skills and style.
14.2. Creating an Online Presence
Use platforms like dfphoto.net, Instagram, and your personal website to showcase your portfolio and connect with other photographers.
14.3. Networking with Other Photographers
Attend photography events, join online communities, and connect with other photographers to build your network and gain inspiration.
15. Continuous Learning and Improvement
Photography is a constantly evolving field. Embrace continuous learning and improvement to stay ahead of the curve.
15.1. Taking Workshops and Courses
Attend workshops and courses to learn new techniques and improve your skills.
15.2. Reading Photography Books and Magazines
Stay updated on the latest trends and techniques by reading photography books and magazines.
15.3. Experimenting with New Techniques
Don’t be afraid to experiment with new techniques and push your creative boundaries.
16. Community Engagement and Feedback
Sharing your work and receiving feedback from others can help you grow as a photographer.
16.1. Joining Photography Communities
Join online and offline photography communities to share your work, receive feedback, and connect with other photographers.
16.2. Participating in Photo Contests
Enter photo contests to gain exposure and receive recognition for your work.
16.3. Seeking Constructive Criticism
Be open to receiving constructive criticism and use it to improve your skills.
17. Staying Updated with the Latest Trends
The world of photography is constantly changing. Stay updated with the latest trends and technologies to remain competitive.
17.1. Following Photography Blogs and Influencers
Follow photography blogs and influencers to stay informed about the latest trends and techniques.
17.2. Attending Industry Events
Attend industry events to network with other professionals and learn about new products and technologies.
17.3. Embracing New Technologies
Be open to experimenting with new technologies, such as drones and AI-powered editing tools, to enhance your photography.
18. Monetizing Your Outdoor Photography Skills
If you are serious about photography, here are several ways to monetize your passion and turn it into a profitable venture:
18.1. Selling Prints and Stock Photos
Sell your best outdoor photos as prints or stock photos through online platforms.
18.2. Offering Photography Services
Offer photography services, such as portraits, landscapes, and event photography, to clients in your area.
18.3. Teaching Photography Workshops
Share your knowledge and passion by teaching photography workshops and courses.
19. The Importance of Patience and Persistence
Outdoor photography requires patience and persistence. Don’t get discouraged by setbacks and keep practicing to improve your skills.
19.1. Embracing the Learning Curve
Understand that there will be a learning curve and that it takes time to develop your skills.
19.2. Learning from Mistakes
Don’t be afraid to make mistakes. Learn from them and use them as opportunities for growth.
19.3. Staying Passionate
Most importantly, stay passionate about photography and continue to explore the world through your lens.
20. Conclusion: Mastering the Art of Outdoor Photography
Mastering outdoor photography involves understanding how light, weather, and timing affect your images. By applying the techniques and strategies outlined in this guide, you can capture stunning outdoor photos that showcase your creativity and skill. Remember to visit dfphoto.net for more in-depth guides, inspiring examples, and a supportive community of photographers.
20.1. Summary of Key Takeaways
- Understanding the best times for outdoor photography is crucial for capturing high-quality images.
- Golden hour and blue hour offer unique lighting conditions that can enhance your photos.
- Midday photography requires creative techniques to overcome harsh sunlight.
- Seasonal considerations can significantly impact the quality and availability of light.
- Ethical considerations are essential for responsible outdoor photography.
- Continuous learning and improvement are key to mastering the art of outdoor photography.
20.2. Final Thoughts and Encouragement
Outdoor photography is a rewarding and fulfilling pursuit. Embrace the challenges, celebrate the successes, and never stop exploring the world through your lens.
Ready to elevate your photography skills? Visit dfphoto.net for more tutorials, inspiring galleries, and a vibrant community of photographers. Whether you’re looking to perfect your golden hour shots, master midday lighting, or simply connect with fellow enthusiasts, dfphoto.net has everything you need to succeed. Join us today and start capturing the world in a whole new light!
FAQ: Best Time To Take Outdoor Photos
1. What is the best time of day to take outdoor photos for soft, flattering light?
The best time of day for soft, flattering light is during the golden hour, which occurs shortly after sunrise and before sunset. During these times, the sun is low on the horizon, creating a warm, diffused light that minimizes harsh shadows and enhances colors.
2. How does the position of the sun affect outdoor photos?
The sun’s position dramatically affects the quality of light in outdoor photos. When the sun is high in the sky, it creates harsh shadows and overexposed highlights. When the sun is low on the horizon, it produces soft, warm light that is ideal for portraits and landscapes.
3. What is golden hour, and why is it ideal for outdoor photography?
Golden hour is the period shortly after sunrise and before sunset, characterized by warm, soft light. It is ideal for outdoor photography because it provides flattering light that enhances skin tones, reduces harsh shadows, and creates a natural glow.
4. What is blue hour, and how does it differ from golden hour?
Blue hour is the period just before sunrise or after sunset when the sky takes on a deep blue hue. Unlike golden hour, which is warm and golden, blue hour offers cool, serene light that is perfect for capturing cityscapes and landscapes with a tranquil atmosphere.
5. How can I use midday sunlight to my advantage in outdoor photography?
While midday sunlight is often avoided, it can be used creatively by finding shade, using a diffuser to soften the light, or converting images to black and white to emphasize contrast and tones.
6. What are some essential gear for shooting in different lighting conditions?
Essential gear includes a DSLR or mirrorless camera, wide-angle and telephoto lenses, a tripod, polarizing and neutral density filters, a reflector, and a flash. Each piece of gear helps manage different lighting conditions for optimal results.
7. How does the season affect the best time to take outdoor photos?
The season affects the quality and availability of light. Spring offers soft, diffused light, summer brings intense sunlight, autumn provides warm, golden light, and winter brings limited light, each requiring different approaches to outdoor photography.
8. What are some post-processing techniques to enhance outdoor photos?
Basic post-processing techniques include adjusting exposure, contrast, white balance, highlights, and shadows. Color correction and grading, sharpening, and noise reduction are also essential for enhancing outdoor photos.
9. What are some ethical considerations to keep in mind while taking outdoor photos?
Ethical considerations include minimizing impact on the environment, respecting local communities, and obtaining necessary permits. It’s important to practice responsible and sustainable photography.
10. How can I stay updated with the latest trends and techniques in outdoor photography?
Stay updated by following photography blogs and influencers, attending industry events, experimenting with new techniques, and engaging with photography communities. Continuous learning is key to improving your skills.
Address: 1600 St Michael’s Dr, Santa Fe, NM 87505, United States. Phone: +1 (505) 471-6001. Website: dfphoto.net.