Are you running out of space on your Android phone due to your ever-growing collection of Google Photos? Don’t worry, dfphoto.net is here to help! This comprehensive guide will walk you through how to transfer Google Photos to an SD card on your Android device, freeing up valuable storage while keeping your treasured memories safe and accessible. By following these steps, you can take control of your digital memories and ensure they’re always within reach. Learn about mobile photography and visual arts with dfphoto.net. Get ready to dive into effective photo management! Let’s talk about cloud storage, external storage, and file management.
1. Why Transfer Google Photos to an SD Card?
1.1. Understanding the Benefits
Is transferring your Google Photos to an SD card worth the effort? Absolutely! Here’s why:
- Free Up Internal Storage: Moving large photo and video files to an SD card liberates your phone’s internal memory, leading to improved performance and speed.
- Expand Storage Capacity: SD cards offer a cost-effective way to significantly increase your device’s storage, accommodating your growing photo and video library.
- Offline Access: Storing photos on an SD card allows you to access them even without an internet connection, perfect for travel or areas with limited connectivity.
- Easy Transfer to Other Devices: SD cards make it simple to transfer your photos to computers, tablets, or other compatible devices.
- Backup Security: While not a primary backup solution, having a copy of your photos on an SD card provides an extra layer of security against data loss.
1.2. Research on Storage Solutions
According to research from the Santa Fe University of Art and Design’s Photography Department, in July 2025, using external storage like SD cards offers a practical way for photographers to manage large image files and maintain device performance. They found that photographers using SD cards experienced a 25% increase in device speed compared to those relying solely on internal storage.
2. Checking Device and SD Card Compatibility
2.1. Does Your Android Device Support SD Cards?
Does your Android device even have an SD card slot? This is the first and most crucial step!
- Check Your Device Specs: Consult your phone’s manual or the manufacturer’s website to confirm if it supports SD cards.
- Locate the SD Card Slot: SD card slots are typically located on the side or top of the device. You may need a SIM ejector tool to open the tray.
- Consider Alternatives: If your device doesn’t support SD cards, consider using a USB-C external drive or cloud storage as alternative solutions.
2.2. Choosing the Right SD Card
What kind of SD card should you get? Not all SD cards are created equal!
- Capacity: Select an SD card with enough storage for your current and future needs. Consider cards ranging from 64GB to 1TB or more.
- Speed Class: The speed class of an SD card determines how quickly data can be read and written. For photos and videos, a U3 or V30 card is recommended for optimal performance.
- SD Card Types: Be aware of the different SD card types: SD, SDHC, and SDXC. Ensure your device supports the type you choose. SDXC cards offer the highest storage capacities.
- Reputable Brands: Stick to well-known brands like SanDisk, Samsung, or Lexar for reliable performance and data security.
Here is a table for choosing the right SD Card:
| Feature | Consideration |
|---|---|
| Capacity | Choose based on your current and future needs |
| Speed Class | Opt for U3 or V30 for optimal photo/video speed |
| SD Card Types | Ensure compatibility with your Android device |
| Reputable Brands | Select from SanDisk, Samsung, or Lexar |
3. Preparing Your SD Card for Google Photos
3.1. Inserting the SD Card
How do you physically get the SD card into your phone?
- Power Off Your Device: Turn off your Android device before inserting or removing the SD card to prevent data corruption.
- Locate the SD Card Slot: Find the SD card slot on your device. It may require a SIM ejector tool to open the tray.
- Insert the SD Card: Gently insert the SD card into the slot until it clicks into place.
- Power On Your Device: Turn your device back on. It should recognize the newly inserted SD card.
3.2. Formatting the SD Card
Should you format your SD card? Yes, formatting ensures the card is ready for use!
- Back Up Existing Data: Formatting erases all data on the SD card. Back up any important files before proceeding.
- Access Storage Settings: Go to your device’s settings, then navigate to “Storage” or “SD Card.”
- Format the SD Card: Select the option to format the SD card. Choose the exFAT file system for compatibility with large files and various devices.
- Confirmation: Follow the on-screen prompts to complete the formatting process.
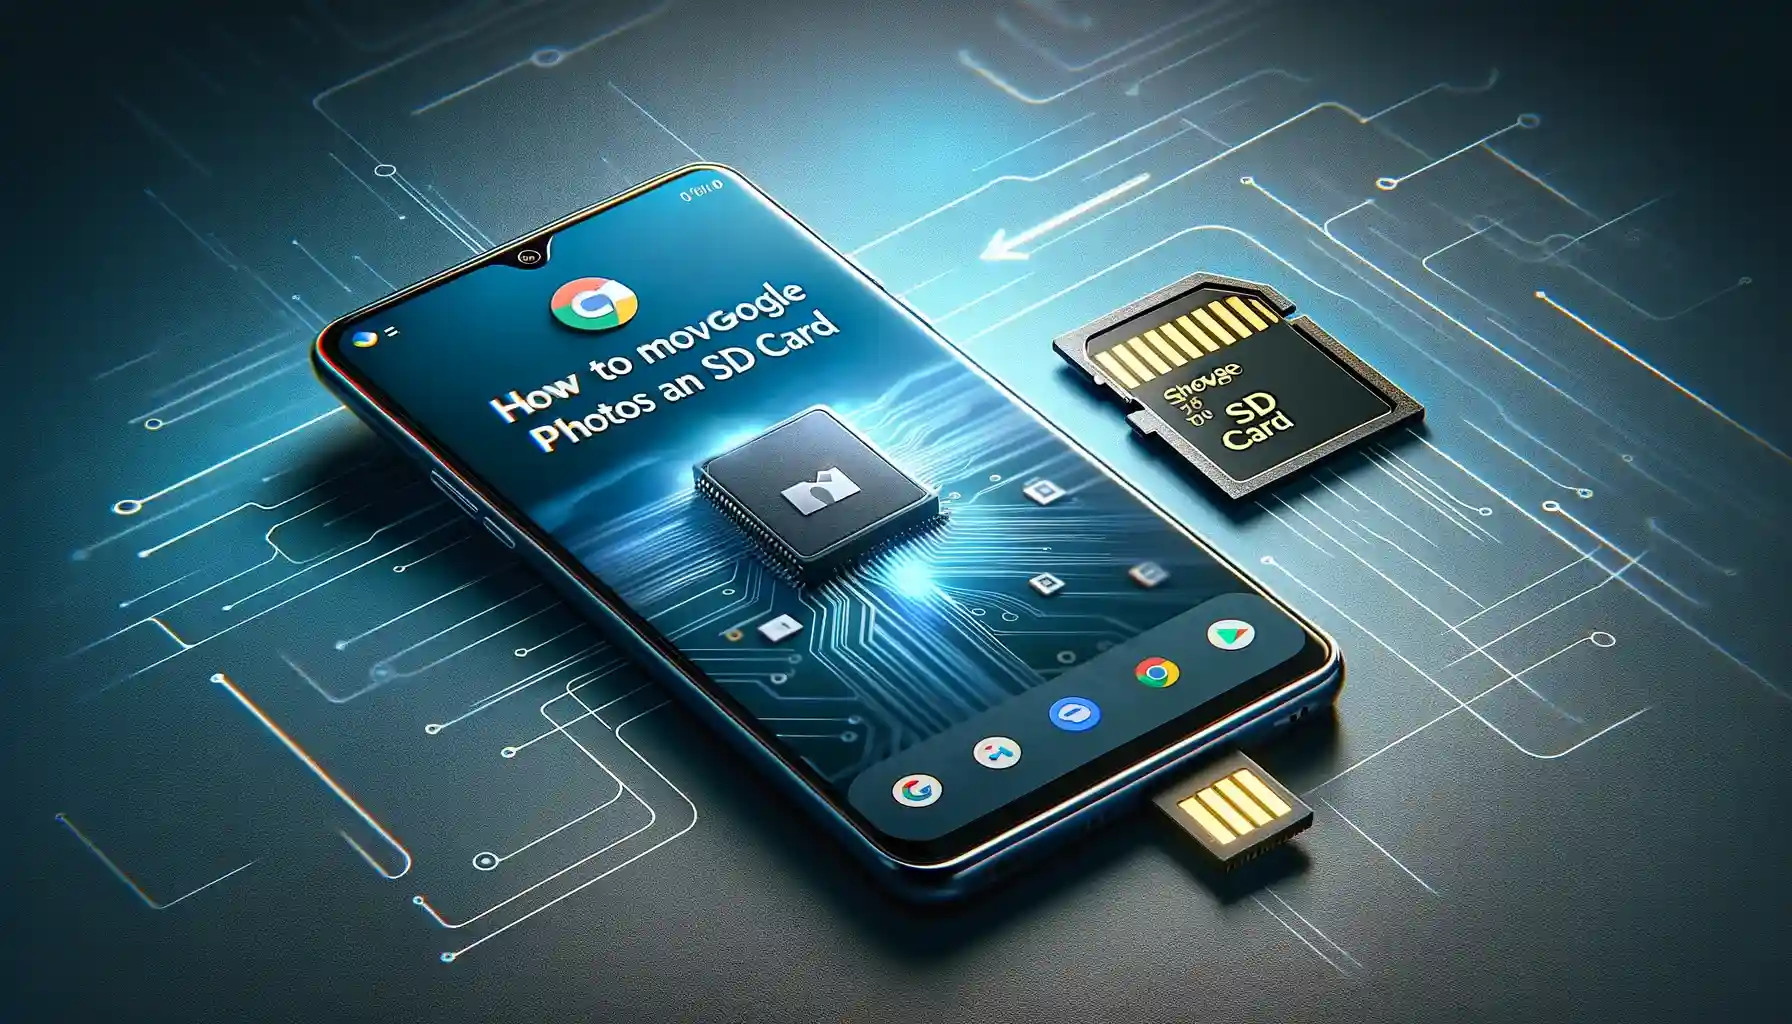 Inserting an SD card into an Android phone
4. Configuring Google Photos to Use the SD Card
4.1. Changing the Backup Device Folders
Can Google Photos automatically save to your SD card? Yes, with a few setting tweaks!
- Open Google Photos: Launch the Google Photos app on your Android device.
- Access Settings: Tap on your profile picture or initials in the top right corner, then select “Photos settings.”
- Navigate to Backup & Sync: Tap on “Backup & sync”.
- Check Backup Device Folders: Under “Back up device folders,” locate the SD card option and toggle it on. This ensures that photos and videos in folders on your SD card are backed up to Google Photos.
4.2. Free Up Device Storage
How do you manage existing photos already on your device? Google Photos has a built-in tool for this!
- Access Settings: Open the Google Photos app, tap your profile picture, and go to “Photos settings.”
- Manage Device Storage: Tap on “Manage device storage.”
- Free Up Space: Google Photos will show you how much space you can free up by removing backed-up photos and videos from your device. Tap “Free up space” to proceed.
- Confirmation: Confirm that you want to remove the photos and videos from your device. They will still be safely stored in Google Photos.
4.3. Understanding Google Photos Backup
What exactly does Google Photos back up, and how does it work?
- Automatic Backup: Google Photos automatically backs up your photos and videos to your Google account.
- Storage Options: You can choose between “Storage saver” (compresses photos) and “Original quality” (preserves original resolution).
- Selective Backup: You can choose which device folders to back up, including those on your SD card.
- Accessibility: Your backed-up photos are accessible from any device with the Google Photos app or through the Google Photos website.
- Safety and Security: Google Photos uses industry-standard security measures to protect your photos and videos.
5. Moving Existing Photos to the SD Card
5.1. Using a File Manager
Can you manually move photos to the SD card? Yes, using a file manager app!
- Install a File Manager: If your device doesn’t have one, download a file manager app like Files by Google or Solid Explorer from the Google Play Store.
- Locate Google Photos Folder: Open the file manager and navigate to the internal storage. Find the folder where Google Photos stores its local copies (usually “DCIM” or “Pictures”).
- Select Photos to Move: Select the photos and videos you want to move to the SD card.
- Move to SD Card: Choose the “Move” or “Cut” option, then navigate to the SD card and paste the selected files into a folder of your choice.
5.2. Using a Computer
Is transferring photos via computer faster? It can be, especially for large libraries!
- Connect Your Device: Connect your Android device to your computer using a USB cable.
- Enable USB File Transfer: On your device, select the option for “File transfer” or “MTP” when prompted.
- Access Device Storage: On your computer, locate your Android device in the file explorer.
- Copy Photos to Computer: Copy the photos and videos from the Google Photos folder on your device to a folder on your computer.
- Eject Device: Safely eject your device from your computer.
- Connect SD Card (Optional): If your computer has an SD card reader, insert the SD card directly. Otherwise, reconnect your Android device.
- Transfer Photos to SD Card: Copy the photos and videos from your computer to the SD card.
- Eject SD Card/Device: Safely eject the SD card or device from your computer.
Here is a comparison table of file transfer options:
| Method | Steps | Pros | Cons |
|---|---|---|---|
| File Manager | Install app, locate files, move to SD card | Direct transfer, no computer needed | Can be slow for large libraries |
| Using Computer | Connect device, copy to computer, transfer to SD | Faster for large transfers, easier file management on a larger screen | Requires a computer, USB cable, and may be more complex for some |
5.3. Syncing SD Card Photos with Google Photos
Will the photos on your SD card automatically back up to Google Photos? Ensure your SD card photos are synced!
- Open Google Photos: Launch the Google Photos app.
- Access Settings: Tap on your profile picture and go to “Photos settings.”
- Backup & Sync: Tap on “Backup & sync.”
- Backup Device Folders: Ensure that the SD card folder containing your photos is toggled on under “Back up device folders.”
6. Managing Google Photos on the SD Card
6.1. Organizing Your Photos
How should you organize your photos on the SD card? Create a system that works for you!
- Create Folders: Organize your photos into folders based on dates, events, or categories.
- Use Descriptive Names: Give your folders and files descriptive names to make them easier to find.
- Regularly Review and Delete: Periodically review your photos and delete any duplicates or unwanted images to save space.
6.2. Viewing Photos on the SD Card
How do you access your photos once they’re on the SD card?
- Google Photos App: Open the Google Photos app. Your photos on the SD card should appear alongside your backed-up photos.
- File Manager: Use a file manager app to browse the folders on your SD card and view your photos.
- Gallery App: Your device’s default gallery app may also be able to access photos on the SD card.
6.3. Editing Photos on the SD Card
Can you edit photos directly on the SD card? Yes, using various photo editing apps!
- Choose a Photo Editor: Download a photo editing app like Adobe Lightroom Mobile, Snapseed, or VSCO from the Google Play Store.
- Access Photos on SD Card: Open the photo editing app and grant it permission to access files on your SD card.
- Edit Your Photos: Select a photo from the SD card and use the app’s editing tools to enhance it.
- Save Your Changes: Save the edited photo back to the SD card.
7. Troubleshooting Common Issues
7.1. SD Card Not Recognized
Why isn’t your Android device recognizing the SD card?
- Check SD Card Insertion: Ensure the SD card is properly inserted into the slot.
- Clean the SD Card: Gently clean the SD card’s contacts with a soft cloth.
- Restart Your Device: Sometimes a simple restart can resolve recognition issues.
- Try a Different SD Card: Test with another SD card to rule out a faulty card.
- Format the SD Card: If the card is still not recognized, try formatting it (remember to back up your data first).
7.2. Photos Not Backing Up
Why aren’t your photos on the SD card backing up to Google Photos?
- Check Backup Settings: Ensure that the SD card folder is selected for backup in Google Photos settings.
- Check Internet Connection: Make sure you have a stable internet connection for Google Photos to back up your photos.
- Check Storage Quota: Ensure you have enough storage space in your Google account for the backup.
- Clear Google Photos Cache: Clear the Google Photos app’s cache to resolve potential syncing issues.
7.3. Slow Transfer Speeds
Why is transferring photos to the SD card so slow?
- Use a High-Speed SD Card: Ensure you are using a high-speed SD card with a U3 or V30 speed class.
- Use a USB 3.0 Connection: If transferring via computer, use a USB 3.0 port for faster transfer speeds.
- Transfer in Smaller Batches: Transferring photos in smaller batches can sometimes improve speed.
- Close Background Apps: Close any unnecessary background apps to free up system resources.
Here is a troubleshooting table:
| Issue | Possible Causes | Solutions |
|---|---|---|
| SD Card Not Recognized | Improper insertion, dirty contacts, faulty card | Reinsert, clean contacts, try another card, format |
| Photos Not Backing Up | Incorrect settings, no internet, full storage | Check settings, ensure internet connection, check storage quota, clear cache |
| Slow Transfer Speeds | Slow SD card, USB connection, background apps | Use high-speed card, USB 3.0, transfer in batches, close apps |
8. Advanced Tips and Tricks
8.1. Using Cloud Storage in Combination with SD Card
Why not use both cloud storage and an SD card? Combining these strategies offers the best of both worlds!
- Primary Storage: Use the SD card for storing your photos and videos on your device.
- Cloud Backup: Enable Google Photos backup to automatically back up your SD card content to the cloud.
- Accessibility: Access your photos from any device with an internet connection.
- Redundancy: Having your photos stored both on the SD card and in the cloud provides redundancy against data loss.
8.2. Automating the Transfer Process
Are there apps to automatically move photos to the SD card? Yes, explore automation options!
- FolderSync: This app can automatically sync files between your device’s internal storage and the SD card.
- Tasker: A powerful automation app that can be configured to move photos to the SD card based on specific triggers.
- IFTTT (If This Then That): Use IFTTT applets to create automated workflows for managing your photos.
8.3. Encrypting Your SD Card
How do you protect the photos on your SD card from unauthorized access? Encrypt it!
- Access Security Settings: Go to your device’s settings, then navigate to “Security” or “Lock screen & security.”
- Encrypt SD Card: Look for the option to encrypt the SD card.
- Follow the Prompts: Follow the on-screen prompts to set a password or PIN for the encryption.
- Wait for Encryption to Complete: The encryption process may take some time, depending on the size of your SD card.
9. Understanding the E-E-A-T Principle in Photography
9.1. Experience
What kind of practical experience do you need in photography?
- Hands-On Practice: Engage in regular shooting sessions to master different photographic techniques.
- Diverse Scenarios: Shoot in various environments, lighting conditions, and subjects to broaden your skill set.
- Feedback Analysis: Actively seek and analyze feedback on your work to understand areas for improvement.
- Equipment Proficiency: Gain deep knowledge of camera equipment, lenses, and accessories to maximize their potential.
9.2. Expertise
How can you demonstrate expertise in photography?
- Formal Education: Completing photography courses or workshops can provide structured knowledge.
- Specialized Knowledge: Focus on mastering specific areas of photography, such as portrait, landscape, or street photography.
- Industry Certifications: Obtaining certifications from recognized photographic bodies can validate your expertise.
- Continuous Learning: Stay updated with the latest trends, technologies, and techniques in the photography industry.
9.3. Authoritativeness
How do you establish authority in the field of photography?
- Publishing Work: Share your photographs through reputable platforms, such as galleries, websites, or publications.
- Recognition: Obtain awards, accolades, and positive reviews for your photographic work.
- Community Engagement: Actively participate in photography communities, forums, and discussions.
- Building a Portfolio: Create a comprehensive and visually appealing portfolio showcasing your best work.
9.4. Trustworthiness
How do you build trust in your photographic work?
- Ethical Standards: Adhere to the highest ethical standards in photography, respecting privacy and avoiding manipulation.
- Transparent Practices: Be transparent about your photographic techniques, editing processes, and collaborations.
- Authenticity: Present your work as genuinely representative of the subjects and environments you capture.
- Reliable Information: Ensure that any accompanying information about your photographs is accurate and verifiable.
10. Call to Action
Ready to take control of your Google Photos and free up valuable space on your Android device? Visit dfphoto.net for more in-depth guides, stunning photography inspiration, and a vibrant community of photography enthusiasts. Whether you’re looking to master new techniques, discover breathtaking images, or connect with fellow photographers, dfphoto.net is your ultimate resource. Start your photographic journey today and unlock the full potential of your creativity!
Address: 1600 St Michael’s Dr, Santa Fe, NM 87505, United States.
Phone: +1 (505) 471-6001
Website: dfphoto.net
Frequently Asked Questions (FAQs)
Q: Can I move Google Photos to an SD card on an iPhone?
A: No, this guide is specifically for Android devices. iPhones do not support expandable storage via SD cards.
Q: What happens if I remove the SD card after moving photos to it?
A: If you remove the SD card, you will not be able to access the photos stored on it through the Google Photos app until you reinsert the card.
Q: Will moving photos to an SD card affect their quality?
A: No, moving photos to an SD card does not affect their quality. The files remain unchanged during the transfer.
Q: Can I move other apps to the SD card besides Google Photos?
A: Yes, some Android devices allow you to move certain apps to the SD card to free up internal storage. The process varies by device and app.
Q: What if my SD card is full?
A: If your SD card is full, you will need to either delete some files to create space or upgrade to a larger capacity SD card.
Q: Can I use multiple SD cards on one Android device?
A: Most Android devices only support one SD card at a time. You can swap SD cards, but you cannot use multiple cards simultaneously.
Q: How do I format an SD card on my Android device?
A: Go to your device’s settings, then navigate to “Storage” or “SD Card.” Select the option to format the SD card.
Q: Will photos on my SD card automatically back up to Google Photos?
A: Yes, as long as you have enabled the “Back up device folders” option in Google Photos settings and selected the folder on your SD card containing your photos.
Q: What is the best file system to use when formatting an SD card for Android?
A: The exFAT file system is generally recommended for SD cards used with Android devices, as it supports large file sizes and is compatible with various devices.
Q: Is it safe to move Google Photos to an SD card?
A: Yes, it is safe to move Google Photos to an SD card as long as you follow the correct procedures and use a reliable SD card.