They say the best camera is the one you have with you, and for many, that’s the powerful iPhone camera in their pocket. If you’re looking to elevate your mobile photography, you’ve come to the right place. This guide dives deep into essential iPhone photography tips and tricks that will transform your snapshots into stunning images you’ll be proud to share.
 iphone photography tips
Essential iPhone Photography Tips for Stunning Shots
As a professional photographer who has worked with various cameras, I’m consistently impressed by the capabilities of iPhone cameras. My journey into food photography actually began using my iPhone and the natural light from my apartment window. While I’ve since expanded to professional cameras like the Nikon D750, FujiFilm XT3, and FujiFilm XT4 for client work, my iPhone remains a constant companion for everyday photography.
Over the years, I’ve accumulated a wealth of tips and tricks to maximize the potential of iPhone cameras. Now, I’m excited to share these iPhone photography hacks with you, so you can start capturing incredible images right away! Let’s explore how to take great photos with your iPhone.
 grapes on a dark surface
Tip 1: Start with a Clean Lens
It’s easy to overlook, but a dirty lens is a common culprit behind blurry or hazy iPhone photos. Our iPhones are constantly exposed to pockets, bags, and fingers, making the lenses prone to dust, smudges, and fingerprints. Before you start shooting, make it a habit to clean your iPhone lens.
A gentle wipe with a soft, lint-free cloth is all it takes. While a shirt sleeve can work in a pinch, consider keeping specialized lens wipes on hand, especially those designed for delicate surfaces. These wipes are also excellent for cleaning computer screens and sunglasses without scratching.
Tip 2: Master Composition with the Grid
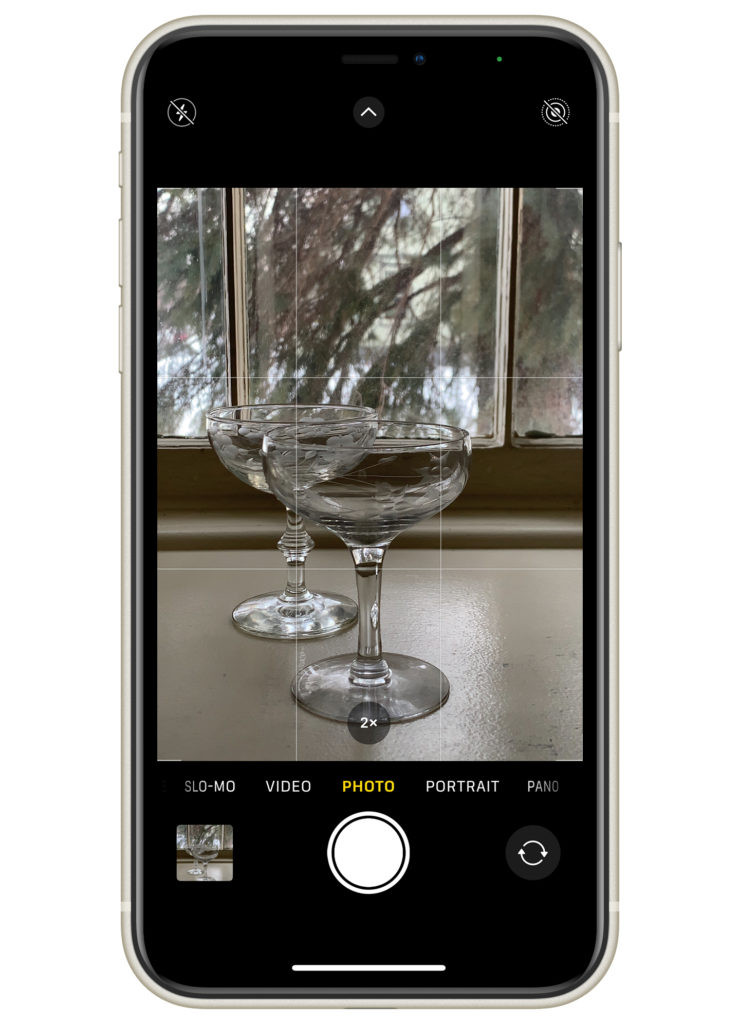
Composition is fundamental to compelling photography. It’s about how you arrange the elements within your frame to create an engaging image. A fantastic tool built into your iPhone to aid composition is the Grid.
Activating the grid overlay in your iPhone camera app displays two vertical and two horizontal lines, dividing your screen into nine equal rectangles. The intersections of these lines are considered “power points” where placing your subject often creates a more visually appealing image. This is based on the Rule of Thirds, a classic composition guideline and a great starting point for learning how to frame your shots effectively.
To enable the Grid, navigate to Settings > Camera > Grid and toggle it on (green).
 iphone photography grid
Tip 3: Control Focus and Exposure Manually
FOCUS
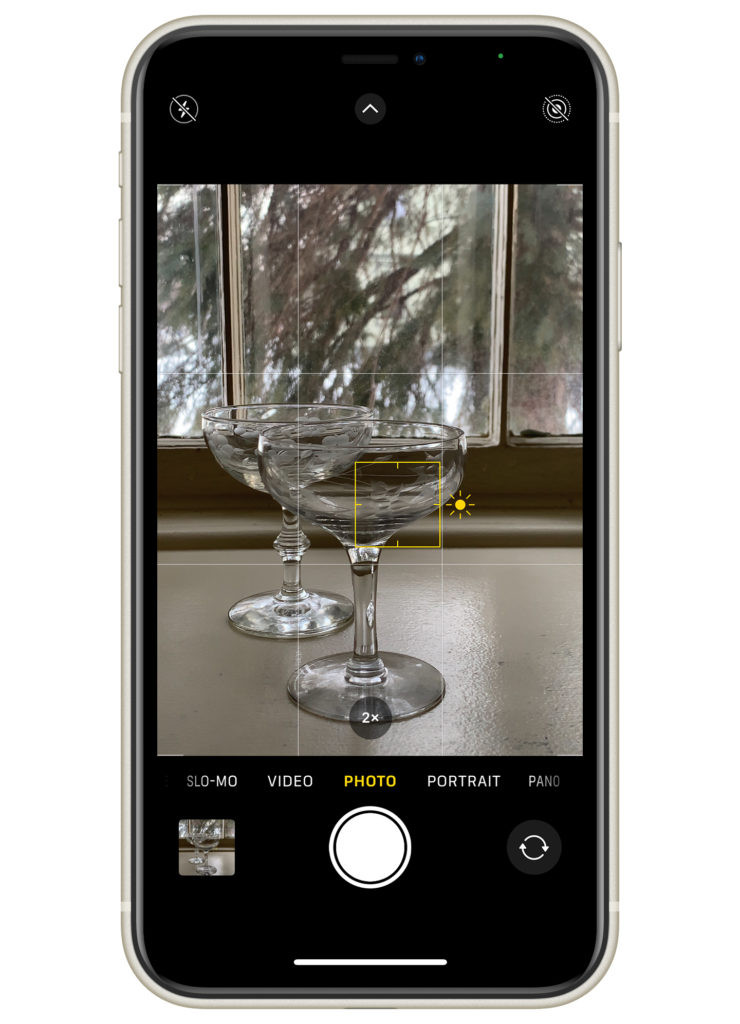
Ever been disappointed by a photo that’s out of focus? To ensure sharpness exactly where you want it, take control of your iPhone’s focus. Simply tap on the area of your screen where you want the focus to be sharp. A yellow box, the “focus box,” will appear, indicating your chosen focus point.
EXPOSURE
Next to the focus box, you’ll notice a sun icon. This is your exposure control. Swipe up on the sun icon to brighten your image or swipe down to darken it. Experimenting with exposure adjustment allows you to capture the perfect brightness and mood in your photos.
 iphone manual focus
Tip 4: Lock Focus and Exposure for Consistent Shots
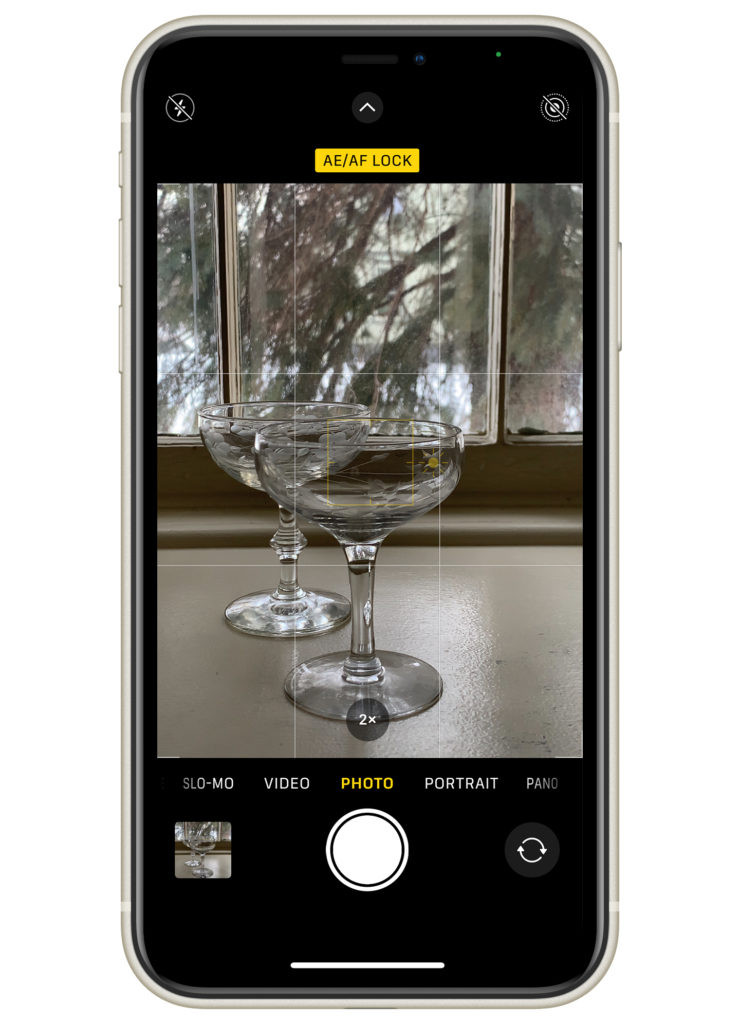
Manually adjusting focus and exposure by tapping the screen is useful, but for situations where you want consistent focus and brightness across multiple shots, locking focus and exposure is invaluable.
To lock these settings, simply tap and hold your finger on the screen. After a moment, “AE/AF Lock” will appear at the top of your screen. This indicates that both your focus and exposure are locked. You can still fine-tune the exposure by dragging the sun icon up or down even when locked. To unlock, just tap the screen again.
 iphone auto focus lock
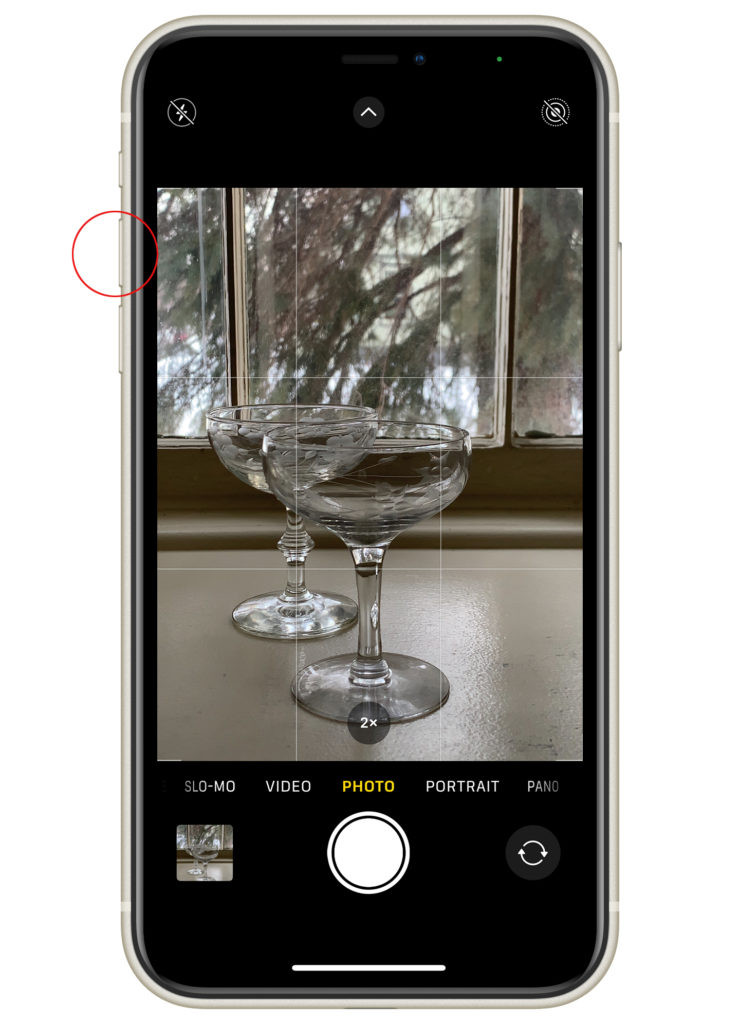
Tip 5: Use Volume Buttons as Shutter
A hidden iPhone photography hack: your volume buttons double as shutter buttons! When your camera app is open, pressing either the volume up or volume down button will take a photo. This can be more convenient than tapping the on-screen shutter button, especially when holding your phone in certain positions or trying to minimize camera shake.
 iphone volume up
Tip 6: Explore Portrait Mode for Beautiful Background Blur
Portrait mode is a fantastic iPhone feature that allows you to create a beautiful blurred background effect, also known as bokeh or shallow depth of field. This effect beautifully isolates your subject, making it pop and adding a professional touch to your photos.
Achieving this background blur used to require expensive DSLR lenses. The beauty of iPhone portrait mode is that it delivers this effect digitally, without needing any extra equipment.
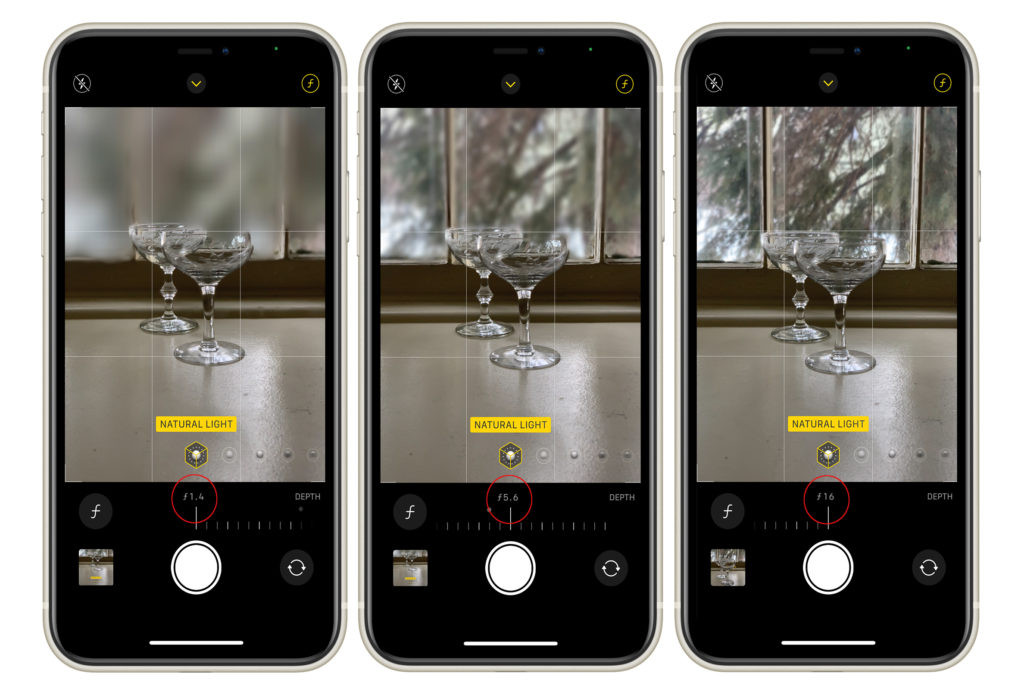
HOW TO ADJUST PORTRAIT MODE:
- Select “Portrait” mode in your camera app.
- Tap the “f” icon in the circle in the top right corner of your screen.
- Use the slider that appears below your image to adjust the intensity of the background blur.
iPhone Portrait mode offers an aperture range from f1.8 to f16. Lower f-numbers (like f1.8) create a stronger blur, while higher f-numbers (like f16) result in a sharper background. Experiment to find the perfect balance for your subject.
 iphone portrait mode for photography
Tip 7: Enhance Your Photos with Editing
Editing is a crucial step in the photography workflow, even for iPhone photos. Many people skip editing their smartphone images, but even subtle adjustments can dramatically improve your photos, bringing them to life and correcting any imperfections. Without editing, images can often appear flat and lack vibrancy.
Start experimenting with the built-in editing tools in your iPhone’s Photos app. These basic features offer a powerful introduction to photo editing.
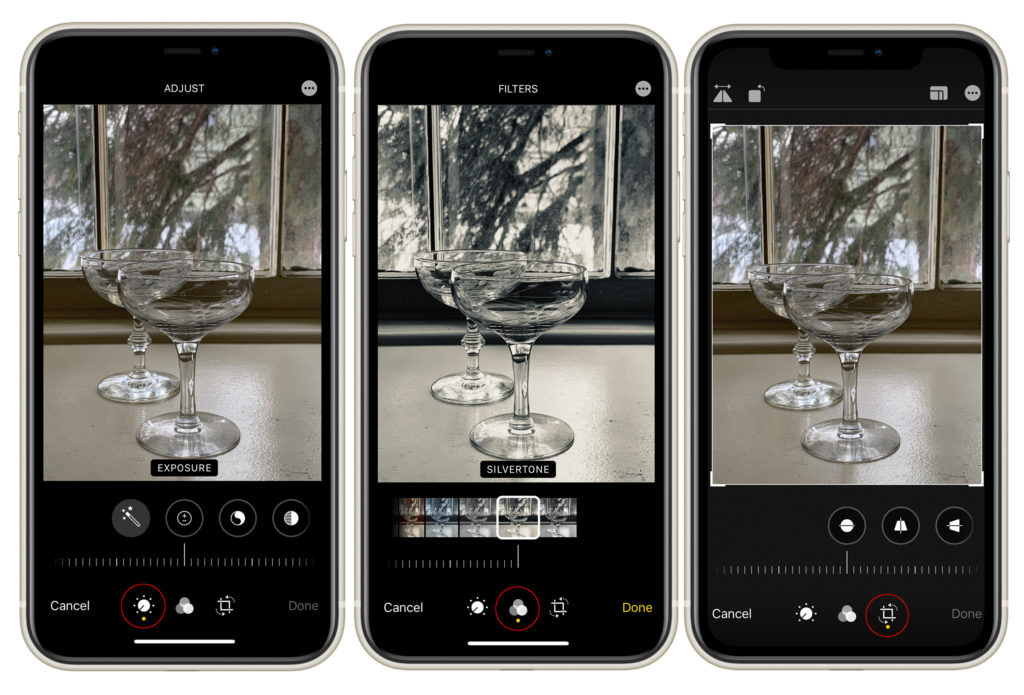
To edit a photo:
- Open the image in the Photos app and tap “Edit” in the top right corner.
- You’ll see three icons at the bottom: Adjust, Filters, and Crop.
ADJUST TOOL: The first icon (circle with dots) is the Adjust tool. This gives you control over various settings like exposure, brightness, shadows, contrast, saturation, and more. Dive in and experiment with each adjustment to see how it impacts your image.
FILTERS TOOL: The middle icon (three intersecting circles) is the Filters tool. Explore the range of pre-set filters to quickly alter the mood and style of your photo.
CROP TOOL: The third icon (square with arrows) is the Crop tool. Use it to crop, straighten, or rotate your image to refine composition and correct perspective.
These built-in tools offer a surprising level of control for enhancing your iPhone photos directly on your device.
 iphone standard editing app
Tip 8: Invest in Photography Education
To rapidly accelerate your iPhone photography skills, consider taking an online course. Structured learning can provide a wealth of knowledge and techniques in a condensed format.
 iPhone food photography course
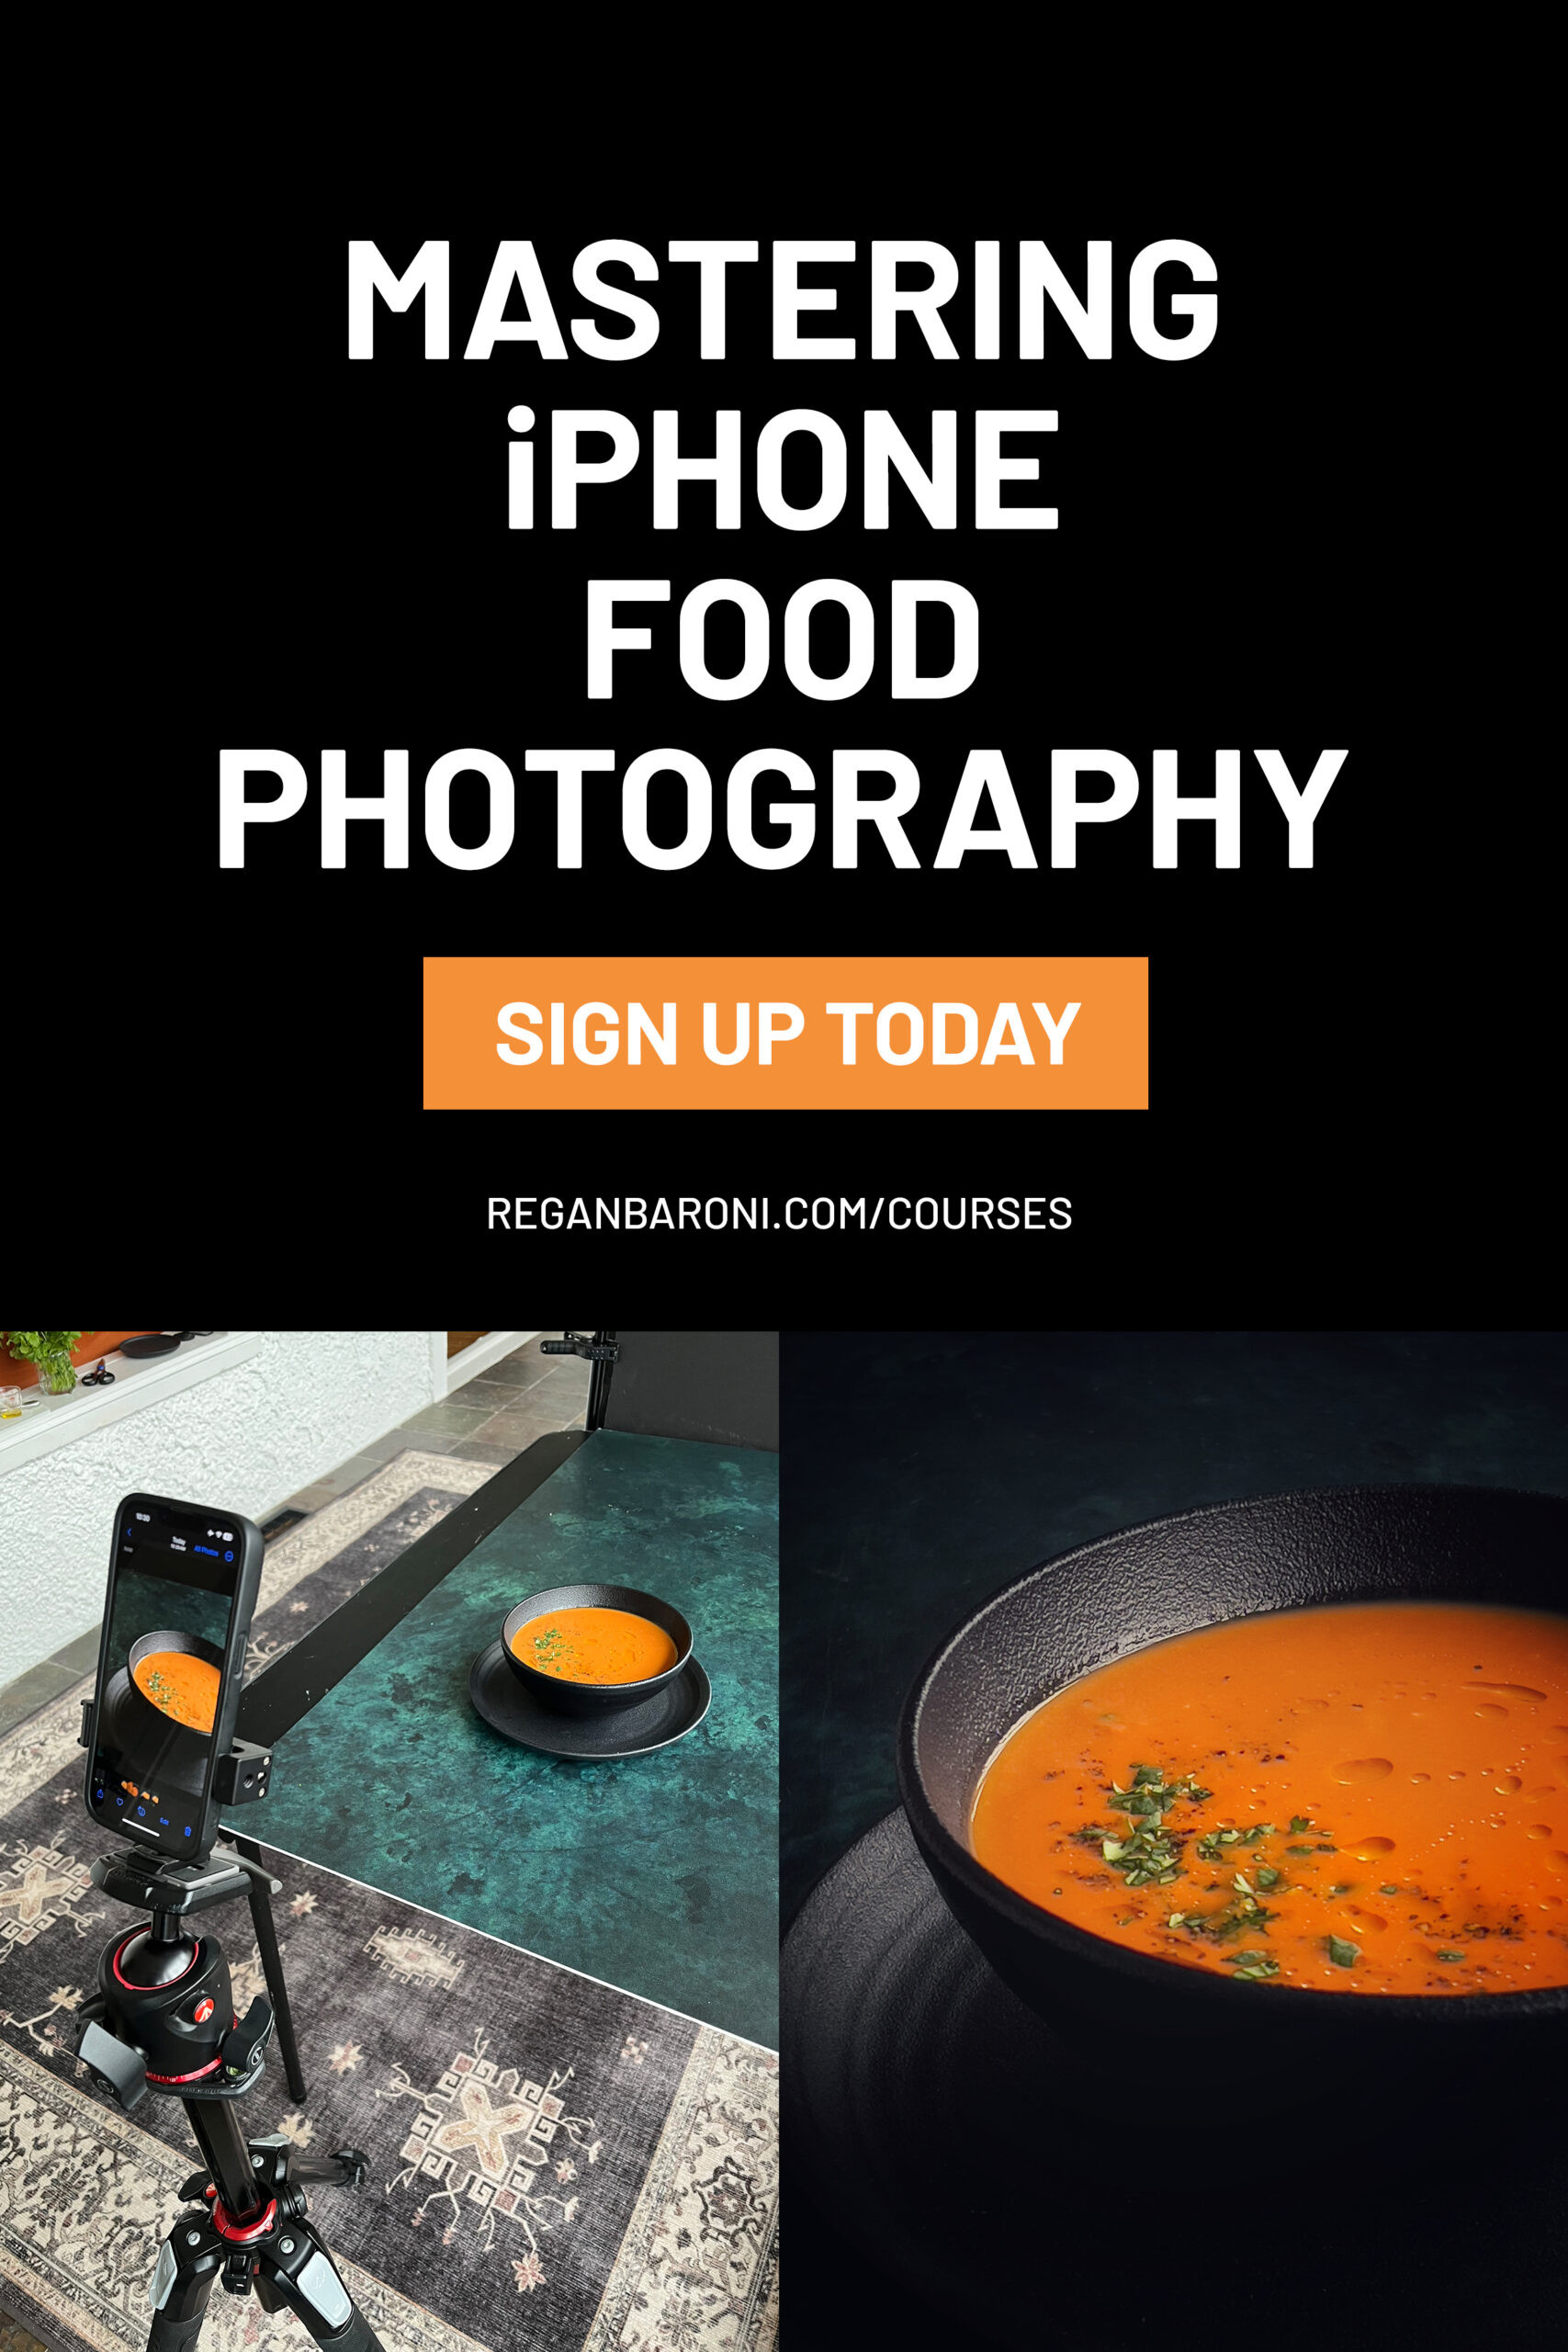
Mastering iPhone Food Photography
For those passionate about food photography, my signature course, Mastering iPhone Food Photography, is designed to be beginner-friendly and comprehensive. It’s specifically crafted to fast-track your learning curve in capturing mouth-watering food photos with your iPhone.
This course is packed with videos, screen recordings, and behind-the-scenes demonstrations, covering everything you need to know to significantly improve your iPhone food images. In under 4 hours, you’ll gain lifetime access to the course and all future updates. Learn at your own pace and revisit the materials whenever you need a refresher.
FULL COURSE
Essential iPhone Photography Tools
Beyond camera settings and techniques, certain tools can significantly enhance your iPhone photography, particularly when working with natural light.
Tip 9: Utilize Diffusers and Foam Boards for Light Control
When shooting with your iPhone, especially in natural light, you’ll quickly realize that light is constantly changing. This variability can be challenging to manage without tools to modify and control it. Light modifiers like diffusers and foam boards are essential for shaping natural light.
DIFFUSERS
Diffusers soften harsh sunlight, spreading it more evenly across your subject. Position the diffuser between your light source (like a window) and your subject to diffuse direct sunlight. Diffusers don’t block light; they transform harsh, direct light into soft, even light.
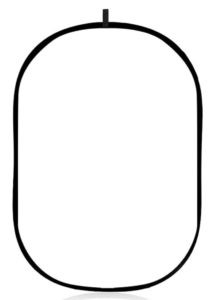 Large Diffuser for PhotographyVIEW ON AMAZON
Alt text: Product shot of a large round photography diffuser, demonstrating a tool for softening harsh light in iPhone photography.
FOAM BOARDS
Foam boards are versatile tools for shaping light, acting as reflectors to bounce light back onto your subject or flags to block light and create shadows.
White foam boards are reflectors, used to bounce light into shadow areas, brightening them. If one side of your subject is too dark (e.g., food placed by a window), position a white foam board opposite the window to reflect light back and even out the lighting.
 White Foam Board for PhotographyVIEW ON AMAZON
Alt text: Product shot of a white foam board, showcasing a reflector used to bounce light in photography, beneficial for iPhone lighting setups.
Black foam boards act as flags or negative fill. They absorb light and increase contrast by deepening shadows. Position them strategically to control shadows and add depth to your images.
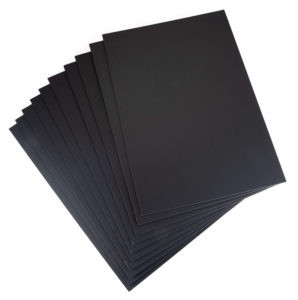 Black Foam BoardVIEW ON AMAZON
Alt text: Product shot of a black foam board, demonstrating a flag used to absorb light and enhance shadows in iPhone photography setups.
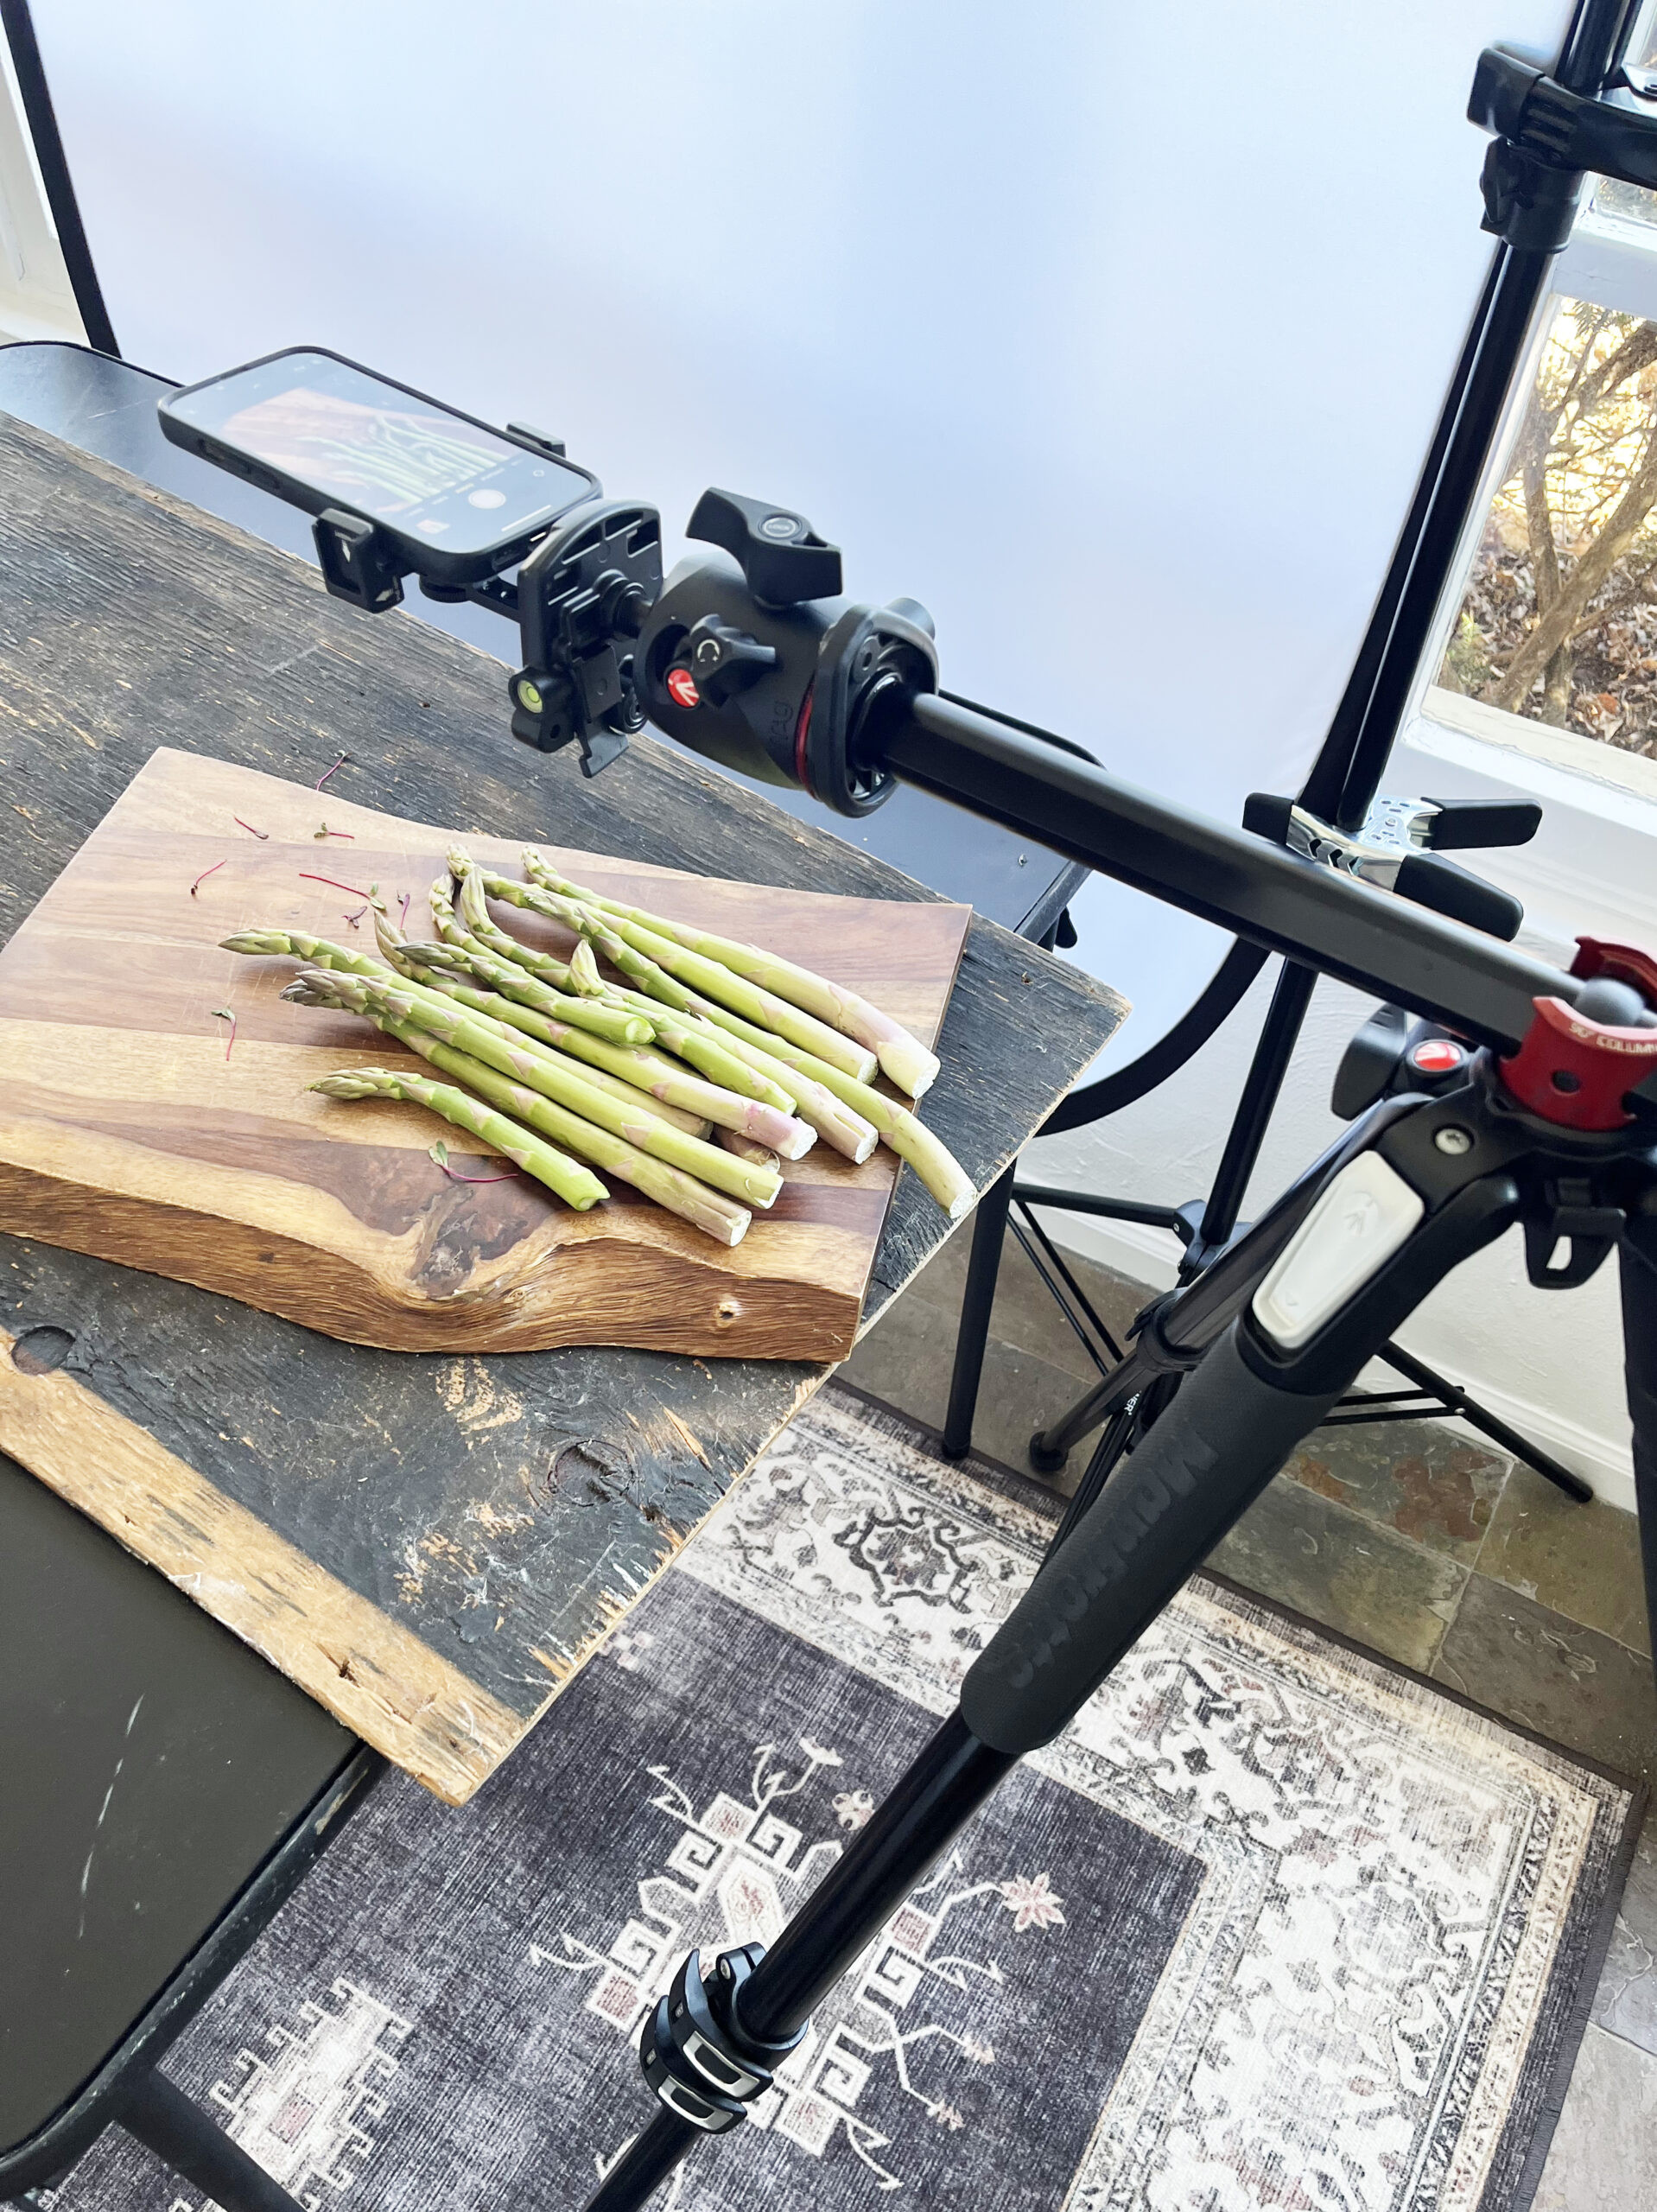
Tip 10: Stabilize Your iPhone with a Tripod
While handheld shooting is convenient, using a tripod is a game-changer for iPhone photography, especially for achieving consistently sharp images and shooting in low light. A tripod eliminates camera shake, leading to clearer photos.
For iPhone photography, a tripod with a center column is ideal. This type of tripod allows you to position your iPhone at various angles, including overhead shots, which is crucial for many photography styles.
MANFROTTO 055 TRIPOD WITH CENTER COLUMN & BALL HEAD
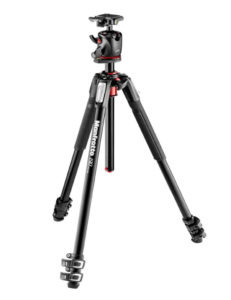 Manfrotto TripodVIEW ON AMAZON
Alt text: Product shot of a Manfrotto 055 tripod, highlighting its center column and ball head for versatile iPhone photography positioning.
To securely attach your iPhone to a tripod, you’ll need a metal iPhone tripod mount. These mounts are sturdy, secure, and allow you to easily switch between vertical and horizontal orientations without obstructing your screen.
READ MORE ABOUT: THE BEST TRIPOD FOR IPHONE FOOD PHOTOGRAPHY
METAL IPHONE TRIPOD MOUNT
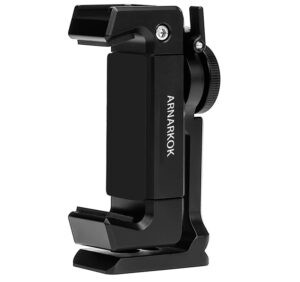 VIEW ON AMAZON
Alt text: Product shot of a metal iPhone tripod mount, showcasing a secure attachment for smartphones to tripods in photography.
 iPhone tripod for photography
 iphone photography setup
Tip 11: Use a Bluetooth Remote Shutter
Complementing your tripod setup, a Bluetooth remote shutter release is another invaluable tool. It addresses two key issues:
- Minimizing Camera Shake: Pressing the on-screen or volume button shutter can introduce slight camera shake, potentially blurring your images, especially at slower shutter speeds. A remote shutter eliminates this.
- Remote Shooting: A remote shutter allows you to trigger the camera without being directly behind the phone, ideal for self-portraits or photographing subjects from a distance.
This compact bluetooth remote shutter is compatible with most smartphones and highly reliable.
 Smartphone Remove ShutterVIEW ON AMAZON
Alt text: Product shot of a small Bluetooth remote shutter for smartphones, a tool to minimize camera shake and enable remote photo triggering.
Tip 12: Carry a Portable Charger
iPhone batteries, while improved, can still drain quickly, especially with heavy camera use. A fast portable charger is an essential accessory to keep your iPhone powered up, ensuring you never miss a photo opportunity due to a dead battery.
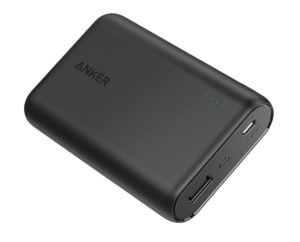 Portable charger for smartphonesVIEW ON AMAZON
Alt text: Product shot of a portable smartphone charger, emphasizing its importance for keeping iPhones powered during photography sessions.
Tip 13: Expand Your Perspective with Smartphone Lenses
Did you know you can attach external lenses to your iPhone? Beyond the impressive built-in cameras, external lenses offer new creative possibilities and perspectives.
While many “clip-on” lenses are available, quality varies significantly. Cheaper clip-on lenses can be difficult to align perfectly and often compromise image quality.
For reliable, high-quality smartphone lenses, Moment lenses are highly recommended.
To use Moment lenses, you’ll need to download the Pro Camera by Moment app for optimal performance and compatibility. You’ll also need a Moment phone case to securely attach the lenses to your iPhone. The Moment system ensures precise lens alignment and exceptional image sharpness.
Moment Wide Angle Lens
The Moment Wide Lens is an excellent choice for capturing expansive scenes without excessive distortion. Ideal for travel, landscapes, and interiors, it broadens your iPhone’s field of view.
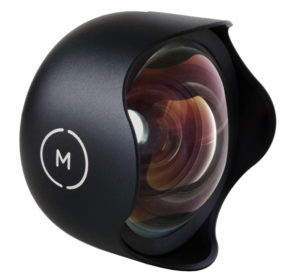 Wide Angle Lens for iPhoneVIEW ON AMAZON
Alt text: Product shot of a Moment Wide Angle Lens for iPhones, demonstrating an external lens for capturing wider perspectives in mobile photography.
 iPhone photography lenses
 Wide angle interior shot of restaurant
Moment Macro Lens
For capturing intricate details with stunning sharpness, the Moment Macro Lens is perfect. Macro lenses allow you to get incredibly close to your subject, revealing textures and details invisible to the naked eye. To achieve sharp macro shots, you’ll need to be approximately an inch away from your subject.
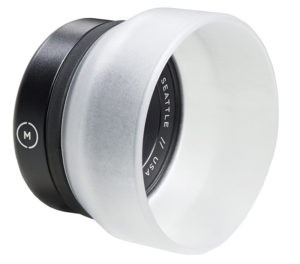 Macro Lens iPhoneVIEW ON AMAZON
Alt text: Product shot of a Moment Macro Lens for iPhones, highlighting an external lens for capturing extreme close-up details in mobile photography.
 up close image of a tomato
 raspberry-pie-rbaroni-5-scaled.jpg
These iPhone photography tips are just the beginning! The possibilities for improving your iPhone photography are vast. Remember, great photography is less about the camera and more about understanding how to use the camera you have. Invest time in learning your iPhone camera’s features, and you’ll be amazed at the images you can create.
If you have any questions, feel free to reach out, and be sure to follow me on Instagram for more inspiration!
NOTE: My signature course, Mastering iPhone Food Photography, is currently open! It’s your comprehensive guide to mastering iPhone food photography through videos, screen recordings, and behind-the-scenes demonstrations. Learn how to elevate your iPhone food photography skills quickly and effectively!
Happy shooting!
This post contains affiliate links. If you click or purchase through these links, I may earn a small commission (at no extra cost to you). I only recommend products I personally use and trust. Your support helps me continue creating educational content. Thank you!
All images ©Regan Baroni 2021.