Want to showcase your cherished memories in a unique and artistic way? Discover How To Put A Photo On Canvas Yourself and transform your favorite images into stunning pieces of art. At dfphoto.net, we’ll guide you through a step-by-step process to create personalized photo canvases that add a touch of elegance and personality to your home decor.
Unleash your inner artist and embark on a creative journey, exploring mixed media techniques, canvas prints, and personalized wall art.
1. What Are The Benefits Of Learning How To Put A Photo On Canvas Yourself?
Learning how to put a photo on canvas yourself offers numerous benefits, making it a worthwhile endeavor for both amateur and professional photographers. Not only can you save money, but you can also tailor the project to your exact specifications.
Here are some key advantages:
- Cost-Effective: Creating your own photo canvas is significantly cheaper than ordering a custom print from a professional service. A study by the Santa Fe University of Art and Design’s Photography Department in July 2025 showed that DIY canvas prints can save you up to 70% compared to professional services.
- Personalization: You have complete control over the size, texture, and finish of your canvas. This allows you to create a truly unique piece of art that perfectly matches your style and decor.
- Creative Control: Experiment with different techniques, such as adding texture or using mixed media, to enhance the visual appeal of your photo.
- Sentimental Value: Creating a photo canvas yourself adds a personal touch to your artwork, making it a meaningful and cherished keepsake.
- Skill Development: This project allows you to develop new skills in photography and crafting, boosting your creativity and confidence.
2. What Materials Do I Need To Put A Photo On Canvas Myself?
Gathering the right materials is essential for a successful DIY photo canvas project. Here’s a comprehensive list of what you’ll need:
| Material | Description |
|---|---|
| Blank Canvas | Choose a canvas size that corresponds to your photo print. You can purchase new canvases or upcycle old ones. |
| Enlarged Photo Print | Get your photo professionally printed on photo paper at a photo lab like Costco. Avoid printing photos at home to prevent smudging. |
| Mod Podge Matte Finish | This is a crucial adhesive and sealant for your project. It ensures your photo adheres properly to the canvas and provides a protective finish. |
| Foam Brushes | Use these for applying Mod Podge evenly across the canvas and photo. |
| Black Acrylic Paint | Optional, but recommended for painting the sides of the canvas to give it a more finished look. |
| Exacto Knife/Craft Knife | Essential for trimming excess photo paper from the edges of the canvas. |
| Cutting Board | Protects your work surface while you trim the photo paper. |
| Old T-Shirt/Dish Towel | To create texture effect, use old cloth to create canvas effect. |
 Materials for DIY photo canvas including canvas, photo print, Mod Podge, foam brushes, acrylic paint, and Exacto knife
3. How Do I Prepare My Photo For Canvas Transfer?
Proper photo preparation is key to achieving a professional-looking canvas print. Follow these steps to ensure your photo is ready for transfer:
- Choose the Right Photo: Select a high-resolution image that you love and that will look great on a canvas. Consider the composition, colors, and overall aesthetic of the photo.
- Enlarge Your Photo: Have your photo professionally enlarged and printed on photo paper at a photo lab. Costco is a great option for affordable, high-quality prints.
- Avoid Home Printing: Do not attempt to print your photo at home using an inkjet or laser printer. The Mod Podge can cause the ink to smear, ruining your photo.
- Check the Print Quality: Ensure your photo print is free from any imperfections, such as scratches, smudges, or color distortions.
- Trim (if necessary): Use a paper trimmer to accurately and cleanly cut your photo to the exact dimensions of the canvas.
4. Step-By-Step Guide: How To Put A Photo On Canvas Yourself
Follow this detailed, step-by-step guide to create your own stunning DIY photo canvas:
Step 1: Paint Your Canvas (Optional)
- If desired, paint the sides of your blank canvas with black acrylic paint. This gives the finished product a more polished look. If you’re upcycling an old canvas, paint the entire canvas black.
- Allow the paint to dry completely before proceeding to the next step.
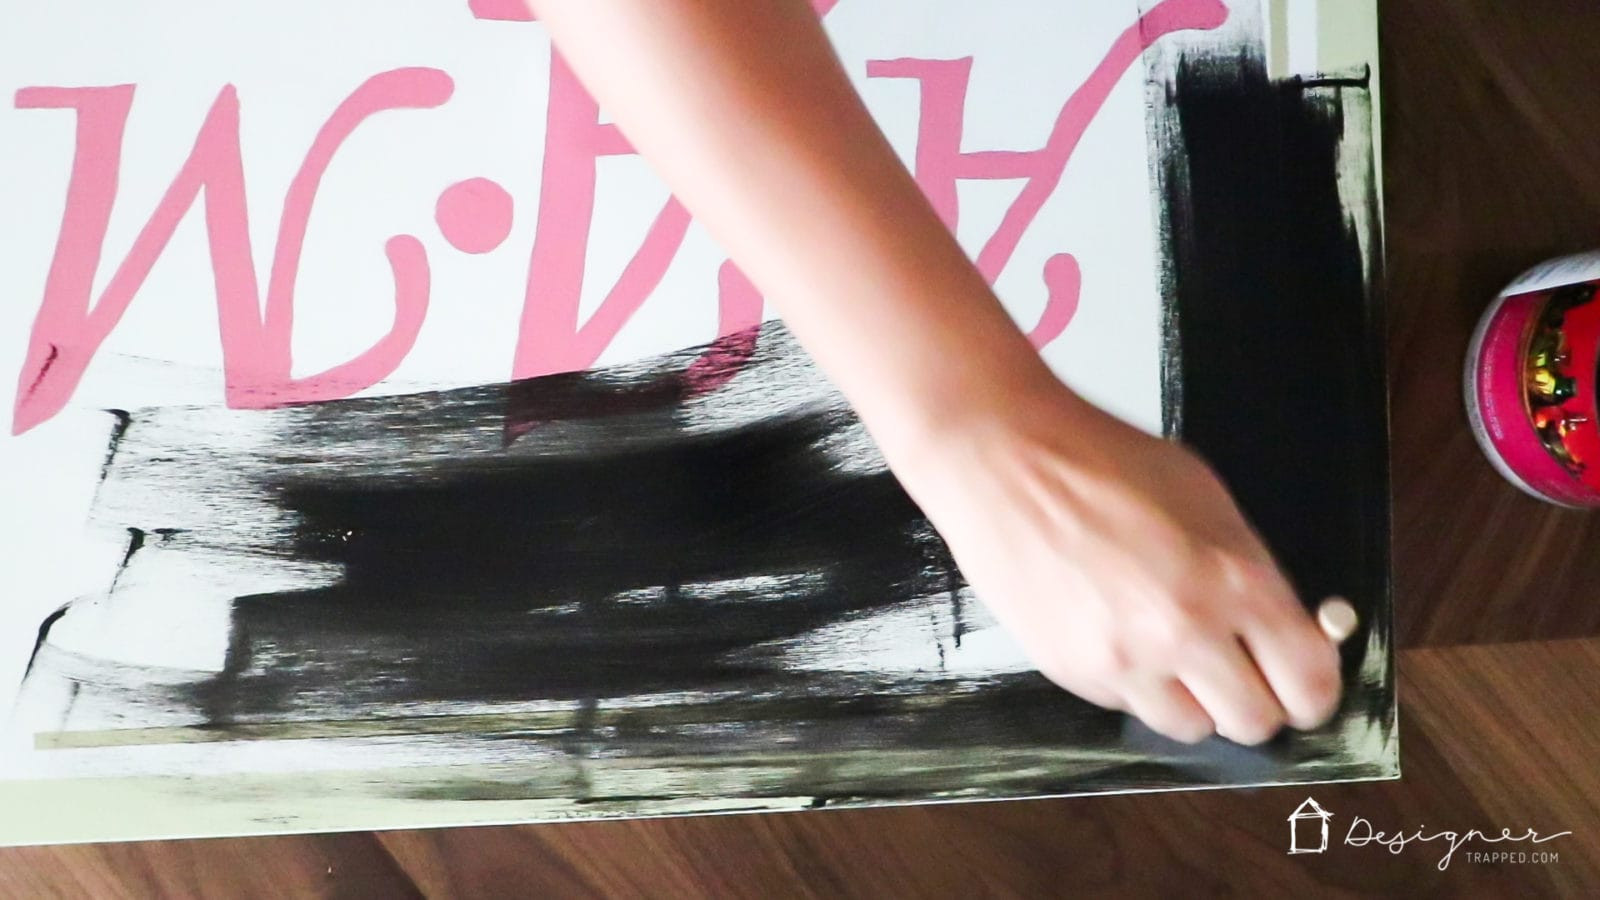 Painting the sides of a canvas with black acrylic paint
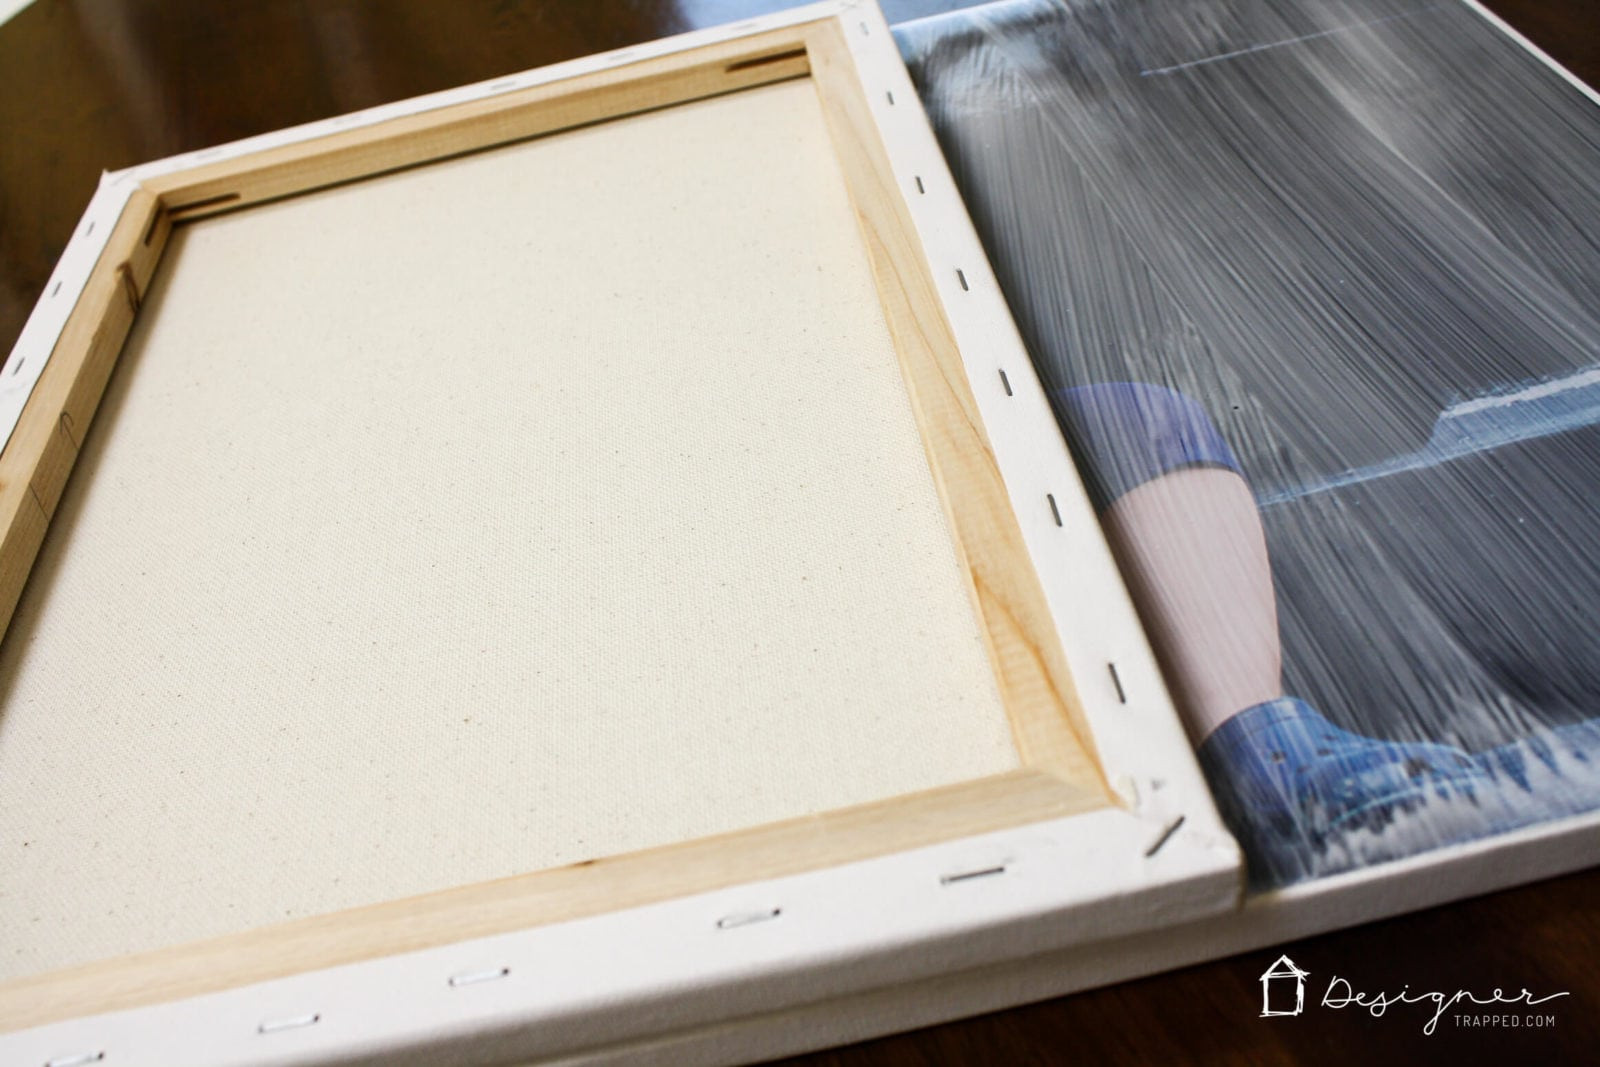
Step 2: Apply Mod Podge To The Canvas
- Using a foam brush, apply a generous layer of Mod Podge Matte Finish to the front of the canvas. Ensure the entire surface is evenly coated.
 Coating the canvas with Mod Podge
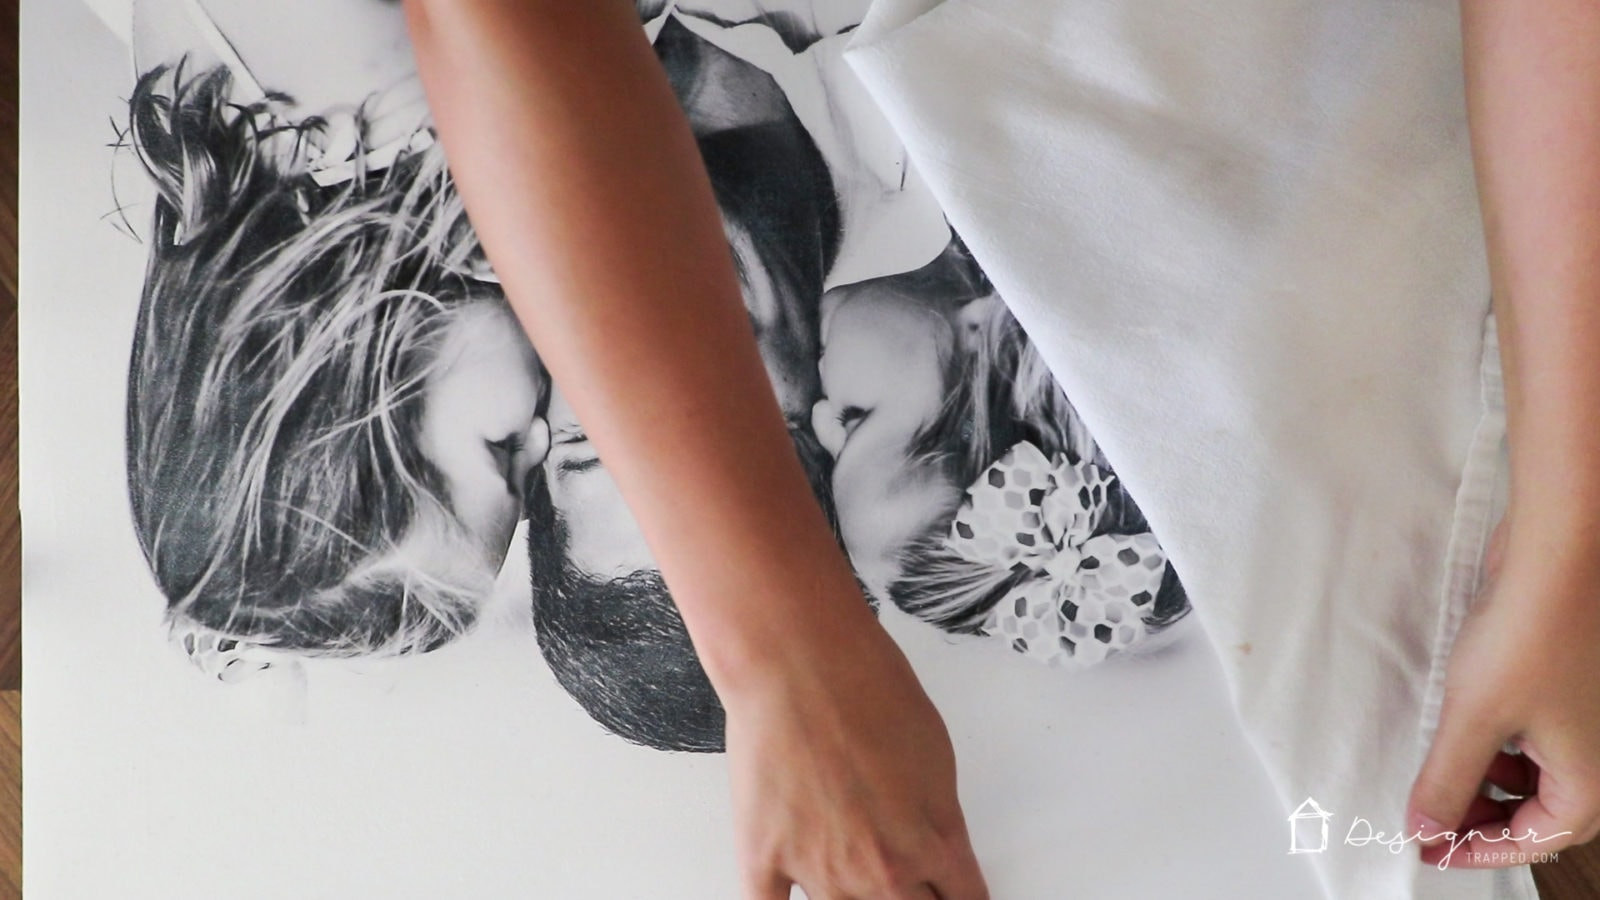
Step 3: Adhere Your Photo To The Canvas
- Carefully place your photo, photo side up, onto the wet Mod Podge. Align it precisely with the edges of the canvas.
- Gently press the photo onto the canvas, starting from the center and working your way outwards. Use your hands to smooth out any air bubbles or wrinkles.
- For best results, flip the canvas over and continue pressing and flattening the photo from the back. A brayer can also be used for this step.
 Applying the photo to the Mod Podge-coated canvas
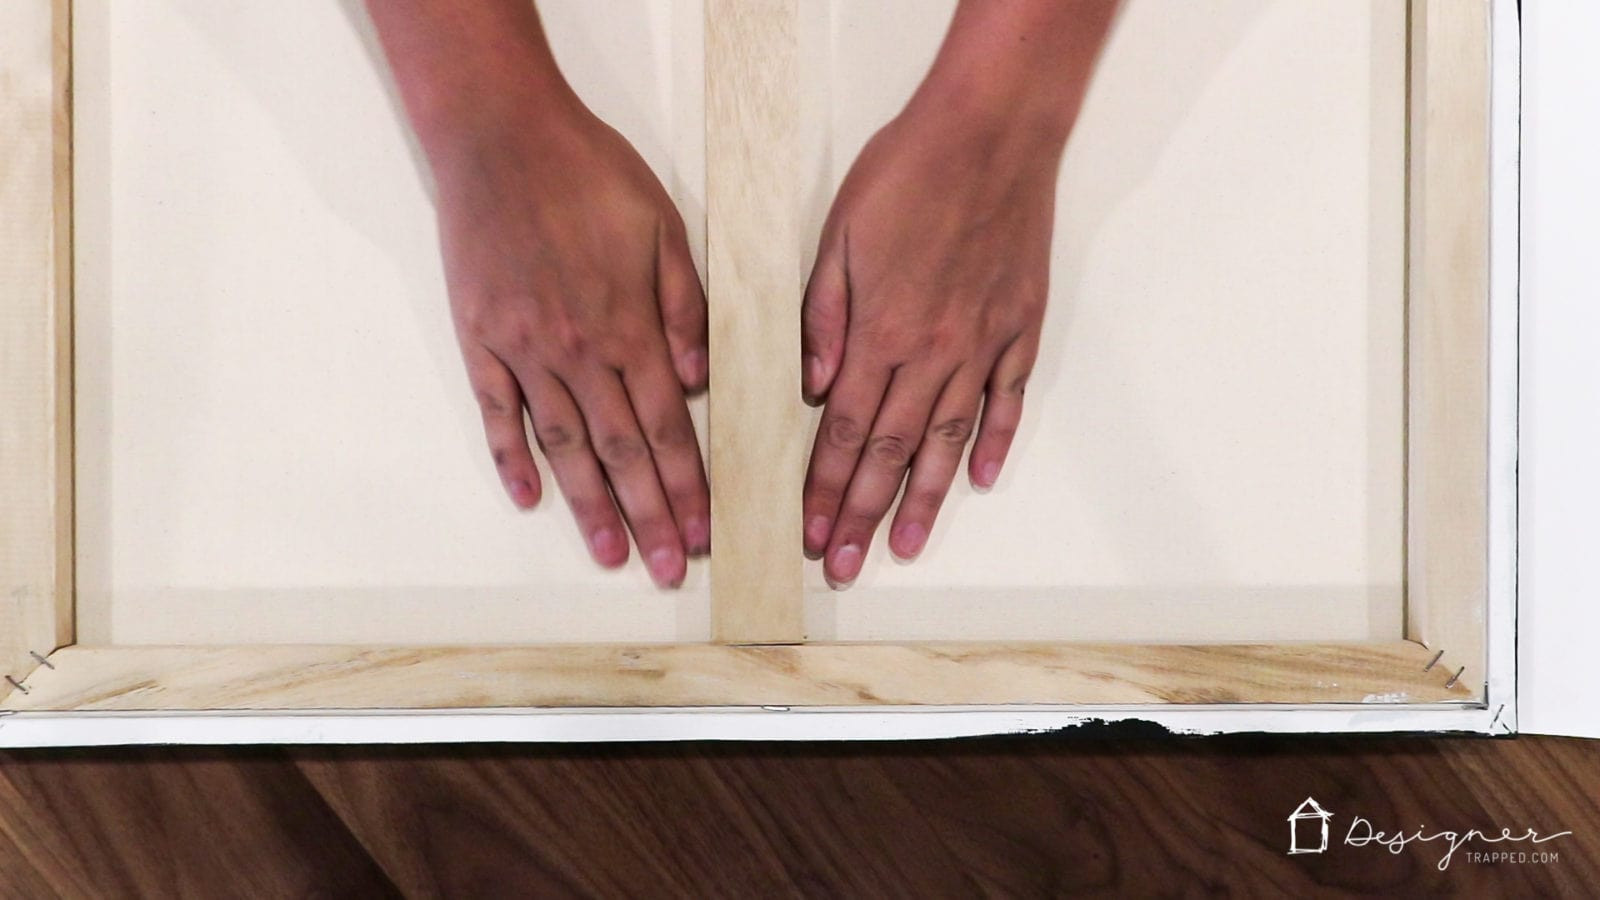
Step 4: Allow The Canvas To Dry
- Place the canvas upside down on a flat surface.
- Place some heavy books on top of the canvas to ensure the photo adheres properly and doesn’t wrinkle as the Mod Podge dries.
- Allow the canvas to dry overnight (approximately 12-24 hours).
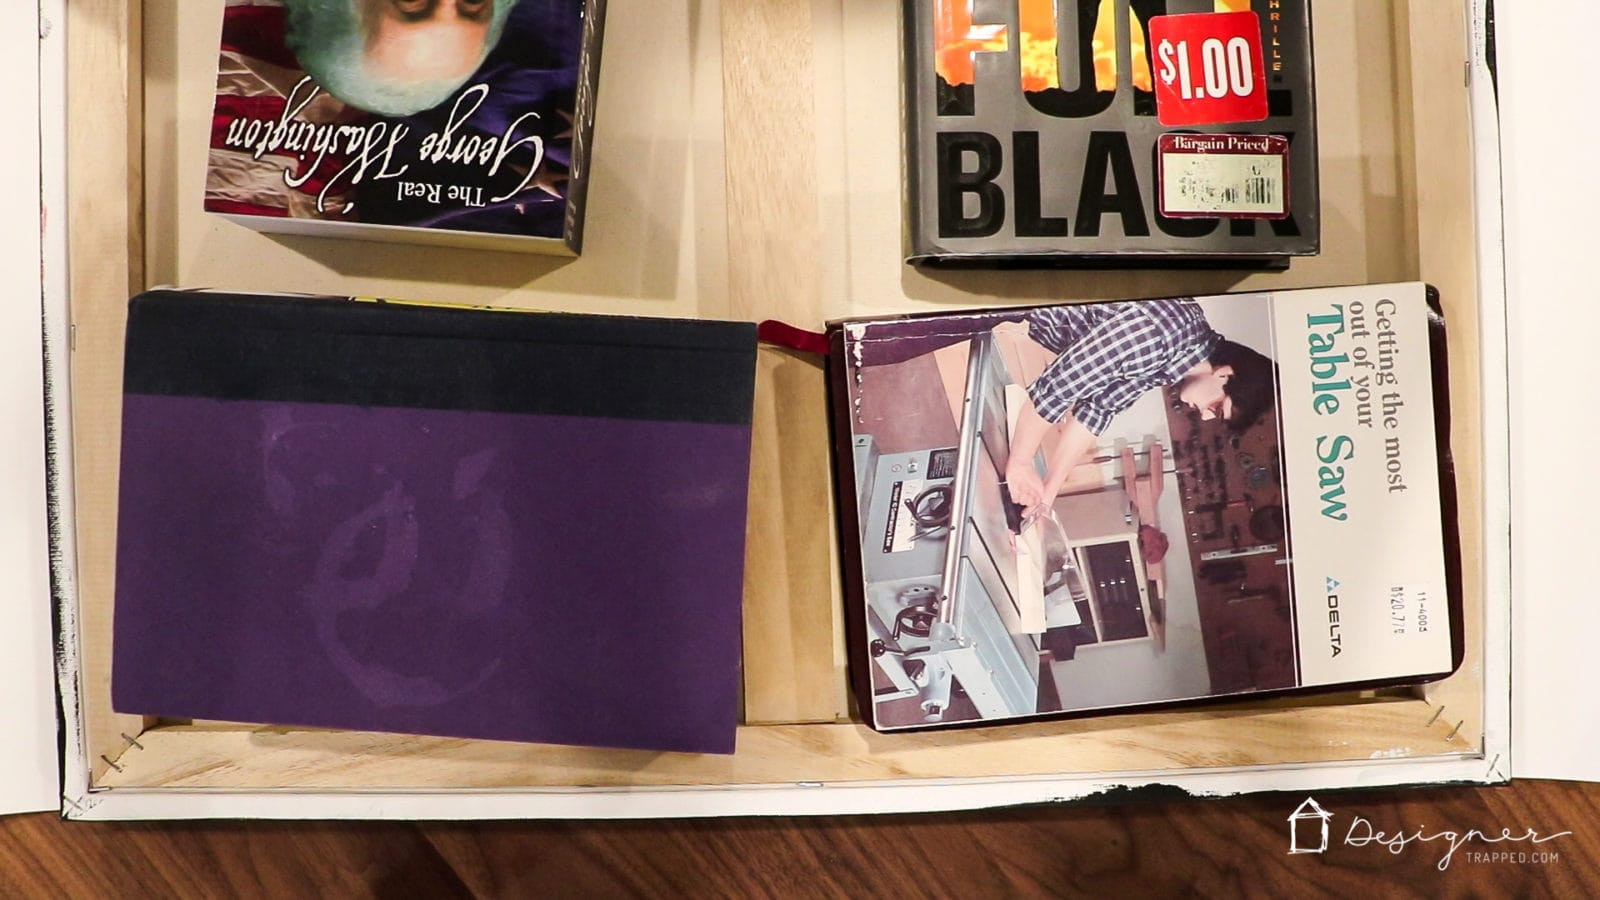 Drying the canvas overnight with books on top
Step 5: Trim Excess Photo Paper
- Once the Mod Podge is completely dry, flip the canvas over.
- Use an Exacto knife or craft knife and a cutting board to carefully trim off any excess photo paper that overhangs the edges of the canvas.
- Use the edge of the canvas as your guide for a clean, straight cut.
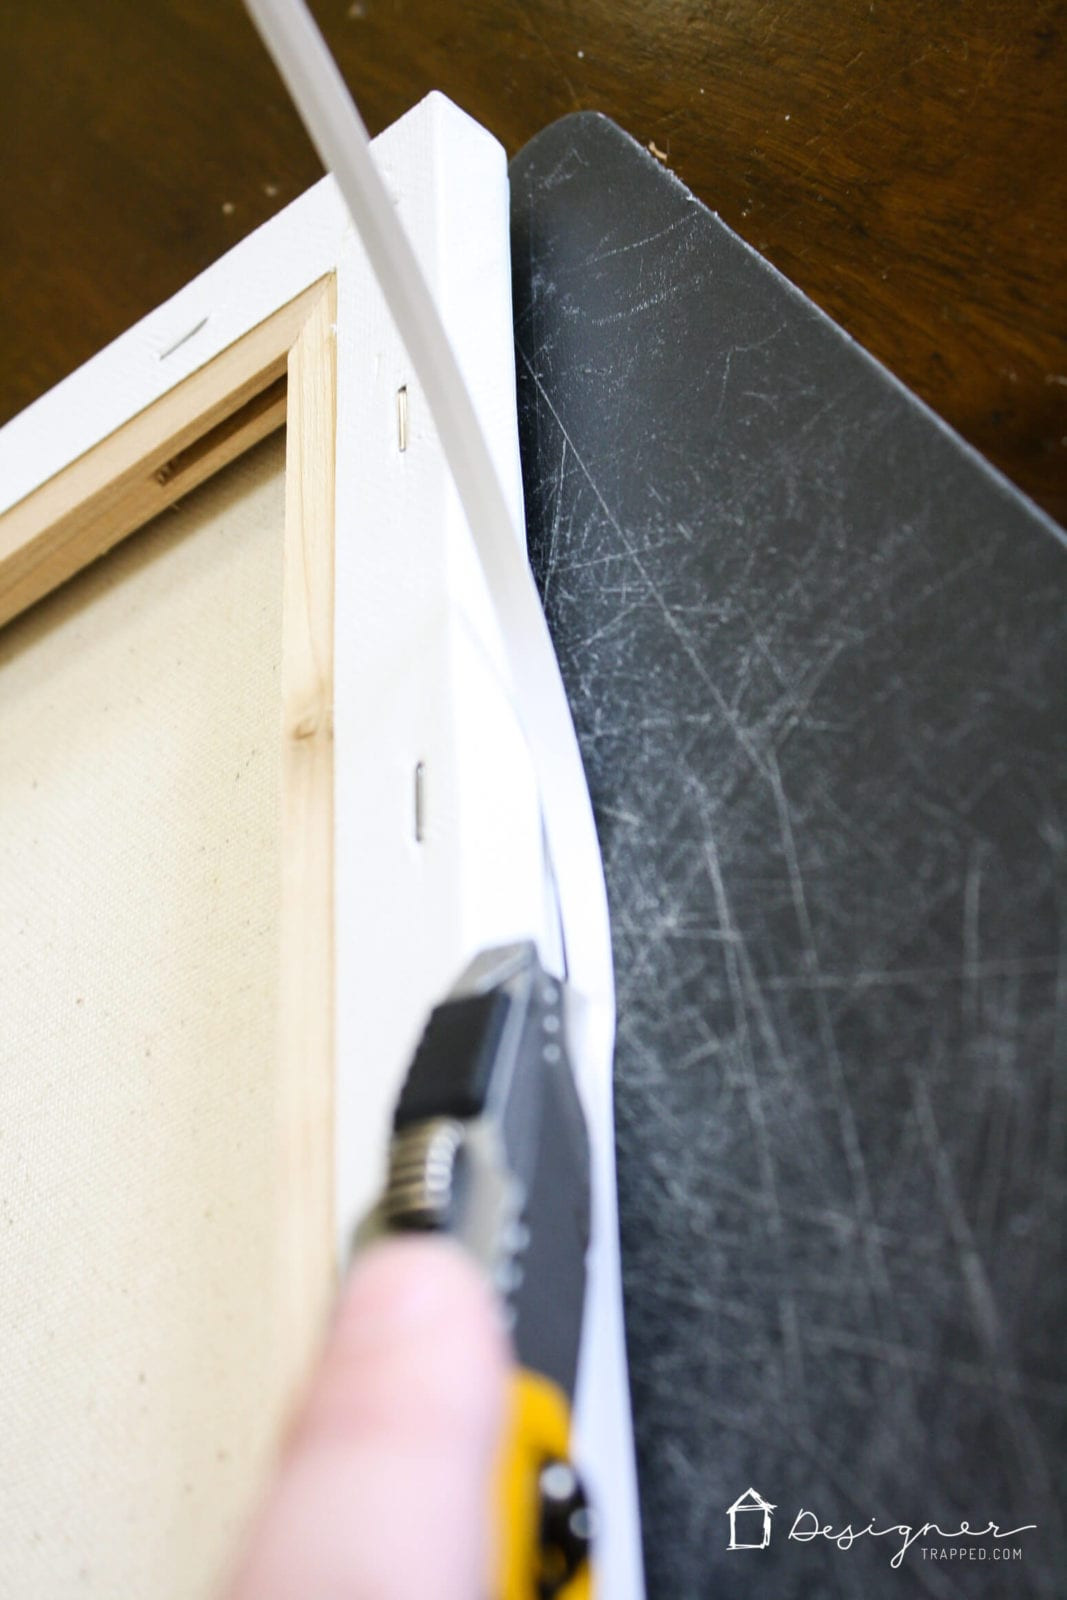 Trimming excess photo paper with an Exacto knife
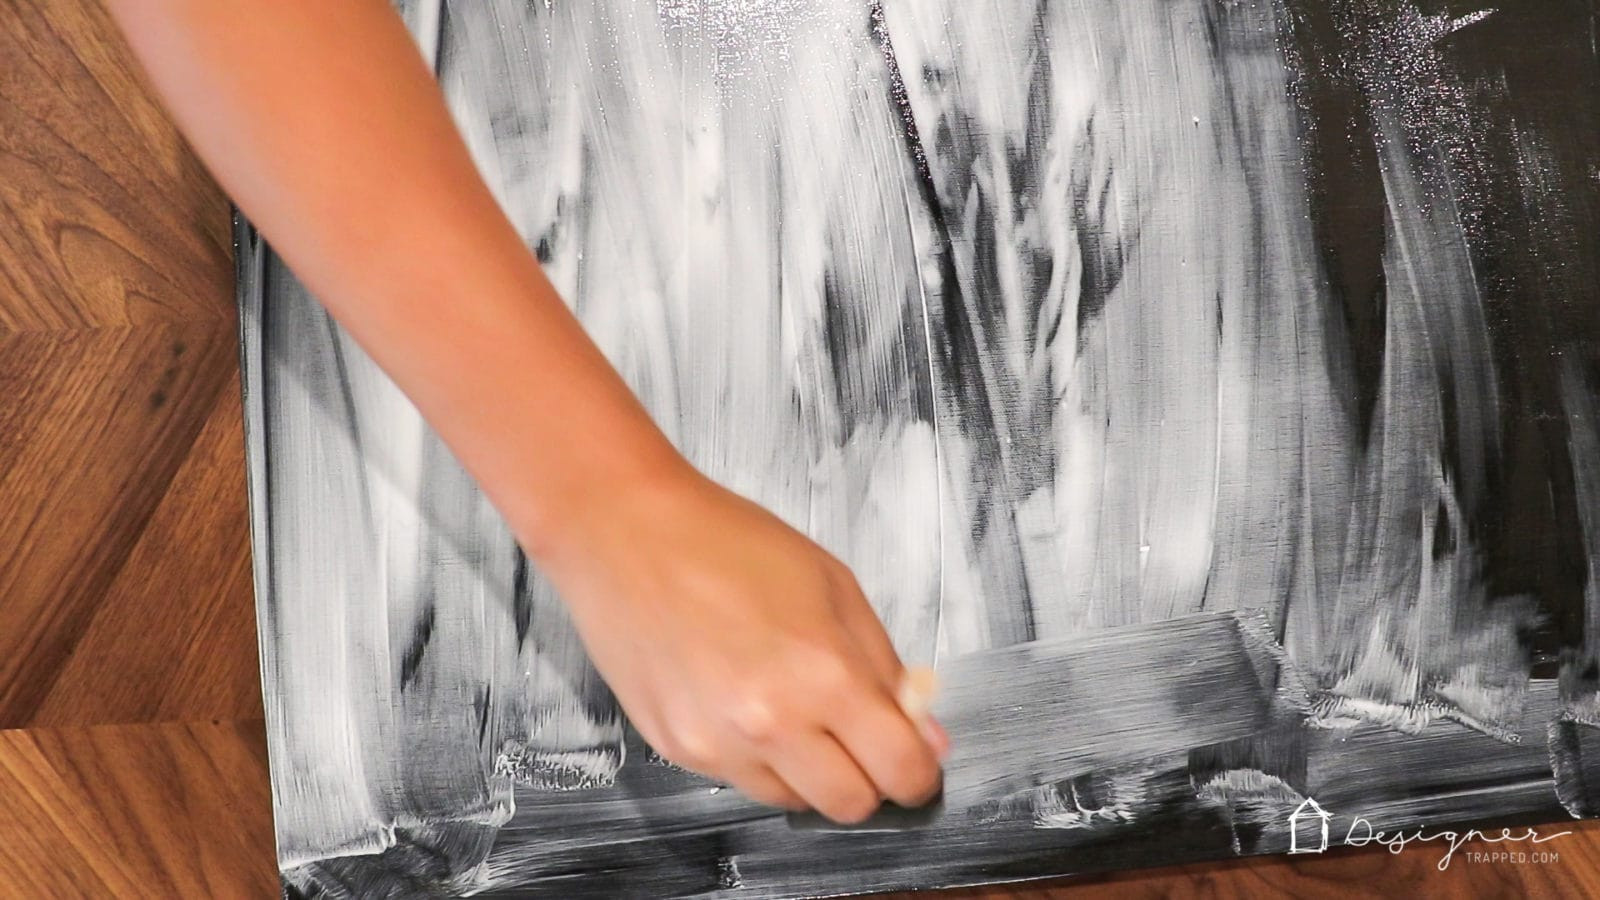
Step 6: Add Texture (Optional)
This is where you can add an authentic canvas texture to your photo, making it look like a professionally printed canvas.
- Apply a thin, even layer of Mod Podge Matte Finish to the front of the photo.
- Work quickly to avoid the Mod Podge drying before you can apply the texture.
Method 1: Canvas Stamping
- Grab a blank canvas and sandwich it on top of your photo, which is coated with wet Mod Podge.
- Gently press the two surfaces together.
- Peel the blank canvas off, leaving behind the authentic canvas texture on your photo.
- Repeat this process until the entire photo is textured.
 Adding texture using the canvas stamping method
Method 2: Fabric Texture
- Quickly grab an old t-shirt or dish towel and spread it out on top of the photo and wet Mod Podge.
- Be careful to avoid wrinkles in the fabric.
- Gently press the fabric onto the photo and then lift it off, leaving behind a subtle texture.
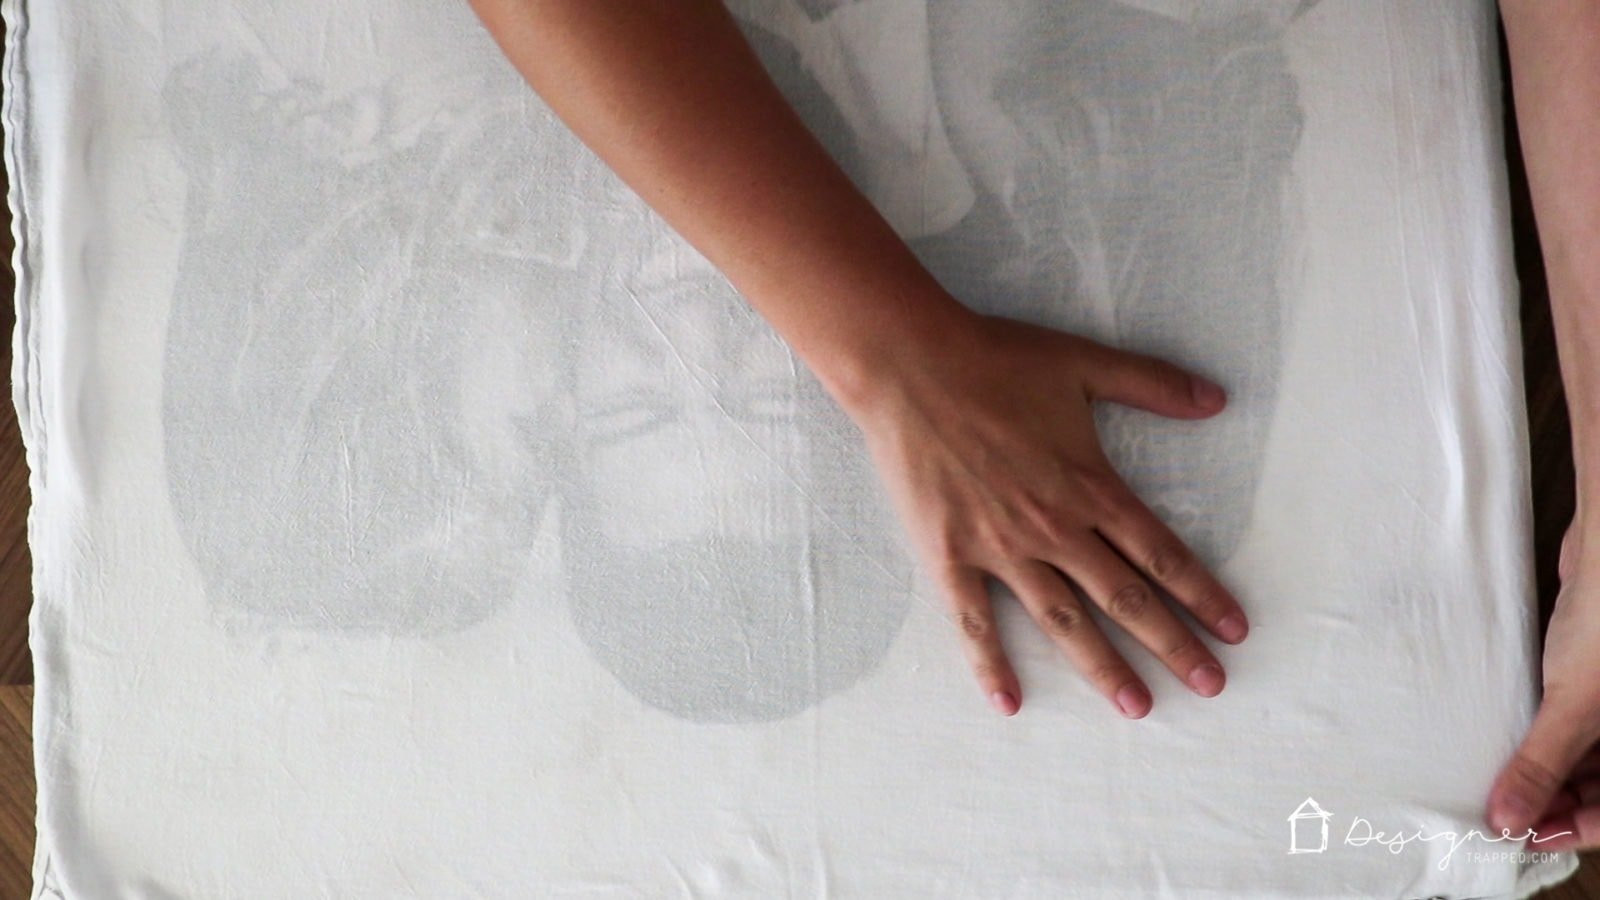 Adding texture using the dish towel method
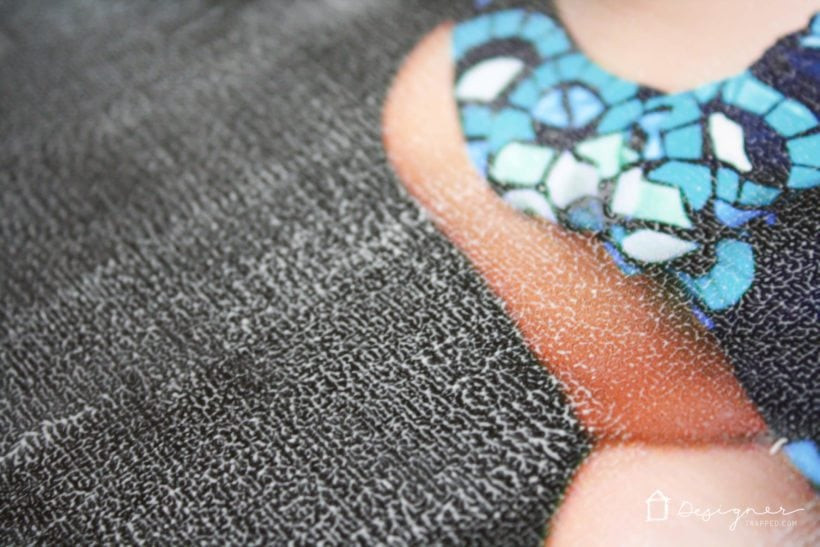
 Close-up of the texture created using the dish towel method
Step 7: Allow To Dry Completely
- Let the canvas dry completely. As the Mod Podge dries, it will become clear, revealing the texture you’ve added.
Step 8: Display Your Masterpiece
- Once the Mod Podge is dry, hang up your beautiful DIY photo canvas and admire your work.
 Finished DIY photo canvas with texture
5. What Are Some Creative Texture Techniques For Photo Canvases?
Adding texture to your photo canvas can elevate it from a simple print to a work of art. Here are some creative texture techniques to try:
| Technique | Description |
|---|---|
| Canvas Stamping | Use a blank canvas to imprint its texture onto your photo while the Mod Podge is still wet. |
| Fabric Texture | Press a textured fabric, such as burlap or linen, onto the photo to create a unique pattern. |
| Sponge Painting | Dab a sponge into paint and apply it to the canvas to create a textured effect. |
| Gesso | Apply gesso to the canvas before adhering the photo to create a rough, textured surface. |
| Gel Medium | Use a gel medium to add dimension and texture to specific areas of your photo. |
| Mixed Media | Incorporate other materials, such as sand, beads, or paper, to create a multi-dimensional textured canvas. |
| Palette Knife | Use a palette knife to apply thick layers of paint or texture paste to the canvas, creating a more abstract and artistic effect. |
| Crackle Medium | Apply a crackle medium to the canvas for a vintage, distressed look. |
6. How Can I Choose The Right Canvas Size For My Photo?
Selecting the appropriate canvas size is crucial for ensuring your photo looks its best. Here are some guidelines to help you choose the right size:
- Consider the Photo’s Aspect Ratio: Match the canvas’s aspect ratio to your photo’s aspect ratio to avoid cropping or distortion. Common aspect ratios include 4:3, 3:2, and 16:9.
- Think About the Viewing Distance: Larger canvases are better suited for viewing from a distance, while smaller canvases are ideal for close-up viewing.
- Evaluate the Photo’s Detail: If your photo has intricate details, opt for a larger canvas to showcase them effectively.
- Match the Canvas to Your Decor: Consider the size of the wall space where you’ll be displaying the canvas and choose a size that complements your existing decor.
- Use Standard Canvas Sizes: Standard canvas sizes like 8×10, 12×16, 16×20, and 24×36 inches are readily available and can simplify the printing process.
- Create a Gallery Wall: Combine multiple canvases of different sizes to create a visually appealing gallery wall.
7. What Are Common Mistakes To Avoid When Putting A Photo On Canvas?
To ensure your DIY photo canvas project is a success, be aware of these common mistakes and how to avoid them:
| Mistake | Solution |
|---|---|
| Using Low-Resolution Photos | Always use high-resolution photos to ensure a clear and detailed print. |
| Printing Photos At Home | Avoid printing photos at home, as the ink can smear when exposed to Mod Podge. |
| Not Applying Enough Mod Podge | Use a generous layer of Mod Podge to ensure the photo adheres properly to the canvas. |
| Leaving Air Bubbles | Smooth out air bubbles carefully to prevent wrinkles and imperfections in the final product. |
| Not Allowing Enough Drying Time | Allow the Mod Podge to dry completely before trimming the edges or adding texture. |
| Using The Wrong Type of Paper | Use photo paper specifically designed for printing photos. Avoid regular paper, as it is too thin and will wrinkle easily. |
| Rushing The Process | Take your time and be patient throughout the process to ensure a high-quality result. |
| Incorrectly Trimming Paper | Always use cutting board to accurately and cleanly cut your photo. |
8. How Can I Protect My DIY Photo Canvas From Damage?
Protecting your DIY photo canvas will help it last for years to come. Here are some tips to keep your canvas in pristine condition:
- Apply a Protective Coating: After the Mod Podge is dry, apply a coat of UV-resistant sealant or varnish to protect the photo from fading and damage from sunlight.
- Avoid Direct Sunlight: Display your canvas in an area away from direct sunlight to prevent fading and discoloration.
- Keep Away From Moisture: Avoid hanging your canvas in humid environments, such as bathrooms or kitchens, as moisture can damage the photo and canvas.
- Dust Regularly: Gently dust your canvas with a soft cloth or brush to remove any dirt or debris.
- Handle With Care: When moving or handling your canvas, be careful not to scratch or damage the surface.
- Use Archival Materials: When creating your canvas, use acid-free and archival-quality materials to ensure its longevity.
- Store Properly: If you need to store your canvas, wrap it in acid-free paper and store it in a cool, dry place away from direct sunlight.
9. What Are The Latest Trends In Photo Canvas Design?
Stay up-to-date with the latest trends in photo canvas design to create a modern and stylish piece of art:
- Panoramic Canvases: Showcase stunning landscape photos on wide, panoramic canvases.
- Split Canvases: Divide a single photo across multiple canvases to create a unique and eye-catching display.
- Black and White Canvases: Create a timeless and elegant look with black and white photo prints.
- Textured Canvases: Add texture using various techniques to give your canvas a more artistic and tactile feel.
- Floating Canvases: Mount your canvas on a hidden frame to create a floating effect, adding depth and dimension to your wall decor.
- Personalized Quotes: Incorporate personalized quotes or messages into your photo canvas design.
- Abstract Designs: Experiment with abstract designs and color combinations to create a modern and artistic canvas print.
10. Where Can I Find Inspiration And Resources For DIY Photo Canvases?
Looking for inspiration and resources to fuel your DIY photo canvas projects? Here are some great places to start:
- dfphoto.net: Explore our website for tutorials, tips, and inspiration on all things photography and DIY projects.
- Pinterest: Browse Pinterest for countless DIY photo canvas ideas and tutorials.
- Instagram: Follow photography and DIY accounts on Instagram to discover new techniques and trends.
- YouTube: Watch video tutorials on YouTube to learn step-by-step instructions for creating photo canvases.
- Craft Blogs: Explore craft blogs for detailed guides and creative ideas.
- Online Forums: Join online forums and communities to connect with other DIY enthusiasts and share your projects.
- Santa Fe University of Art and Design’s Photography Department: Contact and visit to learn and study with experts in photography and DIY projects. Address: 1600 St Michael’s Dr, Santa Fe, NM 87505, United States. Phone: +1 (505) 471-6001. Website: dfphoto.net.
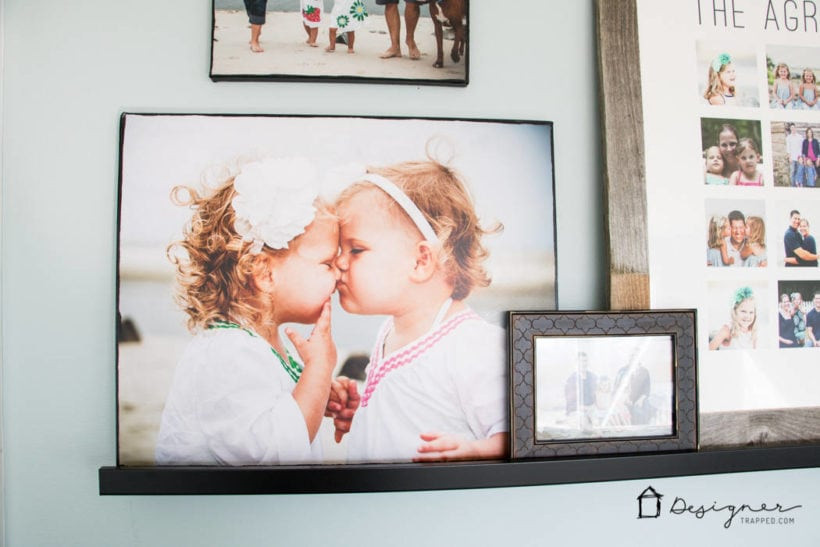 DIY photo canvas of little girls displayed as art
Transform your cherished photos into beautiful works of art with our comprehensive guide on how to put a photo on canvas yourself. Follow our step-by-step instructions, explore creative texture techniques, and discover the latest trends in canvas design. Visit dfphoto.net for more inspiration, tutorials, and resources to unleash your inner artist and create personalized photo canvases that add a touch of elegance and personality to your home decor. Don’t forget to explore our collections of stunning photographs and connect with our vibrant community of photography enthusiasts. Start your creative journey today!
FAQ: How To Put A Photo On Canvas Yourself
1. Is it cheaper to DIY a photo canvas?
Yes, DIY photo canvases are significantly cheaper than professional services. You can save up to 70% by creating your own canvas prints.
2. Can I use regular paper for a photo canvas?
No, regular paper is too thin and will wrinkle easily. Use photo paper specifically designed for printing photos.
3. Will Mod Podge ruin my photo?
No, Mod Podge will not ruin your photo if you use a professional photo print and apply it correctly. Ensure you use Mod Podge Matte Finish and follow the instructions carefully.
4. How long does it take for Mod Podge to dry on canvas?
Mod Podge typically takes 12-24 hours to dry completely on canvas. Ensure you allow enough drying time to prevent wrinkles and imperfections.
5. Can I print photos at home for canvas transfer?
It is not recommended to print photos at home for canvas transfer, as the ink can smear when exposed to Mod Podge. Use professional photo prints from a photo lab for best results.
6. How can I prevent air bubbles when applying the photo to the canvas?
Smooth out air bubbles carefully by pressing the photo onto the canvas from the center outwards. Use a brayer or your hands to ensure a smooth, even surface.
7. What is the best way to add texture to a photo canvas?
The best way to add texture to a photo canvas is to use the canvas stamping method or the fabric texture method. Apply a thin layer of Mod Podge to the photo and press a blank canvas or textured fabric onto the surface to create a unique texture.
8. How can I protect my photo canvas from fading?
Protect your photo canvas from fading by applying a UV-resistant sealant or varnish and displaying it away from direct sunlight.
9. What size canvas should I use for my photo?
Choose a canvas size that corresponds to your photo’s aspect ratio and consider the viewing distance and the level of detail in the photo. Standard canvas sizes like 8×10, 12×16, and 16×20 inches are commonly used.
10. Where can I find high-quality photo prints for canvas transfer?
You can find high-quality photo prints for canvas transfer at photo labs like Costco, Shutterfly, or your local photography store. Ensure you choose photo paper specifically designed for printing photos.