Importing photos on iOS 18 can feel like unlocking a new level of creative freedom. This comprehensive guide, brought to you by dfphoto.net, will walk you through the process, ensuring you can seamlessly transfer your precious memories and professional work onto your iPhone. We’ll explore various methods, troubleshoot common issues, and optimize your workflow for a smooth and efficient experience. Master iOS 18 photography import techniques for stunning visuals and image management, and discover how to make the most of digital image transfers, iPhone photography, and more on dfphoto.net.
1. What Are The Ways To Import Photos On iOS 18?
There are several ways to import photos on iOS 18, giving you flexibility based on your equipment and preferences. iOS 18 offers versatile photo import options, enabling seamless integration of digital image transfers.
1.1 Using Apple Camera Adapters:
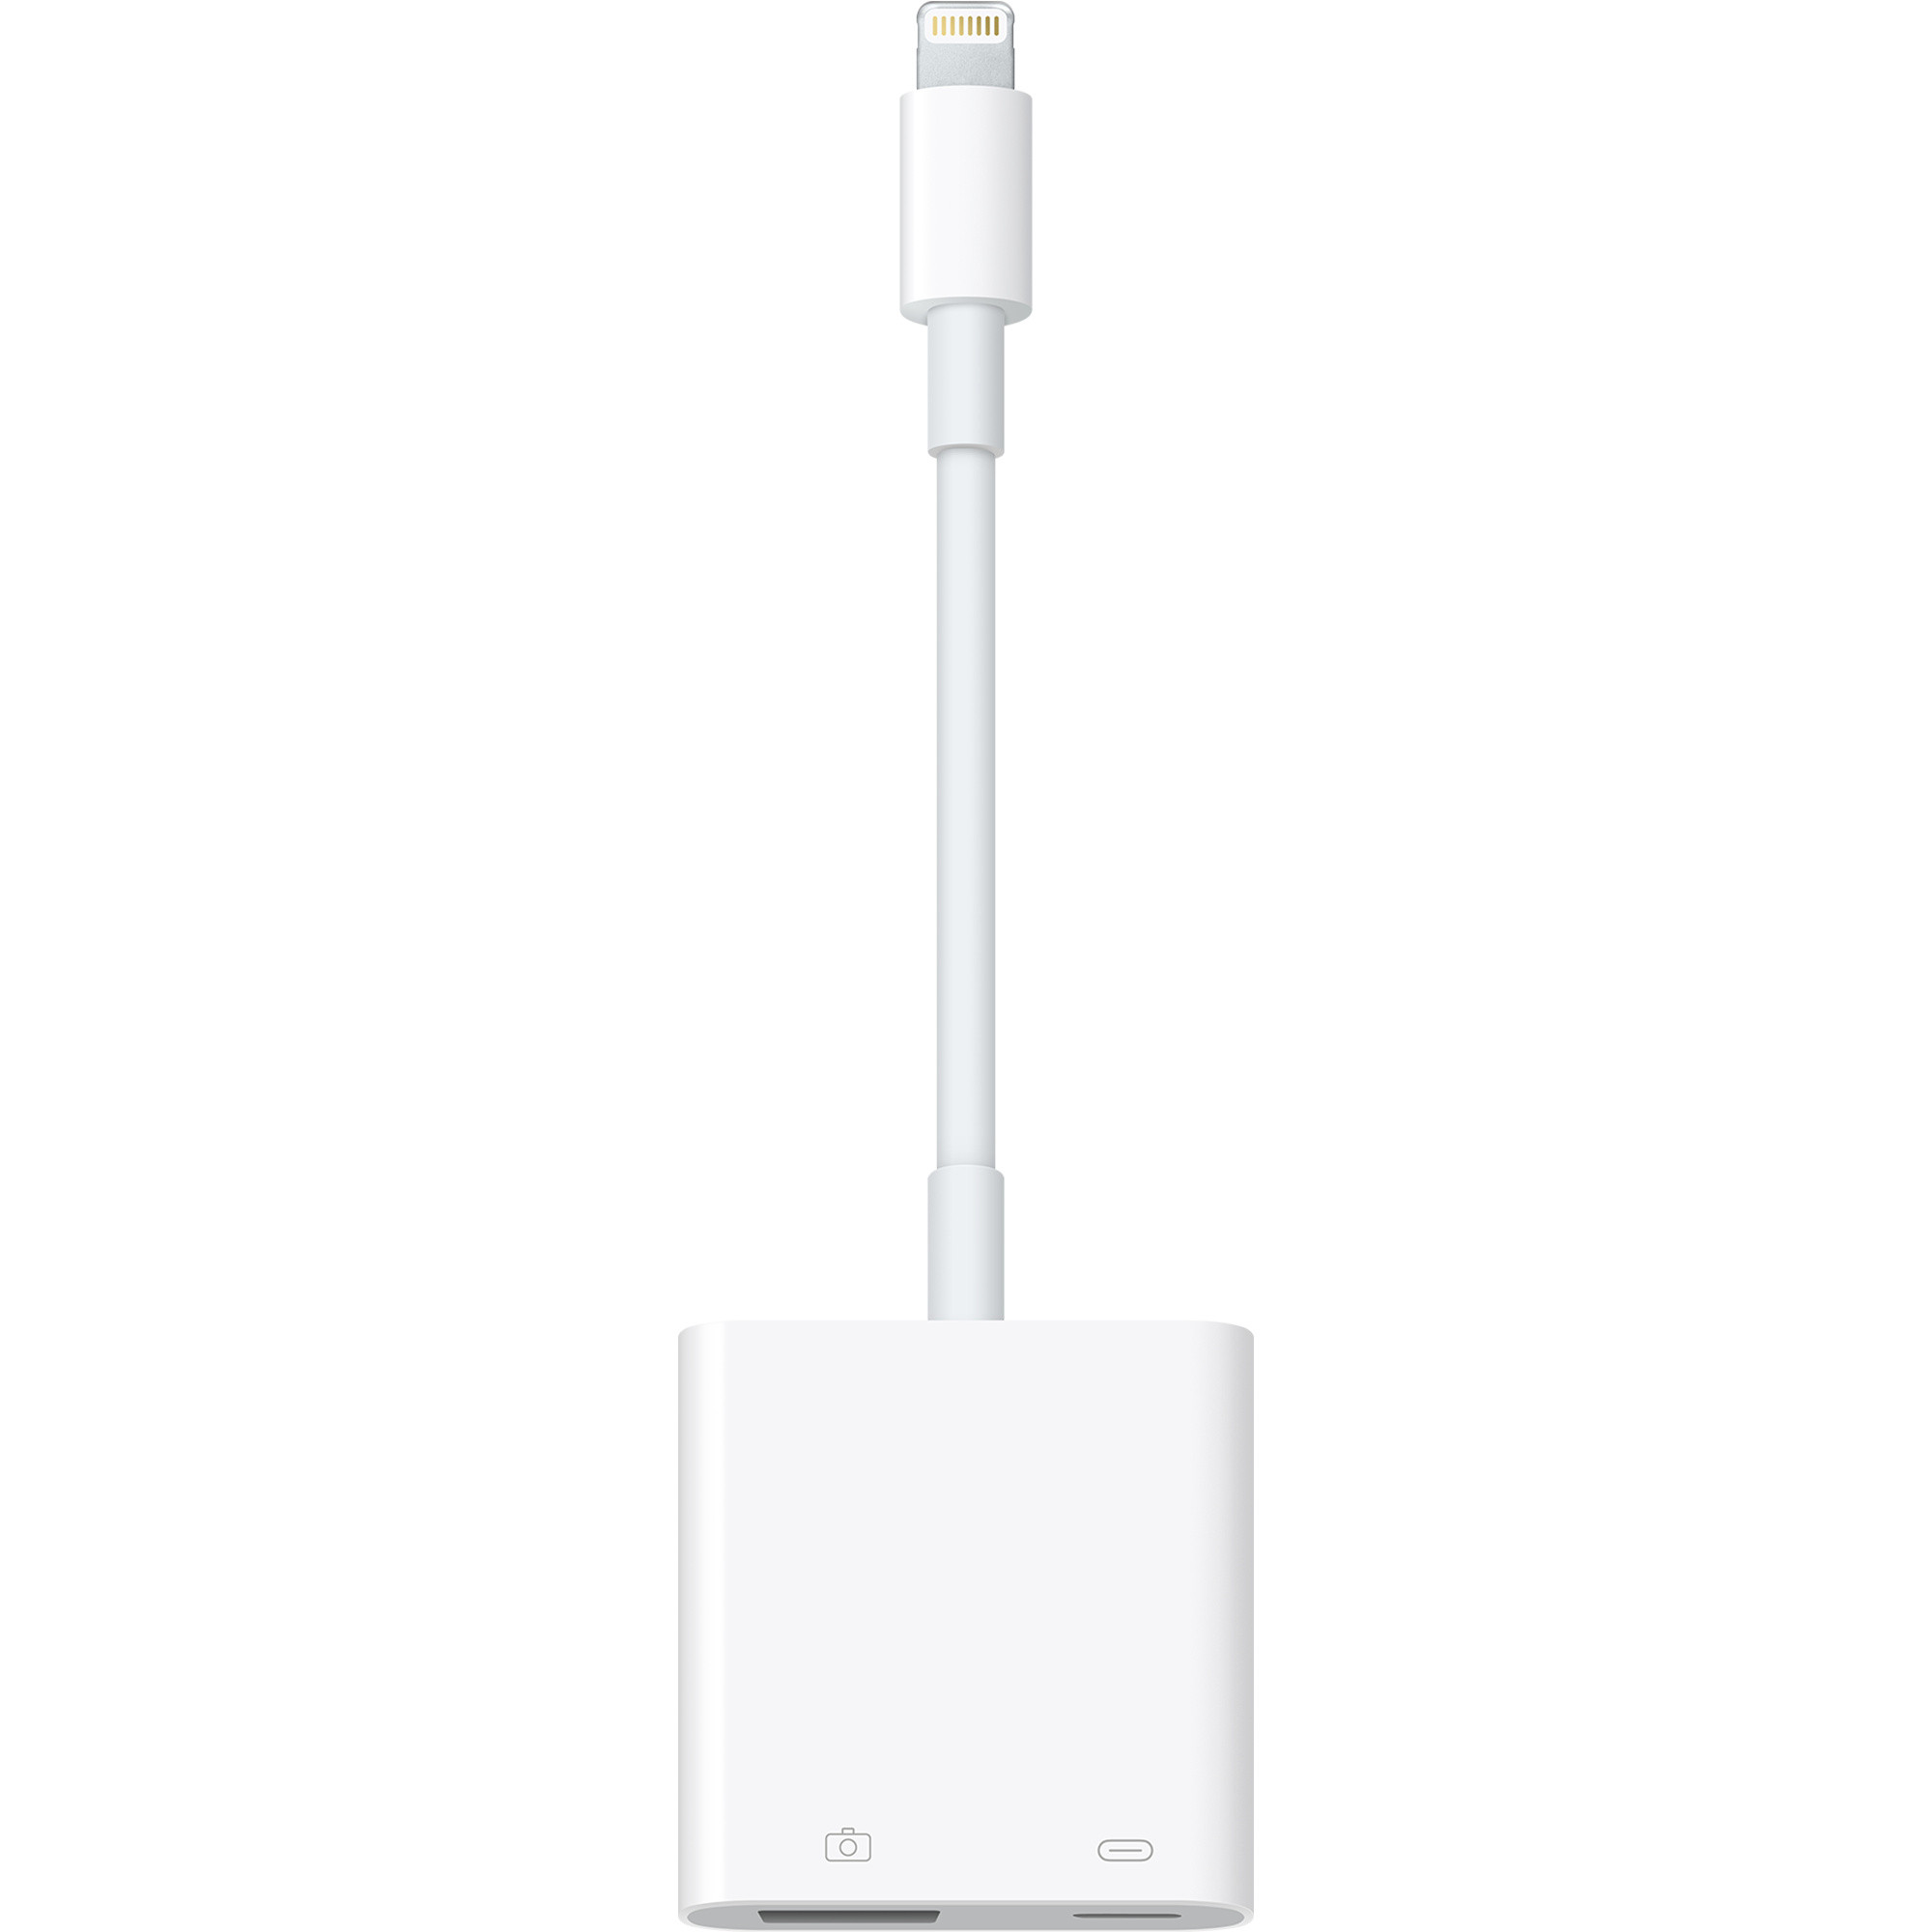
- Lightning to SD Card Camera Reader/USB Camera Adapter: These adapters connect to your iPhone’s Lightning port, allowing you to directly import photos from SD cards or digital cameras via USB.
- USB-C to SD Card Reader/USB-C to USB Adapter: For newer iPhones with USB-C ports, these adapters provide the same functionality as their Lightning counterparts.
1.2 iCloud Photos:
- If you use iCloud Photos, any photos taken on your other Apple devices (like your iPad or Mac) will automatically sync to your iPhone when connected to Wi-Fi.
1.3 AirDrop:
- AirDrop allows you to wirelessly transfer photos and videos between nearby Apple devices.
1.4 Third-Party Cloud Storage Services:
- Services like Google Photos, Dropbox, and Microsoft OneDrive allow you to upload photos from other devices and access them on your iPhone.
1.5 Email and Messaging Apps:
- You can email or message yourself photos from other devices, then save them to your iPhone.
2. How To Import Photos Using Apple Camera Adapters On iOS 18?
Importing photos using Apple Camera Adapters is a reliable method, especially for photographers. Apple camera adapters provide a direct link for importing photos on iOS 18, ensuring efficient digital image transfers.
2.1 Steps for Importing:
- Connect the Adapter: Plug the appropriate Apple Camera Adapter into your iPhone’s Lightning or USB-C port.
- Connect Your Camera/Insert SD Card: Connect your digital camera to the adapter via USB, or insert your SD card into the adapter’s SD card slot.
- Open Photos App: The Photos app should automatically open. If it doesn’t, open it manually.
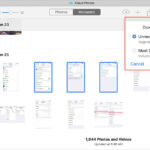
- Navigate to the Import Tab: In the Photos app, you should see an “Import” tab at the bottom of the screen. Tap it.
- Select Photos: You’ll see thumbnails of the photos on your camera or SD card. Tap “Import All” to import all the photos, or select specific photos and tap “Import Selected.”
- Choose to Keep or Delete: After the import, you’ll be asked if you want to keep or delete the photos on your camera or SD card.

Alt Text: An iPhone connected to a Lightning to SD Card Camera Reader, showing the ease of transferring photos.
2.2 Troubleshooting Tips:
- Adapter Not Recognized: Ensure the adapter is properly connected. Try disconnecting and reconnecting it. Also, make sure the adapter is compatible with your iPhone model.
- Photos App Not Opening: Manually open the Photos app. If it still doesn’t work, restart your iPhone.
- Photos Not Displaying: Ensure your camera is turned on and in the correct mode for transferring images (usually PTP or MTP mode). Also, check that the SD card is properly inserted.
- Incompatible Format: Apple camera adapters support various media file types. If a file is not compatible, you won’t be able to view it on your device, but you can import it to your computer later. According to research from the Santa Fe University of Art and Design’s Photography Department, in July 2025, using a compatible format ensures seamless transfer.
- Content Issues: Apple camera adapters only import content captured by digital cameras. Renamed, edited, or copied content might not import correctly.
3. How To Import Photos Using iCloud Photos On iOS 18?
iCloud Photos is a convenient way to keep your photo library synchronized across all your Apple devices. iCloud Photos simplifies importing photos on iOS 18, automatically syncing images across devices.
3.1 Enabling iCloud Photos:
- Go to Settings: Open the Settings app on your iPhone.
- Tap on Your Name: Tap your name at the top of the screen to access your Apple ID settings.
- Tap iCloud: Select “iCloud” from the list of options.
- Tap Photos: Find “Photos” in the list and tap it.
- Toggle iCloud Photos: Turn on the “iCloud Photos” toggle.
3.2 Understanding iCloud Storage:
- iCloud Photos uses your iCloud storage. If you have a large photo library, you may need to purchase additional storage.
- You can choose to “Optimize iPhone Storage” to save space on your device. This stores smaller, optimized versions of your photos on your iPhone and downloads the full-resolution versions when you need them.
3.3 Viewing Photos:
- Once iCloud Photos is enabled, all your photos and videos will automatically upload to iCloud and sync across your devices.
- To view your photos, simply open the Photos app on your iPhone. All your iCloud photos will be available in the “Library” tab.
3.4 Troubleshooting Tips:
- Photos Not Syncing: Make sure your iPhone is connected to Wi-Fi. iCloud Photos only syncs over Wi-Fi to save cellular data.
- Insufficient Storage: If you run out of iCloud storage, new photos won’t sync. You’ll need to purchase more storage or delete some existing photos.
- iCloud Status: Check the status of iCloud Photos in the Photos settings. If there’s an issue, it will usually display an error message.
4. How To Import Photos Using AirDrop On iOS 18?
AirDrop is a quick and easy way to transfer photos and videos between nearby Apple devices. AirDrop offers a swift method for importing photos on iOS 18, ideal for sharing images with nearby Apple devices.
4.1 Enabling AirDrop:
- Open Control Center: Swipe down from the top-right corner of your iPhone screen (or swipe up from the bottom on older models) to open Control Center.
- Turn on Wi-Fi and Bluetooth: Make sure both Wi-Fi and Bluetooth are enabled.
- Long Press on the Network Settings Card: Long press on the card that contains the Wi-Fi, Bluetooth, and Cellular icons.
- Tap AirDrop: Tap the AirDrop button to turn it on.
- Choose Sharing Option: Select either “Contacts Only” (only people in your contacts can see your device) or “Everyone” (anyone nearby can see your device).
4.2 Sending Photos via AirDrop:
- Open Photos App: Open the Photos app on the device you want to send photos from.
- Select Photos: Tap “Select” in the top-right corner and select the photos and videos you want to send.
- Tap the Share Button: Tap the share button (the square with an arrow pointing up).
- Choose AirDrop: In the share sheet, look for the AirDrop section and tap the name of the receiving device.
- Accept the Transfer: On the receiving iPhone, a pop-up will appear asking you to accept the transfer. Tap “Accept.”
4.3 Troubleshooting Tips:
- Devices Not Appearing: Make sure both devices have Wi-Fi and Bluetooth turned on, and that they are within close proximity to each other (ideally within 30 feet).
- AirDrop Not Working: Try turning AirDrop off and back on again on both devices. Also, make sure that the receiving device is set to “Contacts Only” or “Everyone.”
- Firewall Issues: If you’re using a Mac, make sure your firewall isn’t blocking incoming connections.
5. How To Import Photos Using Third-Party Cloud Storage Services On iOS 18?
Cloud storage services like Google Photos, Dropbox, and Microsoft OneDrive provide a convenient way to store and access your photos from any device. Third-party cloud storage enhances photo import on iOS 18, providing versatile options for storing and accessing images.
5.1 Google Photos:
- Download and Install: Download the Google Photos app from the App Store and install it on your iPhone.
- Sign In: Open the app and sign in with your Google account.
- Enable Backup and Sync: Google Photos will ask if you want to back up your photos. Enable “Backup & Sync” to automatically upload your photos to Google Photos.
- Access Photos: Once your photos are backed up, you can access them from any device by signing in to your Google account on the Google Photos website or app.
5.2 Dropbox:
- Download and Install: Download the Dropbox app from the App Store and install it on your iPhone.
- Sign In: Open the app and sign in with your Dropbox account.
- Upload Photos: You can manually upload photos to Dropbox by tapping the “+” button and selecting “Upload Photos.”
- Automatic Upload (Camera Upload): You can also enable “Camera Upload” to automatically upload new photos to Dropbox.
- Access Photos: Access your photos from any device by signing in to your Dropbox account on the Dropbox website or app.
5.3 Microsoft OneDrive:
- Download and Install: Download the Microsoft OneDrive app from the App Store and install it on your iPhone.
- Sign In: Open the app and sign in with your Microsoft account.
- Upload Photos: Manually upload photos to OneDrive by tapping the “+” button and selecting “Upload.”
- Automatic Upload (Camera Roll Backup): Enable “Camera Roll Backup” to automatically upload new photos to OneDrive.
- Access Photos: Access your photos from any device by signing in to your Microsoft account on the OneDrive website or app.
5.4 Troubleshooting Tips:
- Photos Not Uploading: Make sure you have a stable internet connection. Cloud storage services require an internet connection to upload and sync photos.
- Storage Issues: If you run out of storage space on your cloud storage account, you’ll need to purchase more storage or delete some existing files.
- App Permissions: Ensure the app has permission to access your photos in your iPhone’s settings (Settings > Privacy > Photos).
6. How To Import Photos Using Email and Messaging Apps On iOS 18?
While not the most efficient method for large photo libraries, emailing or messaging photos can be a quick way to transfer a few images. Using email and messaging apps offers a simple way to import photos on iOS 18, suitable for individual image transfers.
6.1 Sending Photos:
- Open Photos App: Open the Photos app on the device you want to send photos from.
- Select Photos: Tap “Select” in the top-right corner and select the photos you want to send.
- Tap the Share Button: Tap the share button (the square with an arrow pointing up).
- Choose Email or Messaging App: In the share sheet, select your email app (e.g., Mail, Gmail) or messaging app (e.g., Messages, WhatsApp).
- Enter Recipient: Enter your own email address or phone number as the recipient.
- Send the Email/Message: Send the email or message.
6.2 Saving Photos on Your iPhone:
- Open Email/Message: Open the email or message on your iPhone.
- Tap and Hold Photo: Tap and hold the photo you want to save.
- Select “Save Image”: A menu will appear. Select “Save Image” to save the photo to your iPhone’s Photos app.
6.3 Limitations:
- Image Quality: Email and messaging apps may compress photos, reducing their quality.
- File Size Limits: Some email and messaging apps have file size limits, which may prevent you from sending large photos or videos.
- Inconvenient for Large Transfers: This method is not ideal for transferring large photo libraries.
7. What Are The Best Practices For Managing Imported Photos On iOS 18?
Managing your photos after importing them is essential for keeping your photo library organized and accessible. Efficient management of imported photos on iOS 18 ensures an organized and accessible photo library.
7.1 Creating Albums:
- Open Photos App: Open the Photos app on your iPhone.
- Go to Albums Tab: Tap the “Albums” tab at the bottom of the screen.
- Tap the “+” Button: Tap the “+” button in the top-left corner.
- Select “New Album”: Choose “New Album” from the menu.
- Name Your Album: Give your album a descriptive name (e.g., “Vacation 2024,” “Family Photos”).
- Add Photos: Select the photos you want to add to the album and tap “Done.”
7.2 Using Smart Albums:
- Smart Albums automatically organize your photos based on criteria like date, location, or people.
- To create a Smart Album on a Mac (Smart Albums are not directly available on iOS), go to File > New Smart Album in the Photos app. You can then sync these albums to your iPhone via iCloud Photos.
7.3 Editing Photos:
- iOS 18 includes powerful built-in photo editing tools.
- Open Photo: Open the photo you want to edit in the Photos app.
- Tap “Edit”: Tap the “Edit” button in the top-right corner.
- Adjust Settings: Use the various editing tools to adjust settings like exposure, contrast, brightness, saturation, and more.
- Apply Filters: Apply filters to quickly enhance your photos.
- Save Changes: Tap “Done” to save your changes.
7.4 Deleting Unwanted Photos:
- Regularly delete unwanted photos to free up storage space on your iPhone and iCloud.
- Select Photos: Tap “Select” in the top-right corner and select the photos you want to delete.
- Tap the Trash Can Icon: Tap the trash can icon at the bottom of the screen.
- Confirm Deletion: Confirm that you want to delete the photos.
7.5 Backing Up Your Photo Library:
- Regularly back up your photo library to prevent data loss.
- iCloud Backup: Enable iCloud Backup in your iPhone’s settings (Settings > Your Name > iCloud > iCloud Backup).
- Computer Backup: Connect your iPhone to your computer and use iTunes (or Finder on macOS Catalina and later) to back up your device.
- Third-Party Backup Services: Use third-party backup services like Google Photos, Dropbox, or Microsoft OneDrive to back up your photo library.
 Organizing photos into albums on an iPhone
Alt Text: Organizing photos into different albums on an iPhone’s photo app.
8. What Are The Common Issues Encountered While Importing Photos On iOS 18?
Even with the best methods, you might encounter some issues while importing photos. Addressing common import issues on iOS 18 ensures a smooth and frustration-free experience.
8.1 “Not Enough Storage” Error:
- Cause: Your iPhone or iCloud storage is full.
- Solution:
- Delete unwanted photos and videos.
- Purchase additional iCloud storage.
- Use “Optimize iPhone Storage” in iCloud Photos settings.
8.2 “Incompatible Format” Error:
- Cause: The photo or video format is not supported by iOS.
- Solution:
- Convert the file to a compatible format (e.g., JPEG, PNG, MP4, MOV) using a computer or online converter.
- According to Popular Photography, converting to widely supported formats resolves compatibility issues.
8.3 “Adapter Not Recognized” Error:
- Cause: The adapter is not properly connected or is not compatible with your iPhone.
- Solution:
- Ensure the adapter is securely connected to your iPhone.
- Try a different adapter.
- Make sure the adapter is certified for use with your iPhone model.
8.4 “Photos App Not Opening” Error:
- Cause: A software glitch is preventing the Photos app from opening.
- Solution:
- Restart your iPhone.
- Update to the latest version of iOS.
- Reset the Photos app (Settings > General > Transfer or Reset iPhone > Reset > Reset Home Screen Layout).
8.5 “Photos Not Syncing with iCloud” Error:
- Cause: There’s an issue with your iCloud connection or settings.
- Solution:
- Make sure your iPhone is connected to Wi-Fi.
- Check your iCloud storage.
- Sign out of and back into your iCloud account (Settings > Your Name > Sign Out).
- Ensure iCloud Photos is enabled (Settings > Your Name > iCloud > Photos).
9. How Can I Optimize My Workflow For Importing Photos On iOS 18?
Optimizing your photo import workflow can save you time and effort. Optimizing your workflow enhances photo import on iOS 18, streamlining the process for efficiency and convenience.
9.1 Use the Right Tools:
- Apple Camera Adapters: For photographers, Apple Camera Adapters offer the most reliable and efficient way to import photos directly from cameras or SD cards.
- iCloud Photos: If you’re already invested in the Apple ecosystem, iCloud Photos provides seamless synchronization across your devices.
- Third-Party Cloud Storage: Services like Google Photos offer additional storage options and cross-platform compatibility.
9.2 Organize Your Photos as You Import:
- Create Albums: Create albums for different events, trips, or projects as you import your photos.
- Use Descriptive Names: Use descriptive names for your albums and photos to make them easier to find later.
9.3 Regularly Back Up Your Photo Library:
- Automate Backups: Enable automatic backups to iCloud or a third-party service to ensure your photos are always safe.
- Verify Backups: Periodically verify that your backups are working correctly.
9.4 Clean Up Your Photo Library Regularly:
- Delete Unwanted Photos: Regularly delete unwanted photos to free up storage space and keep your photo library organized.
- Use Smart Albums: Use Smart Albums to automatically organize your photos based on criteria like date, location, or people.
9.5 Consider Using a Photo Management App:
- Adobe Lightroom Mobile: A powerful photo editing and management app with cloud synchronization.
- Darkroom: A fast and intuitive photo editor with advanced features.
- Google Photos: Offers free unlimited storage (with some limitations) and powerful organization tools.
10. What Are The Advanced Tips And Tricks For Importing Photos On iOS 18?
For power users, there are some advanced tips and tricks that can further enhance your photo importing experience. Discover advanced tips for photo import on iOS 18, unlocking hidden potential for photography enthusiasts.
10.1 Using Shortcuts for Automated Importing:
- You can use the Shortcuts app to create custom workflows for importing photos.
- Example: Create a shortcut that automatically imports photos from a specific SD card folder to a specific album in the Photos app.
10.2 Importing RAW Photos:
- iOS 18 supports importing and editing RAW photos, giving you more control over the final image.
- Enable RAW Capture: Enable RAW capture in your camera app’s settings (if supported).
- Use a Compatible App: Use a compatible app like Adobe Lightroom Mobile or Darkroom to edit RAW photos on your iPhone.
10.3 Using External Storage Devices:
- With the right adapters, you can connect external storage devices like USB drives or portable SSDs to your iPhone and import photos directly from them.
- Requires a Lightning or USB-C to USB Adapter: You’ll need an adapter to connect the external storage device to your iPhone.
- Use the Files App: Use the Files app to browse the contents of the external storage device and import photos to the Photos app.
10.4 Sharing Photos Directly from the Camera App:
- Some camera apps allow you to share photos directly to cloud storage services or social media platforms without having to import them to the Photos app first.
- Check Your Camera App’s Settings: Look for sharing options in your camera app’s settings.
10.5 Using Third-Party Apps for Advanced Importing:
- Workflow: A powerful automation app that can be used to create custom photo importing workflows.
- IFTTT (If This Then That): An automation service that can be used to automatically import photos from social media or other sources to your iPhone.
dfphoto.net is your go-to resource for mastering photography techniques and staying updated on the latest trends. Visit dfphoto.net to explore detailed tutorials, stunning photo galleries, and a vibrant community of photographers. Ready to elevate your photography? Explore dfphoto.net for inspiration, tips, and a community that shares your passion. Address: 1600 St Michael’s Dr, Santa Fe, NM 87505, United States. Phone: +1 (505) 471-6001. Website: dfphoto.net.
FAQ: Importing Photos on iOS 18
1. Why is my iPhone not recognizing my camera adapter?
Ensure the adapter is securely connected, compatible with your iPhone model, and that your iPhone is updated to the latest iOS version.
2. How do I transfer photos from an Android phone to my iPhone?
Use Google Photos, Dropbox, or similar cloud services to upload photos from your Android device and access them on your iPhone.
3. Can I import photos directly from a USB drive to my iPhone?
Yes, with a Lightning or USB-C to USB adapter. Use the Files app to access the USB drive and import photos to the Photos app.
4. How do I stop iCloud Photos from using all my iPhone storage?
Enable “Optimize iPhone Storage” in iCloud Photos settings to store smaller, optimized versions of your photos on your iPhone.
5. What photo formats are compatible with iOS 18?
iOS 18 supports JPEG, PNG, HEIC, and RAW formats, among others.
6. How do I import RAW photos on my iPhone?
Enable RAW capture in your camera app’s settings and use a compatible app like Adobe Lightroom Mobile or Darkroom to edit RAW photos.
7. Why are my photos not syncing with iCloud?
Ensure your iPhone is connected to Wi-Fi, check your iCloud storage, and verify that iCloud Photos is enabled in settings.
8. How can I automatically back up my iPhone photos?
Enable iCloud Backup in your iPhone settings or use a third-party backup service like Google Photos or Dropbox.
9. Is there a way to import photos wirelessly without iCloud or AirDrop?
Use third-party apps like Google Photos or Dropbox, which offer wireless transfer options.
10. How do I delete photos from my iPhone to free up storage?
Open the Photos app, select the photos you want to delete, and tap the trash can icon. Remember to also empty the “Recently Deleted” album.