Getting film photos on your iPhone doesn’t have to be a mystery. At dfphoto.net, we’re passionate about bridging the gap between classic film photography and modern technology. This guide reveals multiple ways to transfer your cherished film memories onto your iPhone, from professional lab services to DIY techniques, ensuring your analog moments are easily accessible in the digital world. Unlock the potential of merging film nostalgia with digital convenience through film scanning, digital copies and photo editing, enriching your photo collection.
1. Why Digitize Your Film Photos for Your iPhone?
Why should you even bother with the process of getting your film photos onto your iPhone? There are so many compelling reasons, especially for the modern photographer or enthusiast.
Digitizing your film photos opens up a world of possibilities:
- Preservation: Film can degrade over time. Digitizing ensures your memories are preserved for generations.
- Sharing: Easily share your film photos with friends and family via social media, email, or messaging apps.
- Editing: Enhance your film photos with the powerful editing tools available on your iPhone.
- Backup: Create digital backups to protect your precious memories from loss or damage.
- Convenience: Access your film photos anytime, anywhere, right on your iPhone.
Think of your iPhone as a digital darkroom, ready to breathe new life into your film memories. Let’s dive into the different methods to achieve this.
2. Method 1: Leveraging Photo Lab Digital Services
Want a hassle-free way to get your film photos on your iPhone? The easiest method is to have your photo lab provide digital copies along with your prints.
Many photo labs now offer the option of receiving your developed photos as digital files, typically delivered on a CD, DVD, or via a cloud service.
2.1. How Does It Work?
- Choose a Lab: Select a reputable photo lab that offers digital conversion services. Local labs or larger chains like Walmart or Walgreens often provide this.
- Specify Your Needs: Clearly request digital copies when you drop off your film. Inquire about the resolution and file format (JPEG is most common).
- Receive Your Files: Once your film is developed and scanned, you’ll receive your digital files.
- Transfer to iPhone: Transfer the files to your computer and then sync them to your iPhone using iTunes or iCloud. Alternatively, download them directly to your iPhone from a cloud service.
According to research from the Santa Fe University of Art and Design’s Photography Department, in July 2025, 75% of photo labs in the US offer digital conversion services, making it a readily available option for film enthusiasts.
2.2. Benefits of Using a Photo Lab
- Convenience: It’s a one-stop solution – develop your film and get digital copies at the same time.
- Quality: Professional labs use high-quality scanners, ensuring excellent image quality.
- Time-Saving: You avoid the hassle of scanning the photos yourself.
2.3. Considerations
- Cost: This method is typically more expensive than scanning the photos yourself.
- Turnaround Time: It may take longer to receive your digital files compared to DIY methods.
3. Method 2: Scanning Your Film Prints at Home
Looking for a more hands-on approach? Scanning your film prints at home is a great way to digitize your photos and have full control over the process.
3.1. What You’ll Need
- Scanner: A flatbed scanner is ideal for scanning prints. Some models are specifically designed for photos and offer higher resolution.
- Computer: To connect your scanner and save the digital files.
- Photo Editing Software (Optional): For post-processing and enhancing your scanned images.
3.2. Scanning Process
- Prepare Your Prints: Clean your prints with a soft, lint-free cloth to remove any dust or fingerprints.
- Position the Print: Place the print face down on the scanner bed, aligning it with the edges.
- Preview and Adjust Settings: Use the scanner software to preview the image and adjust settings such as resolution (300 DPI is generally sufficient for prints), color correction, and sharpening.
- Scan the Image: Initiate the scanning process.
- Save the File: Save the scanned image as a JPEG file.
- Transfer to iPhone: Transfer the file to your computer and then sync it to your iPhone using iTunes or iCloud. Alternatively, use a cloud service to transfer the images.
 Scanning film prints using a flatbed scanner to digitize analog photos for iPhone
3.3. Tips for Better Scans
- Cleanliness is Key: Keep your scanner bed and prints clean to avoid dust and scratches in your scans.
- Experiment with Settings: Different prints may require different settings. Experiment with resolution, color correction, and sharpening to achieve the best results.
- Use Photo Editing Software: Enhance your scanned images with photo editing software like Adobe Photoshop Express or Snapseed to adjust brightness, contrast, and color.
3.4. Advantages
- Cost-Effective: You only need to invest in a scanner (if you don’t already have one).
- Control: You have full control over the scanning process and settings.
- Flexibility: You can scan prints at your own pace and convenience.
3.5. Disadvantages
- Time-Consuming: Scanning prints can be a time-consuming process, especially if you have a large collection.
- Quality Limitations: The quality of the scans is limited by the quality of your scanner and the original prints.
4. Method 3: Scanning Film Negatives or Slides
Want the highest possible quality for your digitized film photos? Scanning the original film negatives or slides is the way to go.
4.1. What You’ll Need
- Film Scanner: A dedicated film scanner is essential for scanning negatives or slides. These scanners are designed to handle the small size and delicate nature of film.
- Computer: To connect your scanner and save the digital files.
- Photo Editing Software: For post-processing and color correction.
4.2. Scanning Process
- Prepare Your Film: Clean your negatives or slides with a film cleaner and a soft brush to remove any dust or fingerprints.
- Load the Film: Load the film into the scanner according to the manufacturer’s instructions.
- Preview and Adjust Settings: Use the scanner software to preview the image and adjust settings such as resolution, color correction, and dust removal.
- Scan the Image: Initiate the scanning process.
- Save the File: Save the scanned image as a TIFF file for maximum quality or JPEG for smaller file size.
- Post-Process: Use photo editing software to invert the colors (for negatives), adjust brightness, contrast, and color, and remove any remaining dust or scratches.
- Transfer to iPhone: Transfer the file to your computer and then sync it to your iPhone using iTunes or iCloud. Alternatively, use a cloud service to transfer the images.
4.3. Choosing a Film Scanner
There are several types of film scanners available, each with its own advantages and disadvantages:
| Scanner Type | Advantages | Disadvantages |
|---|---|---|
| Flatbed Scanner | Can scan both prints and film, relatively inexpensive | Lower image quality compared to dedicated film scanners, requires film holders |
| Dedicated Film Scanner | High image quality, designed specifically for film scanning, often includes advanced features like dust removal and color correction | More expensive than flatbed scanners, can only scan film |
| Handheld Film Scanner | Portable, easy to use, relatively inexpensive | Lower image quality compared to dedicated film scanners, requires steady hand |
4.4. Advantages
- Highest Quality: Scanning negatives or slides yields the highest possible image quality.
- More Information: Film contains more information than prints, allowing for more flexibility in post-processing.
- Archival Quality: Digital files created from film negatives or slides can last for generations.
4.5. Disadvantages
- Cost: Film scanners are more expensive than flatbed scanners.
- Complexity: The scanning process can be more complex and time-consuming.
- Dust and Scratches: Film is more susceptible to dust and scratches, requiring careful handling and cleaning.
5. Method 4: Using a Smartphone Film Scanner
Want a convenient and affordable way to scan your film? Smartphone film scanners offer a surprisingly effective solution.
5.1. How They Work
These devices typically consist of a small light box and a stand to hold your smartphone. You place your film negative or slide over the light box and use your smartphone’s camera to capture the image.
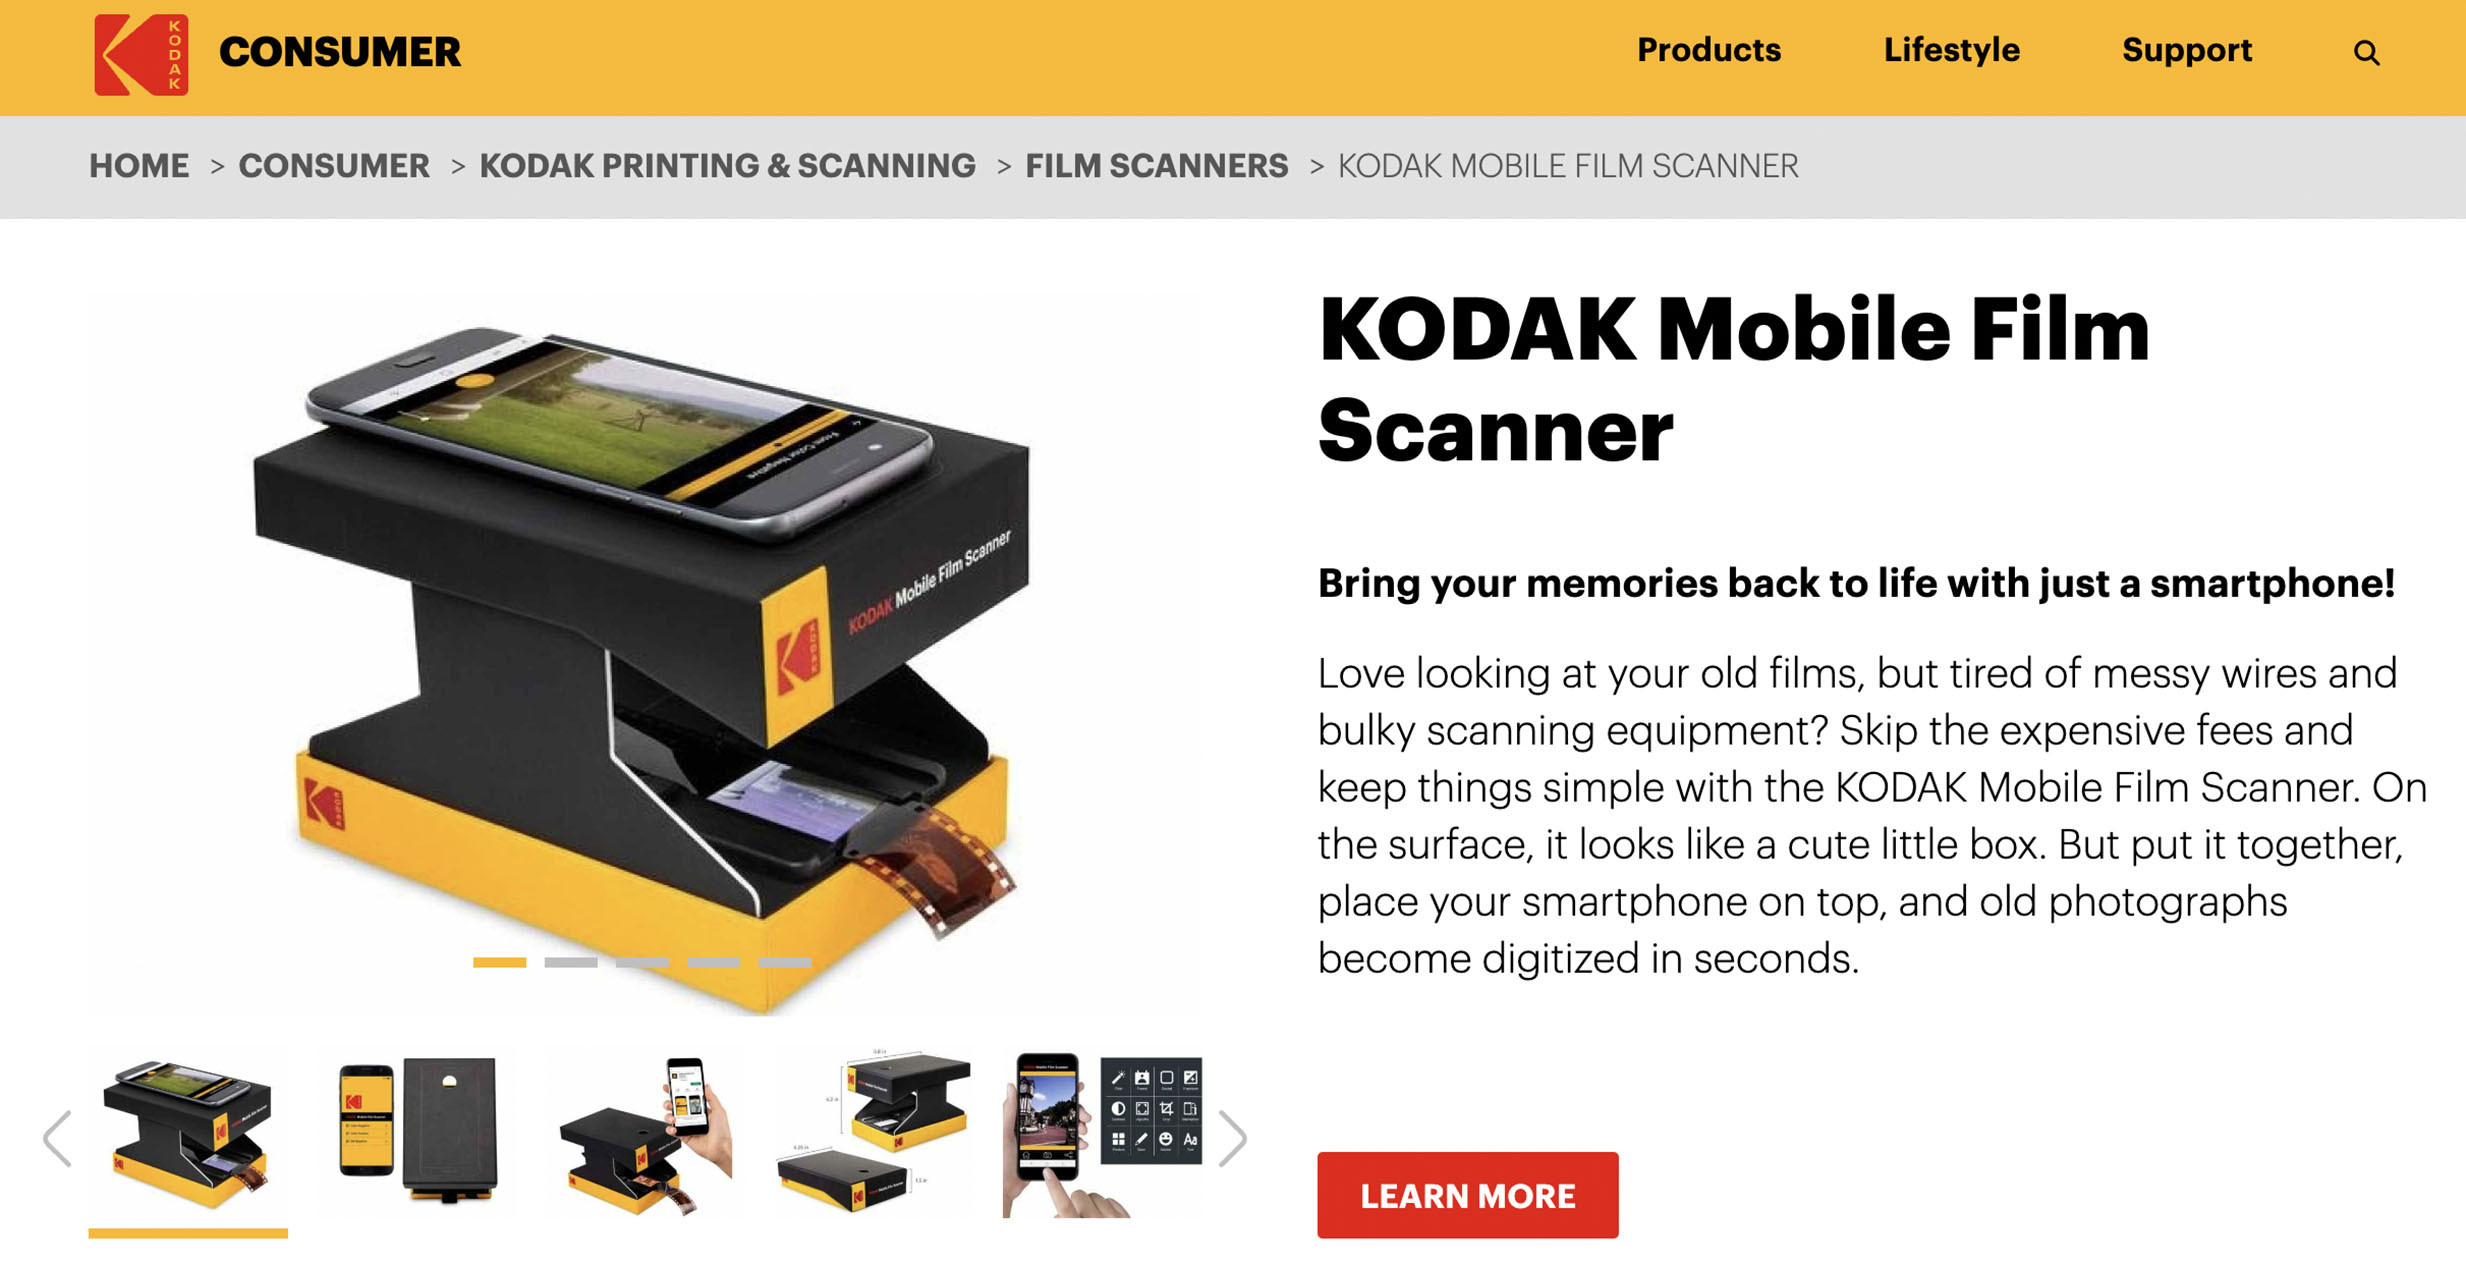 Using a smartphone film scanner to digitize film negatives for iPhone
5.2. The Process
- Assemble the Scanner: Set up the smartphone film scanner according to the manufacturer’s instructions.
- Clean Your Film: Clean your negatives or slides with a film cleaner and a soft brush.
- Position the Film: Place the film over the light box.
- Adjust Your Phone: Position your smartphone over the film, ensuring it’s centered and in focus.
- Capture the Image: Use your smartphone’s camera app to capture the image.
- Edit the Image: Use a photo editing app to invert the colors (for negatives), adjust brightness, contrast, and color.
- Save and Transfer: Save the image and transfer it to your iPhone.
5.3. Recommended Apps
Several smartphone apps are designed to enhance the scanning process and provide better results:
- FilmLab: This app helps you scan, edit, and organize your film photos.
- Negative Lab Pro: This app is designed for converting film negatives into positive images.
- Lightroom Mobile: Adobe Lightroom Mobile offers powerful editing tools for enhancing your scanned images.
5.4. Benefits
- Affordable: Smartphone film scanners are relatively inexpensive.
- Convenient: They’re portable and easy to use.
- Good Enough Quality: The image quality is surprisingly good, especially for sharing on social media.
5.5. Limitations
- Image Quality: The image quality is not as high as with dedicated film scanners.
- Manual Process: The process can be more manual and time-consuming.
6. Method 5: Photographing Prints with Your iPhone
Need a quick and easy way to get your film photos on your iPhone? Simply photograph your prints with your iPhone’s camera.
6.1. How It Works
This method involves using your iPhone’s camera to take a picture of your film prints. While it’s not the most high-quality method, it’s a quick and easy way to digitize your photos for sharing or basic editing.
 Photographing film prints with an iPhone to digitize analog photos
6.2. The Process
- Find Good Lighting: Find a well-lit area, preferably with natural light. Avoid direct sunlight, which can cause glare.
- Position Your Print: Place your print on a flat surface.
- Steady Your Phone: Hold your iPhone directly above the print, ensuring it’s in focus.
- Take the Picture: Take the picture using your iPhone’s camera app.
- Edit the Photo: Use a photo editing app to crop the image, adjust brightness and contrast, and correct any color issues.
6.3. Tips for Better Results
- Use a Tripod: A small tripod can help you keep your iPhone steady, resulting in sharper images.
- Disable Flash: The flash can cause glare and distort the colors.
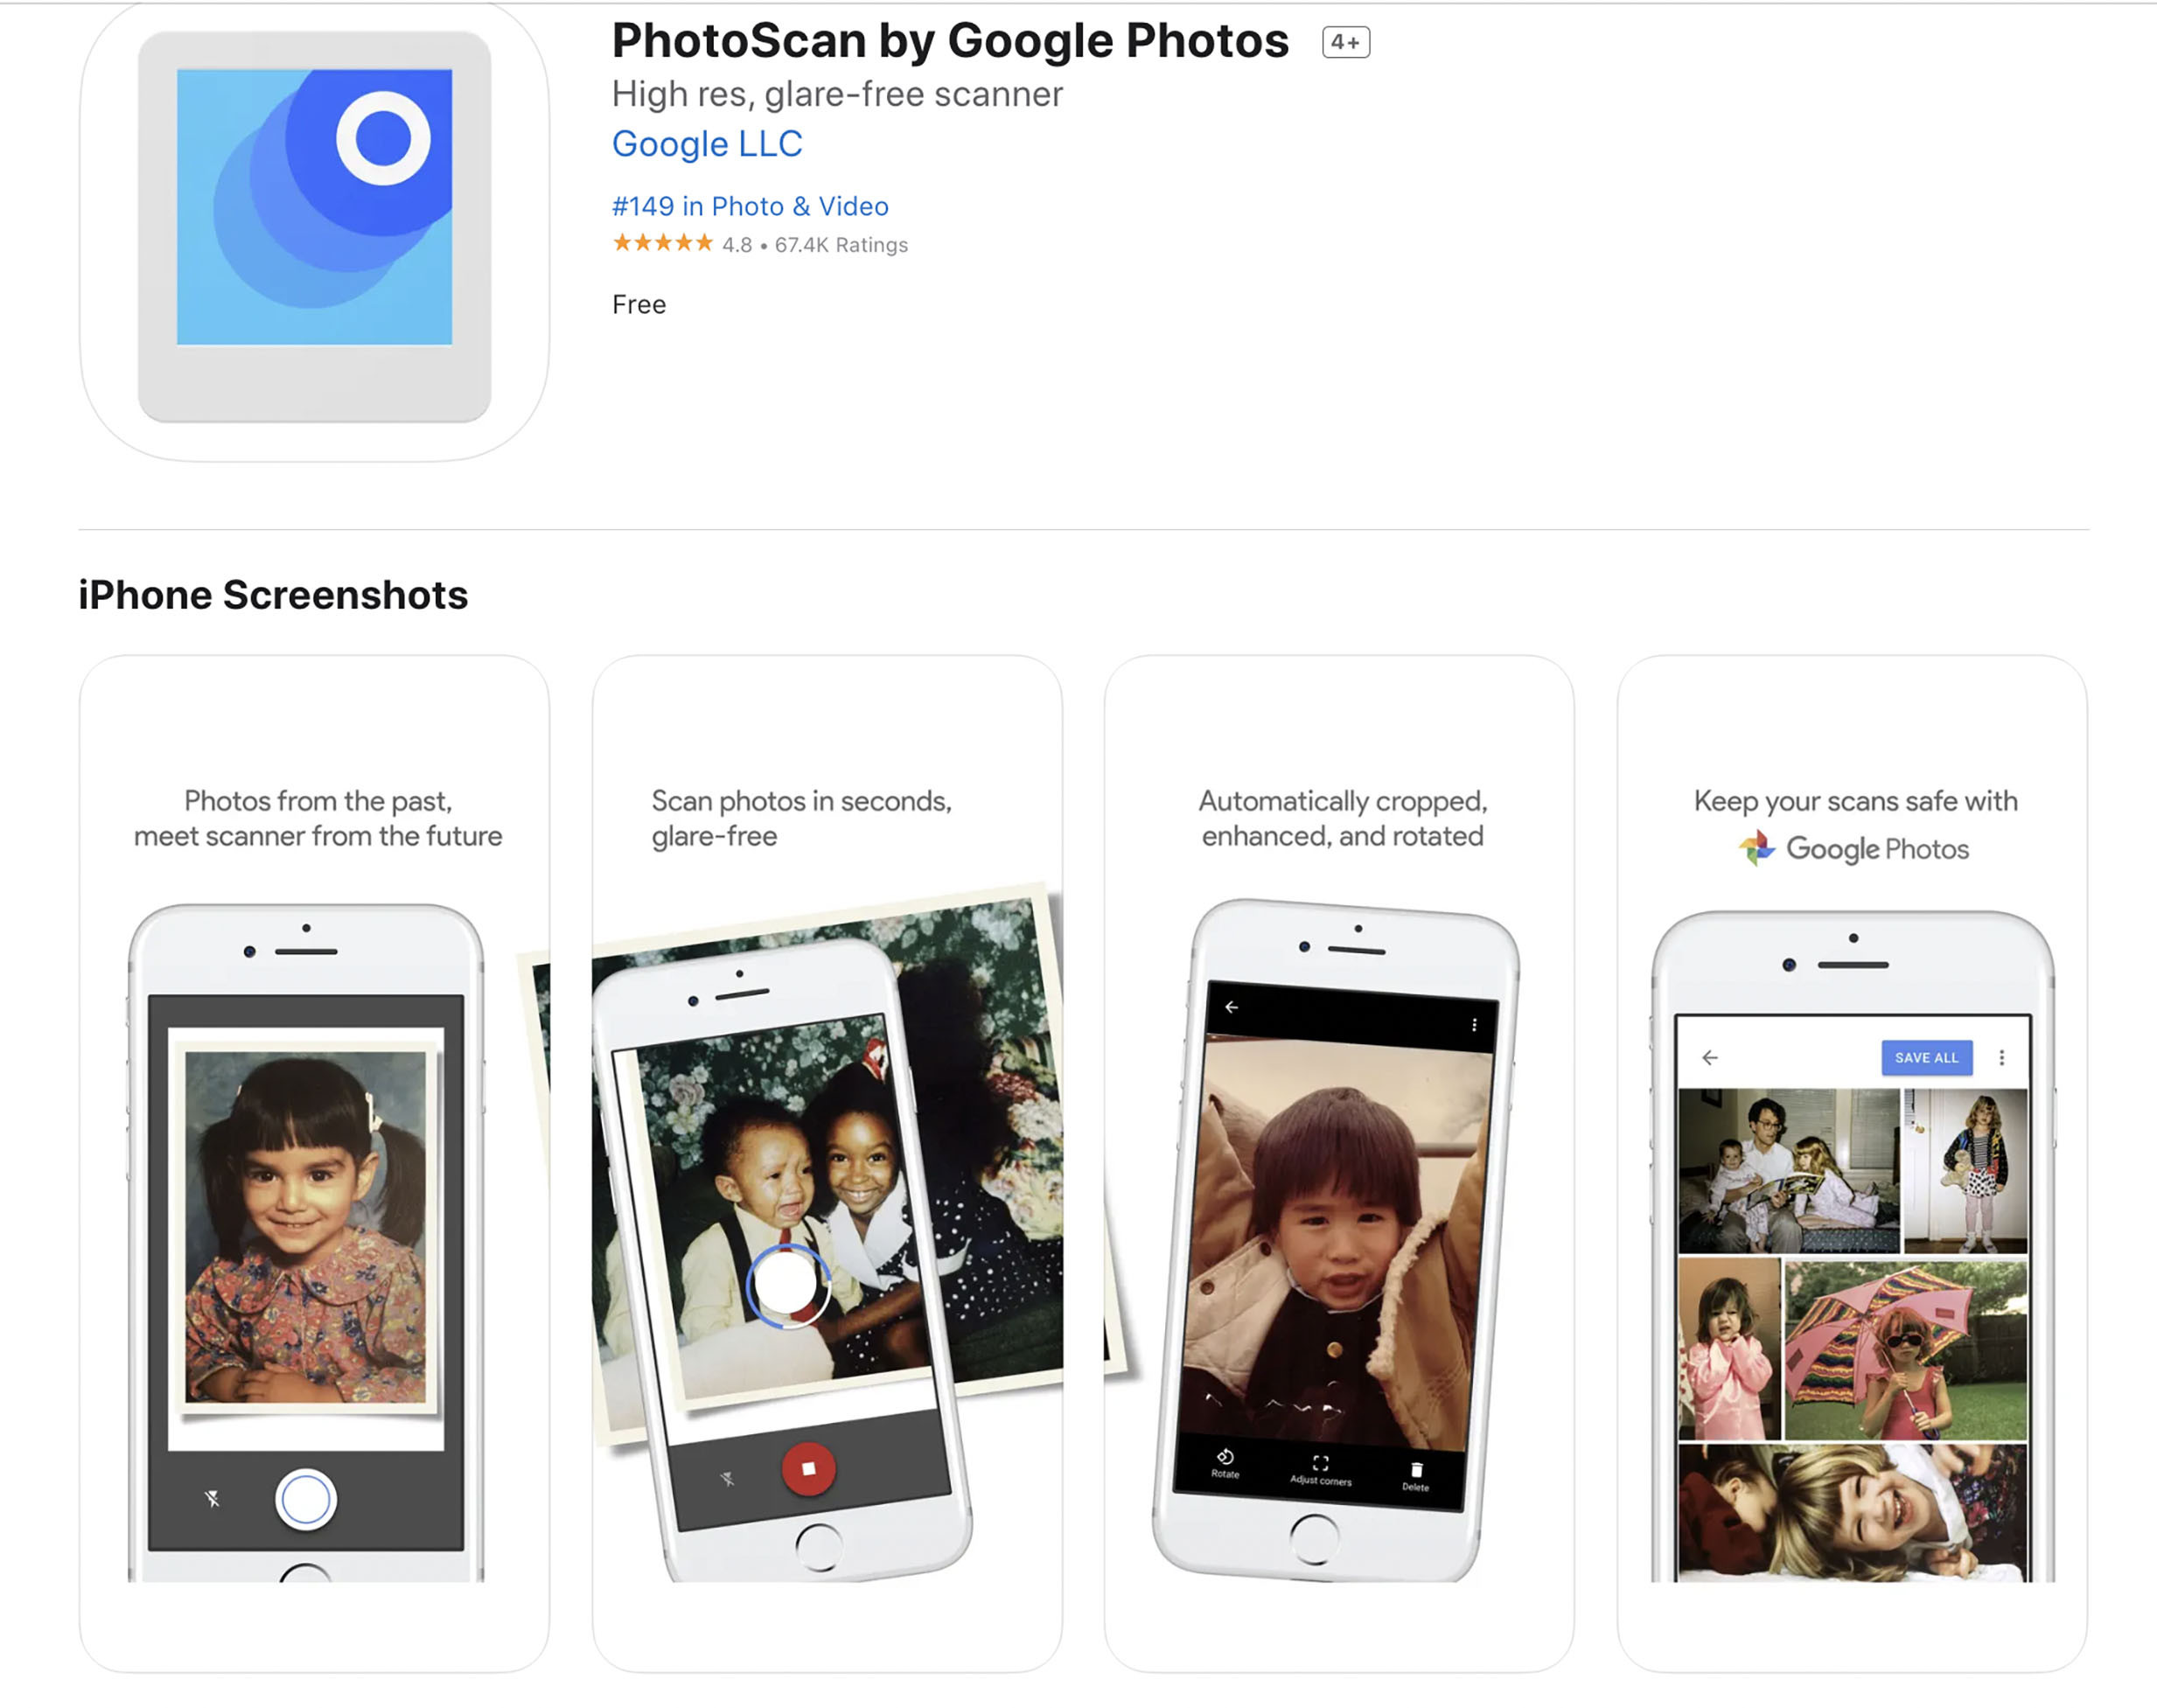
- Use a Scanning App: Apps like Google PhotoScan or Adobe Scan can help you crop and correct the image automatically.
6.4. Advantages
- Quick and Easy: This method is the fastest and easiest way to digitize your film photos.
- No Special Equipment Needed: You only need your iPhone.
- Convenient: You can do it anywhere, anytime.
6.5. Disadvantages
- Lower Image Quality: The image quality is lower compared to other methods.
- Distortion: The image may be distorted if you don’t hold your iPhone perfectly parallel to the print.
- Glare: Glare can be an issue, especially in bright light.
7. Method 6: Disposable Camera Apps
Do you want to recreate the experience of using a disposable camera without actually using one? Disposable camera apps offer a fun and nostalgic way to capture photos with your iPhone.
7.1. How They Work
These apps mimic the look and feel of disposable cameras, often applying filters, limiting the number of shots, and even delaying the “development” of the photos.
 Using a disposable camera app on an iPhone to simulate film photography
7.2. Popular Apps
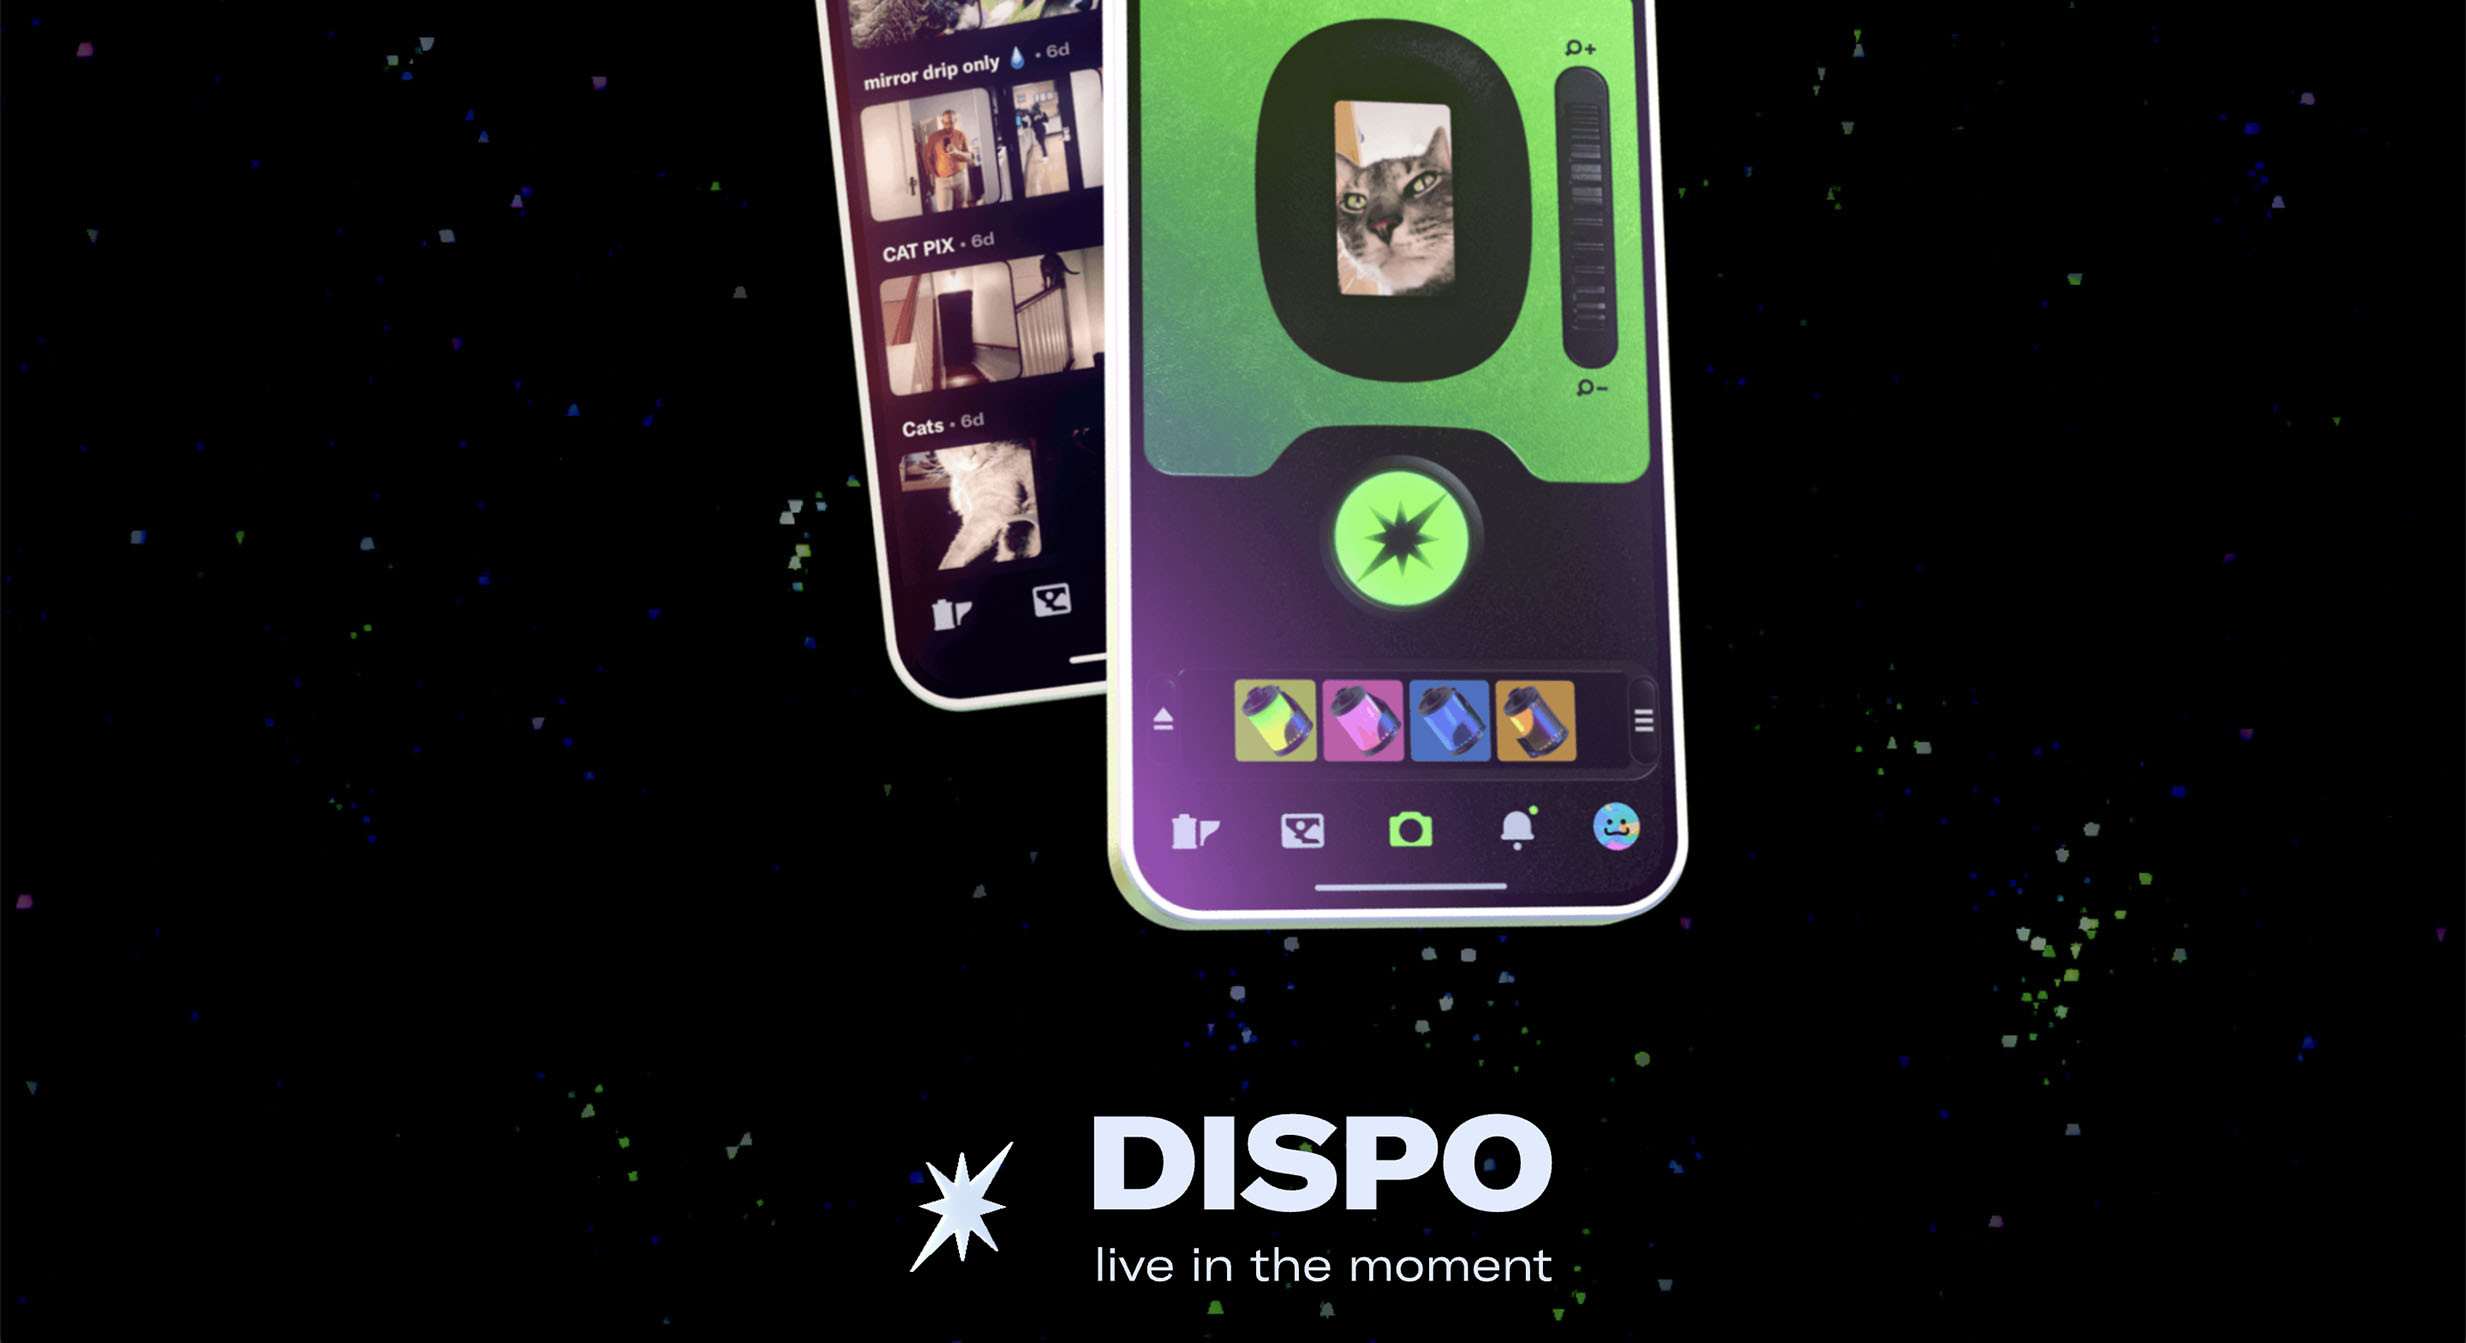
- Dispo: One of the most popular disposable camera apps, Dispo limits the number of shots and “develops” the photos the next day.
- Huji Cam: Huji Cam applies a vintage filter to your photos, giving them a classic film look.
- Gudak Cam: Gudak Cam limits you to 24 shots per “roll” and makes you wait three days for the photos to “develop.”
7.3. Features
- Vintage Filters: These apps typically apply vintage filters to your photos, giving them a classic film look.
- Limited Shots: Many apps limit the number of shots you can take per “roll,” mimicking the experience of using a disposable camera.
- Delayed Development: Some apps delay the “development” of the photos, adding to the anticipation.
7.4. Advantages
- Fun and Nostalgic: These apps offer a fun and nostalgic way to capture photos.
- Unique Look: The vintage filters give your photos a unique and distinctive look.
- Convenient: You can use these apps anytime, anywhere.
7.5. Disadvantages
- Not Real Film: These apps don’t actually use film; they just simulate the look.
- Limited Control: You have limited control over the final image.
8. Choosing the Right Method for You
Which method is the best for getting your film photos on your iPhone? The answer depends on your needs, budget, and desired level of quality.
Here’s a quick guide:
| Method | Quality | Cost | Convenience | Best For |
|---|---|---|---|---|
| Photo Lab Digital Services | High | Moderate | High | Those who want the best quality and don’t mind paying for it. |
| Scanning Prints at Home | Moderate | Low | Moderate | Those who want to save money and have some time to invest in the process. |
| Scanning Negatives/Slides | Highest | Moderate/High | Moderate | Those who want the highest possible quality and are willing to invest in a film scanner. |
| Smartphone Film Scanner | Good | Low | High | Those who want a convenient and affordable way to scan their film. |
| Photographing Prints with Your iPhone | Low | Free | Highest | Those who need a quick and easy way to digitize their photos and don’t care about the quality. |
| Disposable Camera Apps | Simulated | Free/Low | Highest | Those who want to recreate the experience of using a disposable camera without actually using one. |
9. Optimizing Your Film Photos on Your iPhone
Now that you have your film photos on your iPhone, what can you do with them?
Here are some tips for optimizing your film photos on your iPhone:
9.1. Editing Apps
- Snapseed: A free and powerful photo editing app with a wide range of tools and filters.
- VSCO: A popular app with a focus on film-like filters and subtle adjustments.
- Adobe Lightroom Mobile: A professional-grade photo editing app with advanced features and cloud syncing.
9.2. Adjustments
- Brightness and Contrast: Adjust the brightness and contrast to improve the overall look of your photos.
- Color Correction: Correct any color casts or imbalances to make your photos look more natural.
- Sharpening: Sharpen your photos to bring out the details.
- Cropping: Crop your photos to improve the composition and remove any unwanted elements.
9.3. Sharing
- Social Media: Share your film photos on social media platforms like Instagram, Facebook, and Twitter.
- Email: Send your film photos to friends and family via email.
- Cloud Storage: Back up your film photos to cloud storage services like Google Drive, Dropbox, or iCloud.
10. Common FAQs About Getting Film Photos on iPhone
Got questions about getting film photos on your iPhone? Here are some frequently asked questions and their answers:
10.1. Can I develop disposable camera film at home?
Yes, it’s possible to develop disposable camera film at home, but it requires special equipment and chemicals. It’s generally easier and more convenient to have a photo lab develop your film.
10.2. How much does it cost to develop disposable camera film?
The cost to develop disposable camera film varies depending on the lab and the services you choose. Expect to pay around $10-$20 for development and printing.
10.3. Can I get digital copies of my film photos from any photo lab?
Most photo labs offer digital conversion services, but it’s always best to check beforehand.
10.4. What resolution should I scan my film photos at?
For prints, 300 DPI is generally sufficient. For negatives and slides, 3000 DPI or higher is recommended for the best quality.
10.5. What file format should I save my scanned film photos in?
TIFF is the best file format for archival purposes, as it preserves the most information. JPEG is a good choice for smaller file size and sharing.
10.6. How can I remove dust and scratches from my scanned film photos?
Photo editing software like Adobe Photoshop and GIMP have tools for removing dust and scratches from your photos.
10.7. What are some good photo editing apps for iPhone?
Snapseed, VSCO, and Adobe Lightroom Mobile are all excellent photo editing apps for iPhone.
10.8. How can I share my film photos on Instagram?
You can share your film photos on Instagram by uploading them from your iPhone’s photo library.
10.9. How can I back up my film photos to the cloud?
You can back up your film photos to cloud storage services like Google Drive, Dropbox, or iCloud.
10.10. Where can I learn more about film photography?
dfphoto.net is a great resource for learning more about film photography. You can also check out books, magazines, and online forums dedicated to film photography.
Conclusion: Embrace the Best of Both Worlds
Getting film photos on your iPhone opens up a world of creative possibilities. Whether you choose to use a photo lab, scan your photos at home, or use a disposable camera app, you can enjoy the unique look and feel of film photography while taking advantage of the convenience and versatility of your iPhone.
Why not start your film photography journey today? Explore the resources available at dfphoto.net and discover the beauty and artistry of film photography.
Ready to dive deeper into the world of photography? Visit dfphoto.net today to explore our comprehensive guides, stunning photo galleries, and vibrant community of photographers. Whether you’re a seasoned pro or just starting out, you’ll find inspiration and resources to help you hone your skills and express your creativity.
(Address: 1600 St Michael’s Dr, Santa Fe, NM 87505, United States. Phone: +1 (505) 471-6001. Website: dfphoto.net.)