Have you ever wanted to personalize fabric with your own photos or designs but were put off by lengthy and complicated processes? Many crafters are hesitant to try image transfers onto fabric due to the often-cited long drying times. However, there’s a faster way! By using a heat gun, you can achieve beautiful image transfers onto fabric in just about 10 minutes. This method significantly speeds up the process, making it perfect for quick projects and satisfying your creative urges without long waits.
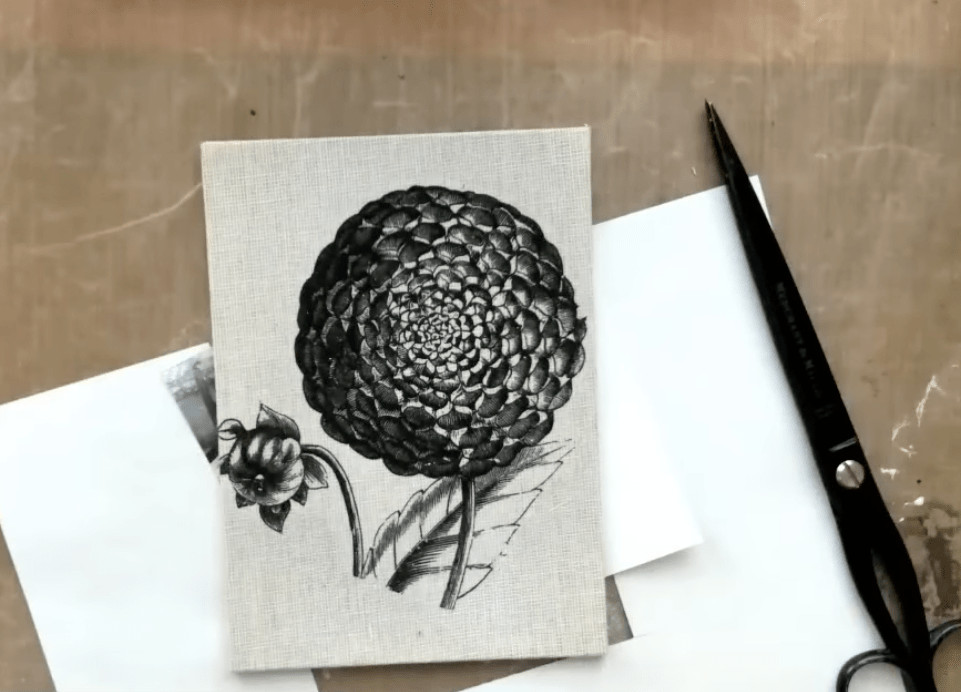 Demonstrating the quick image transfer process onto fabric using a heat gun, highlighting the reduced drying time.
This guide will walk you through a simple, step-by-step method to print photos onto fabric quickly and efficiently. Whether you’re looking to create custom patches, personalize clothing, or add unique designs to home décor, this technique opens up a world of creative possibilities. Let’s dive into this speedy fabric photo printing method!
Materials You’ll Need for Fast Fabric Photo Transfers
Before you begin, gather these essential materials to ensure a smooth and successful 10-minute image transfer:
- Printed Image: Use a laser or inkjet printer to print your chosen high-contrast image. The clarity of your print will directly impact the final transfer quality.
- Fabric: Select your fabric. Natural fabrics like cotton and linen work exceptionally well for image transfers.
- Matt Medium: This is crucial for adhering the image to the fabric. A thin layer of matt medium ensures a clean transfer.
- Non-Stick Surface: A plastic sheet or silicone craft mat will protect your work area and prevent the image from sticking to your surface.
- Heat Gun: This is the star of the show, drastically reducing drying time. A standard heat gun used for crafts will suffice.
- Bone Folder or Fingers: For smoothing the image onto the fabric and ensuring good contact.
- Water: You’ll need water for soaking the fabric and image after drying.
- Rag: A soft rag will be used to gently remove the paper backing and reveal your transferred image.
- Magic Eraser (Optional): For removing any residual haze after the transfer.
Step-by-Step Guide: 10-Minute Fabric Photo Transfer
Follow these steps to quickly and effectively print your photos onto fabric:
- Prepare Your Image: Print your high-contrast image using either a laser or inkjet printer. Once printed, carefully cut out the image, removing any excess paper around the edges for a cleaner transfer.
- Set Up Your Workspace: Place your non-stick surface on your work area. This will prevent your image from sticking to your table or other surfaces during the process.
- Apply Matt Medium: Place your printed image face up on the non-stick surface. Apply a thin, even layer of matt medium to the front (printed side) of the image. Ensure complete coverage for an even transfer.
- Adhere Fabric to Image: Take your chosen fabric and carefully place it face down onto the wet matt medium on the image.
- Smooth and Secure: Gently but firmly smooth the fabric onto the image. Use a bone folder or your fingers to ensure there are no air bubbles and the fabric is in full contact with the image. Smooth from the center outwards to avoid wrinkles.
- Speed Dry with Heat Gun: Using your heat gun on a low setting, dry the image and fabric for several minutes. Move the heat gun evenly across the surface to ensure consistent drying. This step replaces the long air-drying time, making this method incredibly fast.
- Soak in Water: After heat-drying, soak the fabric and image in water for about 3 minutes. This helps to loosen the paper backing for easy removal.
- Remove Paper Backing: Gently rub the top layer of paper off with your finger. Start from one corner and work your way across.
- Refine the Transfer: Use a rag, dampened with water, to carefully remove the remaining paper. Work from the center outwards to prevent damaging the transferred image. As the paper pieces become smaller and more stubborn, use the heat gun again to dry the area, which can make removing the last bits of paper easier.
- Remove Haze (Optional): If there’s a slight haze remaining on your transferred image after the paper is removed, gently use a magic eraser product to lift it. Be careful not to rub too hard, as this could damage the transferred image.
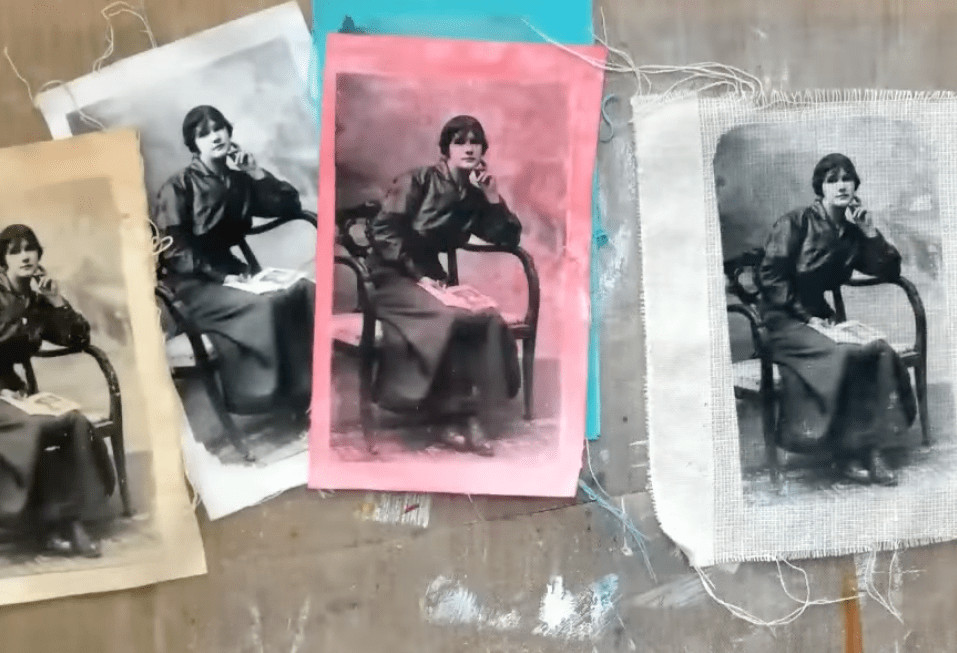 Step-by-step guide for transferring images onto fabric in 10 minutes using a heat gun and matte medium.
Conclusion: Fast, Fun, and Fabric-Ready Photos
With this quick 10-minute method, printing photos onto fabric becomes an accessible and enjoyable craft. The heat gun is a game-changer, eliminating the usual long wait times and allowing for immediate results. Experiment with different images, fabrics, and projects to fully explore the creative potential of this technique.
Have you tried image transfers onto fabric before, or are you inspired to try this method now? Share your experiences and results!
