Transforming your photos into stunning works of art is easier than you think. This tutorial provides a step-by-step guide on how to achieve a painted effect using Adobe Lightroom, a powerful photo editing software. By adjusting basic settings and utilizing the Split Toning feature, you can create beautiful, painterly images and even save your customized settings as a preset for future use.
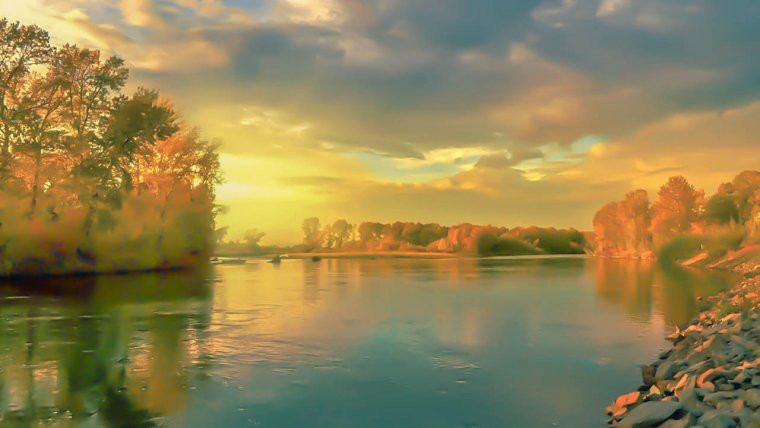 Alt text: A landscape photo of a lake and mountains at sunset, edited to look like a painting.
Achieving the Painted Look: A Step-by-Step Guide
This process begins with selecting a landscape image. Free stock photo websites like Pixabay and Pexels are great resources if you don’t have a suitable image.
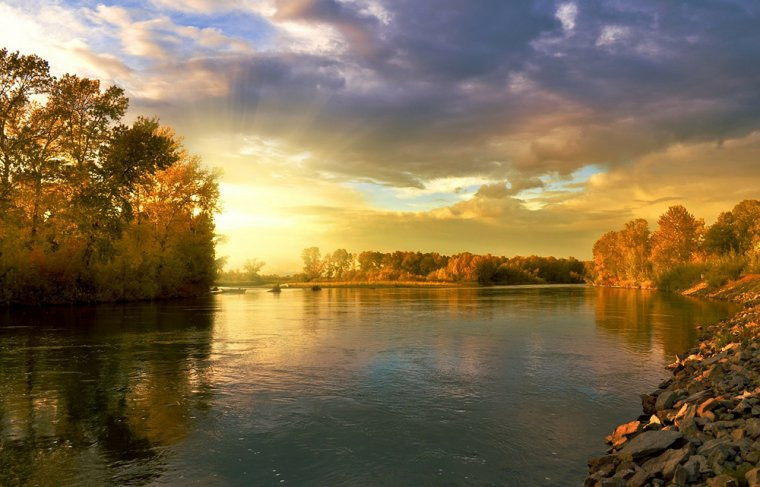 Alt text: The original landscape photo before applying the painting effect.
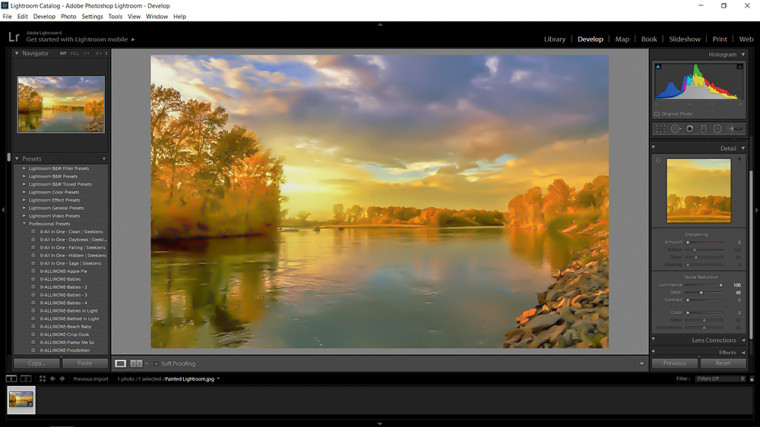
1. Basic Adjustments:
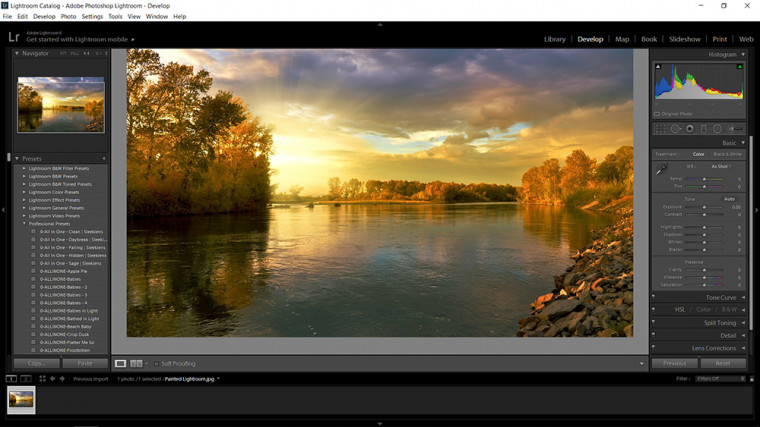
After importing your chosen image into Lightroom, start with these fundamental adjustments:
- Highlights: Reduce to -100.
- Shadows: Increase to +100.
 Alt text: Screenshot of Lightroom's basic adjustment panel, showing highlights and shadows sliders.
Remember to use your own discretion – if the image becomes too dark or overexposed, adjust the sliders accordingly.
- Whites and Blacks: Hold down the Alt key (Option key on Mac) while adjusting the Whites and Blacks sliders. Drag each slider until you see pixels appear, then pull back slightly until they disappear. This technique helps you find the optimal balance for these settings.
 Alt text: Screenshot of Lightroom, demonstrating the technique of holding Alt while adjusting Whites and Blacks.
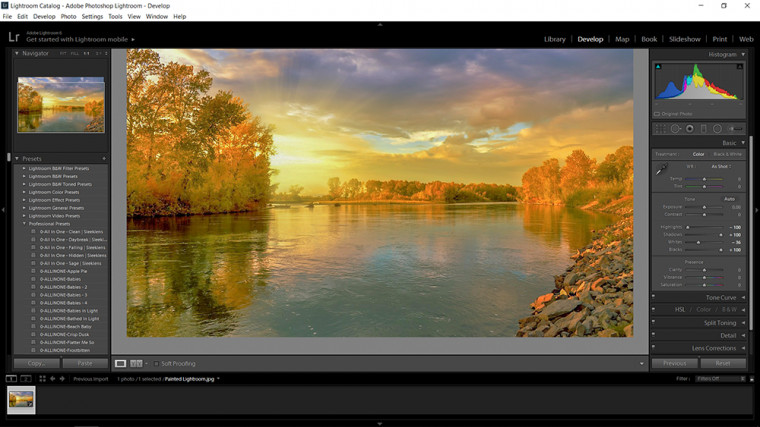
2. Enhancing Detail and Texture:
- Luminance: In the Detail panel, move the Luminance slider to 100. This might introduce some pixelation.
- Detail: Adjust the Detail slider to minimize any unwanted pixelation while maintaining the painted effect. The specific value will depend on your image.
 Alt text: Screenshot of Lightroom's Detail panel, highlighting the Luminance and Detail sliders.
3. Applying Split Toning:
Split Toning is crucial for achieving a painterly look.
- Highlights: Double-click the color box next to the Highlights slider and choose a color that complements your image. For a sunset scene, yellow is a good choice.
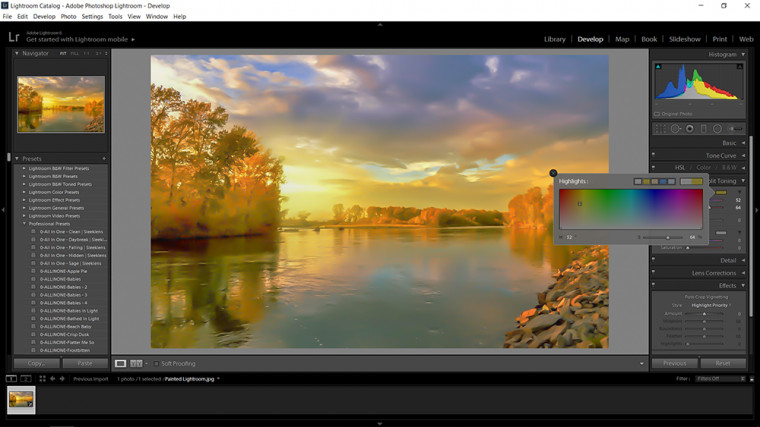 Alt text: Screenshot of Lightroom's Split Toning panel, showing the Highlights color selection.
- Shadows: Repeat the process for the Shadows, selecting a contrasting color. Blue works well with yellow.
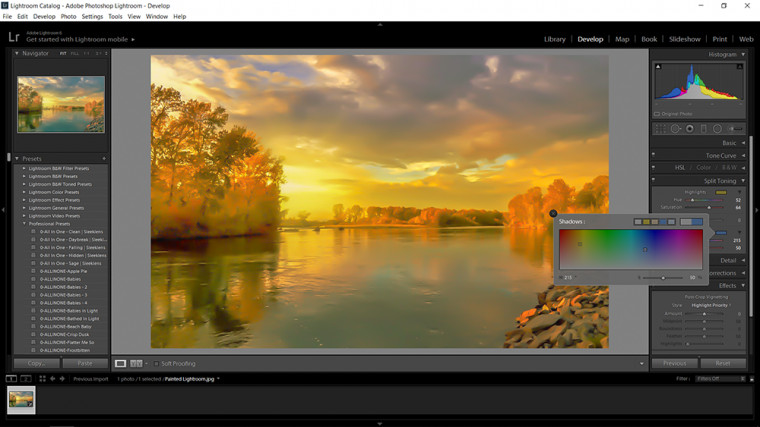 Alt text: Screenshot of Lightroom's Split Toning panel, showing the Shadows color selection.
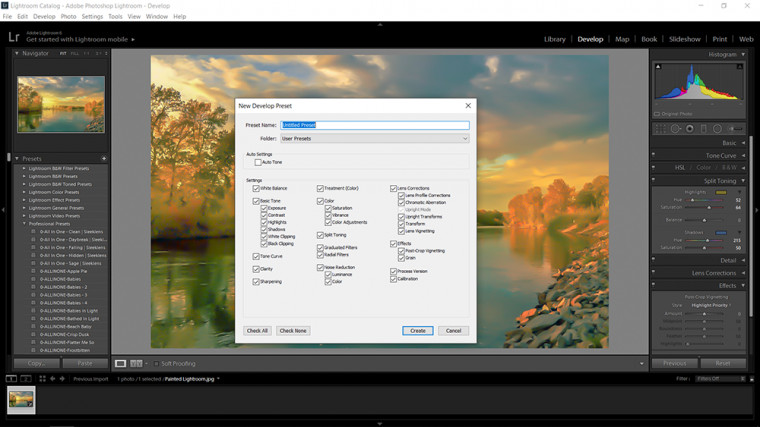
4. Saving as a Preset:
Once you’re satisfied with the effect, save these settings as a preset:
- Click the “+” button in the Presets panel.
- Name your preset (e.g., “Painted Effect”).
- Click “Create.”
 Alt text: Screenshot of Lightroom, demonstrating how to save the settings as a preset.
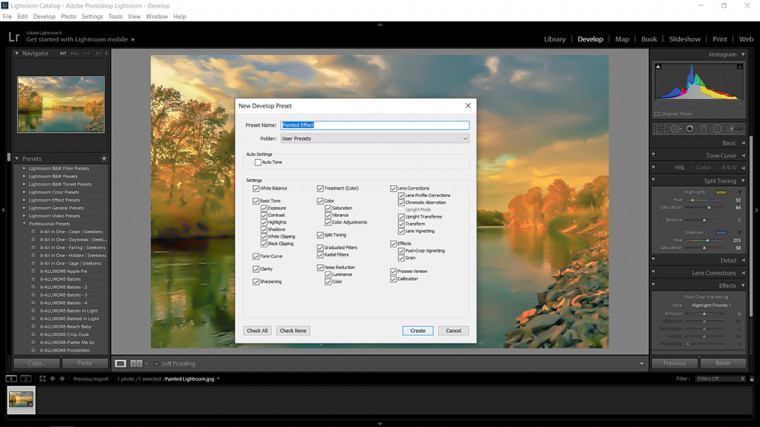 Alt text: Screenshot of the New Develop Preset dialog box in Lightroom.
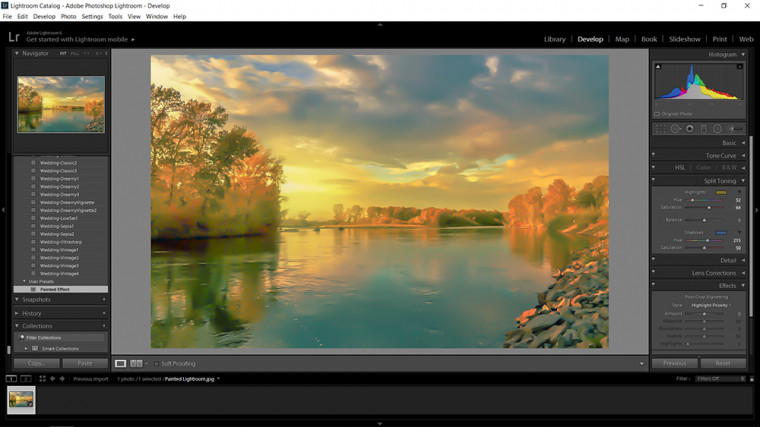 Alt text: Screenshot of Lightroom, showing the newly created preset in the User Presets folder.
Now you can easily apply this effect to other photos.
Final Result
This technique results in a subtly blurred image that retains realism while conveying a distinctive painted aesthetic.