Sending photos from your phone via email is a common task, whether for work, personal use, or sharing memories. This guide provides a comprehensive walkthrough on how to attach images to your emails directly from your smartphone.
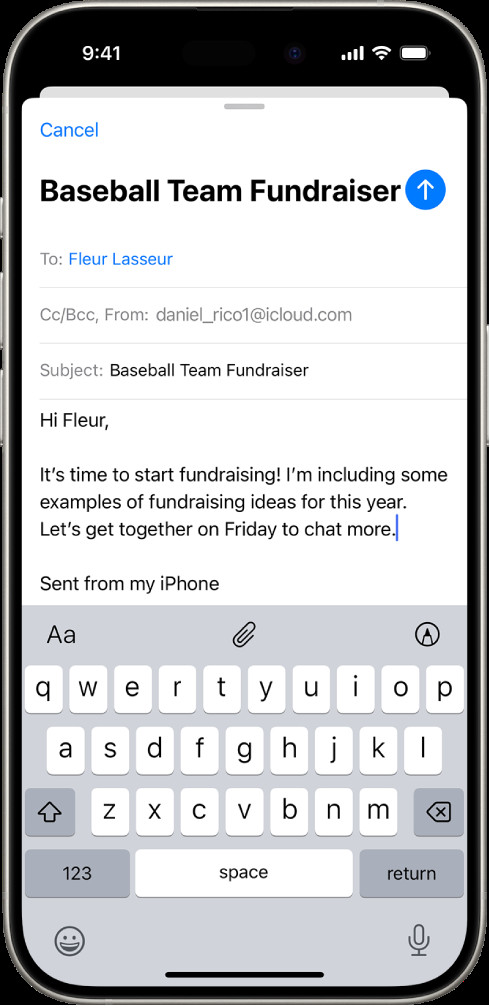 A draft email being composed with the attachment options above the keyboard.
Attaching Images from Your Phone’s Gallery
Most email apps allow seamless integration with your phone’s photo gallery. Here’s a general process:
- Open Your Email App: Launch your preferred email application on your smartphone.
- Compose a New Email or Reply: Start a new email message or reply to an existing thread.
- Locate the Attachment Option: Look for an icon that symbolizes an attachment, often a paperclip or a plus sign. This button might be located within the text formatting toolbar or near the send button.
- Select “Attach File” or Similar: Tapping this option will usually open a menu allowing you to choose the source of your attachment.
- Choose “Image” or “Gallery”: Select the option to access your phone’s photo library or gallery.
- Browse and Select Your Photo: Navigate through your photos and select the image you wish to attach. You might be able to select multiple photos simultaneously, depending on your email app.
Taking a New Photo and Attaching It
Many email apps offer the convenience of capturing a new photo directly within the app and attaching it to your email:
- Access the Attachment Options: Follow steps 1-3 from the previous section.
- Choose “Camera” or “Take Photo”: Instead of selecting from your existing photos, choose the option to activate your phone’s camera.
- Capture the Photo: Take a new photo using your phone’s camera interface.
- Review and Attach: After capturing the photo, you’ll typically have the option to review it. If you’re satisfied, confirm to attach the image to your email.
Important Considerations
- File Size Limits: Email providers often impose limitations on attachment sizes. Large images might need to be compressed or sent via alternative methods like cloud storage links.
- Image Quality: Consider resizing or compressing images before attaching them to reduce file size and ensure faster sending and downloading.
- Recipient Compatibility: Ensure the image format (e.g., JPEG, PNG) is compatible with the recipient’s email client.
Sending photos from your phone is a straightforward process. By understanding the basic steps and considering factors like file size and recipient compatibility, you can efficiently share your images via email.