A Macbook Air’s built-in camera makes taking photos a breeze. This guide provides a step-by-step approach on how to capture images using your Macbook Air, along with tips for improving image quality. Whether you need a quick selfie or want to document something important, learning to utilize your Macbook’s camera effectively is a valuable skill.
 An iMac with people using Center Stage.
Utilizing the Built-in Camera
The camera on your Macbook Air is typically located at the top edge of the display. It activates automatically when you launch applications like Photo Booth or FaceTime. You’ll notice a green indicator light beside the camera when it’s in use. To take a photo, follow these simple steps:
Using Photo Booth:
- Open the Photo Booth application from your Applications folder.
- Position yourself in front of the camera.
- Click the red camera button to capture a still photo.
Using Other Applications:
Several other applications allow you to take photos using the built-in camera. Explore options within apps like FaceTime or messaging platforms that offer video calling features. Look for camera icons or options to capture still images within these apps.
Enhancing Your Macbook Air Photos
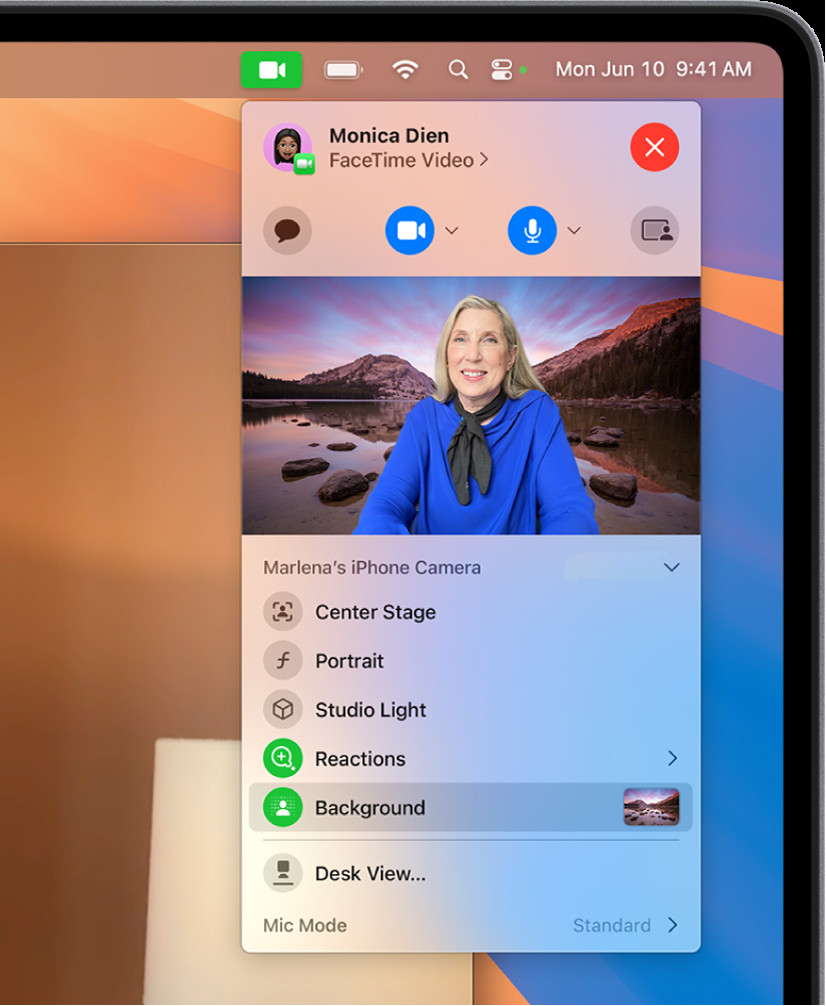 A person using a background during a FaceTime call.
While the Macbook Air’s camera is convenient, a few simple steps can significantly improve your photo quality:
Lighting is Key
Ensure adequate lighting, preferably from the front. Avoid backlighting, as it can make your photos appear dark and underexposed. Natural light is ideal, but if that’s not possible, use a soft light source positioned in front of you.
Clean Your Lens
Regularly clean the camera lens with a soft, lint-free cloth. Dust and smudges can negatively impact image clarity.
Optimize Your Internet Connection
For applications that utilize the camera for video calls, a strong internet connection is crucial for clear image transmission. Move closer to your Wi-Fi router or consider using a wired connection for optimal performance.
Explore In-App Settings
Many video conferencing and photo-taking applications offer settings to adjust camera quality. Explore these options to fine-tune brightness, contrast, and resolution for improved results.
Troubleshooting Camera Issues
If you encounter problems with your Macbook Air’s camera, try these troubleshooting tips:
- Restart your computer: A simple restart often resolves temporary software glitches.
- Check for updates: Ensure your macOS and applications are up-to-date.
- Review camera permissions: Verify that the application you’re using has permission to access the camera in System Preferences.
By following these guidelines, you can master taking photos on your Macbook Air and ensure high-quality results every time. Remember to experiment with different lighting and angles to find what works best for you.