Transferring photos to fabric opens up a world of creative possibilities. Whether you dream of personalized throw pillows, unique napkins adorned with vintage photos, or crafting fabric postcards, this guide will equip you with three simple methods to print photos on cloth.
Method 1: Using Photo Transfer Paper
This familiar technique involves using specialized photo transfer paper. You simply print your desired image and then iron it onto your chosen fabric.
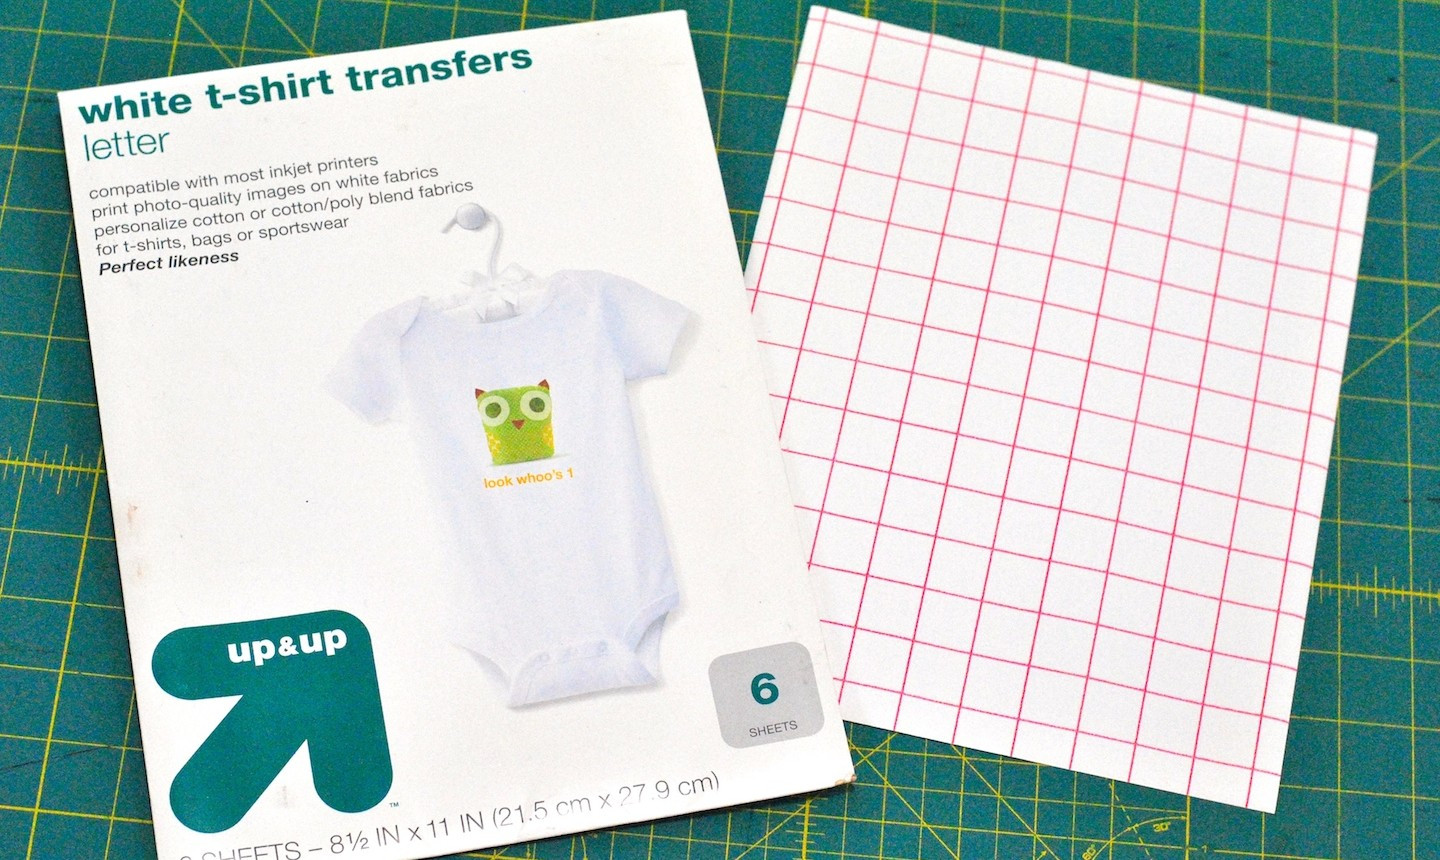
1. Choose the Right Paper
 alt text: Various types of transfer paper for light and dark fabrics.
Select transfer paper compatible with your printer type (inkjet or laserjet) and fabric color (light or dark). Carefully read the product instructions to ensure compatibility with your chosen fabric.
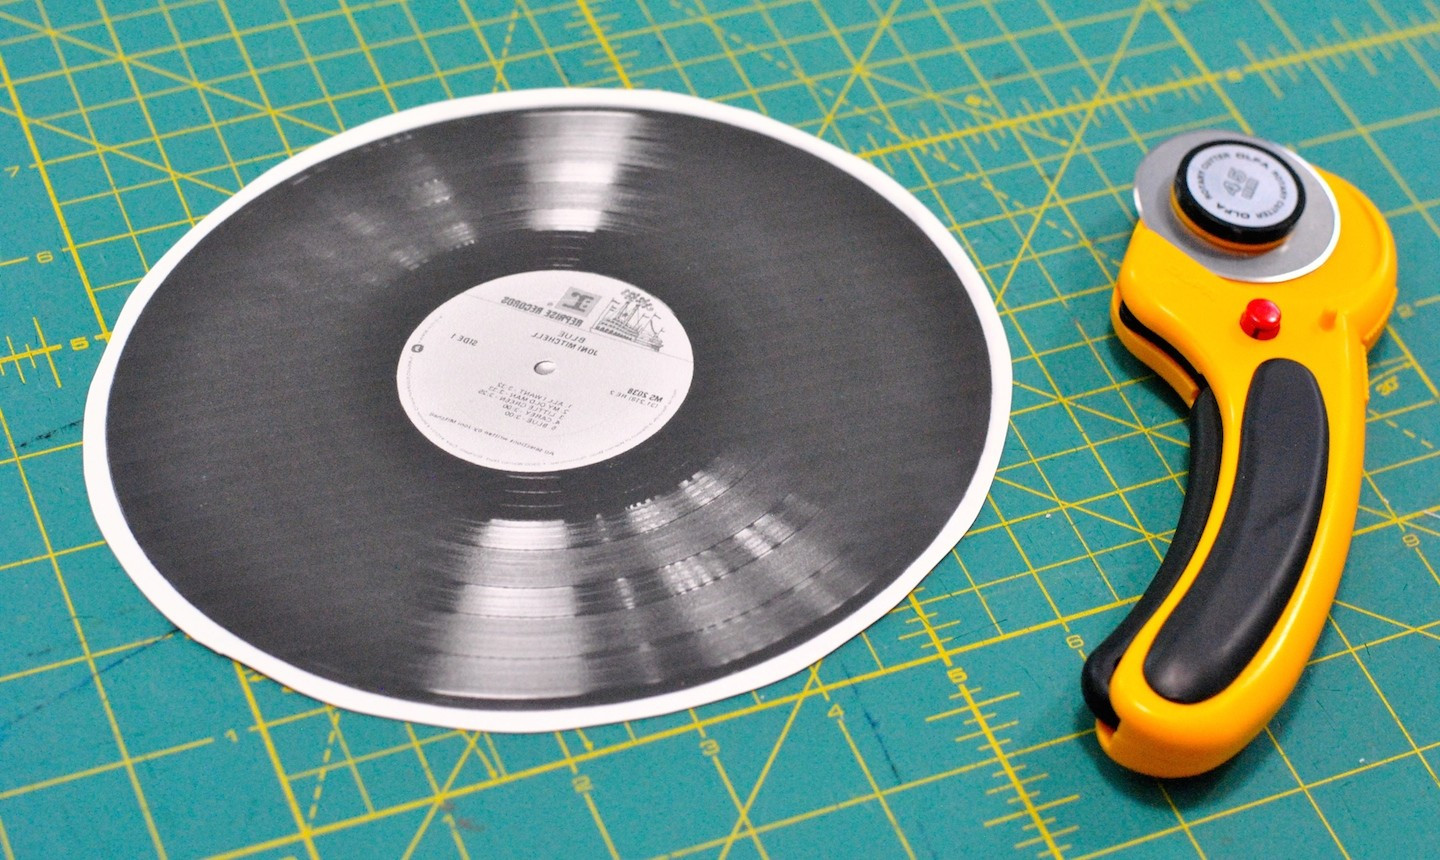
2. Print and Trim
 alt text: A printed image being trimmed with scissors.
Remember to reverse any text in your image before printing to avoid a mirrored result. Print a test sheet to determine the correct paper orientation. After printing, trim the image, leaving a ¼-inch border.
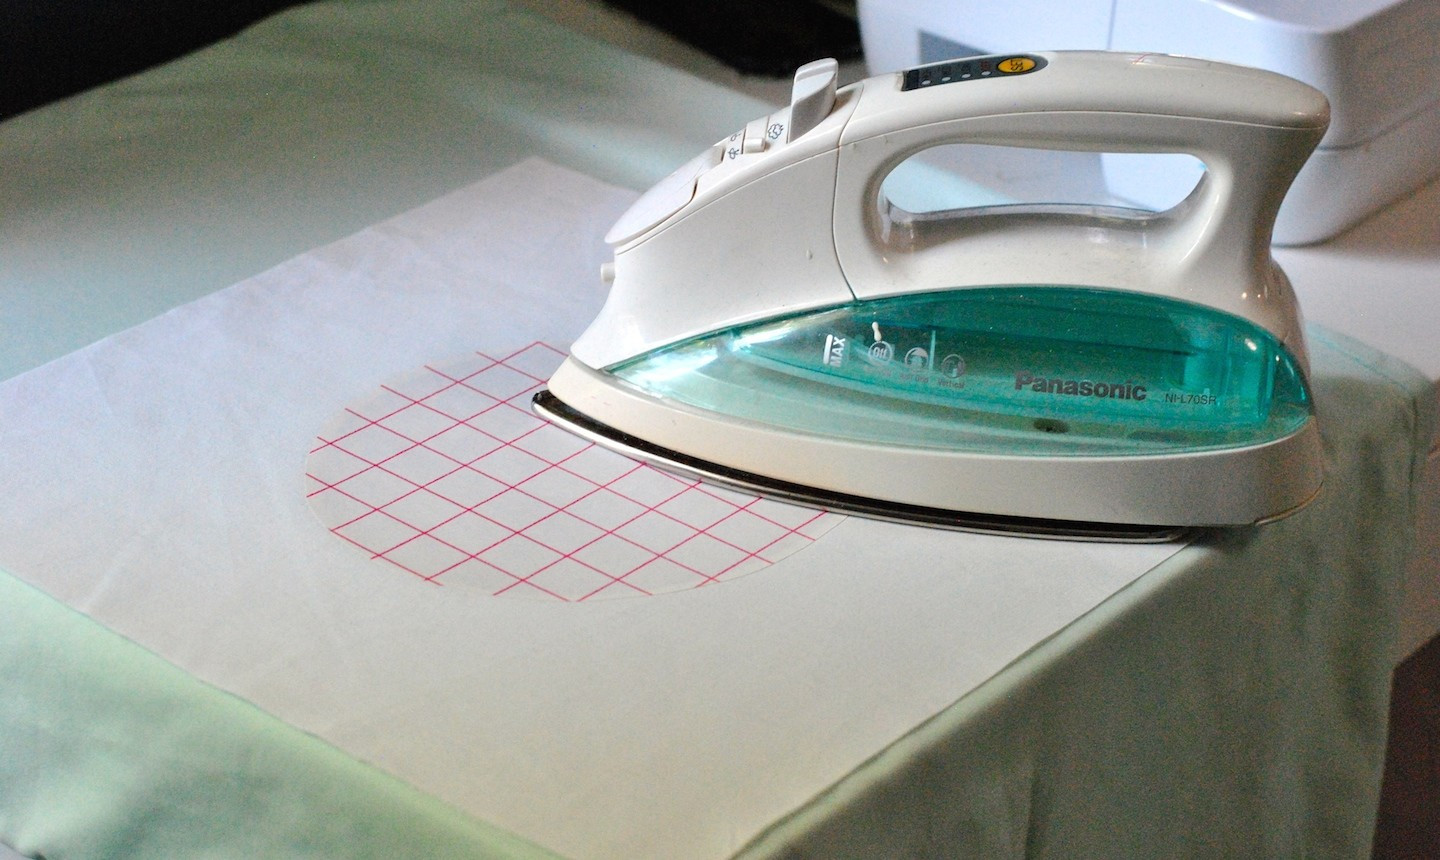
3. Iron the Image
 alt text: Ironing a photo transfer onto fabric using a pillowcase as padding.
Place a pillowcase on a hard, flat surface. Position your fabric face-up and the transfer paper face-down. Apply a hot, dry iron, following the manufacturer’s instructions for optimal results.
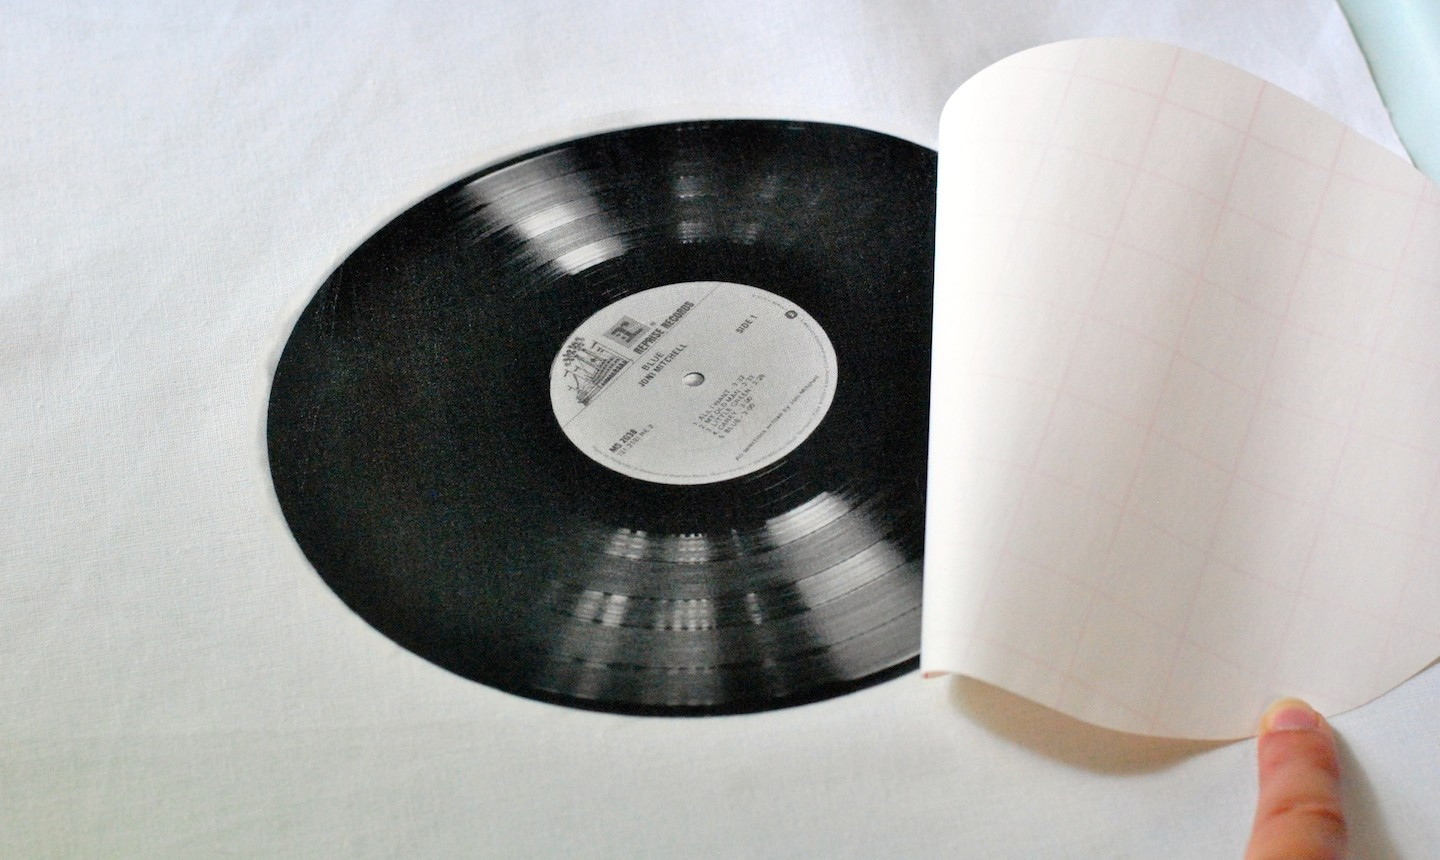
4. Peel the Backing
 alt text: Carefully peeling the backing paper from a photo transfer on fabric.
Once cooled, gently peel away the backing paper in a smooth, continuous motion to reveal your transferred image.
Method 2: Printing Directly with Freezer Paper
This innovative method allows you to print directly onto fabric using freezer paper to provide the necessary stiffness for your printer. This method works best with a laserjet printer.
1. Prepare Your Materials
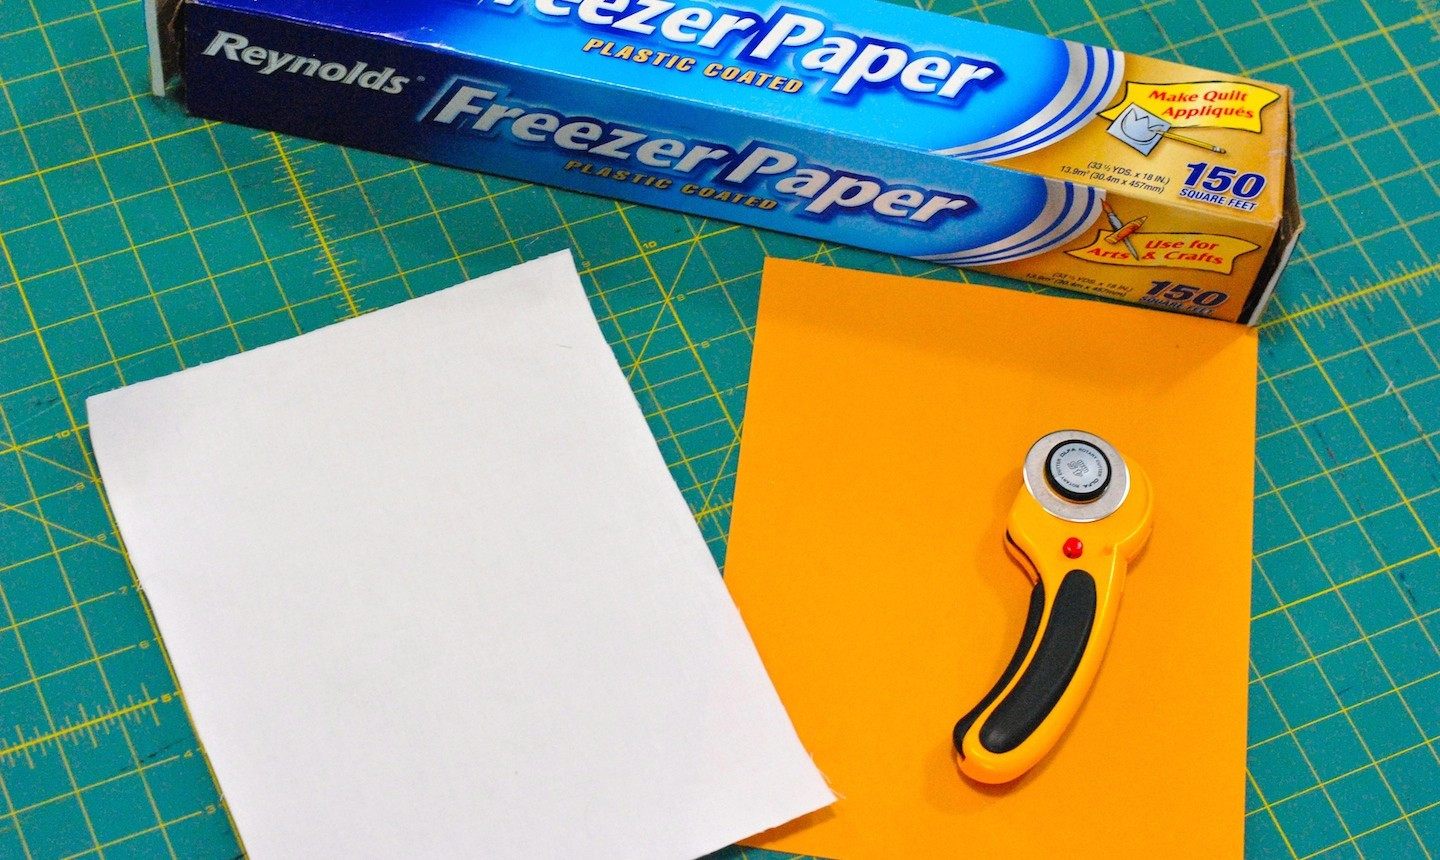 alt text: Cutting fabric and freezer paper to 8.5×11 inches using cardstock as a template.
Cut your fabric and a piece of freezer paper slightly larger than standard printer paper (8.5×11 inches). Use cardstock as a template to trim both the freezer paper and fabric to the precise size.
2. Fuse Fabric and Freezer Paper
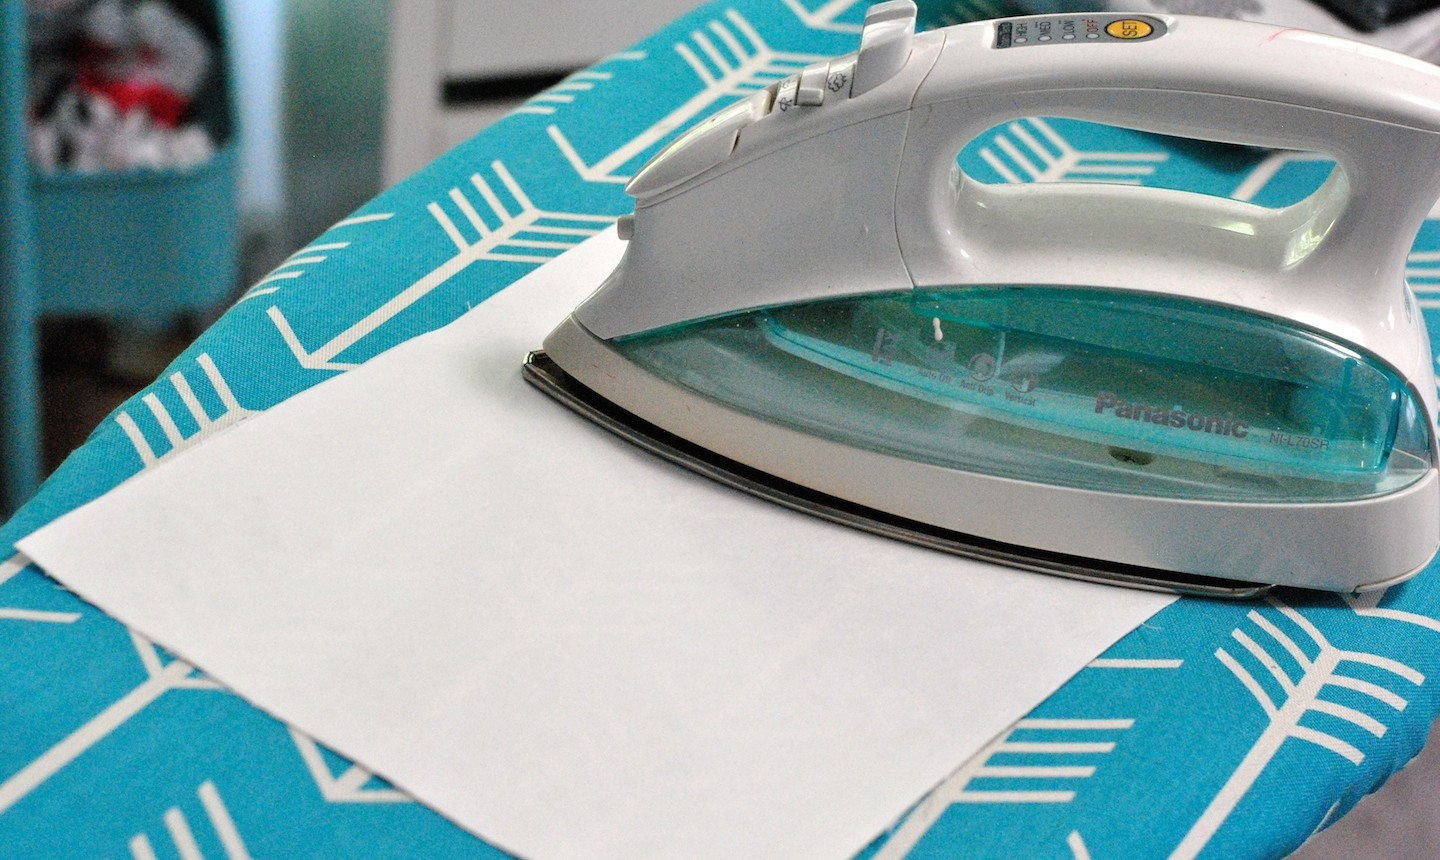 alt text: Ironing the waxy side of freezer paper to the back of fabric.
Iron the waxy side of the freezer paper onto the back of your fabric, creating a firm, printable surface.
3. Print Directly onto Fabric
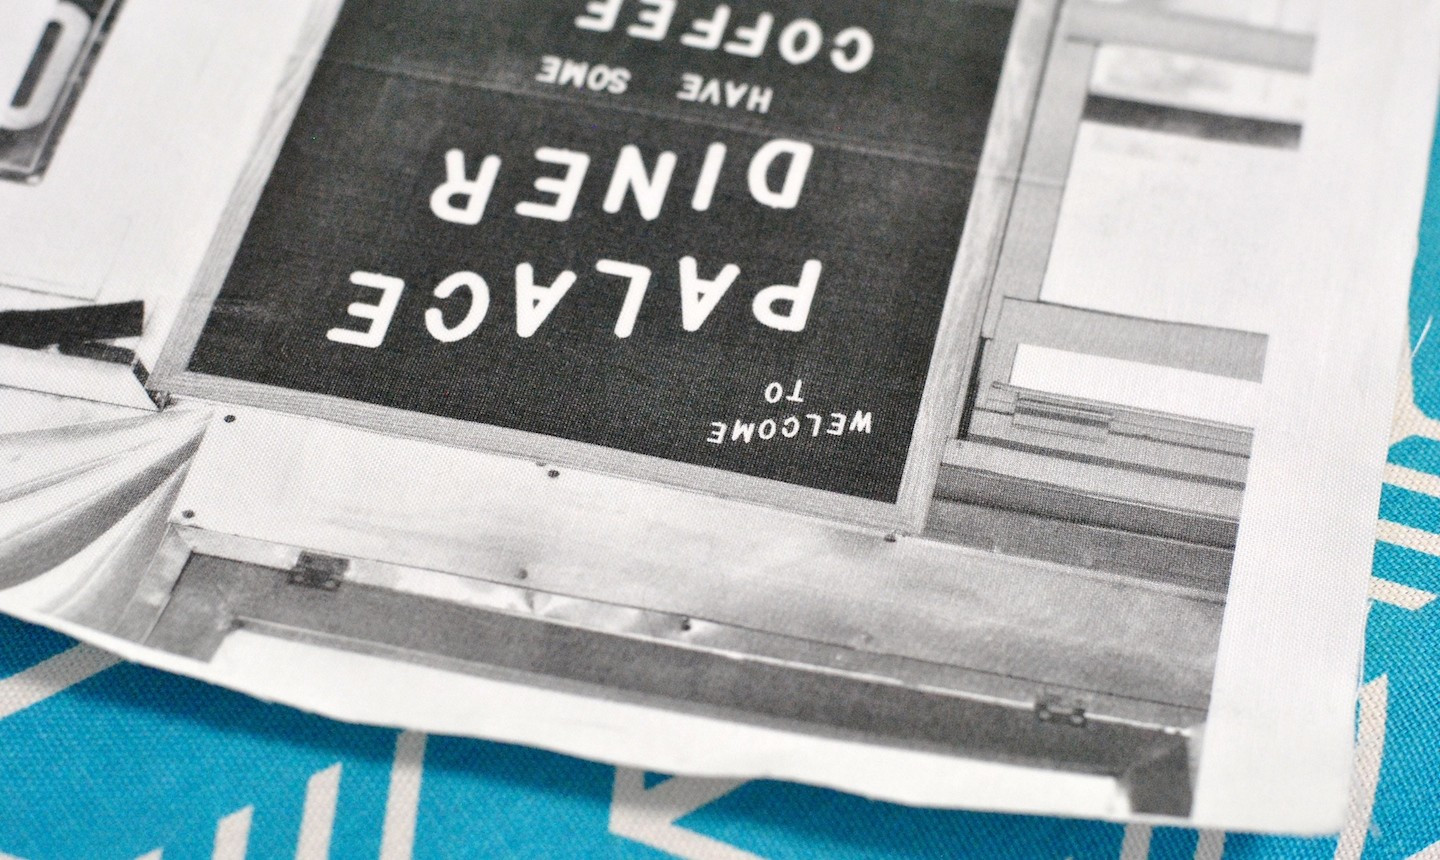 alt text: Fabric fused with freezer paper being fed into a printer.
Adjust your printer settings to “photo” for optimal quality. Run a test sheet to confirm orientation. Feed the fabric-freezer paper sheet through your printer, ensuring the image prints directly onto the fabric.
Method 3: Transferring Images with Gel Medium
This technique offers a unique way to transfer images from various sources, like postcards or magazine cutouts, using a gel medium.
1. Prepare Your Image
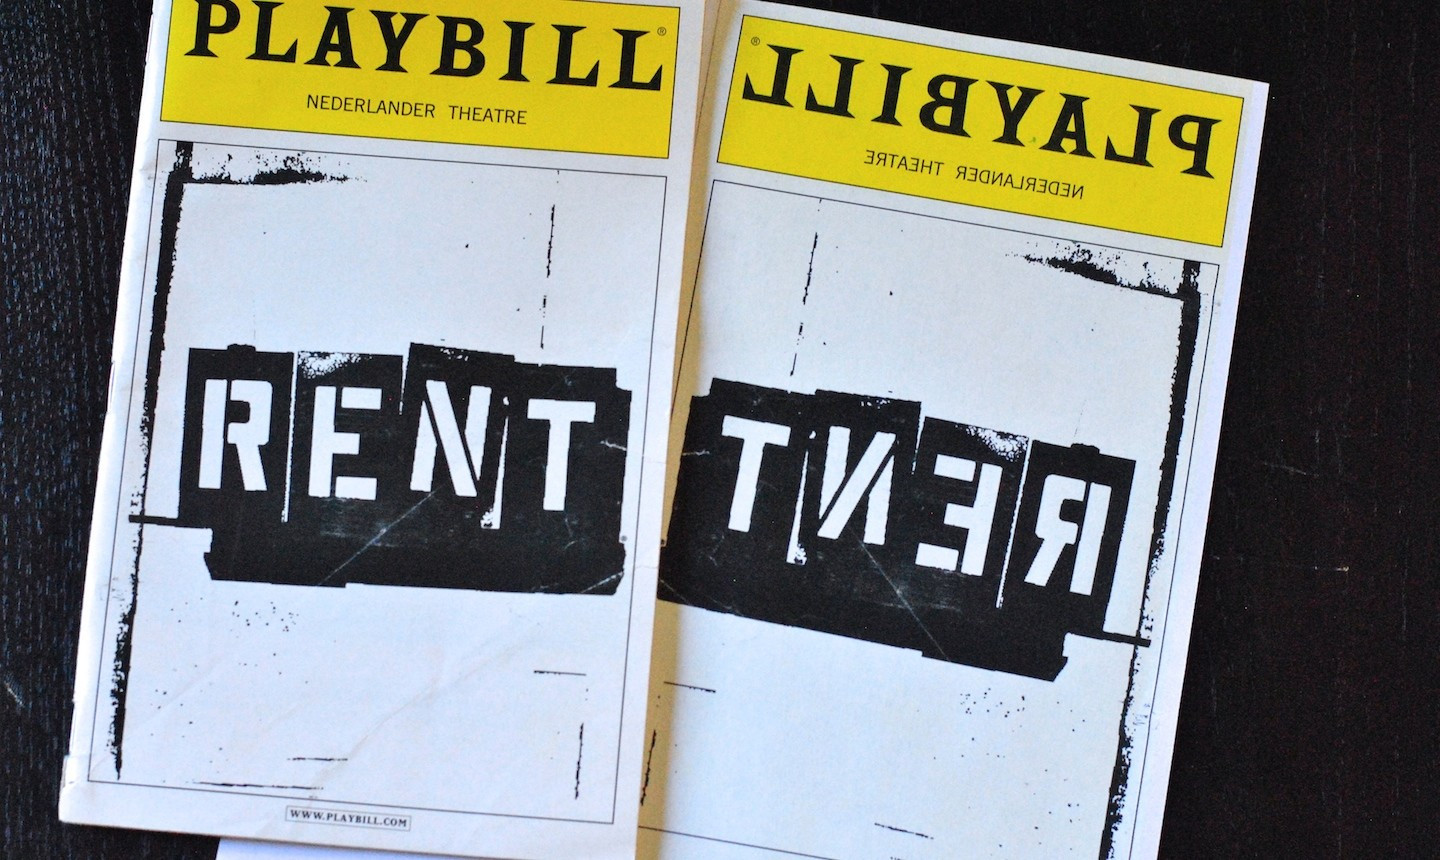 alt text: A playbill being photocopied.
Photocopy your chosen image. If it contains text, remember to reverse it beforehand.
2. Apply Gel Medium
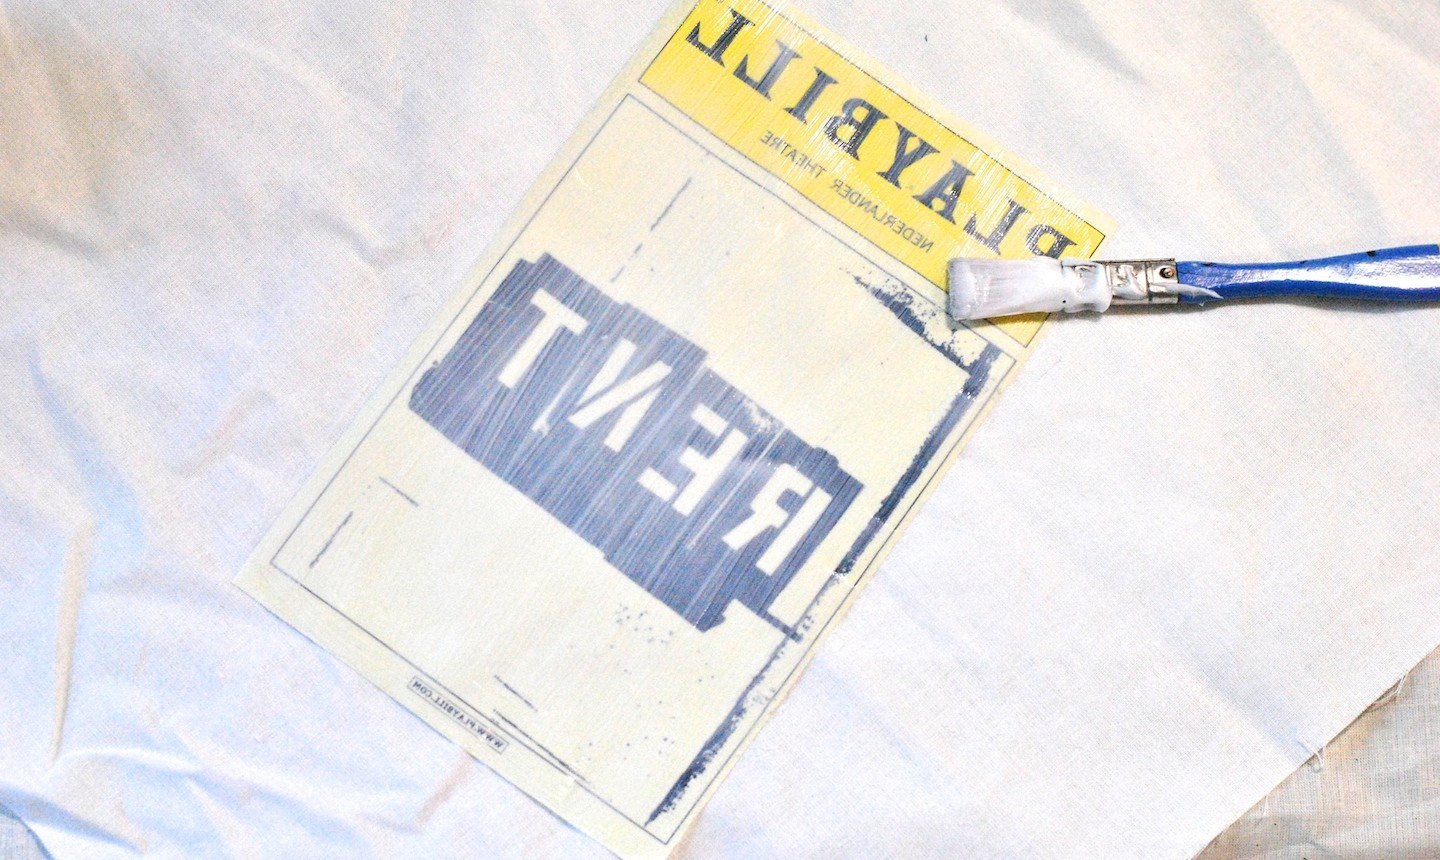 alt text: Applying a thick layer of gel medium to a copied image with a paintbrush.
Apply a generous coat of gel medium to the printed side of your image.
3. Adhere to Fabric
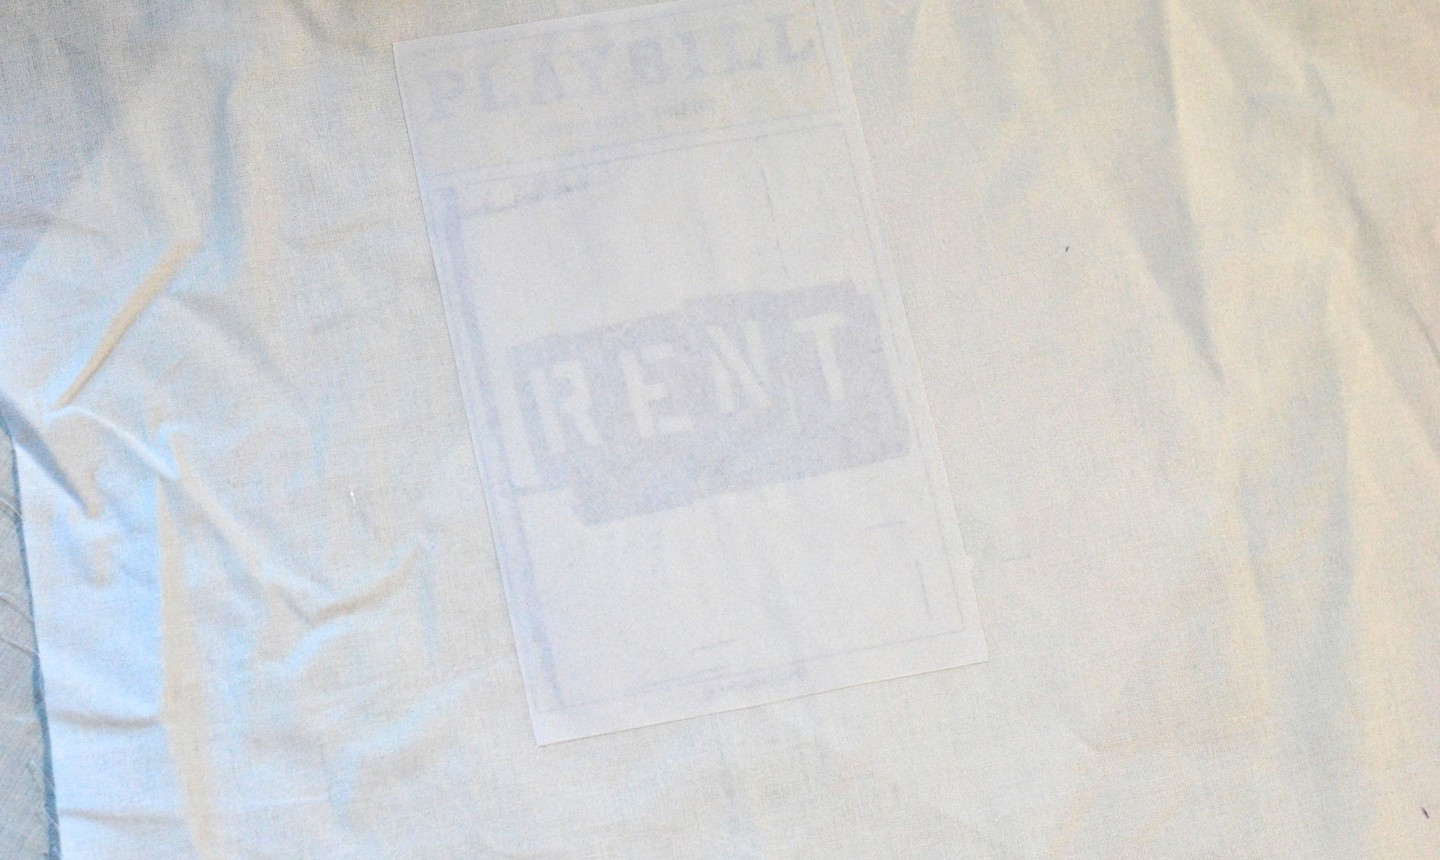 alt text: Placing a gel medium-coated image face down onto fabric and smoothing it out.
Place the image face-down onto your fabric, ensuring it’s smooth and wrinkle-free. Weigh it down with a heavy book and allow it to dry overnight.
4. Soak and Rub
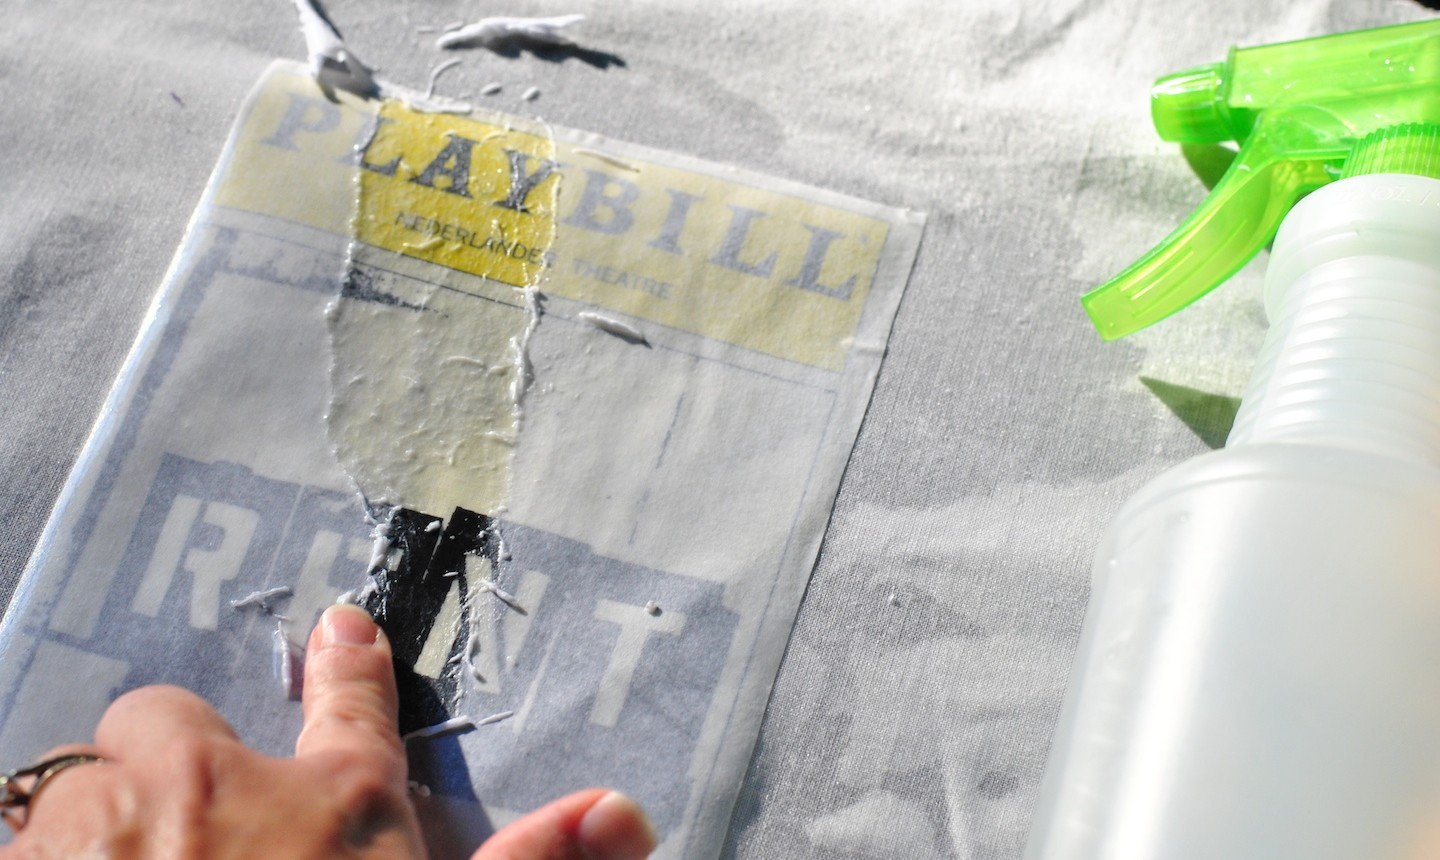 alt text: Spraying water onto a dried gel medium transfer and rubbing the paper backing.
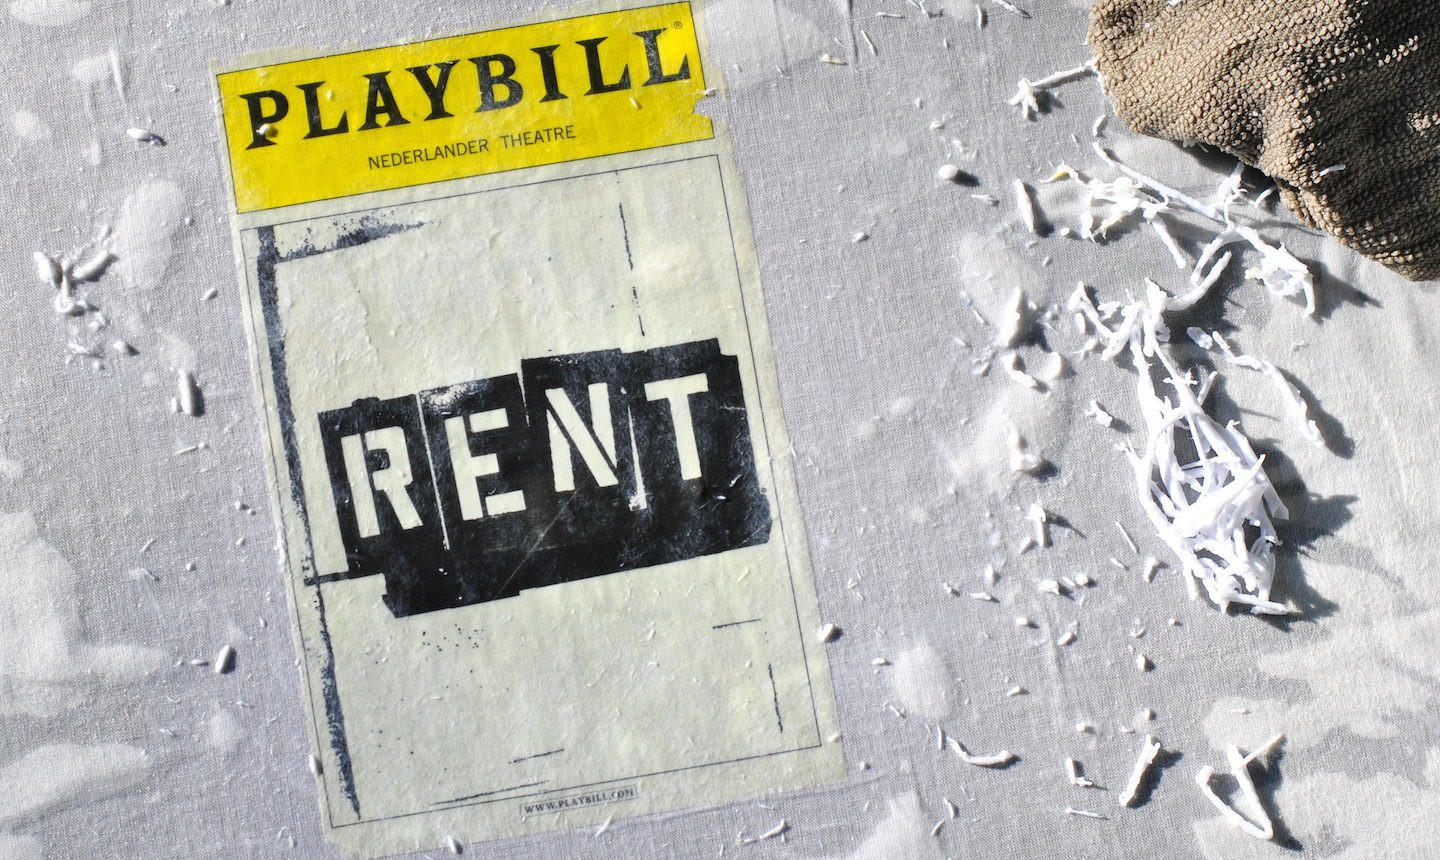 alt text: Continuing to rub the paper backing from a wet gel medium transfer.
Once dry, dampen the paper with water and gently rub away the backing, revealing the transferred image. Repeat this process until all paper is removed.
5. Rinse and Dry
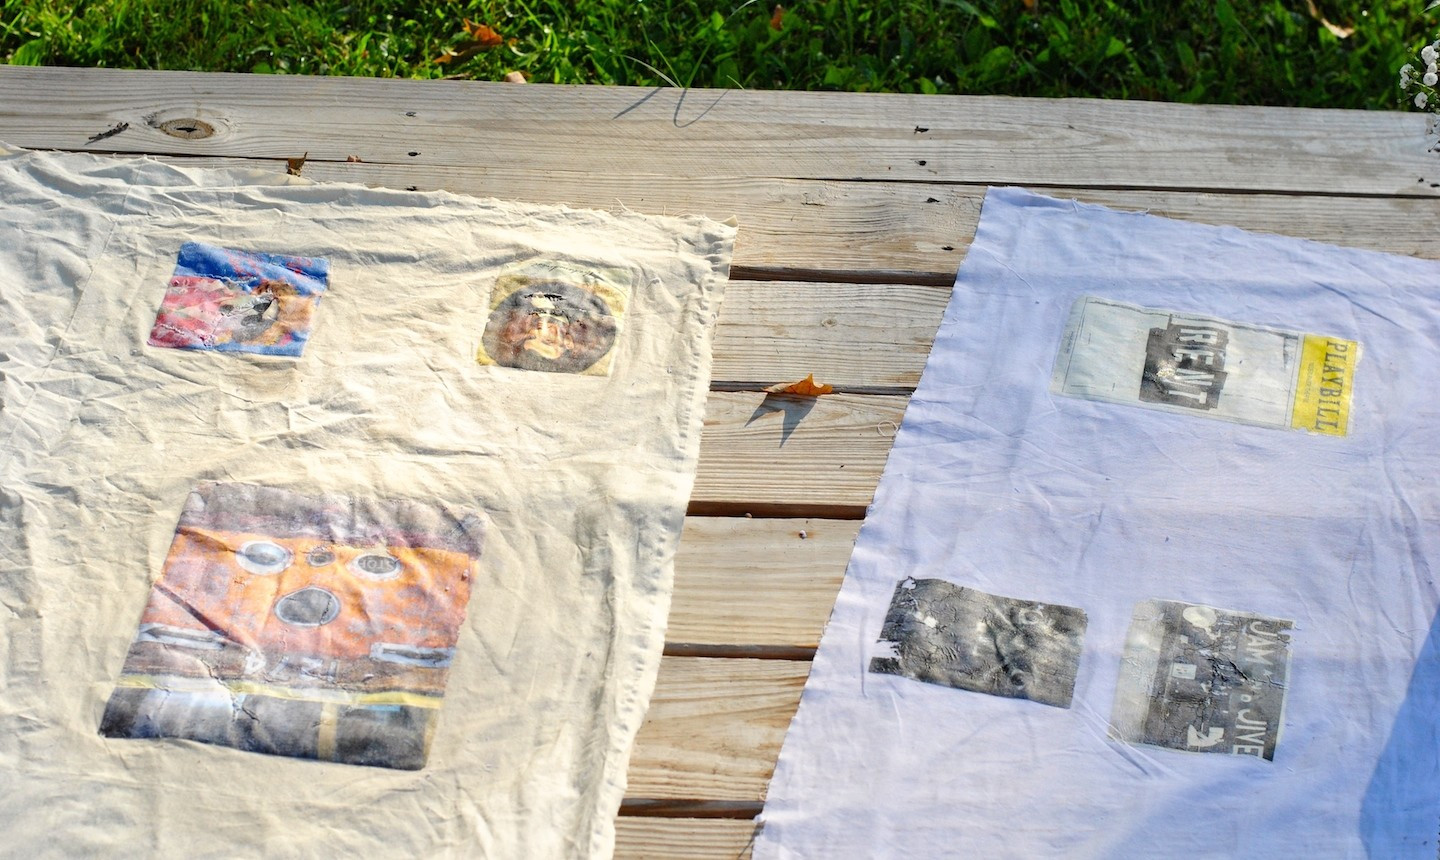 alt text: Hanging fabric with transferred images to dry.
Rinse the fabric thoroughly to remove any remaining paper residue. Allow the fabric to air dry or lay flat to dry in the sun. For added durability, apply a final coat of gel medium after the image is dry.