Transferring photos to wood using Mod Podge is a popular craft, but it can be frustrating. This tutorial provides a foolproof method for a successful mod podge photo transfer onto wood, ensuring a beautiful and lasting result. We’ll guide you step-by-step through the process, offering tips and tricks to avoid common mistakes.
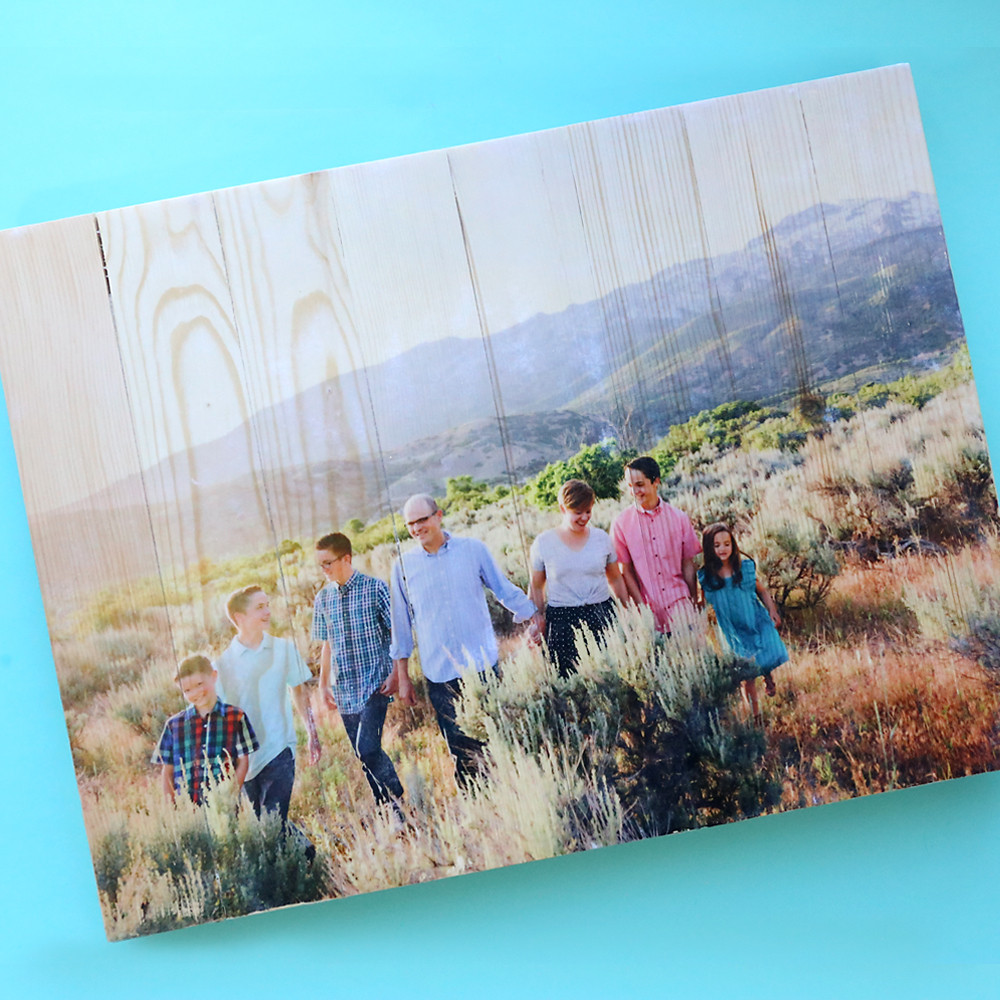 Wood pallet that a photo has been transferred onto
The Secret to a Smooth Transfer: Patience
The key to a flawless mod podge photo transfer lies in the drying time. While many tutorials suggest 8-24 hours, allowing the Mod Podge to dry for a full 72 hours significantly improves the ink transfer’s permanence. This extended drying period enables you to rub off the paper backing more aggressively without damaging the transferred image.
Gathering Your Supplies
Before you begin, ensure you have the following materials:
- Wood Surface: Choose a smooth piece of wood, a wood slice, or a pallet. Sand the surface smooth and remove any dust.
- Laser Printed Photo: This is crucial. Use a laser printer, not an inkjet. Print your image on regular printer paper (not photo paper) and ensure it’s reversed. Crop your photo to match the size of your wood.
- Mod Podge: Regular matte Mod Podge works best for this technique. Avoid the Photo Transfer medium as it transfers the white areas, obscuring the wood grain.
- Foam Brush: For applying the Mod Podge evenly.
- Credit Card or Brayer: To smooth out air bubbles.
- Spray Bottle or Sponge: For wetting the paper during removal.
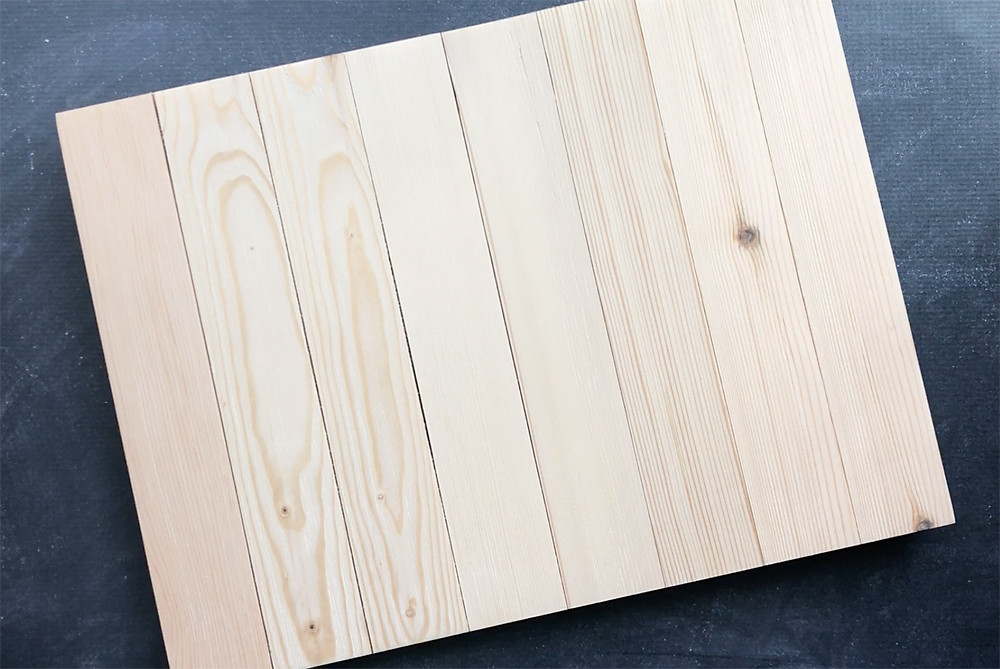 Unfinished Wood pallet sign
Step-by-Step Instructions
-
Apply Mod Podge: Apply a generous, even coat of Mod Podge to the wood surface using the foam brush.
-
Place the Photo: Carefully place the reversed laser print face down onto the wet Mod Podge. Smooth out any air bubbles with a credit card or brayer, working from the center outwards. Wipe away any excess Mod Podge.
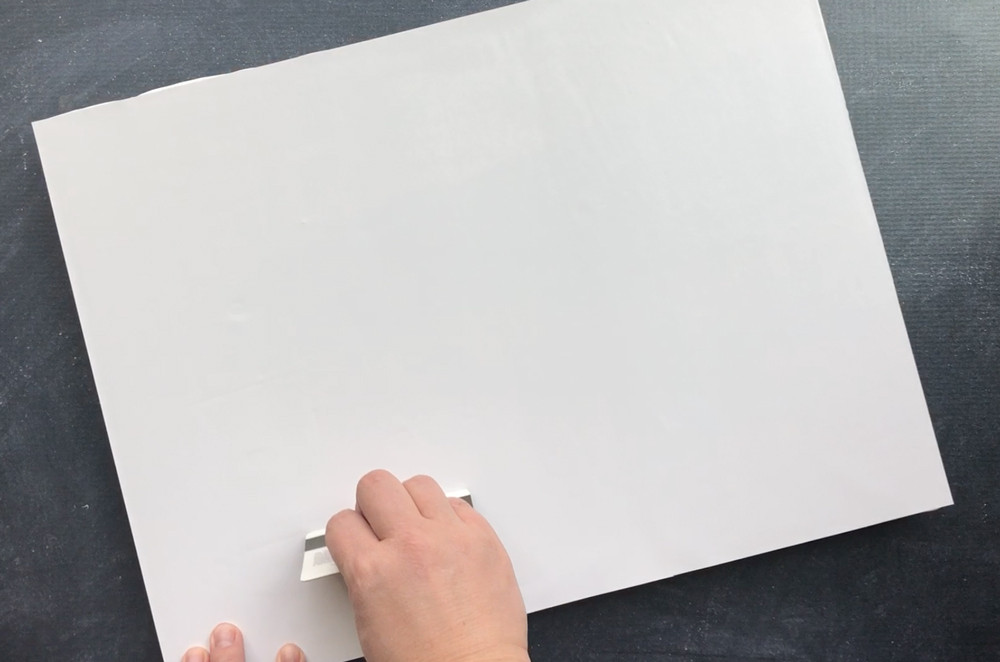 Hand using credit card to smooth photo down
 -
Dry for 72 Hours: This is the most important step! Allow the project to dry undisturbed for three full days.
-
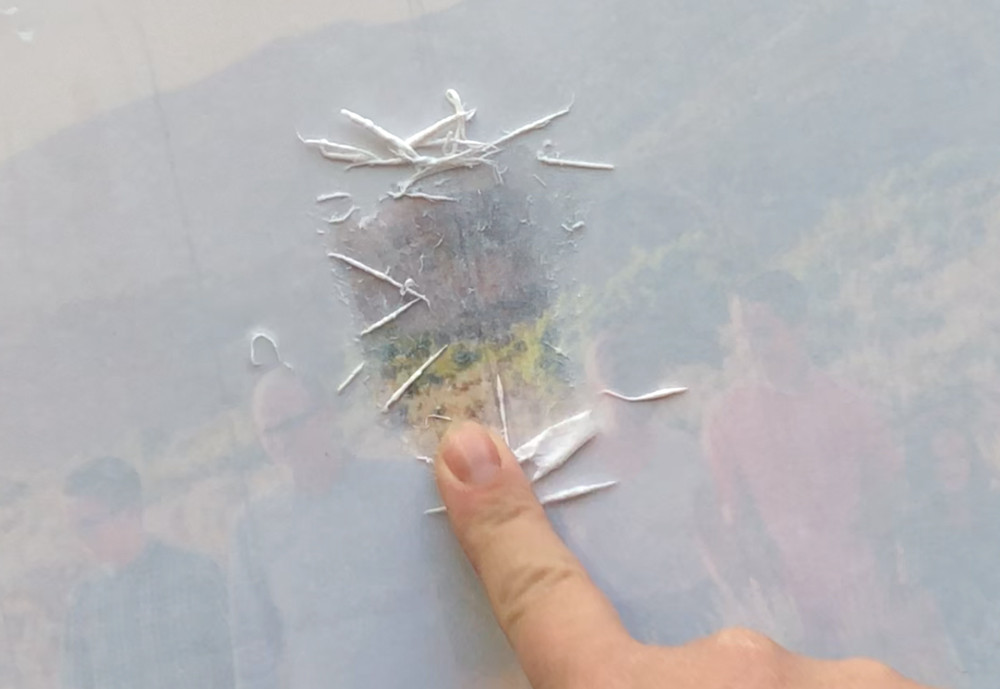
Remove the Paper: Dampen the paper backing with water using a spray bottle or sponge. Gently rub the paper with your fingers or a damp cloth. The paper will start to pill and come off, revealing the transferred image.
 Finger rubbing wet paper fibers off gently to show picture through
 -
Continue Rubbing: As the paper dries, re-wet it and continue rubbing. You may need to repeat this process several times until all the paper is removed. The 72-hour drying time allows you to rub more vigorously without damaging the image.
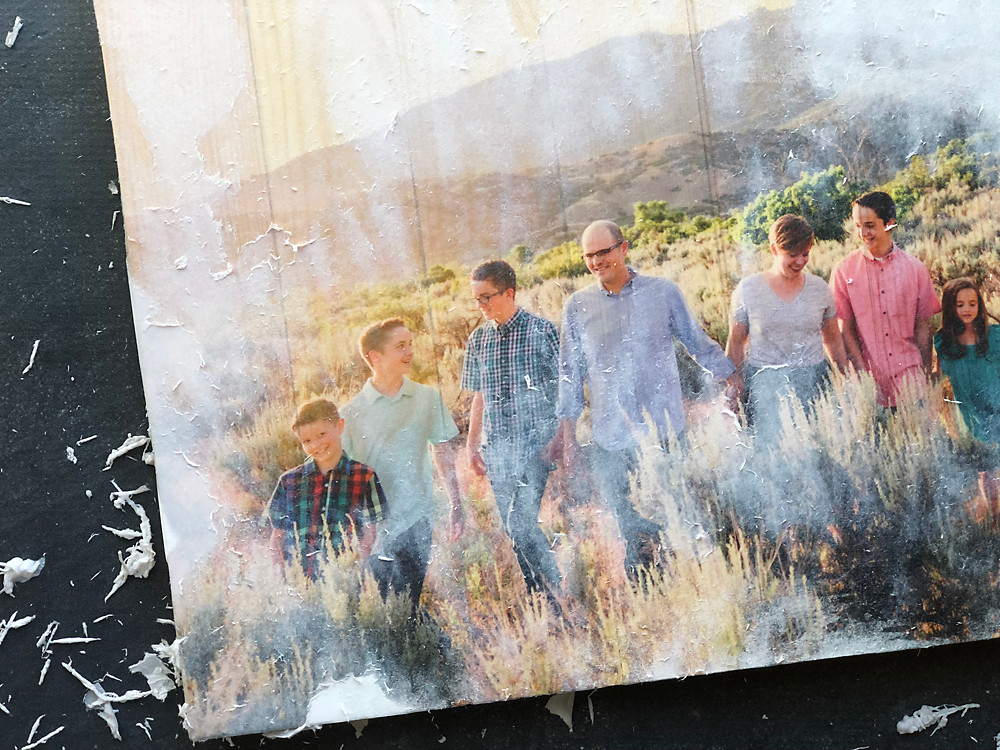 Family photo is showing through, but some paper fibers remain making it cloudy in places
 -
Seal the Image: Once all the paper is gone and the image is clear, apply a thin layer of Mod Podge over the entire surface to seal and protect the transfer. Let it dry completely.
 A bottle of matte Mod Podge
Enjoy Your Masterpiece!
You’ve now successfully transferred your photo to wood using Mod Podge! This foolproof method ensures a beautiful and long-lasting result. Display your creation with pride and enjoy the unique charm of a personalized photo on wood.