Running out of iCloud storage can be a frustrating experience. Suddenly, your iPhone stops backing up, new photos refuse to sync, and you’re constantly bombarded with notifications urging you to upgrade. If you’re primarily using iCloud for your cherished memories in iCloud Photos, learning how to effectively delete photos is a crucial skill to manage your digital life and potentially avoid those recurring subscription fees. This guide will walk you through various methods to delete iCloud photos, ensuring you understand the process and can confidently reclaim your storage space.
Understanding iCloud Photo Storage
Apple provides a convenient 5GB of free iCloud storage when you first set up your account. While this might seem sufficient initially, it quickly gets consumed by backups, documents, and, significantly, your photo and video library if you utilize iCloud Photos. iCloud Photos is a fantastic service that automatically syncs your photos and videos across all your Apple devices. However, this seamless synchronization comes at the cost of storage. Every picture and video you capture on your iPhone, iPad, or Mac, and which is synced to iCloud, counts towards your allocated storage.
When your iCloud storage becomes full, several things happen:
- Backups Fail: Your devices will no longer back up to iCloud, putting your important data at risk.
- Photo Syncing Stops: New photos and videos won’t upload to iCloud Photos, meaning they won’t be accessible on your other devices and won’t be safely backed up in the cloud.
- iCloud Drive Issues: Files in iCloud Drive and other iCloud-integrated apps may not stay updated across your devices, disrupting your workflow and data accessibility.
- Email Problems: You might be unable to send or receive emails using your iCloud email address.
Before you panic and rush to purchase more storage, consider managing your existing storage by deleting unnecessary photos and videos. This not only frees up space but also encourages you to curate your photo library, keeping only the truly important memories.
Step-by-Step Guide to Deleting iCloud Photos
Deleting photos from iCloud is a straightforward process, but the exact steps vary slightly depending on the device you’re using. It’s important to remember that when you delete a photo or video from iCloud Photos on one device, it’s deleted across all devices signed in with the same Apple ID. Therefore, before deleting anything, ensure you’ve backed up any photos or videos you wish to keep.
Deleting Photos on iPhone, iPad, and Apple Vision Pro
Your iPhone and iPad are likely the primary devices where you capture most of your photos and videos. Here’s how to delete them directly from these devices:
-
Open the Photos App: Locate and tap the Photos app icon on your Home Screen.
-
Navigate to Your Photos: Tap “Library” at the bottom, then select “All Photos” to view your entire photo library.
-
Select Photos for Deletion: Tap “Select” in the top right corner of the screen. Now, tap on each photo or video you want to delete. A blue checkmark will appear on selected items. You can also swipe across multiple photos to select them quickly.
-
Delete Selected Items: Once you’ve selected all the photos and videos you want to remove, tap the trash can icon (Delete button) at the bottom right corner.
-
Confirm Deletion: A confirmation prompt will appear. Tap “Delete Photo” or “Delete Video” to confirm and move the selected items to the “Recently Deleted” album.
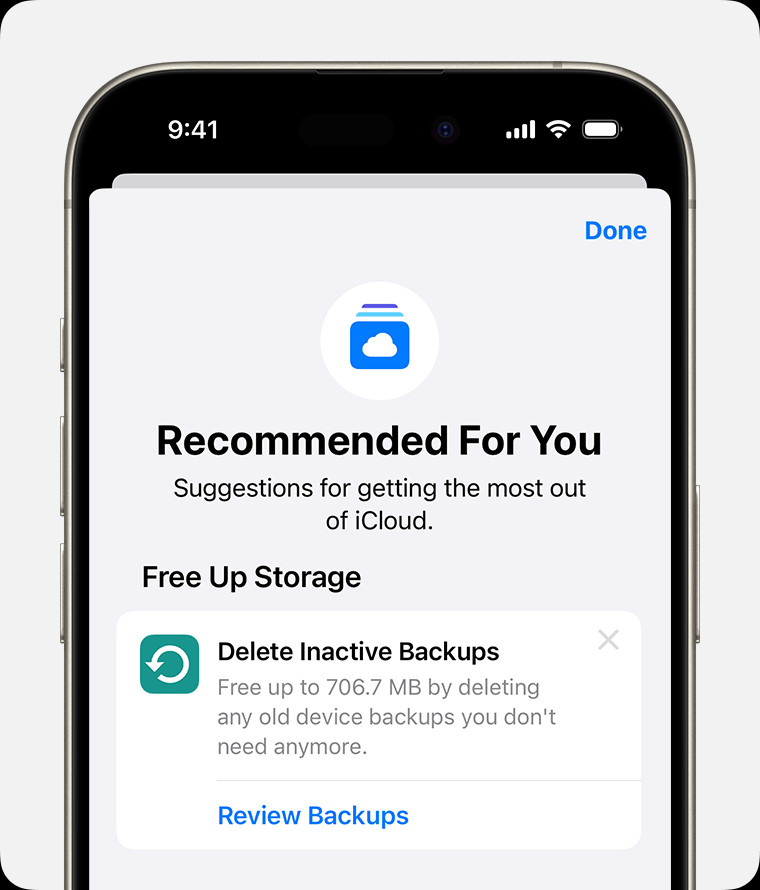 iPhone screen showing the Recommended For You suggestions within iCloud settings.
Deleting Photos on Mac
If you prefer managing your photos on your Mac, the process is equally simple:
-
Open the Photos App: Launch the Photos app on your Mac from the Applications folder or Launchpad.
-
Select Photos: Browse your photo library and select the photos and videos you want to delete. You can select multiple items by holding down the Command key while clicking on each photo, or by using Shift-click to select a range of photos.
-
Delete Photos: Press the Delete key on your keyboard. Alternatively, you can right-click (or Control-click) on a selected photo and choose “Delete Photo” (or “Delete [Number] Photos”).
-
Confirm Deletion: Click “Delete” in the confirmation dialog that appears to move the selected items to the “Recently Deleted” album.
Deleting Photos on iCloud.com
You can also manage and delete your iCloud photos directly through a web browser using iCloud.com. This is useful if you’re on a non-Apple device or prefer managing your photos on a larger screen.
-
Go to iCloud.com and Sign In: Open your web browser and navigate to www.icloud.com. Sign in using your Apple ID and password.
-
Open the Photos App: Once logged in, click on the “Photos” app icon.
-
Select Photos: Browse your iCloud Photo Library. To select multiple photos, click “Select” in the top right corner. Then, click on each photo or video you wish to delete. You can also use Command-click (on Mac) or Control-click (on Windows) to select multiple individual items, or Command-A/Control-A to select all photos.
-
Delete Photos: Click the trash can icon (Delete button) at the top right corner of the screen.
-
Confirm Deletion: Click “Delete” to confirm and move the selected items to the “Recently Deleted” album.
Managing the “Recently Deleted” Album
When you delete photos and videos from iCloud Photos, they are not immediately and permanently removed. Instead, they are moved to the “Recently Deleted” album, acting like a recycle bin. This gives you a 30-day grace period to recover any photos you might have accidentally deleted. However, these recently deleted items still consume your iCloud storage. To permanently free up space, you need to empty the “Recently Deleted” album.
On iPhone, iPad, and Apple Vision Pro:
- Open the Photos App: Go to the Photos app.
- Navigate to Albums: Tap “Albums” at the bottom.
- Open Recently Deleted: Scroll down to the “Utilities” section and tap “Recently Deleted.”
- Permanently Delete Photos: Tap “Select” in the top right corner. You can then choose “Delete All” to remove all items in the album permanently, or select individual photos and tap “Delete.”
- Confirm Permanent Deletion: Confirm your action by tapping “Delete [Number] Photos” or “Delete Forever.”
On Mac:
- Open the Photos App: Launch the Photos app on your Mac.
- Open Recently Deleted: In the sidebar, click “Recently Deleted.”
- Permanently Delete Photos: Click “Delete All” at the top right to empty the album, or select individual photos, right-click (or Control-click), and choose “Delete [Number] Photos.”
- Confirm Permanent Deletion: Click “OK” to confirm.
On iCloud.com:
- Go to iCloud.com and Sign In: Access iCloud.com and open the Photos app.
- Open Recently Deleted: In the sidebar, click “Recently Deleted.”
- Permanently Delete Photos: Click “Delete All” at the top right to empty the album, or select individual photos and click “Delete” at the top right.
- Confirm Permanent Deletion: Click “Delete” in the confirmation prompt.
What to Do If You Don’t Use iCloud Photos
If you’re not using iCloud Photos and are instead relying on iCloud Backup, your Photo Library is part of your device backup. In this case, deleting photos directly from your device’s Photos app will reduce the size of your next iCloud Backup, eventually freeing up space.
To check how much storage your Photo Library is using in iCloud Backup:
- Open Settings App: Go to the Settings app on your iPhone or iPad.
- Tap Your Name: Tap on your Apple ID name at the top.
- Tap iCloud: Select “iCloud.”
- Tap Manage Account Storage or Storage: Choose either option, depending on your iOS version.
- Tap Backups: Select “Backups.”
- Tap Your Device Name: Tap the name of the device you are using.
- Check Photo Library Size: Look for “Photo Library” in the list of backed-up data to see its size.
If you want to reduce the size of your Photos backup without deleting photos, consider saving your photos and videos to a computer and manually backing up your device, or upgrading to iCloud+ for more storage.
Image alt text: iOS Delete Button icon, commonly used in Apple apps to indicate deletion actions, such as removing photos or files.
Tips for Managing iCloud Photo Storage
Deleting photos is just one part of managing your iCloud storage. Here are some additional tips to keep your iCloud Photos and overall storage under control:
- Regularly Review and Delete: Make it a habit to periodically review your photo library and delete any blurry, duplicate, or unwanted photos and videos.
- Optimize iPhone Storage: In Settings > Photos, enable “Optimize iPhone Storage.” This setting stores smaller, device-optimized versions of your photos on your iPhone while keeping the full-resolution originals in iCloud.
- Consider iCloud Shared Photo Library: If you share photos with family or friends, using iCloud Shared Photo Library can be more storage-efficient as shared photos only count towards the storage of the library creator.
- Explore iCloud+ Plans: If you consistently find yourself running out of storage, upgrading to an iCloud+ plan might be a worthwhile investment. iCloud+ offers more storage and additional features like Private Relay and Hide My Email.
- Backup Before Deleting: Always back up important photos and videos to another location (computer, external drive, or another cloud service) before permanently deleting them from iCloud.
Conclusion
Managing your iCloud storage, particularly when it comes to photos, doesn’t have to be a daunting task. By understanding how iCloud Photos works and following the steps outlined in this guide, you can effectively delete photos, free up valuable storage space, and maintain a well-organized photo library. Regularly managing your iCloud photos not only saves you from storage limitations but also encourages you to curate your digital memories, ensuring you’re keeping only the photos that truly matter. Take control of your iCloud storage today and enjoy a smoother, more efficient Apple ecosystem experience.