Creating a blurred background in your iPhone photos can dramatically enhance their aesthetic appeal. Whether you want to highlight a subject, minimize distractions, or add a dreamy quality, achieving this effect is surprisingly simple. This comprehensive guide provides several techniques to blur the background of a photo on your iPhone, ranging from built-in camera features to powerful editing apps.
 Woman taking a photo of flowers with her iPhone.
Utilizing Portrait Mode for Instant Background Blur
The most straightforward method for blurring the background is using Portrait mode. Available on newer iPhone models (iPhone 7 Plus and later), this feature utilizes depth-effect software to automatically blur the background while keeping your subject sharp.
Activating and Shooting in Portrait Mode
- Open the Camera app.
- Select Portrait at the bottom of the screen.
- Position your subject 2-8 feet away from the camera in well-lit conditions.
- A yellow focus box will indicate when Portrait mode is active.
- Press the shutter button to capture your photo.
An iPhone displaying the camera app in portrait mode.
Refining Blur Intensity in Post-Processing
On iPhone XS and later, you can adjust the blur intensity even after taking the photo:
- Open the photo in the Photos app.
- Tap Edit.
- Adjust the Depth slider (f/number icon) to control the blur strength. A lower f/number produces a stronger blur.
Adjusting depth of field blur in an iPhone photo editing app.
Mastering Depth of Field for Natural Background Blur
Even without Portrait mode, you can achieve background blur by manipulating depth of field. This technique involves getting closer to your subject. The closer you are, the more blurred the background will appear.
- Position your iPhone close to your subject.
- Tap the screen to set the focus point on your subject. A yellow box will confirm the focus area.
- Experiment with different distances to achieve the desired blur intensity.
Close-up photo of a yellow flower with blurred green background
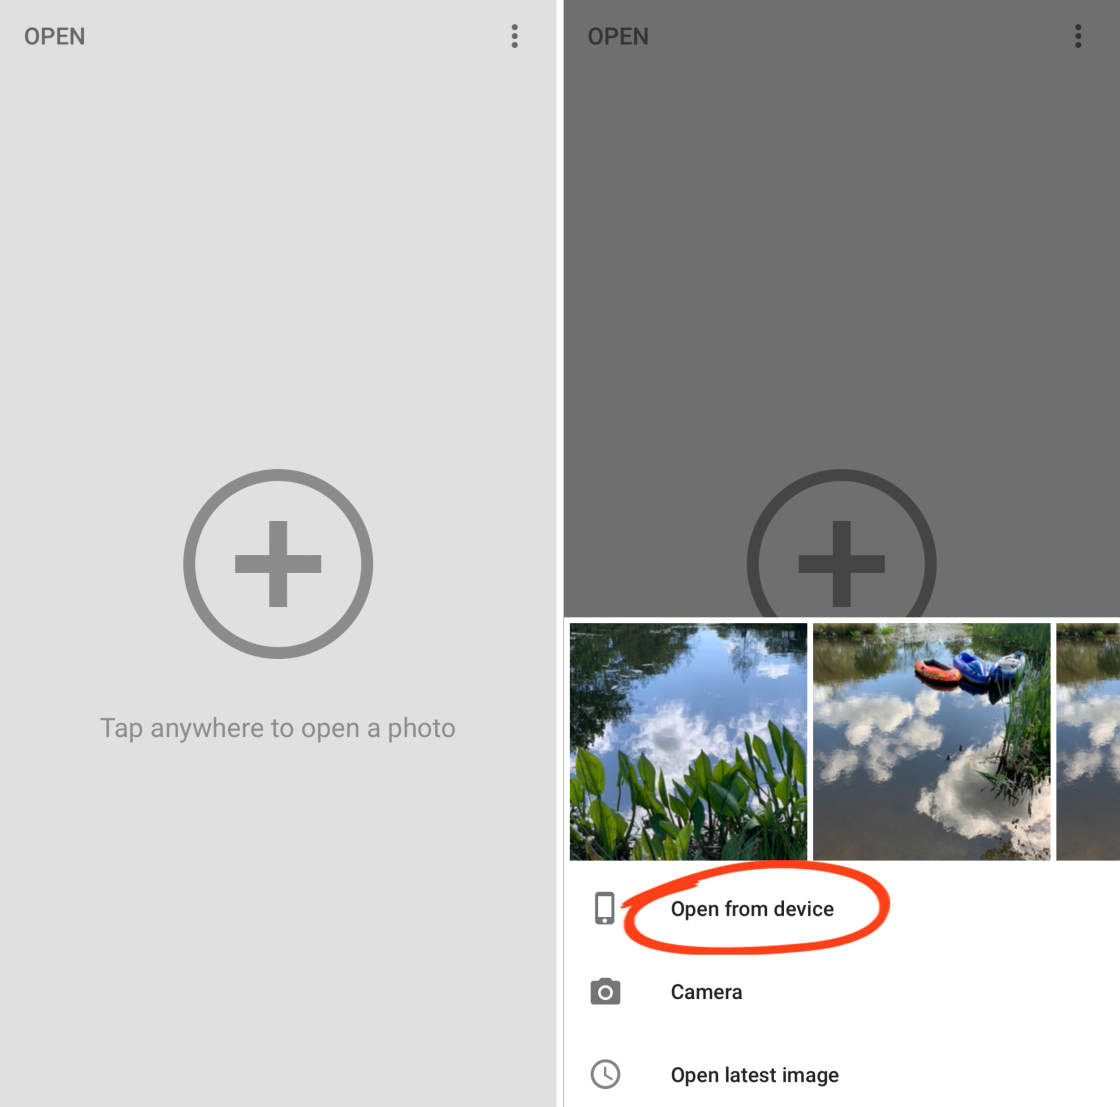
Blurring Backgrounds with Editing Apps
Several editing apps offer powerful tools for blurring backgrounds after capturing the photo. Apps like AfterFocus and Snapseed provide precise control over blur intensity and area.
Using AfterFocus for Selective Blur
- Open AfterFocus and select your photo.
- Use the Smart Selection or Manual Selection tools to define the foreground (in focus) and background (blurred).
- Adjust the Blur slider to control the intensity. Explore options like Lens Blur and Motion Blur for different effects.
Using the smart selection tool in an app to blur the background of a photo.
Creating a Blurred Vignette with Snapseed
- Open Snapseed and select your photo.
- Choose the Lens Blur tool.
- Adjust the circle size and position to control the blur area.
- Modify Blur Strength, Transition, and Vignette Strength for fine-tuning.
Using Snapseed app on iPhone to blur the background of a photo.
Conclusion
Whether you prefer the simplicity of Portrait mode, the creative control of depth of field, or the precision of editing apps, blurring the background of your iPhone photos is easily achievable. Experiment with these techniques to discover the best approach for your photographic style and enhance your mobile photography skills. By understanding these methods, you can elevate your iPhone photography and create stunning images with beautifully blurred backgrounds.