Is your Google Drive bursting at the seams? Tired of those pesky storage upgrade notifications? One of the biggest culprits for hogging space is often Google Photos. If you’re wondering how to remove Google Photos and reclaim your storage, you’ve come to the right place. This guide provides a clear, step-by-step process for deleting all your Google Photos on Mac, Windows, and Android.
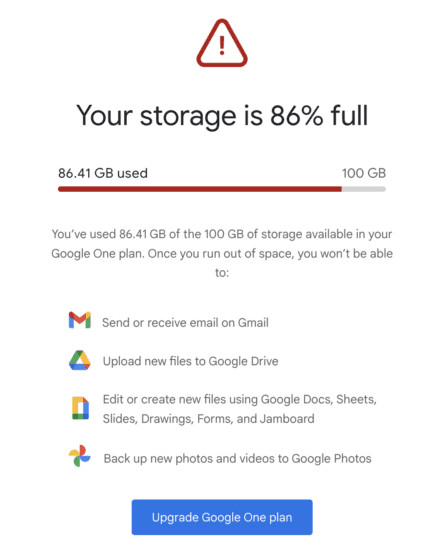 Google Drive storage almost full warning
Google makes it surprisingly difficult to delete all your photos from Google Photos. There’s no straightforward “select all” option. This guide offers a workaround to this frustrating limitation, allowing you to efficiently clear out your Google Photos without resorting to deleting your entire Google account.
Important Note: Before proceeding, ensure you have a backup of your photos stored elsewhere, such as in Apple Photos, on an external hard drive, or another cloud service. Also, unlink Google Photos from your devices to prevent unintentional deletions from your primary photo source.
Unlinking Google Photos from Your iPhone
To prevent future syncing and potential accidental deletions, follow these steps to unlink Google Photos from your iPhone:
- Go to Settings on your iPhone.
- Scroll down and tap on Google Photos.
- Tap on Photos and select None. Disable syncing for Contacts as well if desired.
- Open the Google Photos app, tap your profile picture in the top right corner.
- Turn OFF the Backup option.
- Close the Google Photos app completely by swiping it up from the app switcher.
Deleting Google Photos on Mac and Windows
Here’s how to delete all your Google Photos using a web browser on your Mac or Windows computer:
Steps to Select and Delete All Google Photos:
- Open your web browser (e.g., Chrome, Safari) and go to https://photos.google.com/.
- Click the gray checkmark in the top-left corner. If your photos aren’t sorted by date, it might appear as a white checkmark on a single photo. This will select all photos from that particular date.
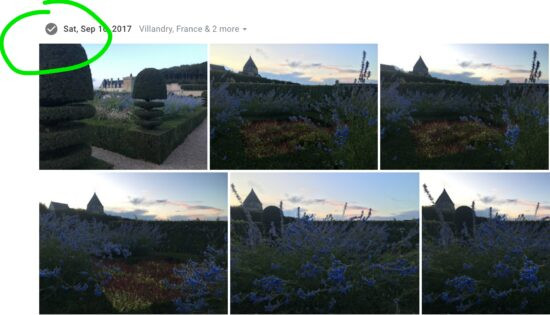 Selecting photos by date in Google Photos
- Scroll down to the very last photo.
- Hover your cursor over the last photo (do not click), then press and hold the ‘SHIFT’ key. This will highlight a selection range.
- While still holding ‘SHIFT’, click the last photo. All photos between your initial selection point and the last photo will now be selected. You might need to repeat this in batches for a large number of photos.
 Selected photos highlighted in blue in Google Photos
- Verify the number of selected photos in the top-left corner.
- Click the trash can icon in the top-right menu.
- Confirm the deletion in the pop-up warning. Google will remind you that this action is permanent.
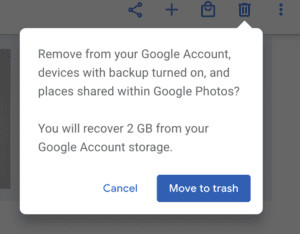 Google Photos deletion warning
Deleting Google Photos on Android
Deleting Google photos on Android is a bit more straightforward:
- Open the Google Photos app.
- Touch and hold the first photo to select it.
- Without lifting your finger, drag down to the last photo to select all photos in between.
- Tap the trash can icon to delete.
By following these steps, you can successfully remove Google Photos and free up valuable storage space. Google could certainly make this process easier, but hopefully this guide provides a useful workaround. Remember to always back up your important photos before deleting them from any service.
