Need a passport photo but dreading the trip to a photo studio? The good news is, yes, you absolutely can take your own passport photo at home. In today’s world, taking your passport photo at home offers a convenient, time-saving, and often more budget-friendly alternative to traditional photo booths or professional services. However, while the process itself is straightforward, it’s crucial to understand and adhere to the specific official guidelines to ensure your photo is accepted. This guide will walk you through every step, ensuring you can confidently capture passport photos at home that meet all necessary requirements and get your application process off to a smooth start.
Yes, You Can Take Passport Photos at Home – Here’s How to Do it Right
Taking your own passport photo at home is not only possible, but increasingly common. Forget the inconvenience of scheduling appointments or rushing to a photo store – with the right knowledge and a little preparation, you can easily manage this task from the comfort of your own home. It’s important to dispel a common misconception right away: selfies are not acceptable for passport photos. The key is to take a proper photograph that adheres to official standards, and we’re here to show you exactly how.
If the idea of DIY passport photography still feels daunting, remember you’re not alone. Many people successfully take their passport photos at home. You can enlist the help of a friend or family member to take the photo for you. Alternatively, professional photographers always remain a viable option if you prefer expert assistance. However, for those seeking a convenient and cost-effective solution, mastering the art of the at-home passport photo is entirely within reach.
Mastering the Requirements: What Makes a Passport Photo Acceptable?
The secret to a successful home-taken passport photo lies in understanding and meticulously following the official requirements. Passport agencies worldwide have strict guidelines to ensure photos are clear, accurate representations of the applicant, facilitating identification and security. Let’s break down the key specifications you need to know.
Size and Dimensions
The standard passport photo size is 2×2 inches (51×51 mm). This square format is universally recognized and required for passport applications in many countries. Accuracy in size is non-negotiable, so ensure your final photo adheres precisely to these dimensions after taking it.
Pose and Expression
Your passport photo should present a clear, front-view of your face. The required pose is neutral facial expression with both eyes open and clearly visible. This means no smiling, frowning, or squinting. Maintain a natural, relaxed expression with your mouth closed. Looking directly at the camera is essential to ensure proper alignment and visibility of your facial features.
Background
The background of your passport photo must be plain white or off-white. It should be free of any patterns, shadows, lines, or textures. A clean, uniform white background ensures that the focus remains solely on your face, without any distractions. Avoid backgrounds that are too dark, too busy, or any color other than plain white or off-white.
Allowed and Disallowed Accessories
When it comes to accessories, passport photo guidelines are quite specific. Eyeglasses are not allowed in passport photos, even if you wear them daily. You must remove your glasses to ensure your eyes are fully visible and there is no glare in the photo.
Regarding headwear, hats and scarves are generally prohibited unless worn for religious purposes. If headwear is worn for religious reasons, it must not obscure your face in any way. Your full face, from forehead to chin and across both cheeks, must be clearly visible. Other accessories like headphones or large jewelry that could obstruct your face are also not permitted.
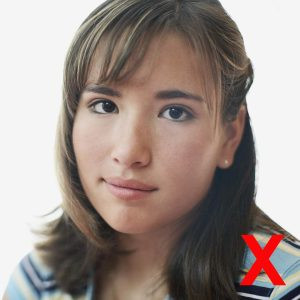 Incorrect passport photo example showing glasses, shadows and non-white background
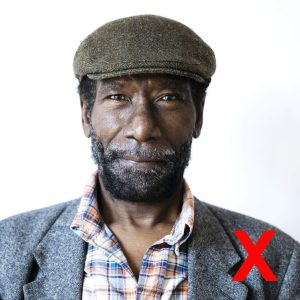 Incorrect passport photo example showing head covering and shadow
 Incorrect passport photo example showing smiling and non-white background
These examples illustrate common mistakes, including wearing glasses, head coverings that obscure the face, non-white backgrounds, and smiling, all of which can lead to passport photo rejection. Understanding these ‘don’ts’ is just as important as knowing the ‘dos’.
Step-by-Step Guide: Taking Perfect Passport Photos at Home
Now that you understand the essential requirements, let’s dive into a practical, step-by-step guide to taking your passport photo at home effectively.
Setting the Scene: Lighting and Background
Optimal lighting is crucial for a clear and acceptable passport photo. Natural light is best, so position yourself near a window where you receive soft, diffused daylight. Avoid direct sunlight, which can create harsh shadows and overexposure. If natural light is insufficient, use artificial light sources to illuminate your face evenly from the front, minimizing shadows.
For the background, find a plain white or off-white wall or sheet. Ensure it’s smooth and free from any patterns or textures. Hang a white sheet or use a plain white door if a suitable wall isn’t available. Make sure there are no shadows falling on the background behind you.
Equipment You’ll Need
You don’t need professional photography equipment to take passport photos at home. A good quality smartphone or digital camera will suffice. Most modern smartphones have cameras with resolutions high enough for passport photos.
A tripod is highly recommended to ensure stability and sharpness, especially if you’re taking the photo yourself using a timer. If you don’t have a tripod, you can ask someone to take the photo for you, or prop your camera on a stable surface.
Posing and Capturing the Photo
Position yourself facing the camera directly, ensuring your head is centered in the frame. Your face should take up the correct proportion of the photo – typically, the head size should be between 1 inch and 1 3/8 inches (25 to 35 mm) from the bottom of the chin to the top of the head.
Maintain a neutral expression with your mouth closed and eyes open, looking directly at the lens. Remove eyeglasses and any non-religious headwear. Take several photos, experimenting slightly with your position and lighting to ensure you capture the best possible shot. Using a timer or remote shutter release can help avoid camera shake and allow you to prepare your pose.
Reviewing and Selecting the Best Shot
After taking a series of photos, review them carefully on a larger screen if possible. Check for clarity, lighting, pose, and background uniformity. Select the photo that best meets all the requirements – clear, well-lit, properly sized, with a neutral expression and a plain white background.
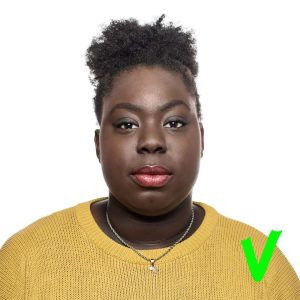 Correct passport photo example showing proper pose, lighting and background
 Correct passport photo example showing proper head size and neutral expression
 Correct passport photo example showing good lighting and plain background
These examples demonstrate correctly taken passport photos, showcasing proper pose, neutral expression, good lighting, plain white background, and appropriate head size within the frame.
Once you have chosen your best photo, you may need to crop it to the exact 2×2 inch dimension. You can use online passport photo tools or photo editing software to ensure precise sizing and even adjust the background digitally if needed, while still maintaining a natural look. Utilize online photo validation tools offered by passport agencies to check if your photo meets all technical requirements before submitting your application.
Using Your Smartphone: Passport Photos in Your Pocket
Taking passport photos with your smartphone is incredibly convenient and effective. Modern smartphone cameras are more than capable of capturing high-quality images suitable for passport applications.
As mentioned earlier, most smartphones boast cameras with resolutions exceeding 5 megapixels, which is more than sufficient for producing clear and detailed passport photos. The key is to remember that while the tool is handy, the guidelines for background, lighting, pose, and attire remain the same. Selfies are still not permitted for official passport photos, so use a tripod or ask someone to assist you.
For iPhone users wondering “how do I take a 2×2 passport photo on my iPhone?”, the process is straightforward. Use your iPhone camera following the lighting and background guidelines discussed. After taking the photo, you will need to resize and crop it to meet the 2×2 inch requirement.
Multiple online passport photo makers and resizing tools are available to help you achieve the correct dimensions. Free and user-friendly options include Fotor Online Passport Photo Maker, IDPhoto4You, and PhotoAid. These tools allow you to upload your photo, automatically resize it to passport dimensions, and often offer background correction features as well.
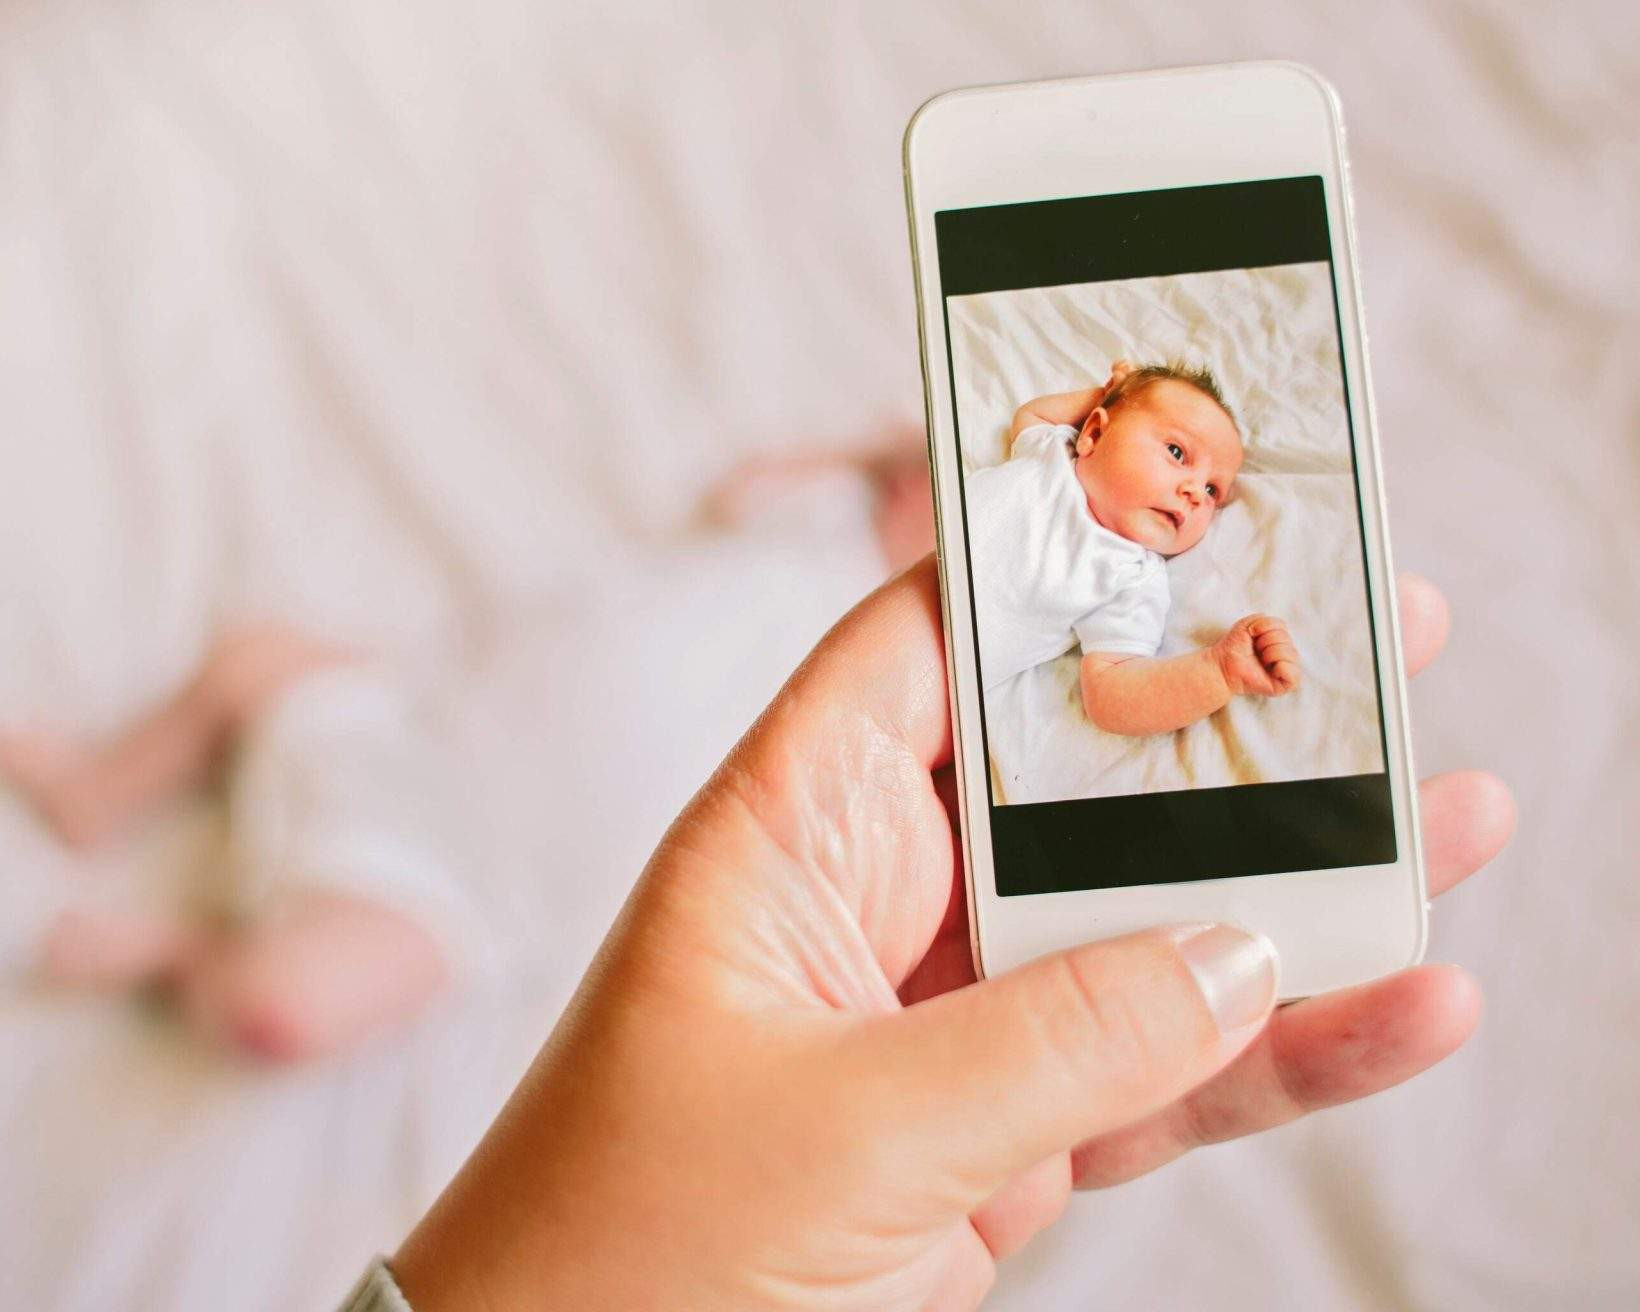 Mother using smartphone to take passport photo of baby
Using your smartphone to take your passport photo offers flexibility and ease, especially for those who are comfortable with mobile technology. Just remember to prioritize image quality, proper lighting, and adherence to all official guidelines to ensure acceptance.
Dress to Impress (and Get Approved): What to Wear for Your Passport Photo
While passport photos are small, they are a representation of you on an important document. Choosing appropriate attire is a key, often overlooked, aspect of taking passport photos at home. The best approach is to wear what you would typically wear on any given day, ensuring it meets the photo requirements.
A Few Recommendations
For optimal results in your passport photo, consider these recommendations:
- Choose deep or bold colors: Especially if you have a lighter skin tone, wearing darker or richly colored clothing will help your face stand out distinctly against the white background. For deeper skin tones, bold colors can also create a striking contrast.
- Keep jewelry modest: Small, non-glare jewelry such as delicate necklaces, earrings, or studs are generally acceptable. Avoid large, reflective jewelry that could distract or obscure facial features.
- Opt for light makeup: If you typically wear makeup, light, natural makeup is fine. Avoid heavy makeup that drastically alters your appearance.
- Facial piercings are generally acceptable: As long as they don’t obscure your face, small facial piercings can usually be kept in for your passport photo.
- Style your hair neatly: Ensure your hair is styled in a way that does not cover your face or eyes. Keep your face fully visible.
The Mistakes to Avoid
Certain clothing and accessories should be avoided when taking your passport photo at home:
- Uniforms or camouflage clothing: These are not permitted as they can be associated with official roles or concealment.
- Strapless tops or tank tops: Avoid clothing that doesn’t clearly define your shoulders, as this can sometimes lead to the photo being questioned regarding proper attire.
- Clothes that cover the neck: Turtlenecks, scarves, or high-necked shirts that obscure the neck area are best avoided.
- Glasses: As reiterated, glasses are not allowed in passport photos.
- Headphones and other accessories: Avoid any unnecessary accessories that could detract from your face.
- Heavy makeup: Refrain from applying heavy makeup that significantly changes your everyday appearance.
- Hats and head coverings (non-religious): Unless worn for religious reasons, hats and head coverings are not allowed.
Choosing the right attire contributes to a professional and well-presented passport photo, facilitating a smoother application process. With a compliant photo, you’ll be ready for your travels with confidence and style.
A Few Tips to Take a Toddler/Baby’s Passport Photo at Home
Taking passport photos of babies and toddlers at home presents unique joys and challenges. Patience and preparation are key! Here are some helpful tips for capturing that perfect, compliant photo of your little one.
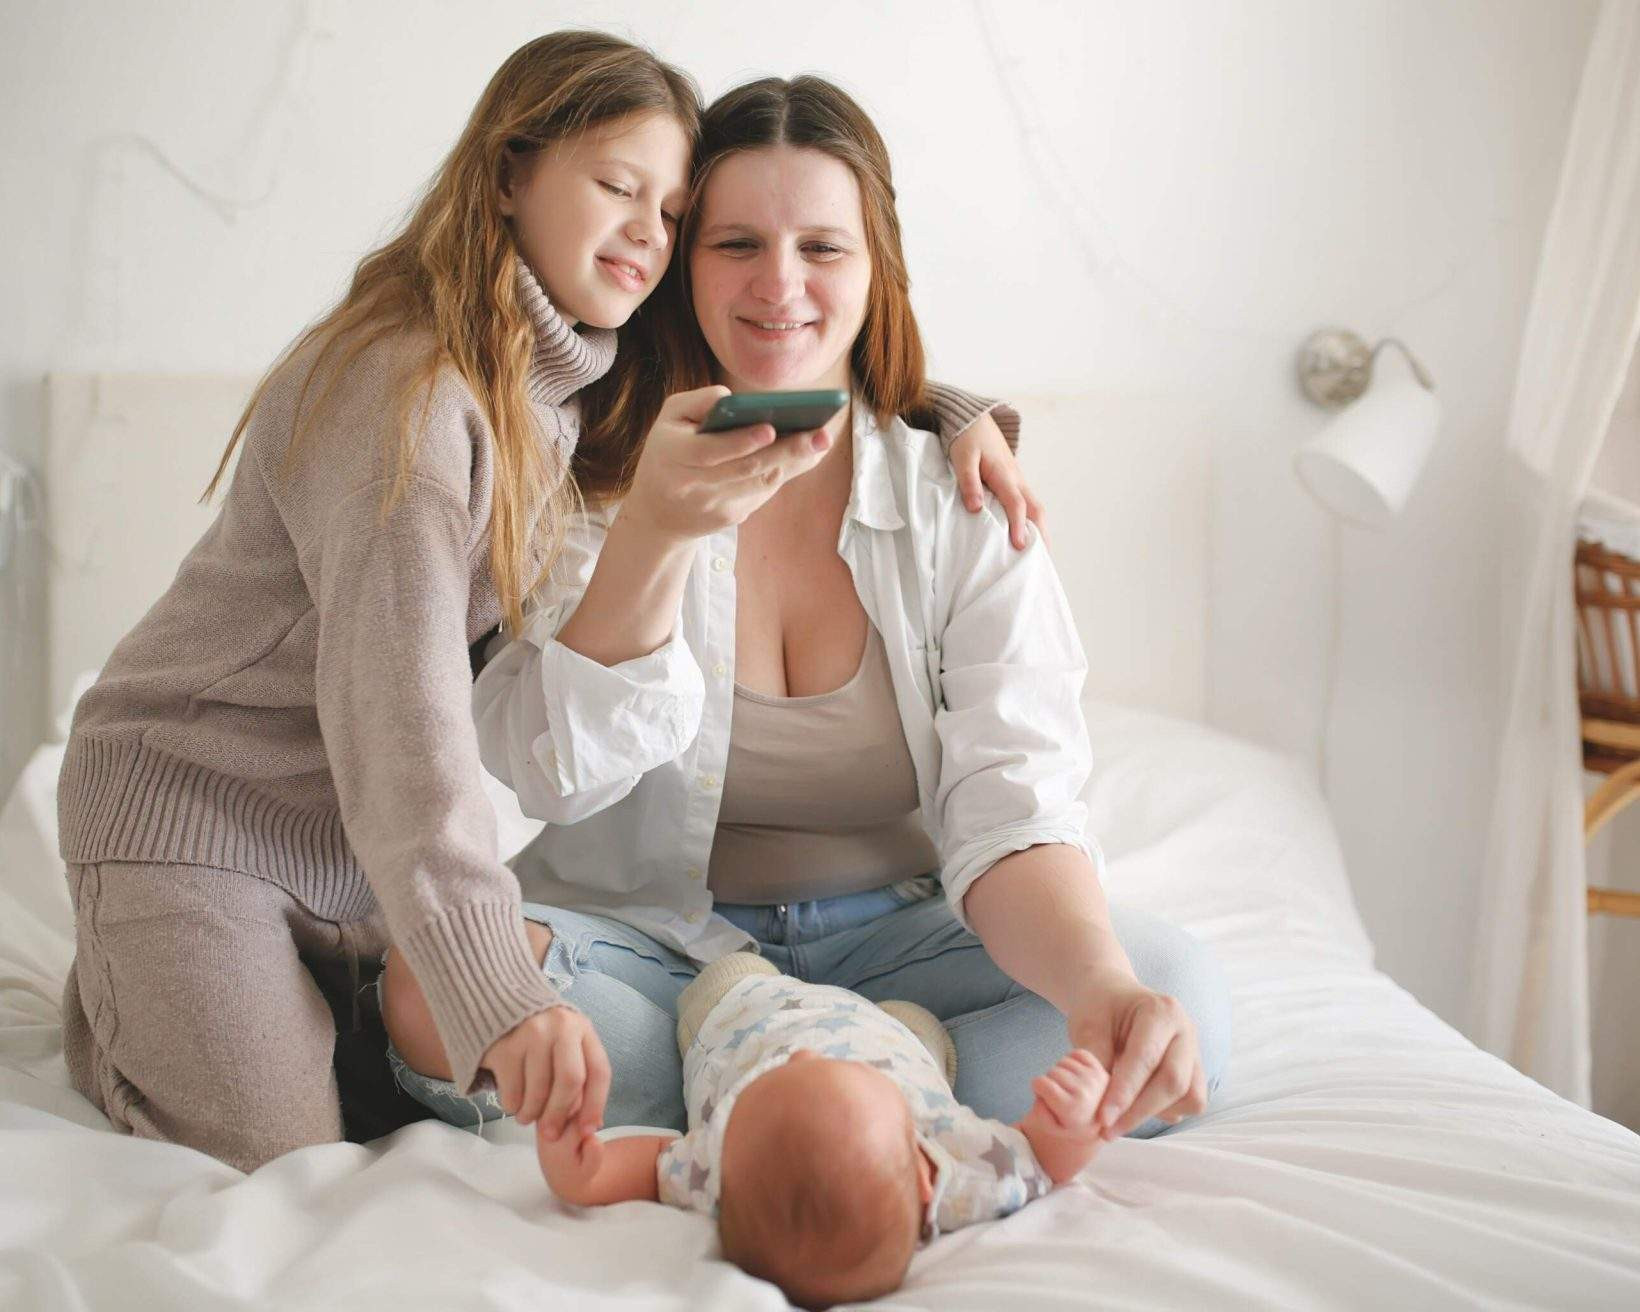 Mother and daughter taking baby passport photo at home
- Ensure no one else is in the frame: When photographing a baby or toddler, it’s crucial that only the child is visible in the photo. Do not hold the baby or have another person’s hands or body parts in the shot.
- Get your child’s attention: This can be the trickiest part! Use favorite toys, gentle sounds, or playful peek-a-boo games to encourage your child to look towards the camera. Funny faces or familiar songs can also work wonders.
- Background setup for babies: For babies, laying them on their back on a plain white or off-white sheet is often the easiest method. Alternatively, you can use a car seat covered with a plain white sheet to provide additional head support and keep them more upright.
- Beware of shadows: Shadows on your baby’s face are a common issue, especially when taking photos from above while they are lying down. Adjust your lighting and camera angle to minimize shadows. Experiment with different angles to find the best shadow-free shot.
- Lighting is even more critical: Natural light remains the best option. Position your baby near a window or, if weather permits, briefly take them outside to a shaded area for brighter, even lighting.
- Centering and face visibility: Try to center your baby’s face in the frame as much as possible. Double-check that their face is fully visible and not obscured by hair or shadows.
- Take many, many photos: Babies and toddlers are wonderfully unpredictable. Capture a multitude of shots to increase your odds of getting a few passport-worthy expressions. Don’t be discouraged if it takes several attempts!
Even if your infant’s eyes are not fully open, some passport agencies will accept the photo as long as their eyes are at least partially open. Check the specific guidelines of the issuing agency. Taking a baby or toddler’s passport photo at home requires patience and creativity, but with these tips, you can navigate the process and look forward to those unforgettable family adventures.
The Common Mistakes When Taking a Passport Photo at Home
Knowing what to avoid is just as important as knowing what to do. When taking passport photos at home, being aware of common mistakes can save you from photo rejections and delays in your passport application process.
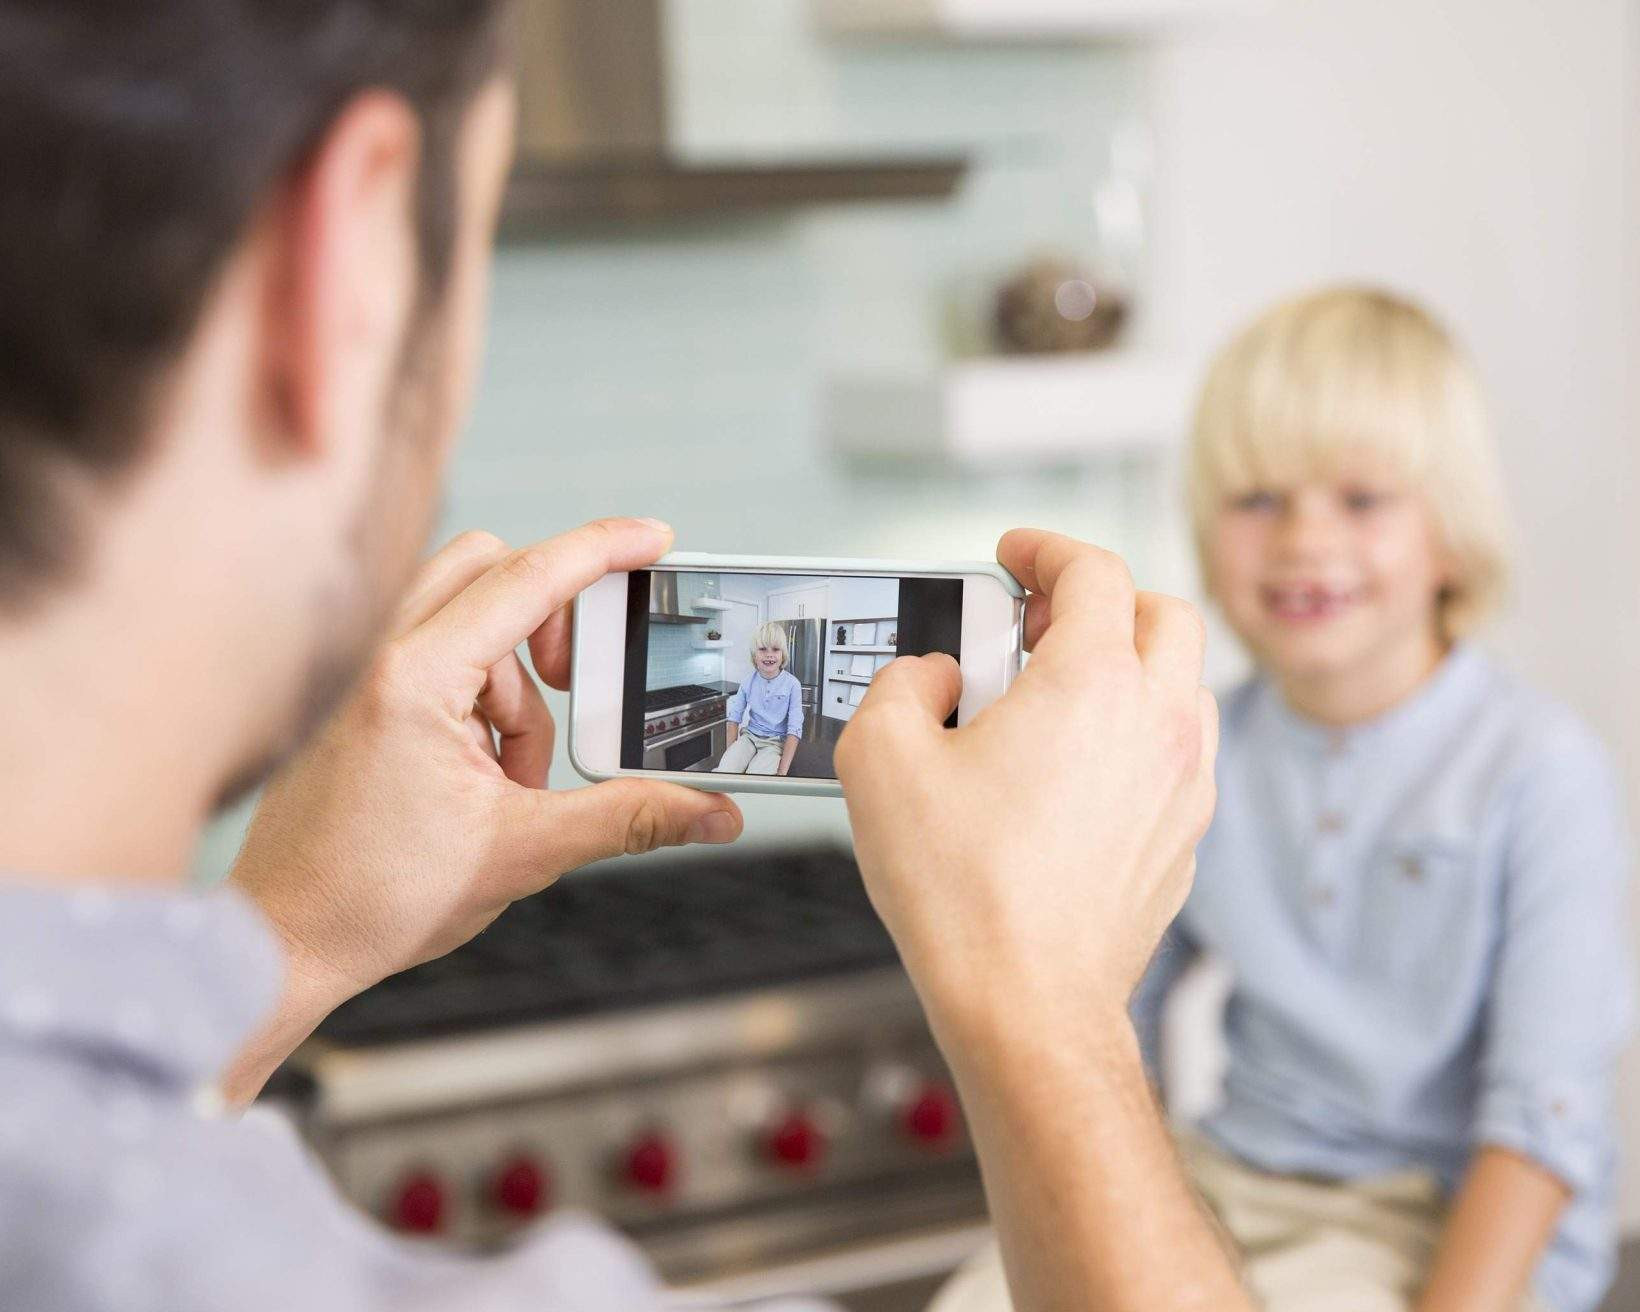 Father making mistakes while taking child's passport photo at home
Here are common pitfalls to avoid:
- Using a low-resolution camera: Ensure your camera or smartphone is set to a high enough resolution to produce a clear, detailed image.
- Insufficient light exposure and shadows: Poor lighting and harsh shadows are frequent causes for rejection. Ensure even, sufficient lighting across your face and a shadow-free background.
- Wrong dimensions: Failing to adhere to the 2×2 inch size requirement is a critical error. Double-check and resize your photo accurately.
- Smiling: Remember the neutral expression rule. Smiling, grinning, or any exaggerated expression is not permitted.
- Using filters: Social media filters or any photo enhancements are strictly prohibited. Your photo must be a true and unaltered representation.
- Closed eyes: Ensure your eyes are open and clearly visible in the photo.
- Non-white background: Using any background other than plain white or off-white will likely lead to rejection.
- Inappropriate clothing: Avoid prohibited clothing items like uniforms, glasses, or headwear (unless religious).
- Wearing glasses or headwear (non-religious): These are among the most common reasons for photo rejection. Always remove glasses and non-religious headwear.
- Wrong posture or off-center: Ensure you are facing the camera directly and your head is centered within the frame.
Avoiding these common mistakes significantly increases your chances of your home-taken passport photo being accepted, leading to a smoother passport application experience.
Conclusion
Taking passport photos at home offers significant convenience and cost savings. By understanding and diligently following the official guidelines and tips outlined in this guide, you can confidently capture passport photos at home that meet all requirements for a successful application. Remember, attention to detail in lighting, background, pose, and attire is key to avoiding common mistakes and ensuring your photo is accepted. Embrace the DIY approach and enjoy a hassle-free passport photo experience from the comfort of your home.
If you found this article helpful, you might also be interested in exploring current travel trends or discovering the best European cities to visit in December.
This article was last updated on the 20th of February 2025. It is intended for informational purposes only and does not constitute legal advice. Always verify the latest requirements and guidelines on the official government website of your passport issuing authority.
Sources:
https://travel.state.gov/content/travel/en/passports/how-apply/photos.html
https://travel.state.gov/content/travel/en/us-visas/visa-information-resources/photos.html

