Live Photos on your iPhone capture more than just a still image. They record 1.5 seconds of video and audio before and after you press the shutter button, bringing your photos to life with movement and sound. This guide explores everything you need to know about iPhone Live Photos, from capturing and editing to sharing and managing them.
How to Take Live Photos
Taking a Live Photo is simple:
-
Open the Camera app on your iPhone.
-
Ensure your camera is in Photo mode. The Live Photo icon at the top of the screen should be yellow (not crossed out). If it’s off, tap it to enable Live Photos.
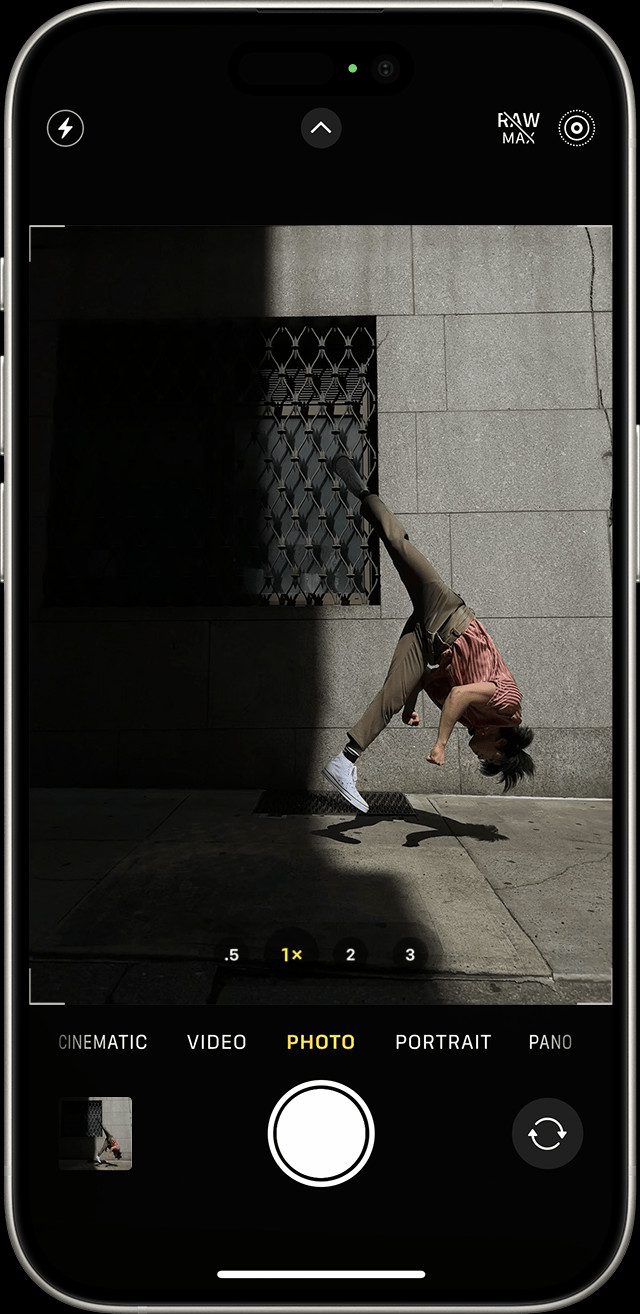 Live Photo icon in the iPhone Camera app indicating Live Photos is enabled.
 -
Hold your iPhone steady to avoid blurry footage.
-
Tap the shutter button to capture your Live Photo.
Locating and Playing Your Live Photos
All your Live Photos are saved in the Photos app:
-
Open the Photos app.
-
Navigate to the Albums tab.
-
Scroll down to Media Types and tap Live Photos.
 Navigating to the Live Photos album in the iPhone Photos app.
 -
Tap a Live Photo to view it.
-
Press and hold the screen to play the animation and audio.
Changing the Key Photo
The key photo is the still image that represents your Live Photo. You can change it:
- Open the Live Photo.
- Tap Edit.
- Tap the Live Photo icon (a series of concentric circles).
- Drag the slider to select a different frame.
- Tap Make Key Photo.
- Tap Done. You can also disable the Live Photo effect here by tapping the Live button at the top.
Adding Effects to Live Photos
Enhance your Live Photos with built-in effects:
- Open the Live Photo.
- Tap the Live Photo icon.
- Choose from Loop, Bounce, or Long Exposure.
- Loop: Creates a continuously looping video.
- Bounce: Plays the Live Photo forward and then backward repeatedly.
- Long Exposure: Simulates the effect of a long exposure photograph, blurring motion.
Editing Live Photos
You can edit Live Photos just like regular photos:
- Open the Live Photo.
- Tap Edit.
- Use the editing tools to adjust brightness, contrast, color, and more.
- Tap Done.
Note: Editing in third-party apps might remove applied Live Photo effects.
Sharing Live Photos
Share your Live Photos with others:
- Open the Live Photo.
- Tap the Share icon.
- Choose your sharing method. If sharing via email, the Live Photo will be sent as a still image.
Recipients with compatible Apple devices can view the animation and sound by pressing and holding the image.
Disabling Live Photos
To temporarily disable Live Photos:
- Open the Camera app.
- Tap the Live Photo icon so it has a slash through it.
To permanently disable Live Photos:
- Go to Settings > Camera > Preserve Settings.
- Enable the Live Photo toggle. This ensures Live Photos remains off even after closing and reopening the Camera app. Live Photos are supported on iPhone 6s and later, as well as compatible iPad models.