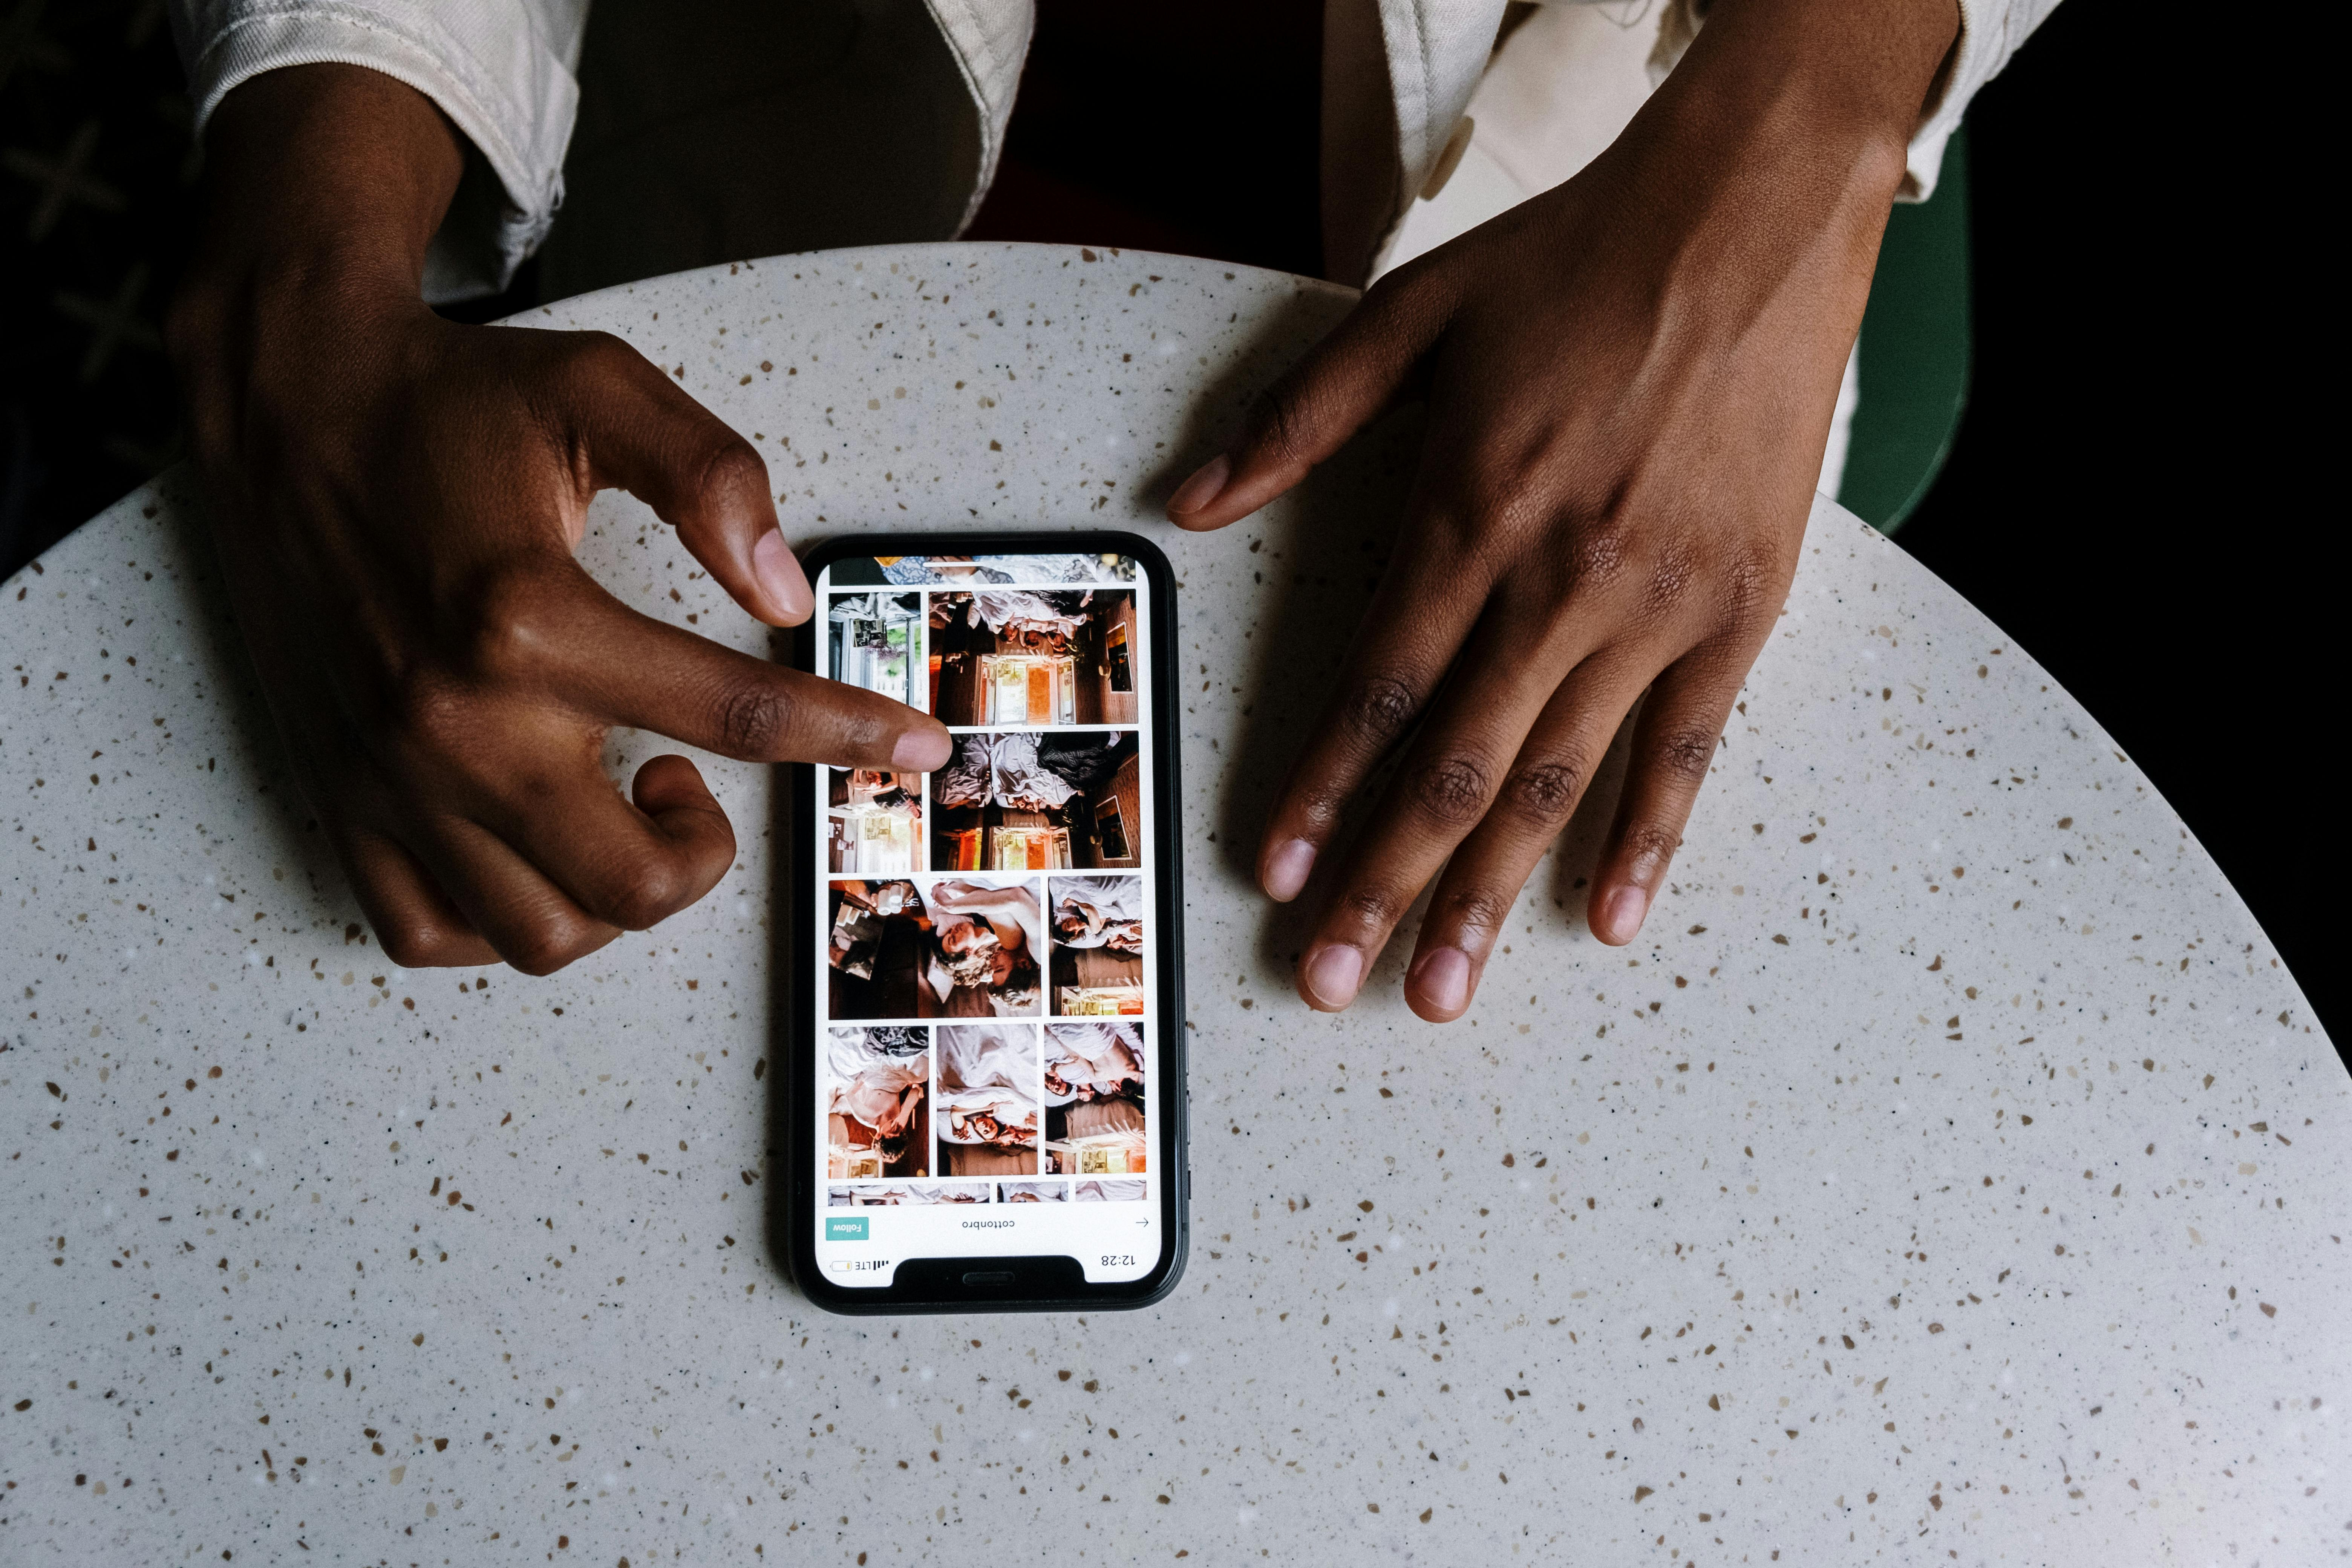
It’s a common frustration for photographers and casual users alike: you upload a stunning photo to Instagram, only to find it looking noticeably worse than the original. Blurry edges, a lack of sharpness, or just an overall drop in visual appeal can be disheartening. You’re not imagining it; Instagram does compress your images. But why does Instagram ruin photo quality, and more importantly, what can you do about it?
The Reasons Behind Instagram’s Image Compression

Instagram, like many social media platforms, employs image compression to optimize storage space and ensure faster loading times for its billions of users. Imagine the sheer volume of photos and videos uploaded daily! Without compression, servers would be overwhelmed, and the app would become slow and data-heavy to use, especially on mobile devices with limited bandwidth. This compression is a trade-off: convenience and speed are prioritized, sometimes at the expense of absolute image fidelity. It’s a balancing act between user experience and visual perfection.
Optimizing Your Images Before Uploading
While Instagram’s compression is unavoidable, you can take proactive steps to minimize its impact and ensure your photos retain the best possible quality. One of the most effective strategies is to optimize your images before you even upload them.
Export at the Right Resolution: Instagram has specific display dimensions. For standard posts, exporting your images at 1080px for width is crucial. Whether it’s a landscape, square, or portrait image, ensuring the width is 1080 pixels will help Instagram’s algorithm work more effectively. For portrait images, the ideal height is often around 1350px. Uploading images larger than these dimensions means Instagram will have to resize and compress them even further, potentially exacerbating quality loss.
Enable High Quality Uploads: Within the Instagram app itself, there’s a setting to control media upload quality. It’s essential to ensure this setting is enabled to allow for the highest possible quality uploads your settings permit.
- Navigate to your profile by tapping your profile picture in the bottom right.
- Access the menu by tapping the three horizontal lines in the top right corner.
- Select Settings And Privacy.
- Scroll down to find and tap Data Usage And Media Quality.
- Under ‘Media Upload Quality’, choose Upload At Highest Quality.
Transferring Photos Without Further Degradation
The journey your photo takes before reaching Instagram also matters. Transferring images through certain methods can introduce additional compression, worsening the quality even before Instagram gets its hands on it. Avoid using messaging apps like WhatsApp or similar platforms to transfer photos from your computer or camera to your phone for uploading. These apps often compress images significantly to facilitate faster sharing.
Instead, opt for direct transfer methods that preserve image quality. Using USB drives, cloud storage services like Google Drive or Dropbox, or even emailing the original file to yourself are much better options. These methods ensure your photo reaches Instagram in the best possible condition, ready for its compression process.
Understanding Instagram’s Aspect Ratios and Image Sizes

Beyond resolution, aspect ratio also plays a role in how Instagram displays your photos and how compression is applied. Instagram supports various aspect ratios, but understanding them is key to presenting your images effectively.
- Square photos: Use a 1:1 aspect ratio.
- Portrait photos: Aim for a 4:5 aspect ratio.
- Landscape photos: A 2:1 aspect ratio is generally well-suited for landscape orientation on Instagram.
While Instagram is flexible and can crop images to fit, preparing your images with these aspect ratios in mind can lead to better visual presentation and potentially less aggressive compression as the platform has to do less processing.
For your profile icon, while the display size is 110 x 110 pixels, uploading a slightly larger, high-quality image is still recommended. This allows Instagram to compress it down without significant quality loss, ensuring your profile picture remains sharp and clear.
Conclusion: Managing Instagram’s Compression for Better Photo Quality
Instagram’s image compression is a necessary compromise for maintaining a smooth and efficient platform. While it can be frustrating to see your photos lose some quality, understanding why it happens and taking proactive steps can significantly mitigate the issue. By optimizing your images before uploading, using the correct dimensions and aspect ratios, enabling high-quality uploads in the app settings, and choosing appropriate transfer methods, you can ensure your photos look their best, even after Instagram’s compression. It’s about working with the platform’s limitations to showcase your visual content effectively.

