Taking newborn photos at home is a wonderful way to capture those precious early moments. While professional newborn photography offers a polished finish, DIY newborn photoshoots can be surprisingly rewarding and personal. Many parents wonder, “Where To Take A Photo” that will truly shine. This guide provides essential tips and tricks to help you create beautiful newborn photos in the comfort of your own home, focusing on optimal locations and techniques.
Table of Contents
Location, Location, Location: Finding the Perfect Spot
Choosing the right location is the first step in creating stunning newborn photos at home. For simplicity and effectiveness, consider two primary locations: the nursery and the master bedroom. These spaces are commonly used even by professional newborn photographers for in-home sessions, offering versatile backdrops and natural light opportunities. If you are looking for inspiration and items to enhance your nursery’s aesthetic for photos, explore curated lists of nursery decor to find pieces that photograph beautifully.
Before you start snapping photos, decluttering is key. In the nursery, a single blanket draped over the crib and perhaps one or two simple stuffed animals inside can be lovely. Less is often more. If you prefer a minimalist look, leaving the crib uncluttered is also perfectly fine.
For the master bedroom, the goal is to create a serene and inviting setting. Clear off nightstands completely and ensure the bed looks freshly made. A white or light-colored quilt or duvet cover can create a bright and clean backdrop. Fluff the pillows to add a touch of softness and comfort. For bedding options that photograph exceptionally well, consider exploring product lists specifically chosen for DIY newborn photoshoots.
Chasing the Light: Mastering Natural Illumination
More than any fancy camera equipment, good lighting will dramatically elevate your newborn photos. The goal is to find soft, even, and bright light. While photographers often favor north-facing windows for their consistent, indirect light, you can achieve excellent results with any window as long as direct, harsh sunlight is avoided. The key is to observe how light filters into your nursery and master bedroom at different times of the day to determine when the light is at its softest and brightest.
For instance, a west-facing nursery might receive intense, direct sunlight in the afternoon. However, earlier in the morning, when the sun is on the opposite side of the house, it might receive gentler, indirect light that is less bright. A photographer might choose to photograph in such a room around 10 am to 12 pm, when the sun is higher in the sky, providing optimal indirect light without harshness.
Crucially, maximize the available natural light by opening blinds or curtains fully. Turn off all artificial lights in the room, including lamps and ceiling lights. This prevents color casts from artificial bulbs and ensures you are primarily using the clean, natural light. Consider using light-filtering shades to diffuse overly harsh sunlight, transforming it into soft, photo-ready illumination.
Camera and Phone Settings: Keeping it Simple and Effective
The most fundamental tip for DIY newborn photos is to disable the flash on your phone or camera. Flash can create harsh shadows and unflattering lighting, which is particularly unsuitable for delicate newborn skin. Stability is also crucial; hold your device steady to avoid blurry images. Photographing when your baby is asleep can help minimize movement and ensure sharper photos. If you notice motion blur even with a still baby, it’s an indication that you need more light in the room. Make sure to photograph on a bright day and maximize natural light as mentioned earlier.
For smartphone users, especially iPhone users, tapping the screen will allow you to set the focus. You’ll notice a sun icon and a box appear; sliding your finger up and down on the sun icon lets you adjust the exposure, making the image brighter or darker.
Portrait mode on smartphones can be a fantastic tool to use for newborn photos, creating a soft background blur that emphasizes your baby. Experiment with this mode to see if you like the effect.
If you anticipate taking many more photos of your baby as they grow, investing in a semi-professional camera can be worthwhile. Models like the Fuji X-S10 are highly regarded for their image quality and user-friendliness.
 Parent taking newborn photo with phone
Props: Less is More for Timeless Newborn Photos
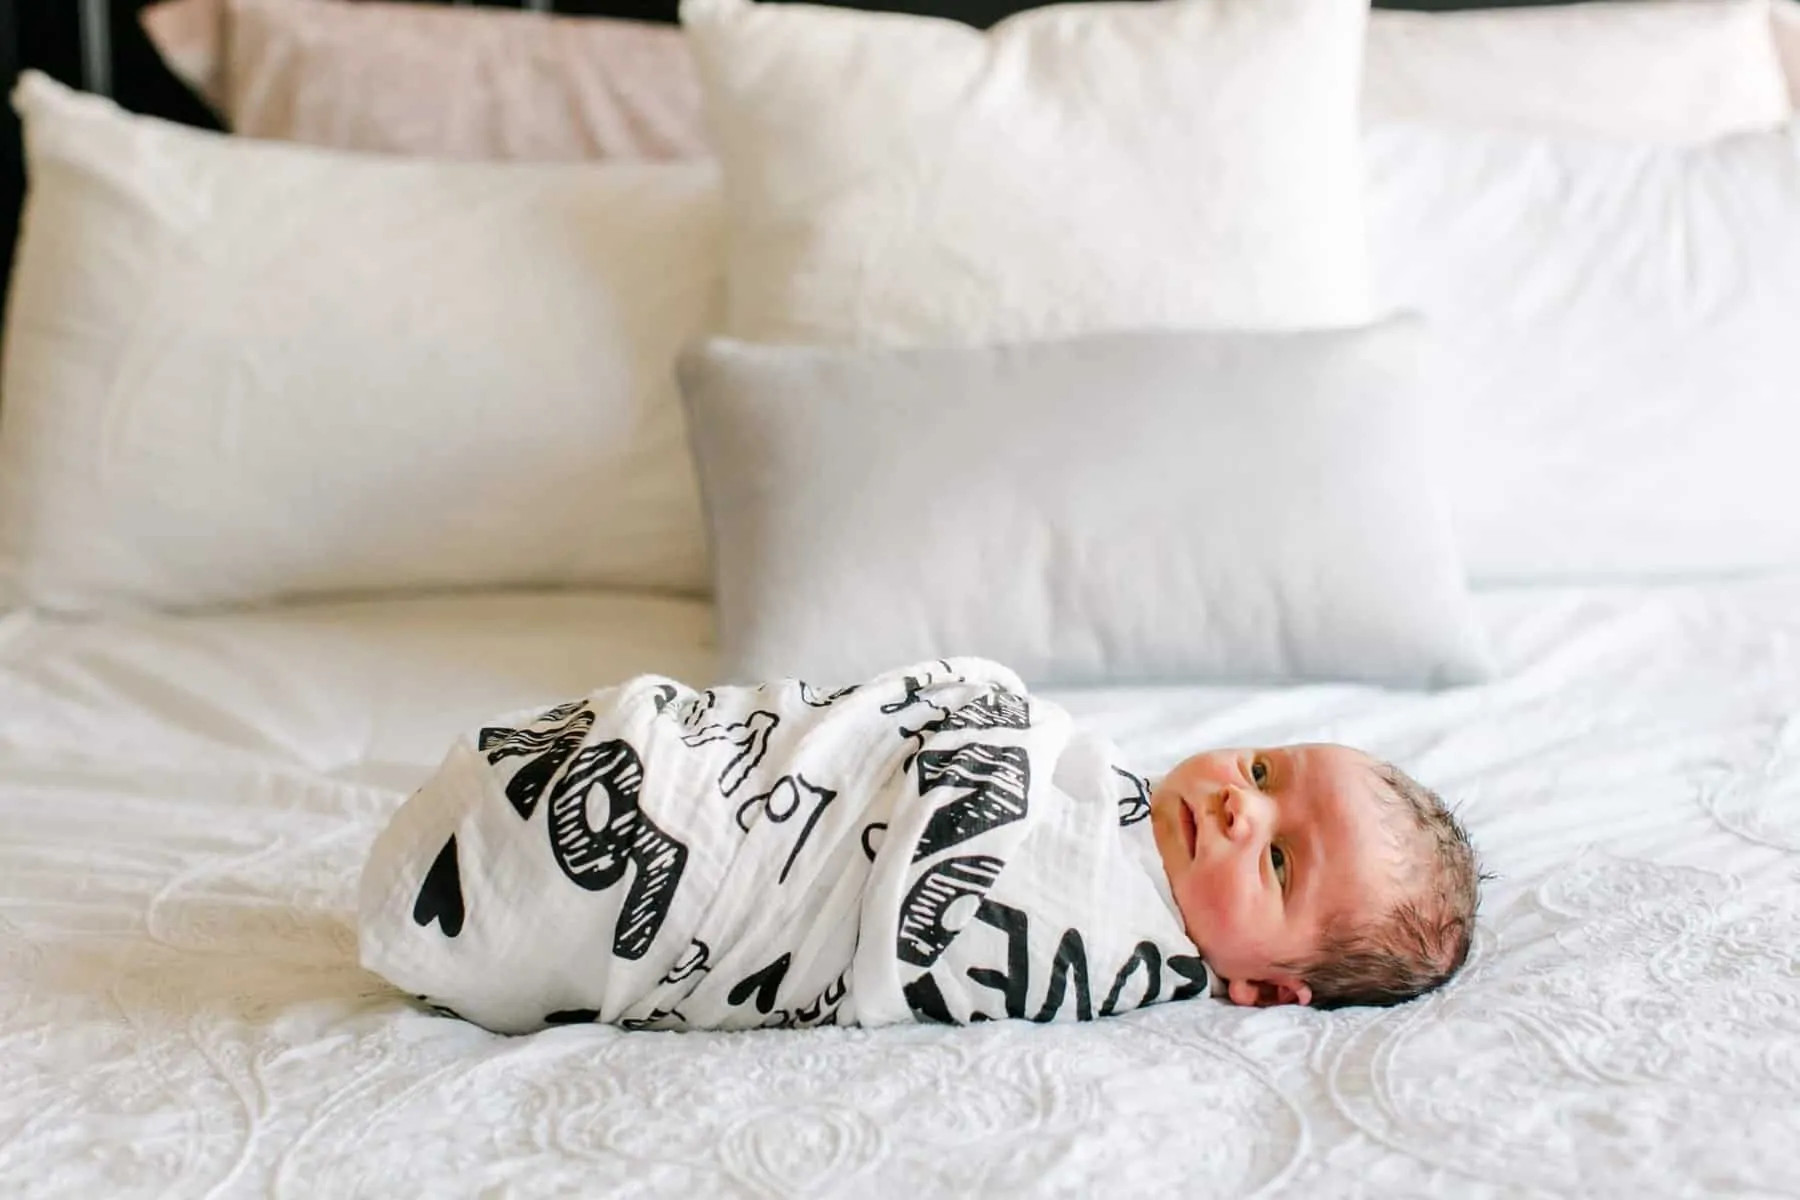
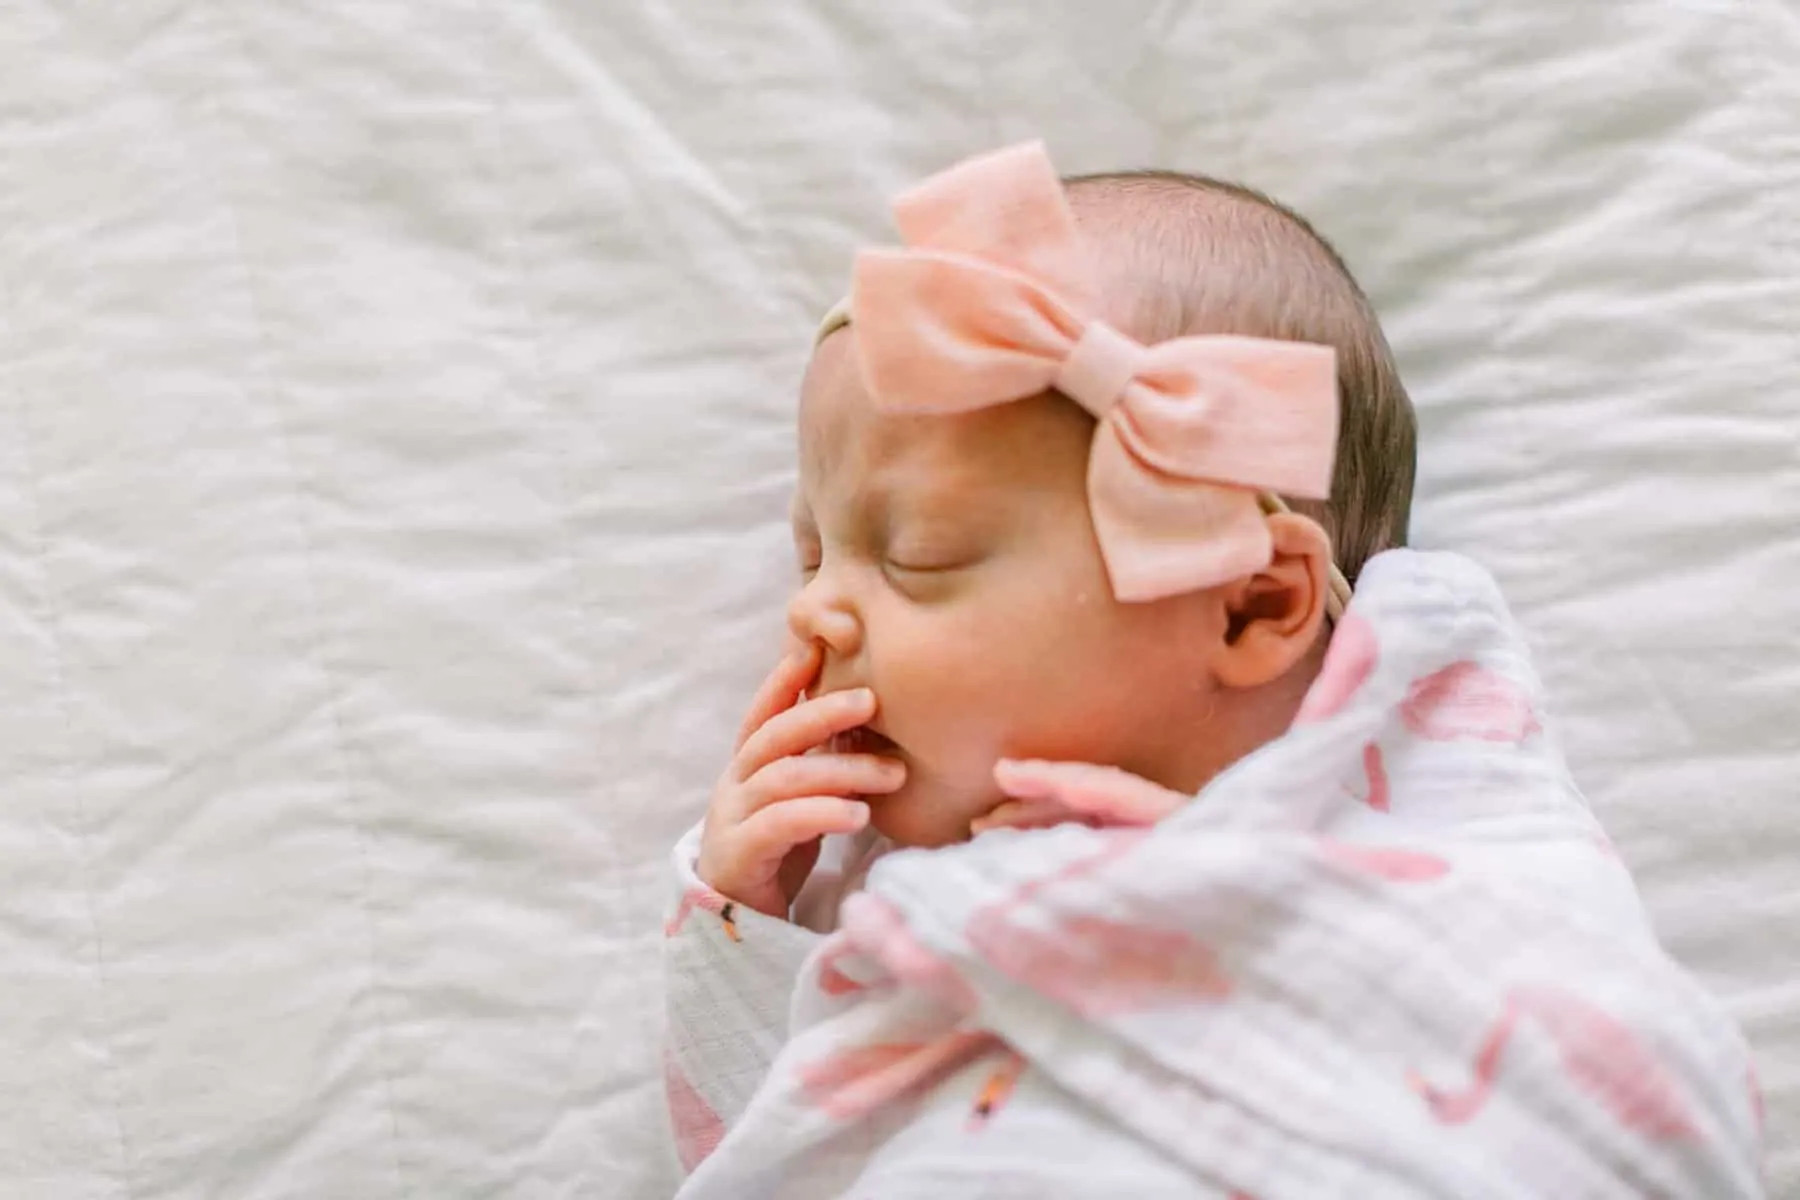
When it comes to props for newborn photography, simplicity often yields the most timeless and beautiful results. Overly elaborate props can distract from the baby and may look dated quickly. A recommended and versatile prop is a swaddle blanket. Choose from solid colors or subtle patterns based on your background. Solid blankets work well if your crib sheet or bedding is patterned, while patterned swaddles can add a lovely contrast against solid-colored sheets. Ultimately, the choice is a matter of personal preference. Consider coordinating the swaddle with the nursery theme, like using a swan-themed swaddle in a swan-themed nursery, for a cohesive look.
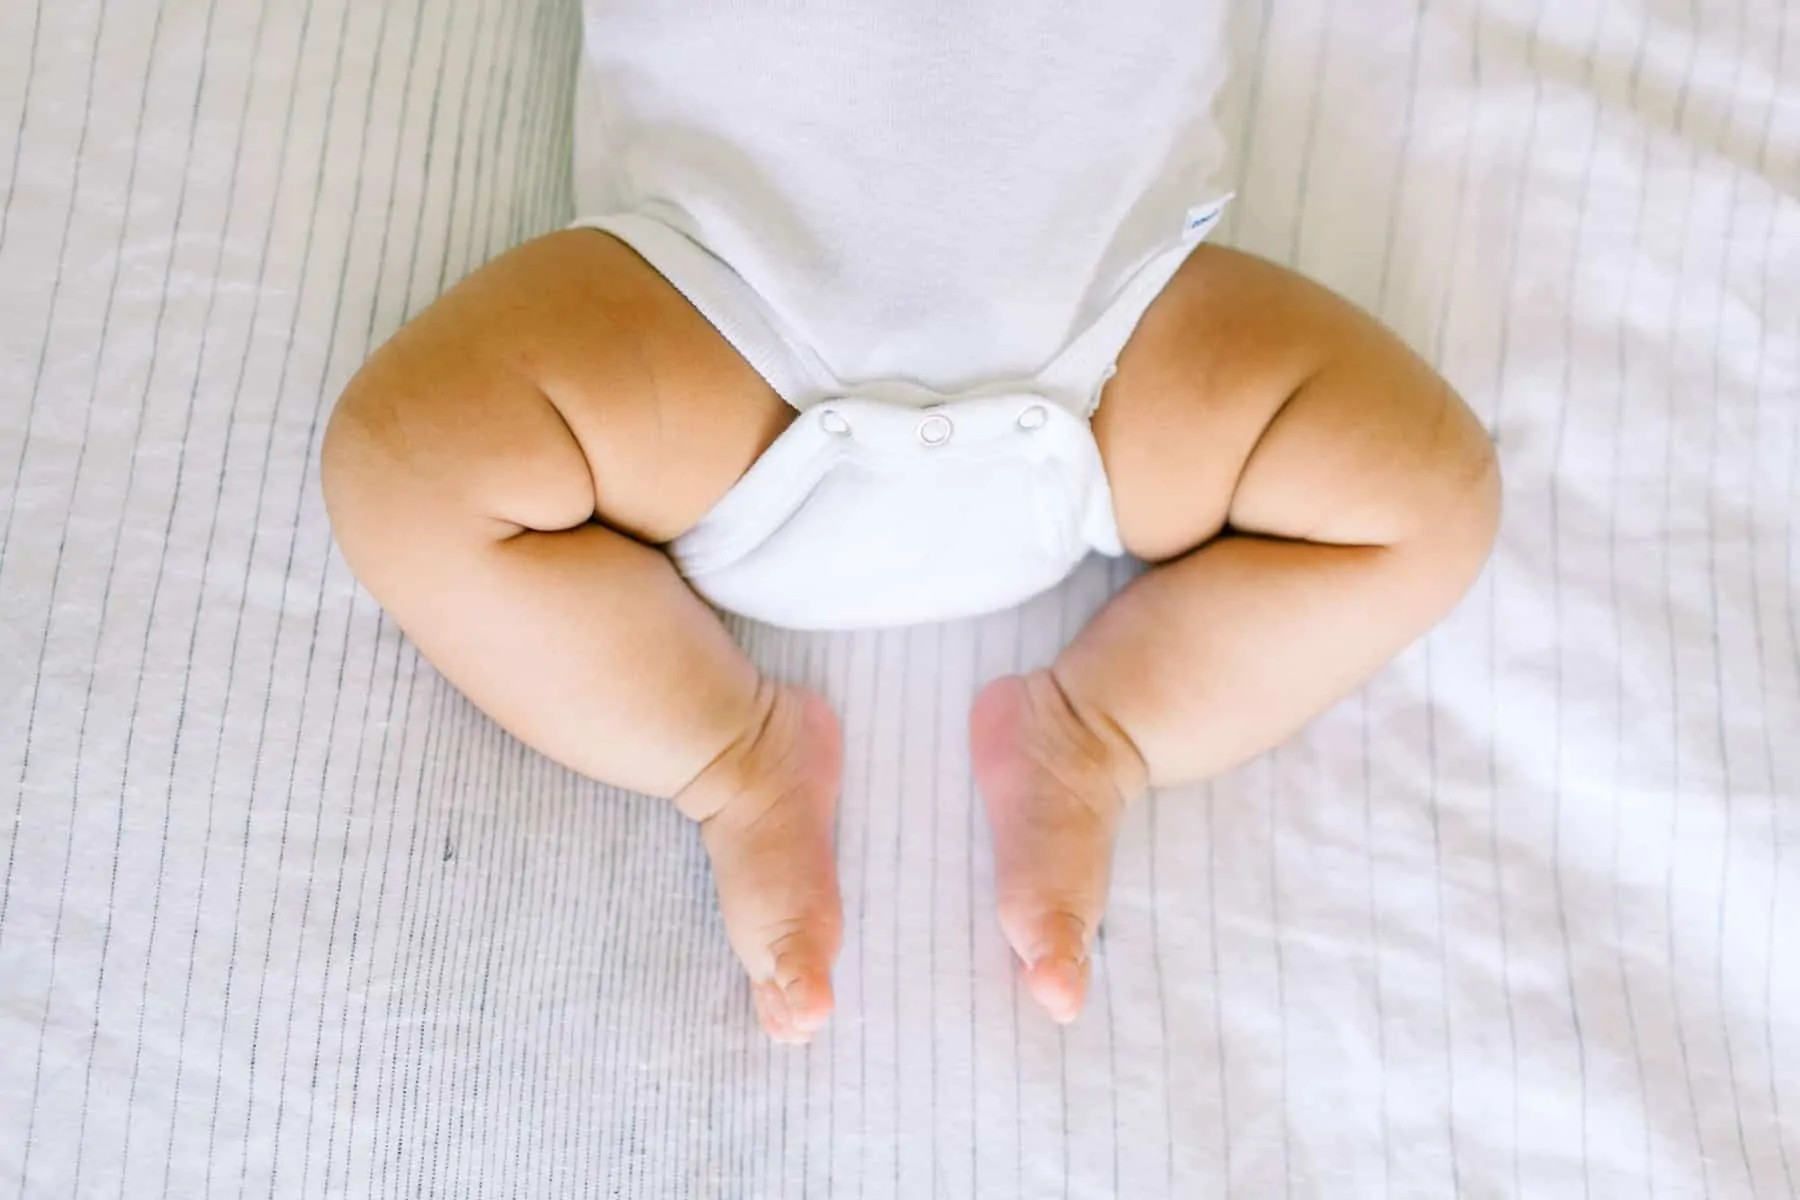
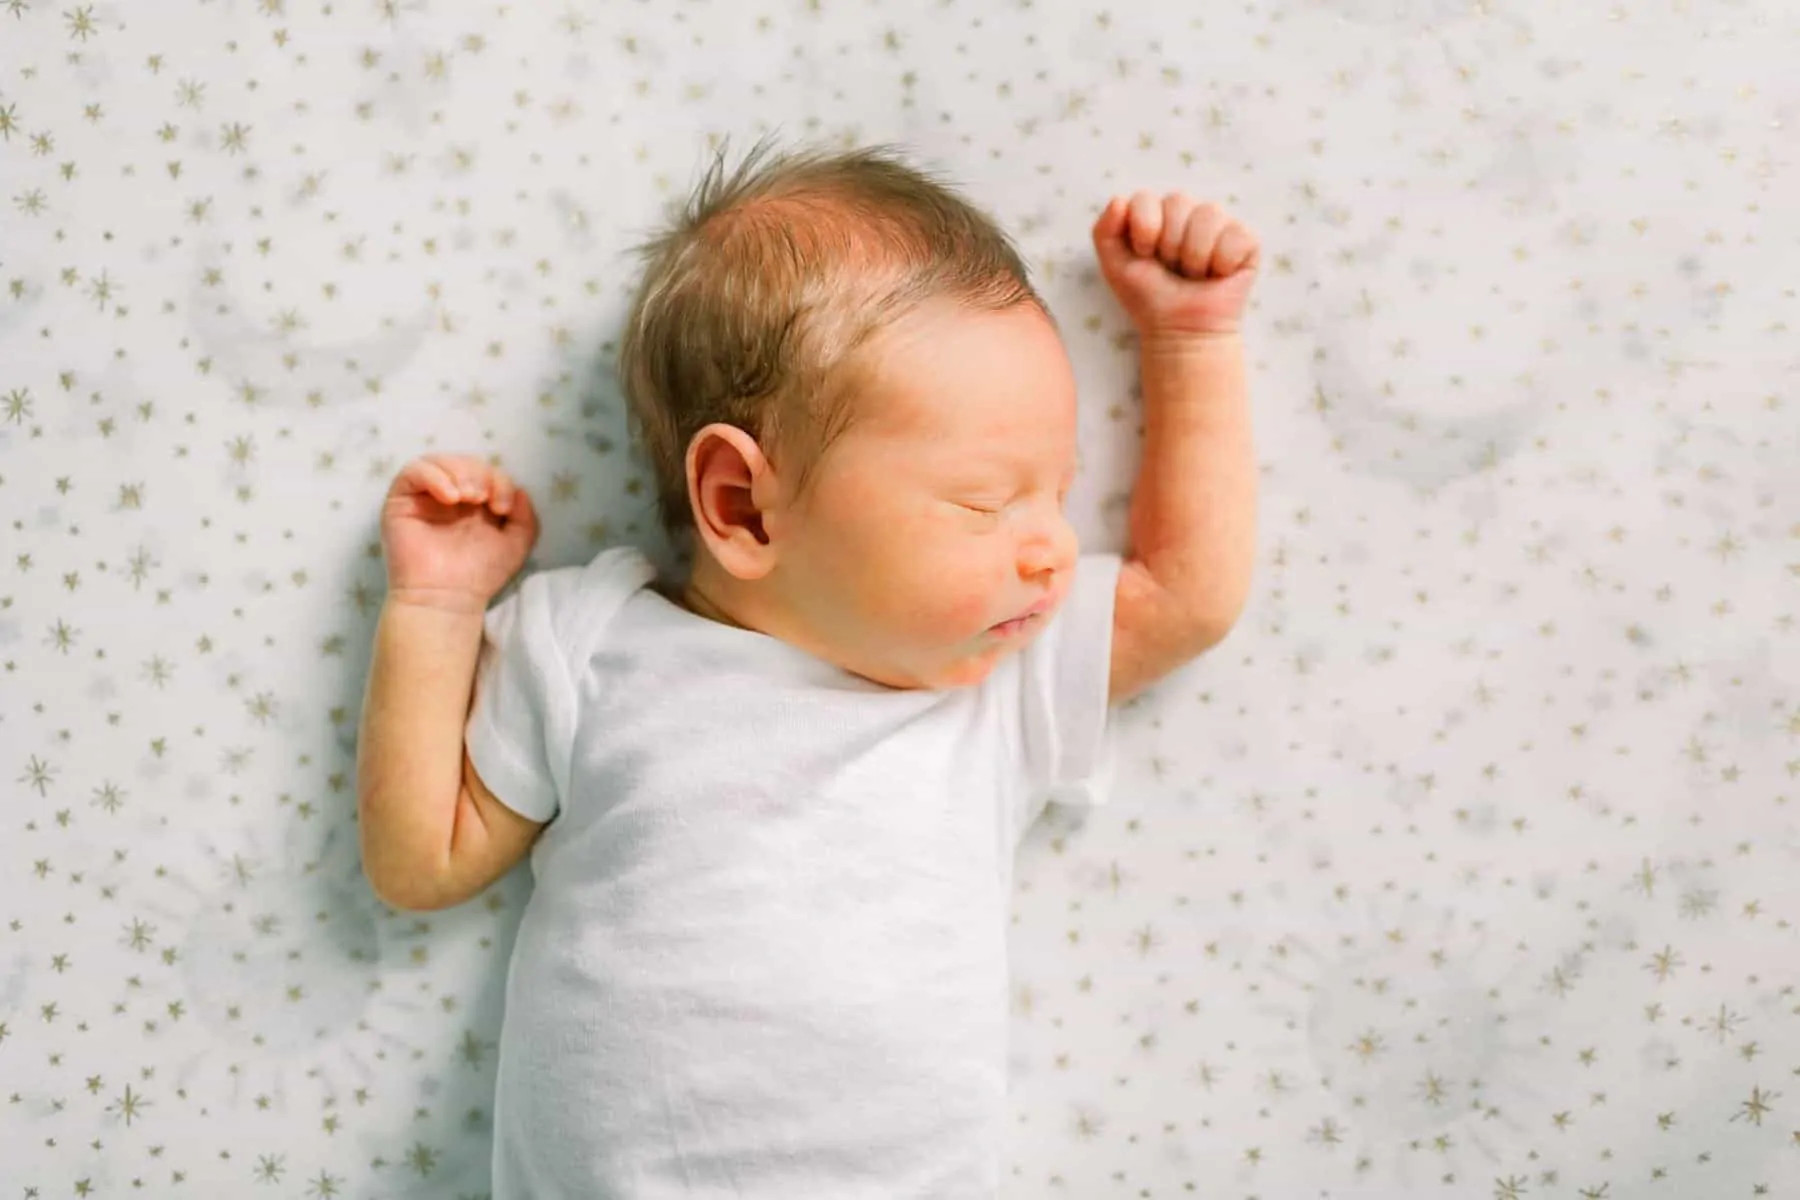
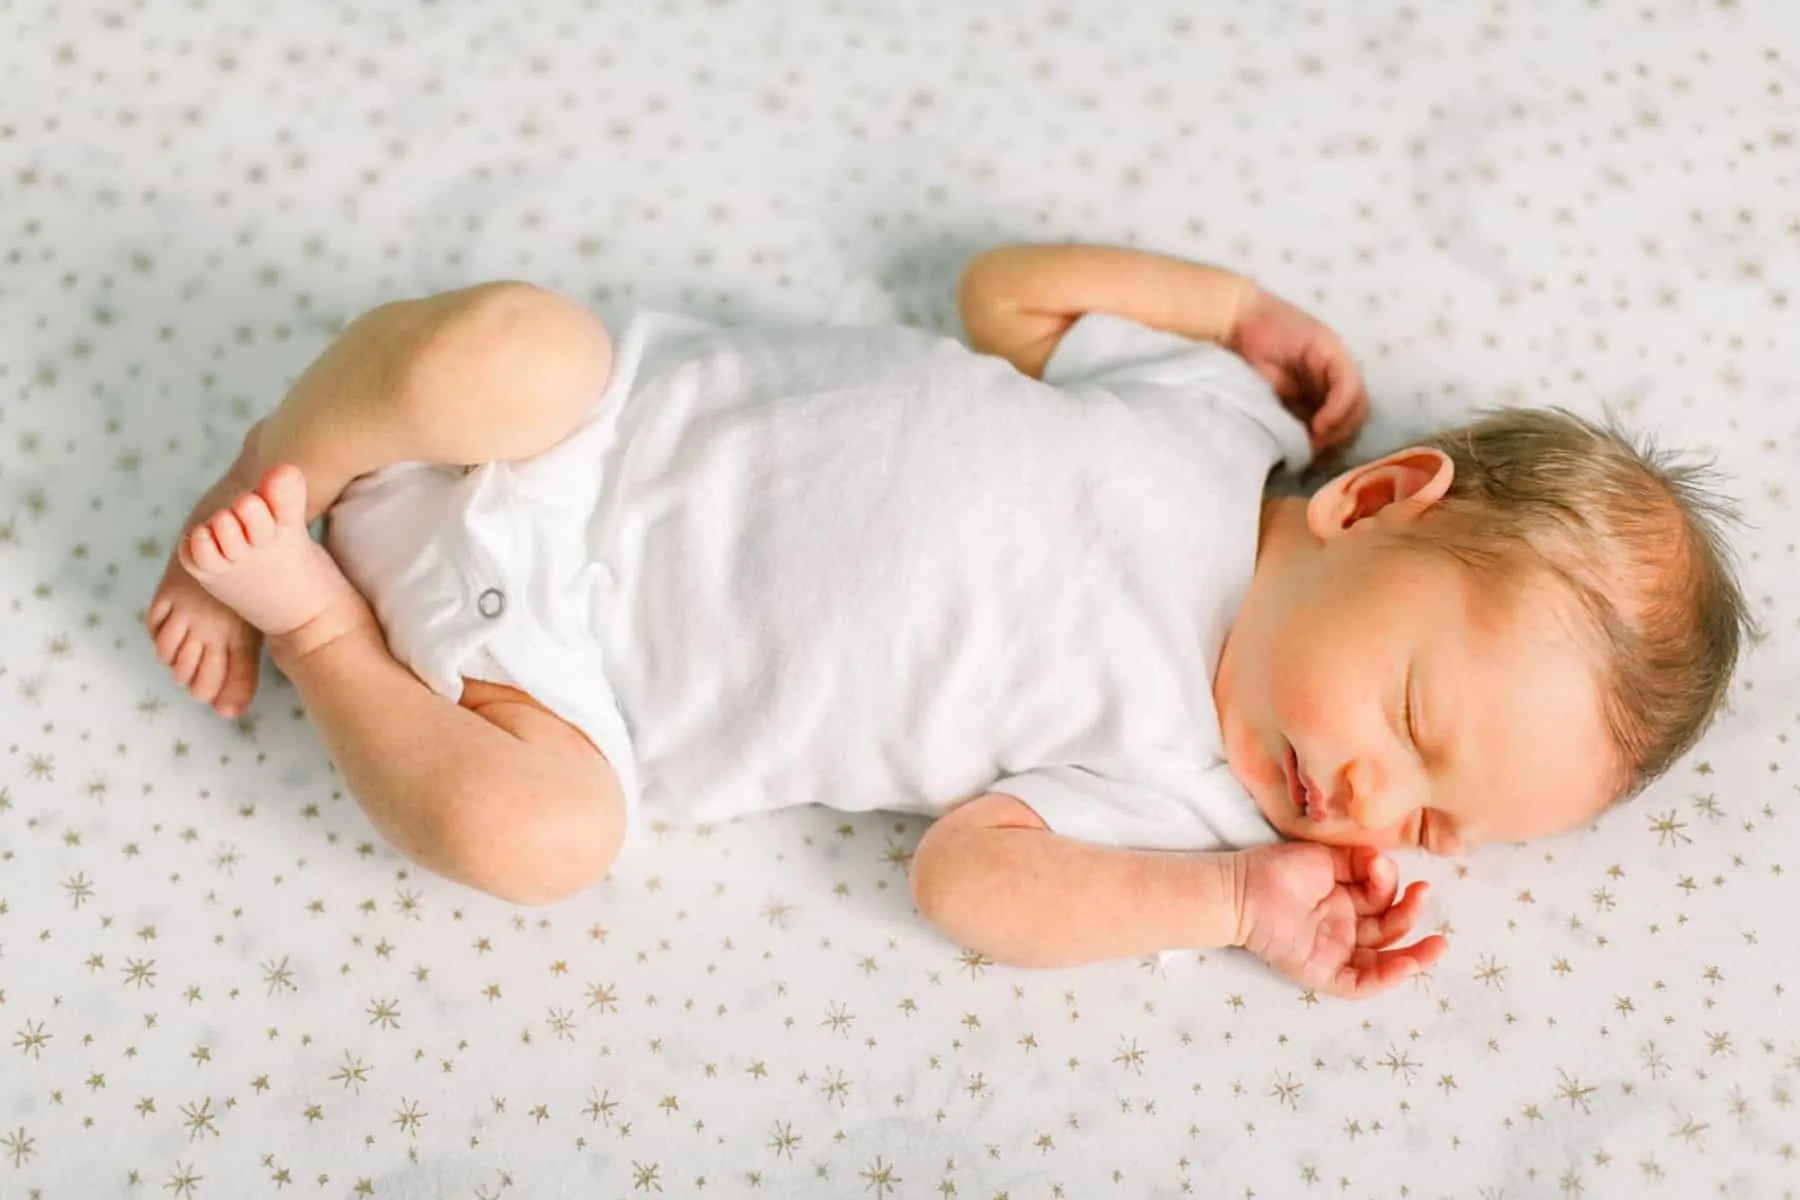
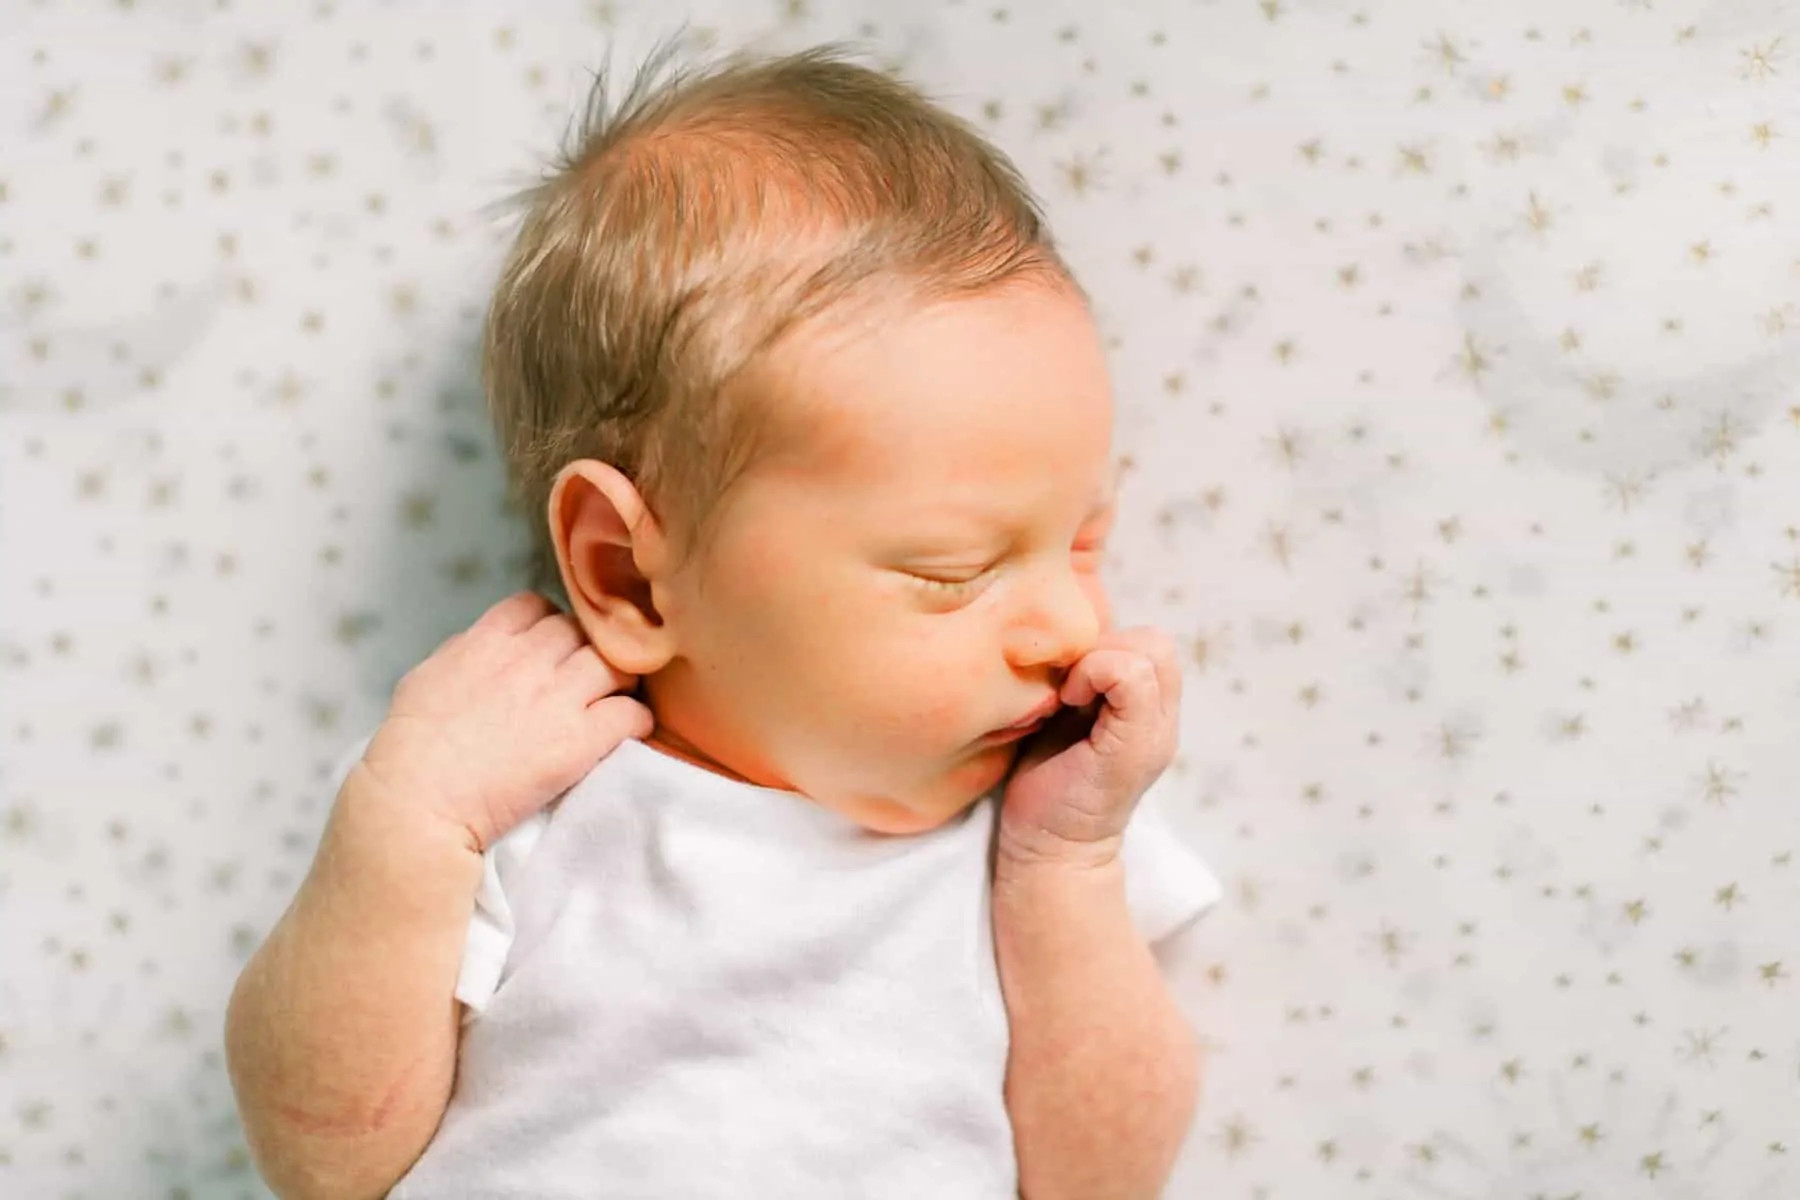
Another excellent “prop” is a simple white onesie. A white onesie provides a classic, clean look that will remain stylish and won’t appear trendy or outdated in years to come. White clothing also helps to reflect light onto the baby’s face, creating brighter and more flattering portraits. Start your photoshoot with photos of your baby in just a white onesie, then swaddle them for a second set of images to achieve two distinct looks with minimal effort.
 Newborn swaddled in white onesie
Posing Inspiration: Simple and Sweet Newborn Poses
It’s easy to get caught up in elaborate poses seen on platforms like Pinterest, but for DIY newborn photos, it’s best to keep posing simple and achievable. Resist the urge to perfectly replicate complex professional setups, and give yourself grace. Remember that professional photographers bring years of experience and specialized equipment to their sessions. Just as home-cooked meals differ from restaurant cuisine, your DIY photos will have their own unique charm.
Focus on two straightforward poses that allow for a variety of angles and beautiful shots: posing in the crib and posing in the master bedroom.
 Baby in swaddle blanket
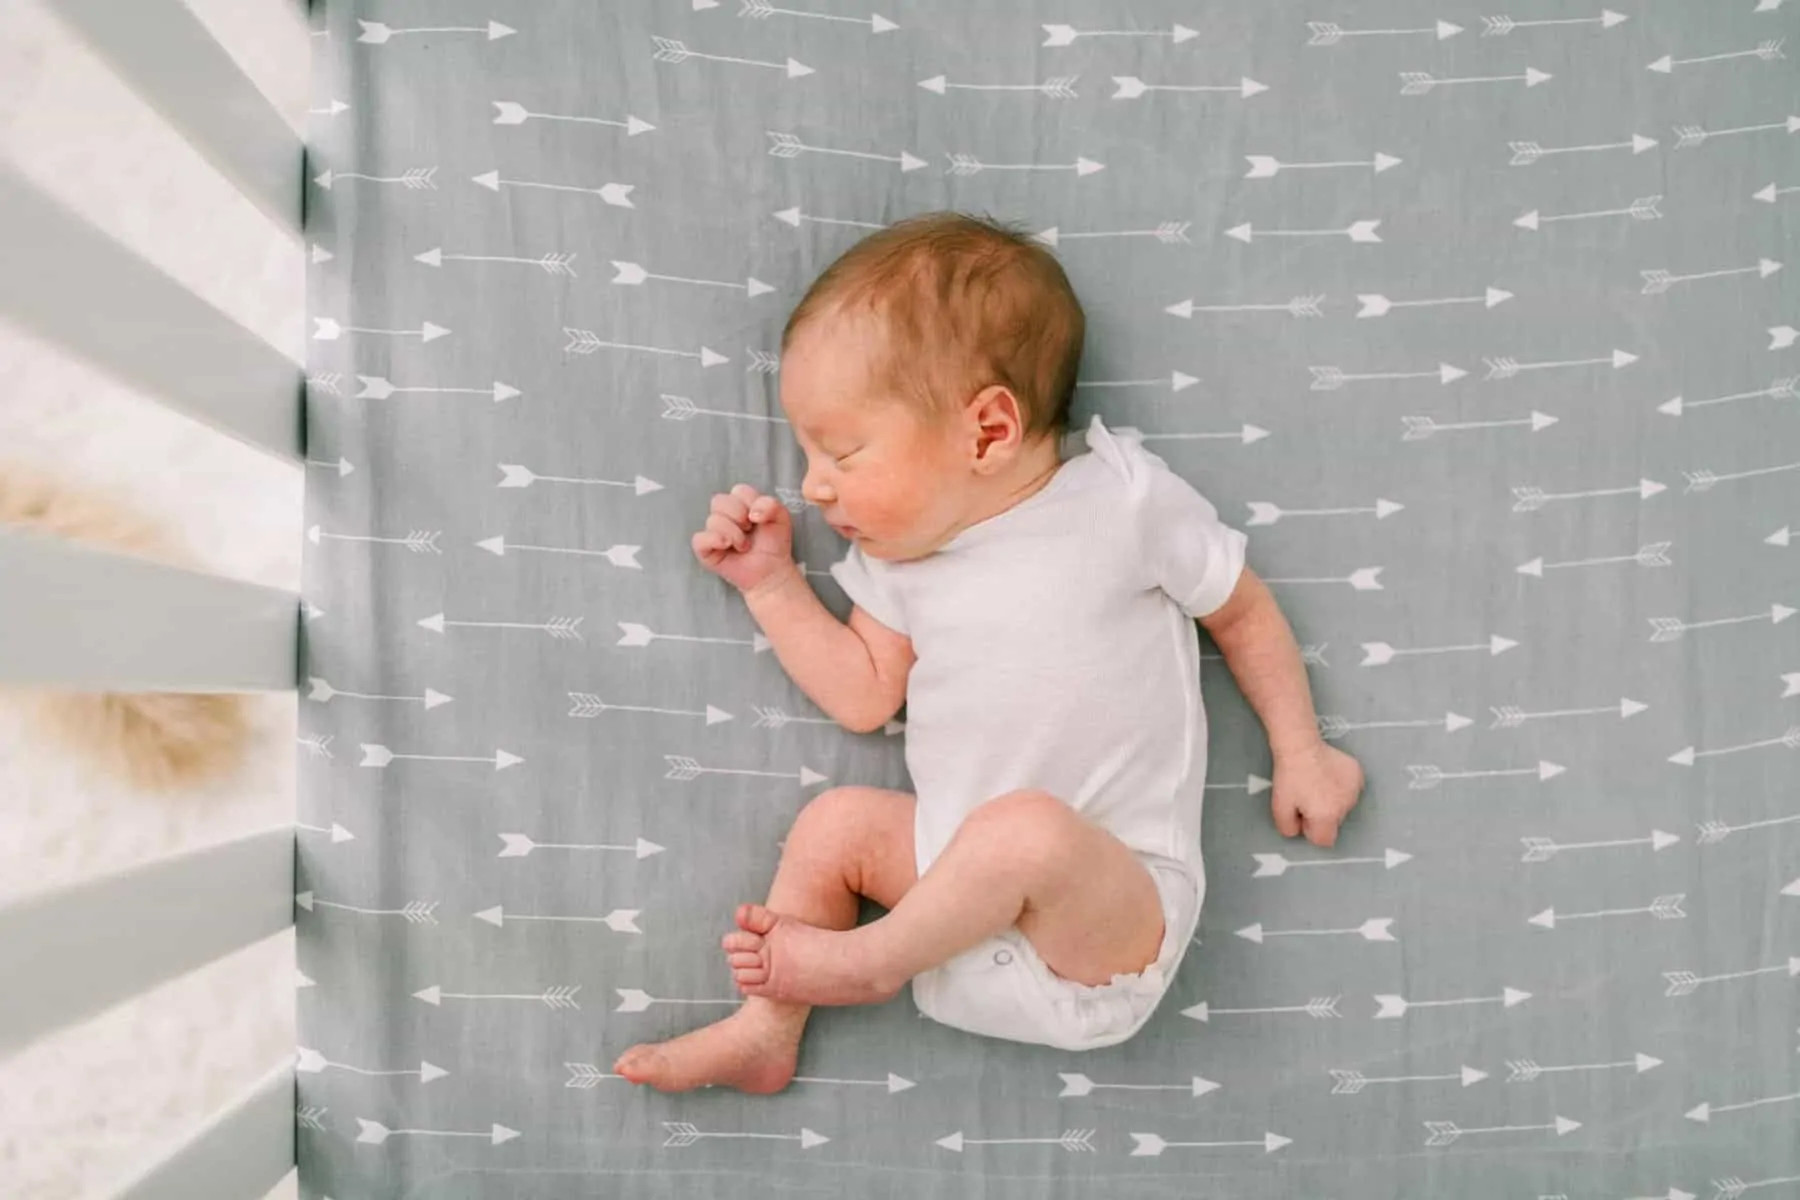
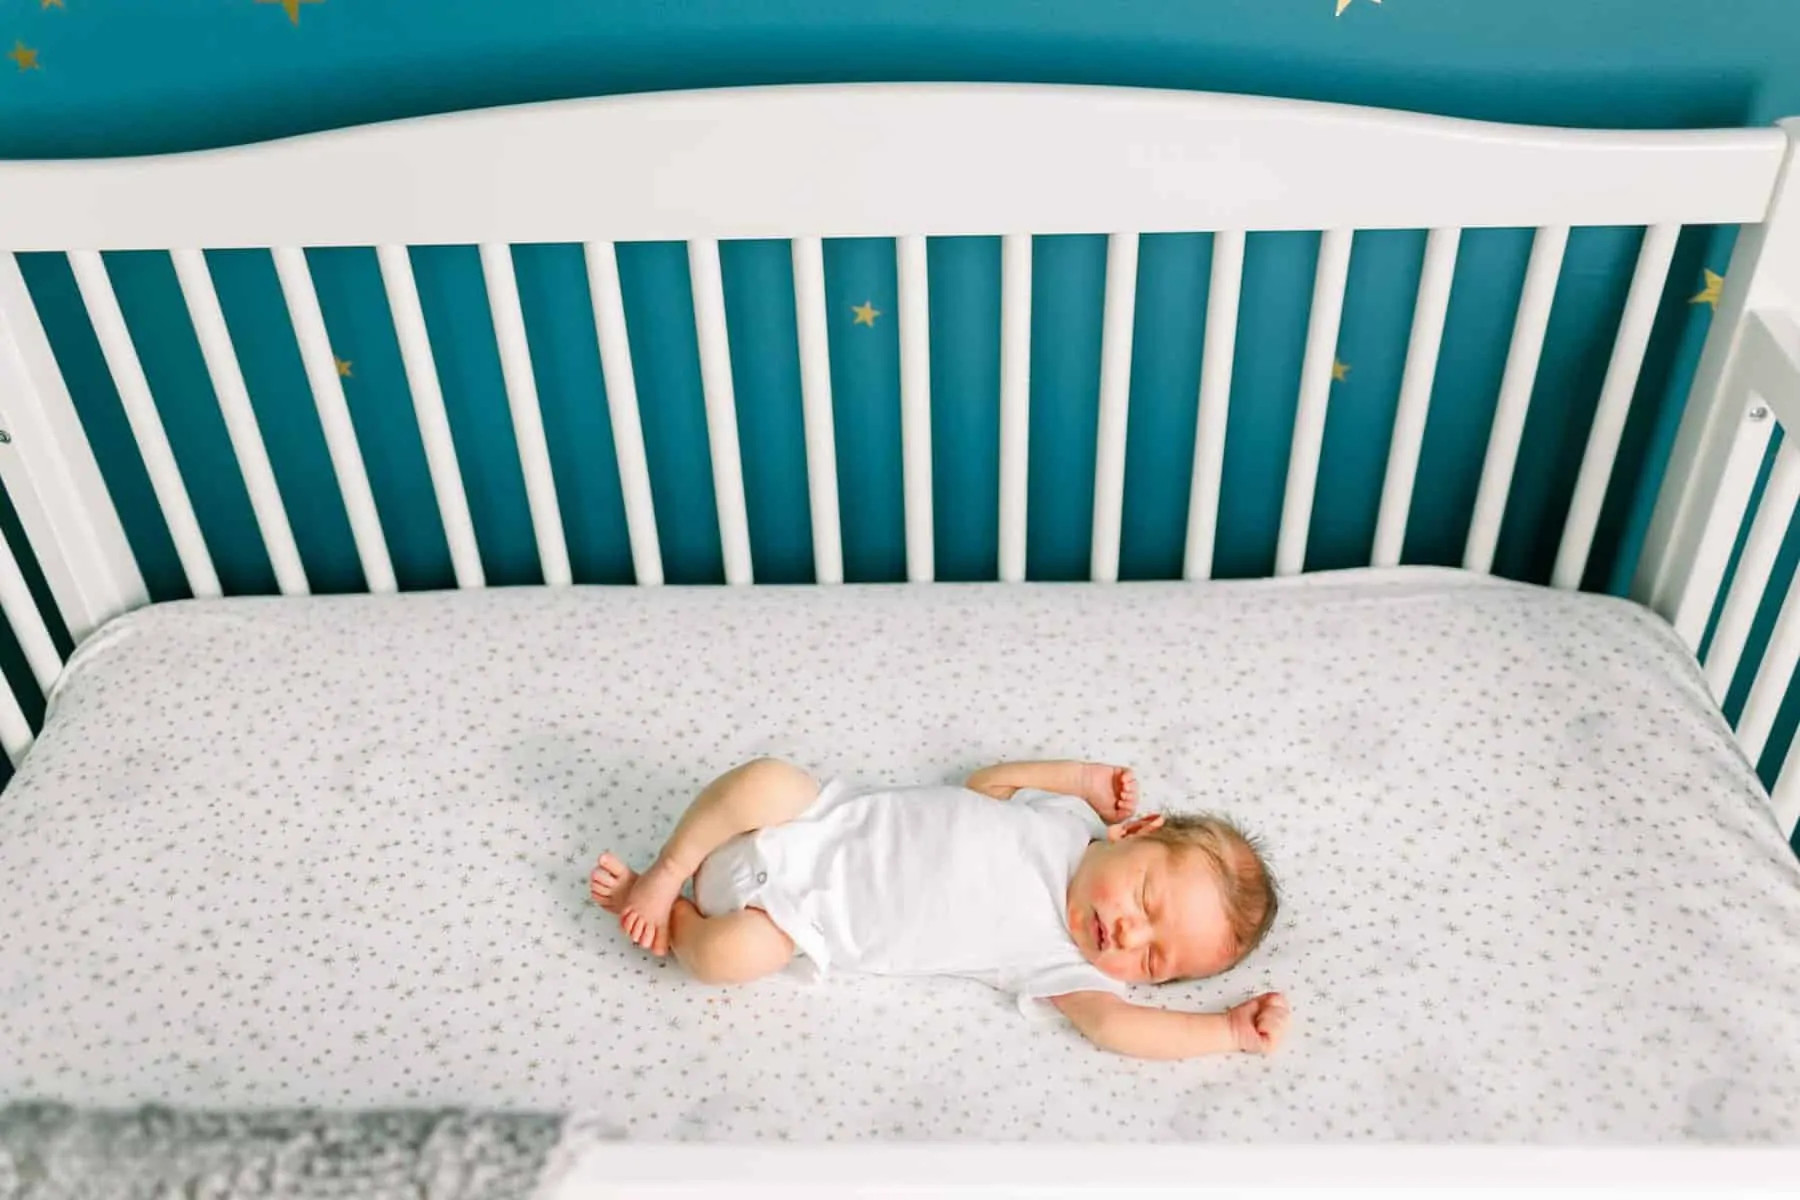
Crib Poses: Capturing Cuteness from All Angles
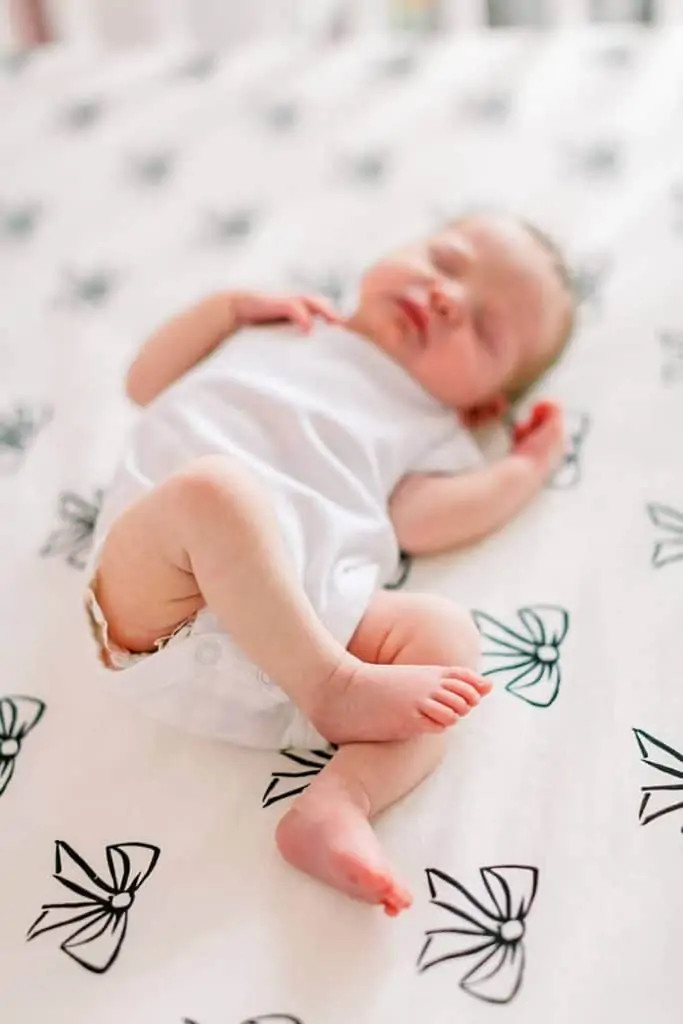
For crib poses, start with your baby in a simple white onesie. Position your baby in the crib so they are facing into the room. Babies sometimes have a preferred side, so if they naturally turn their head a certain way, try gently coaxing them to face the room. If that doesn’t work, simply turn the baby around in the crib.
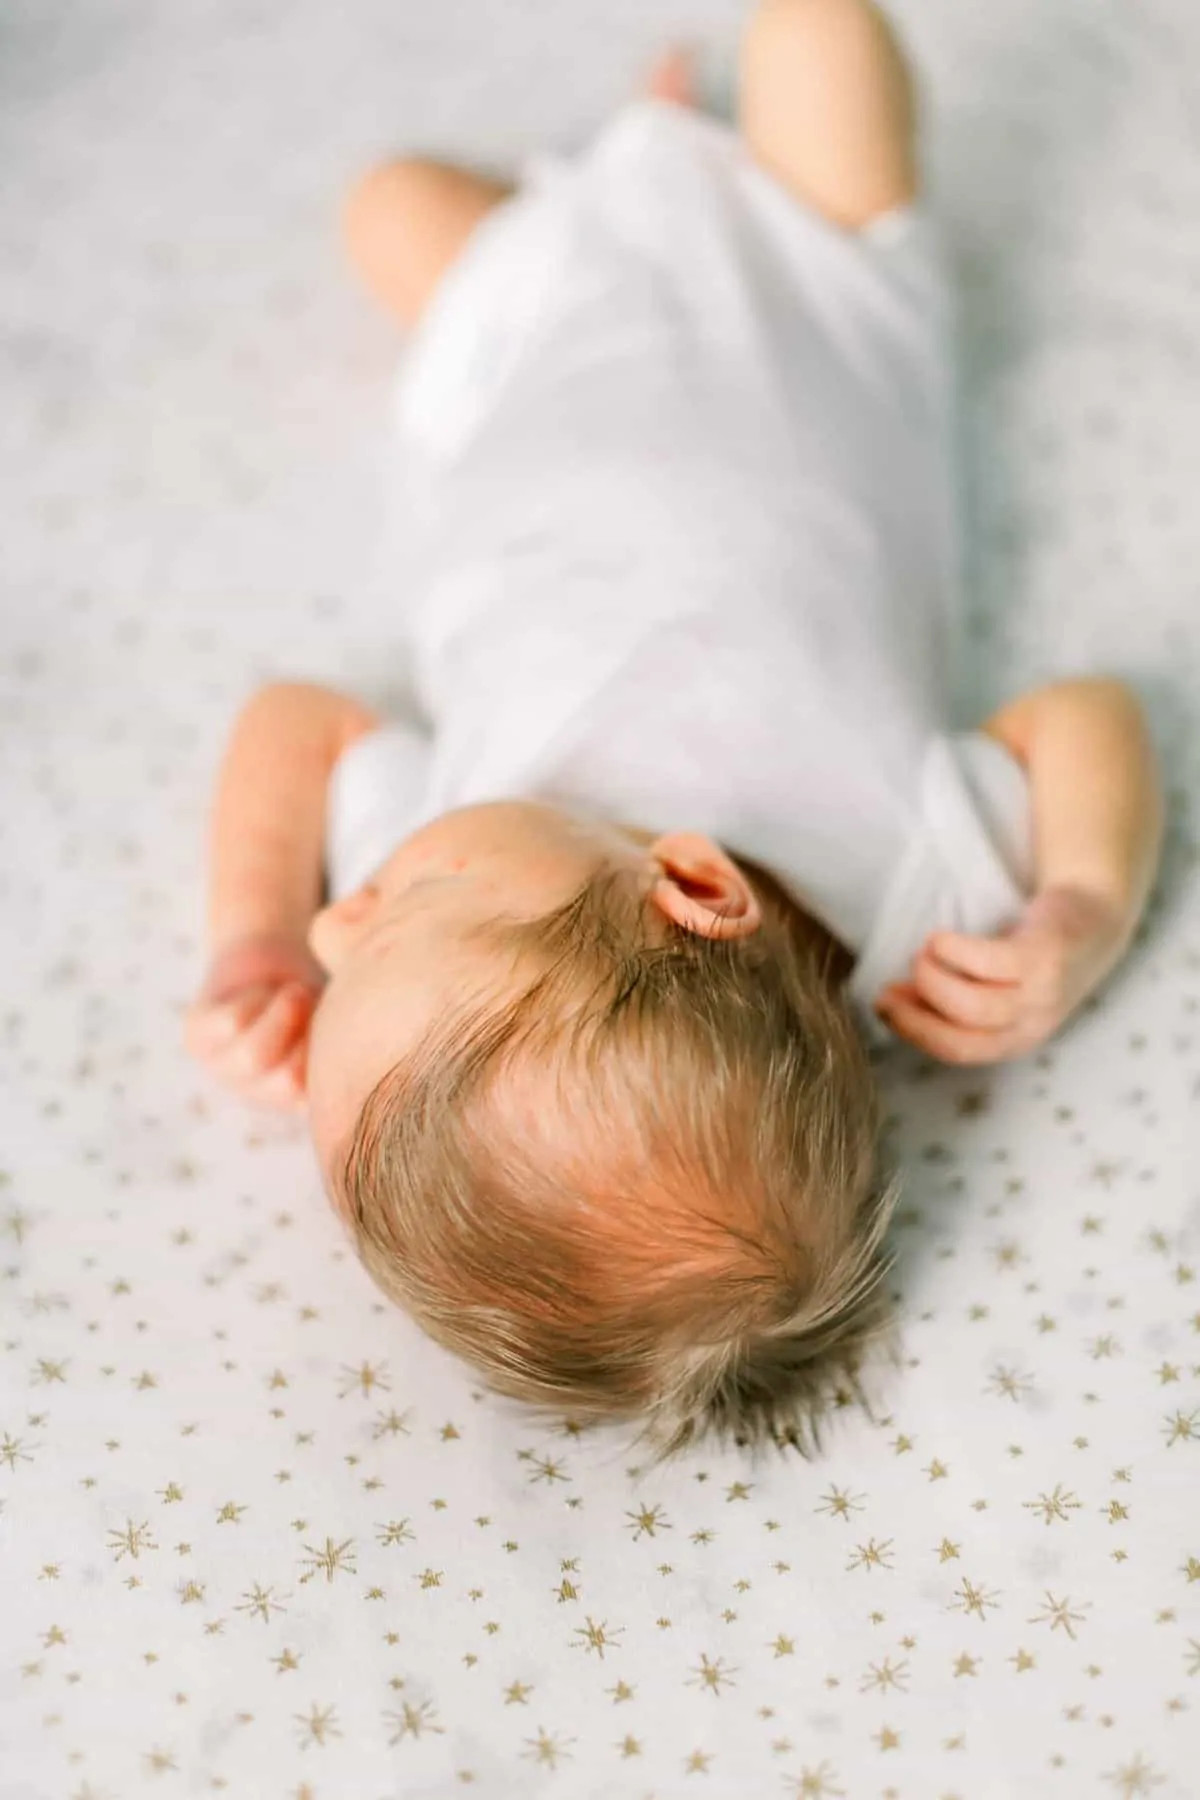
Begin with an overhead shot looking directly down into the crib.
 Overhead crib shot
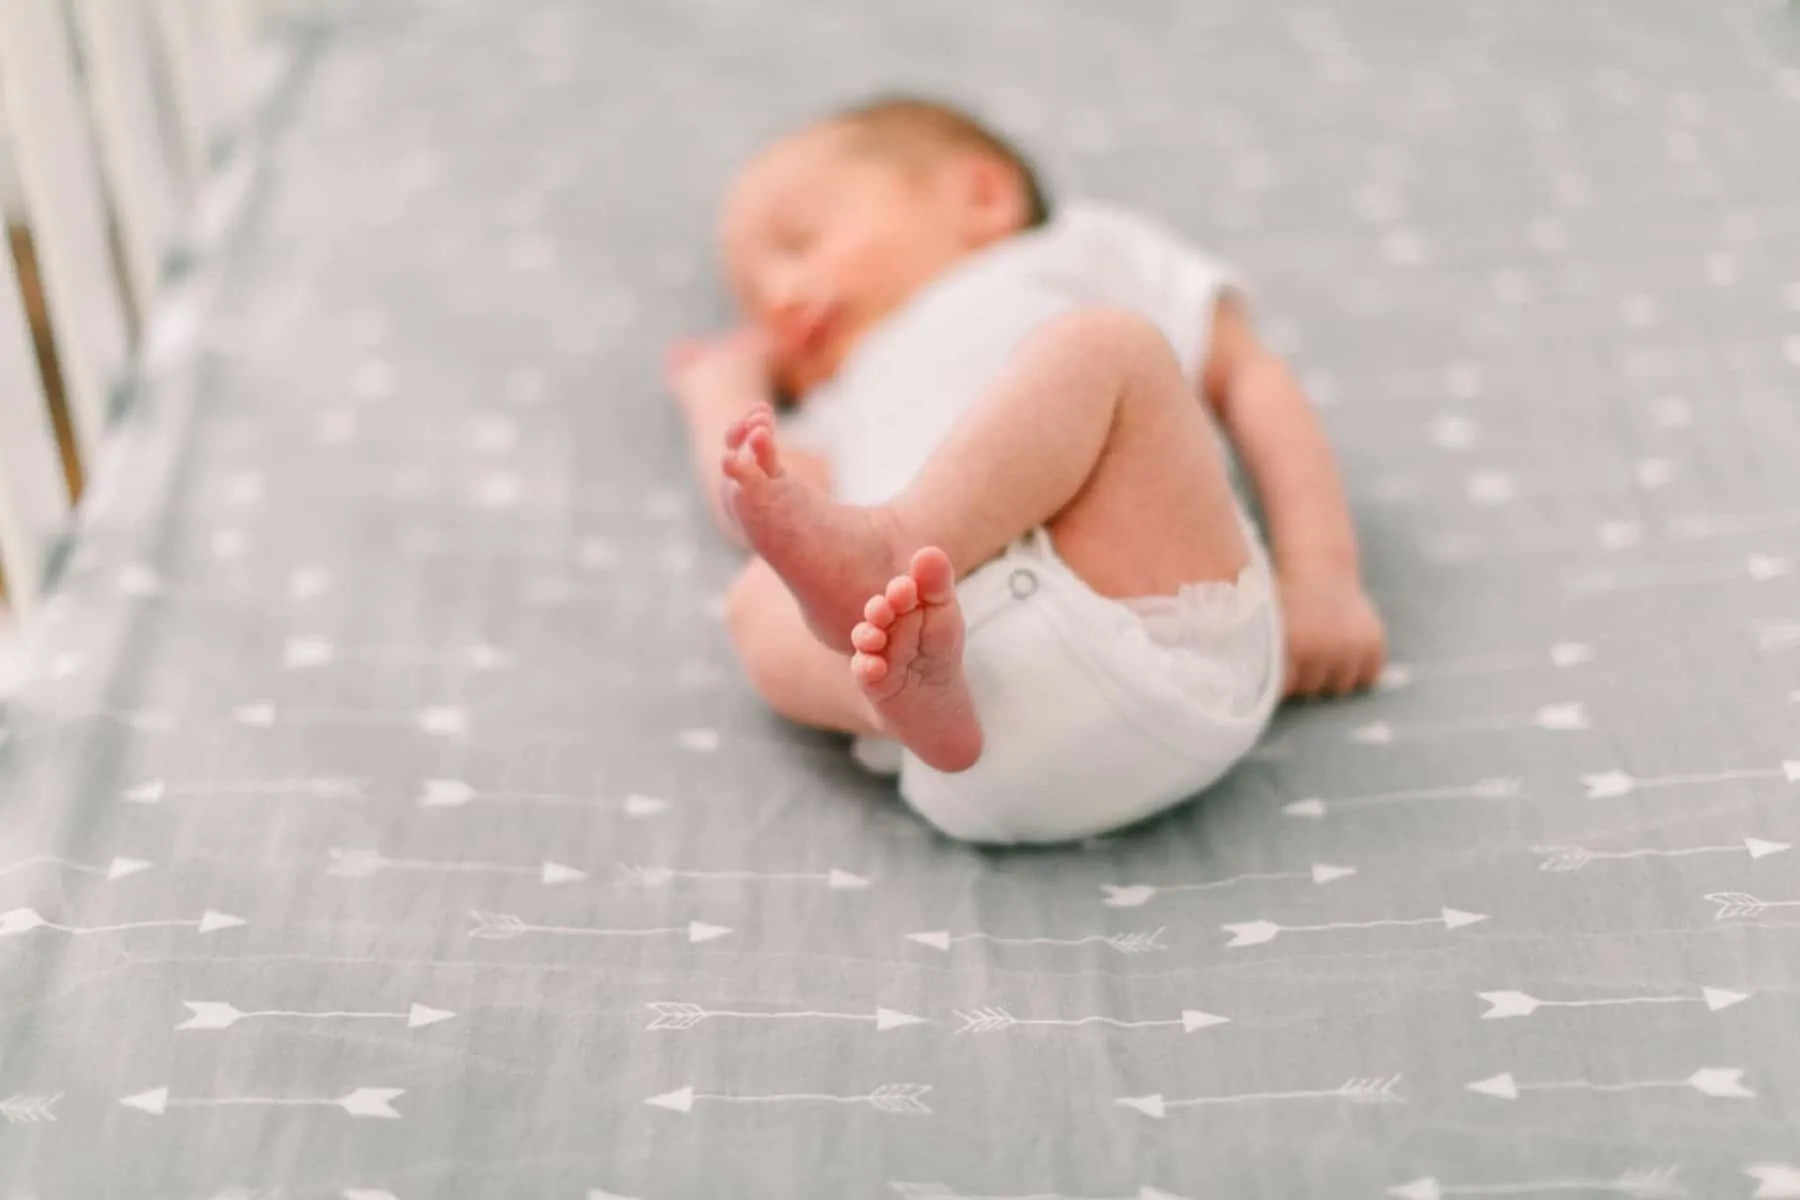
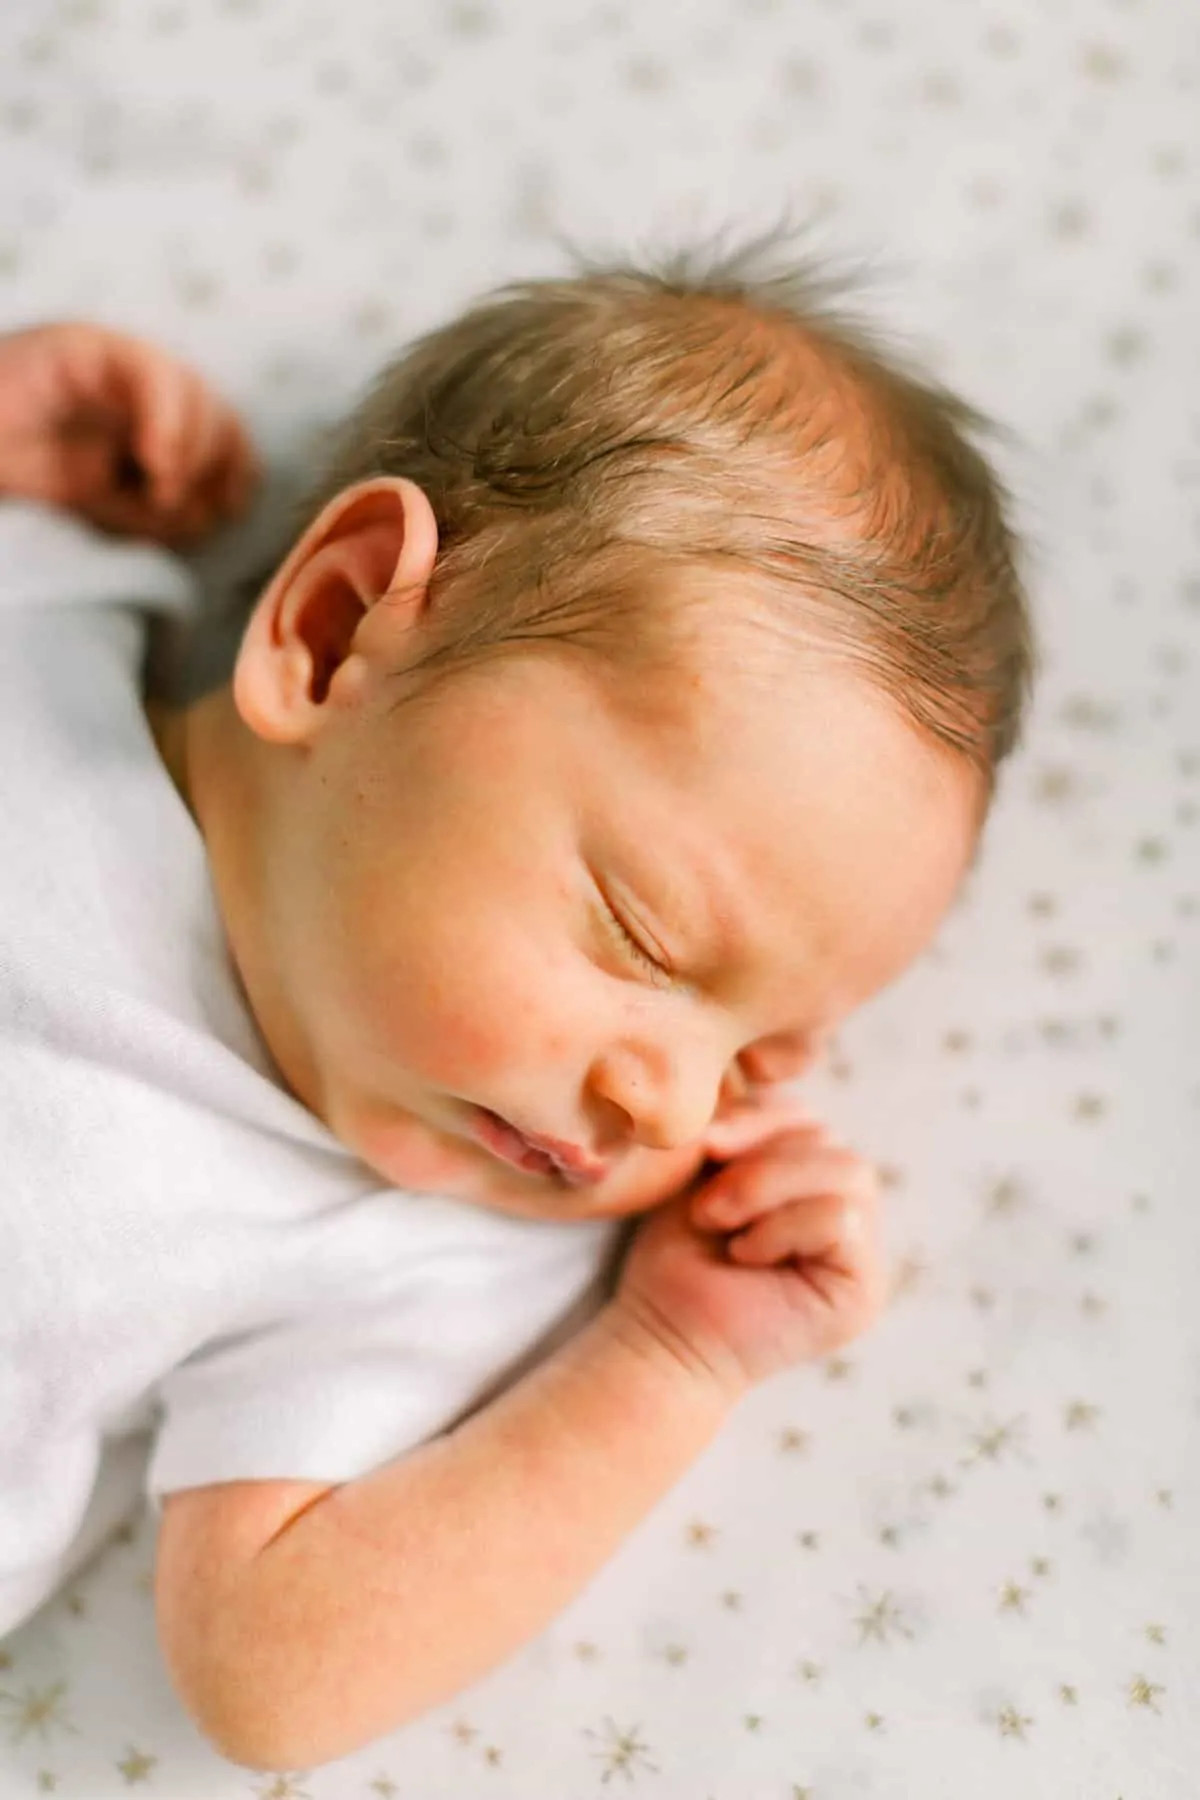
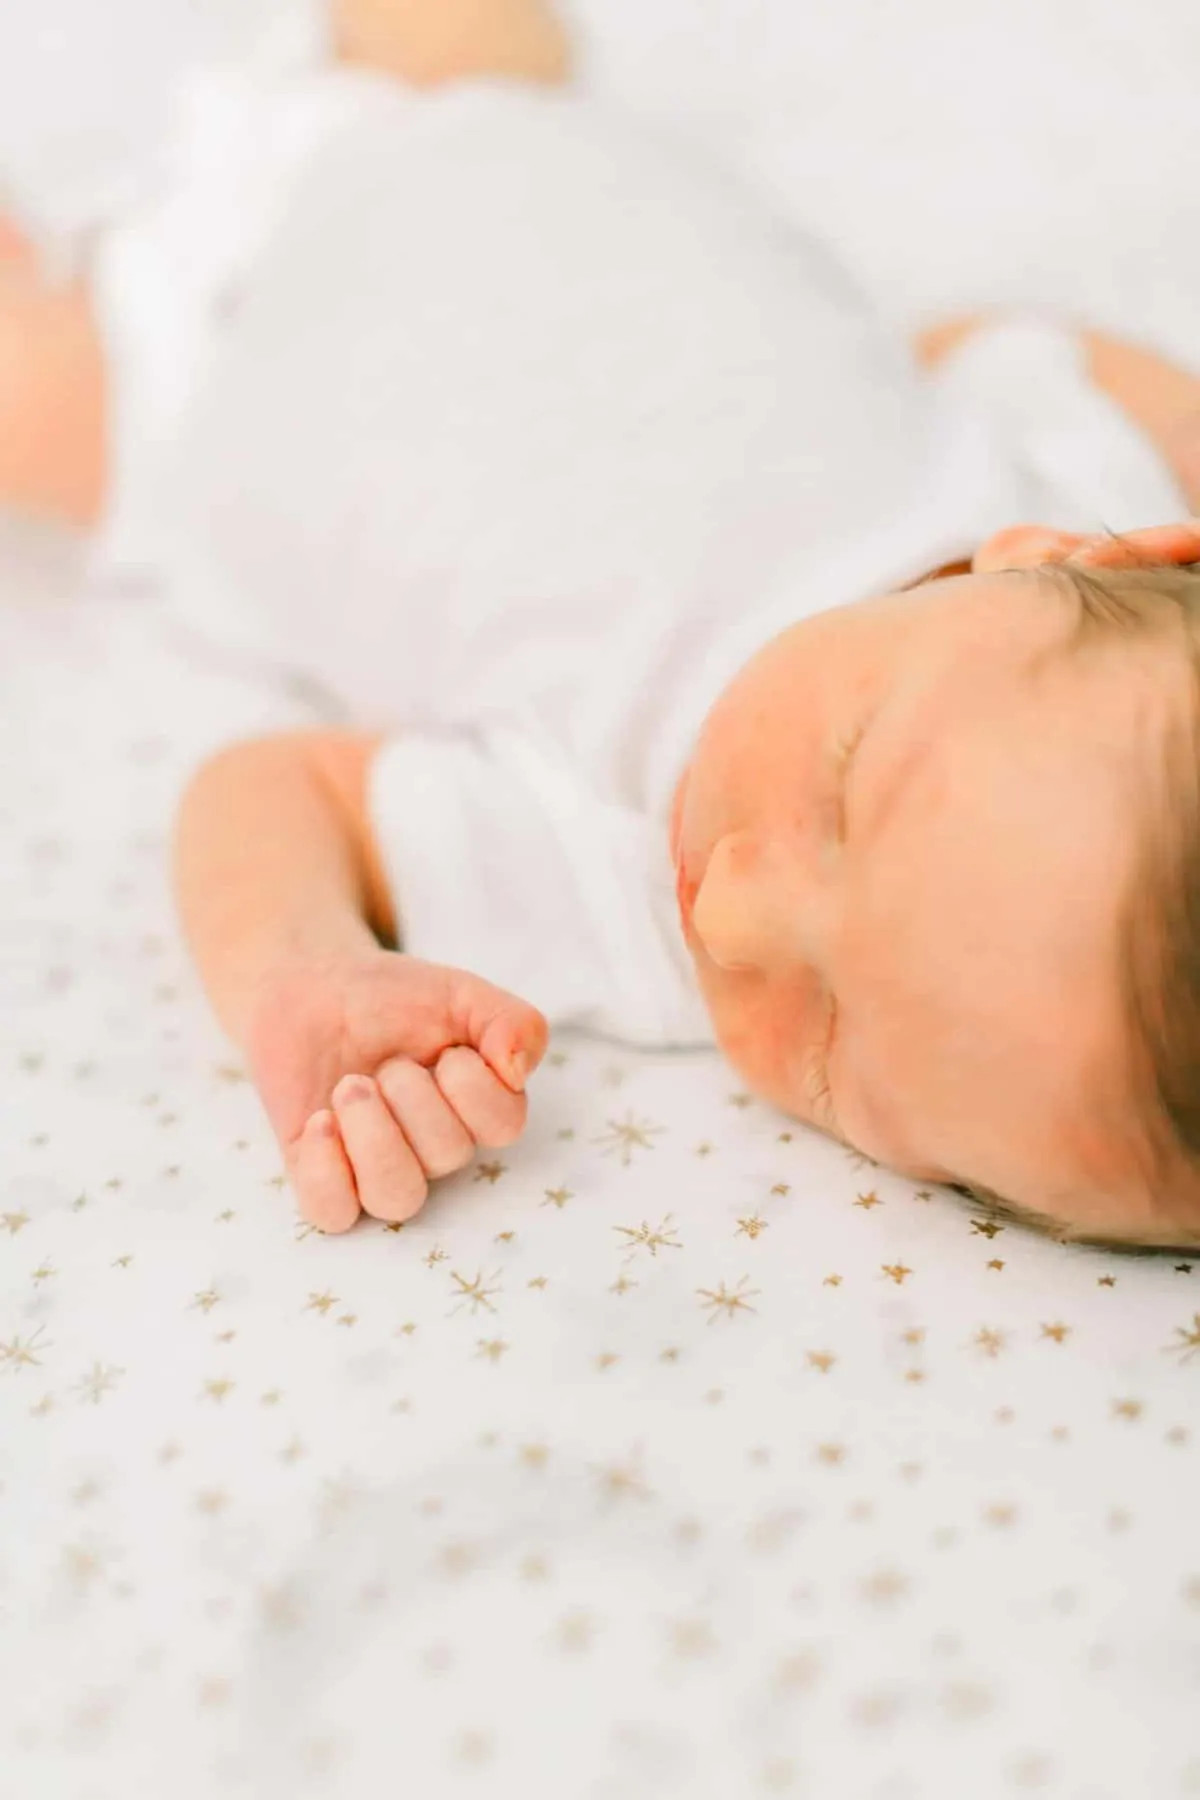
Then, shift your focus to capture those adorable baby toes.
 Close up of baby toes in crib
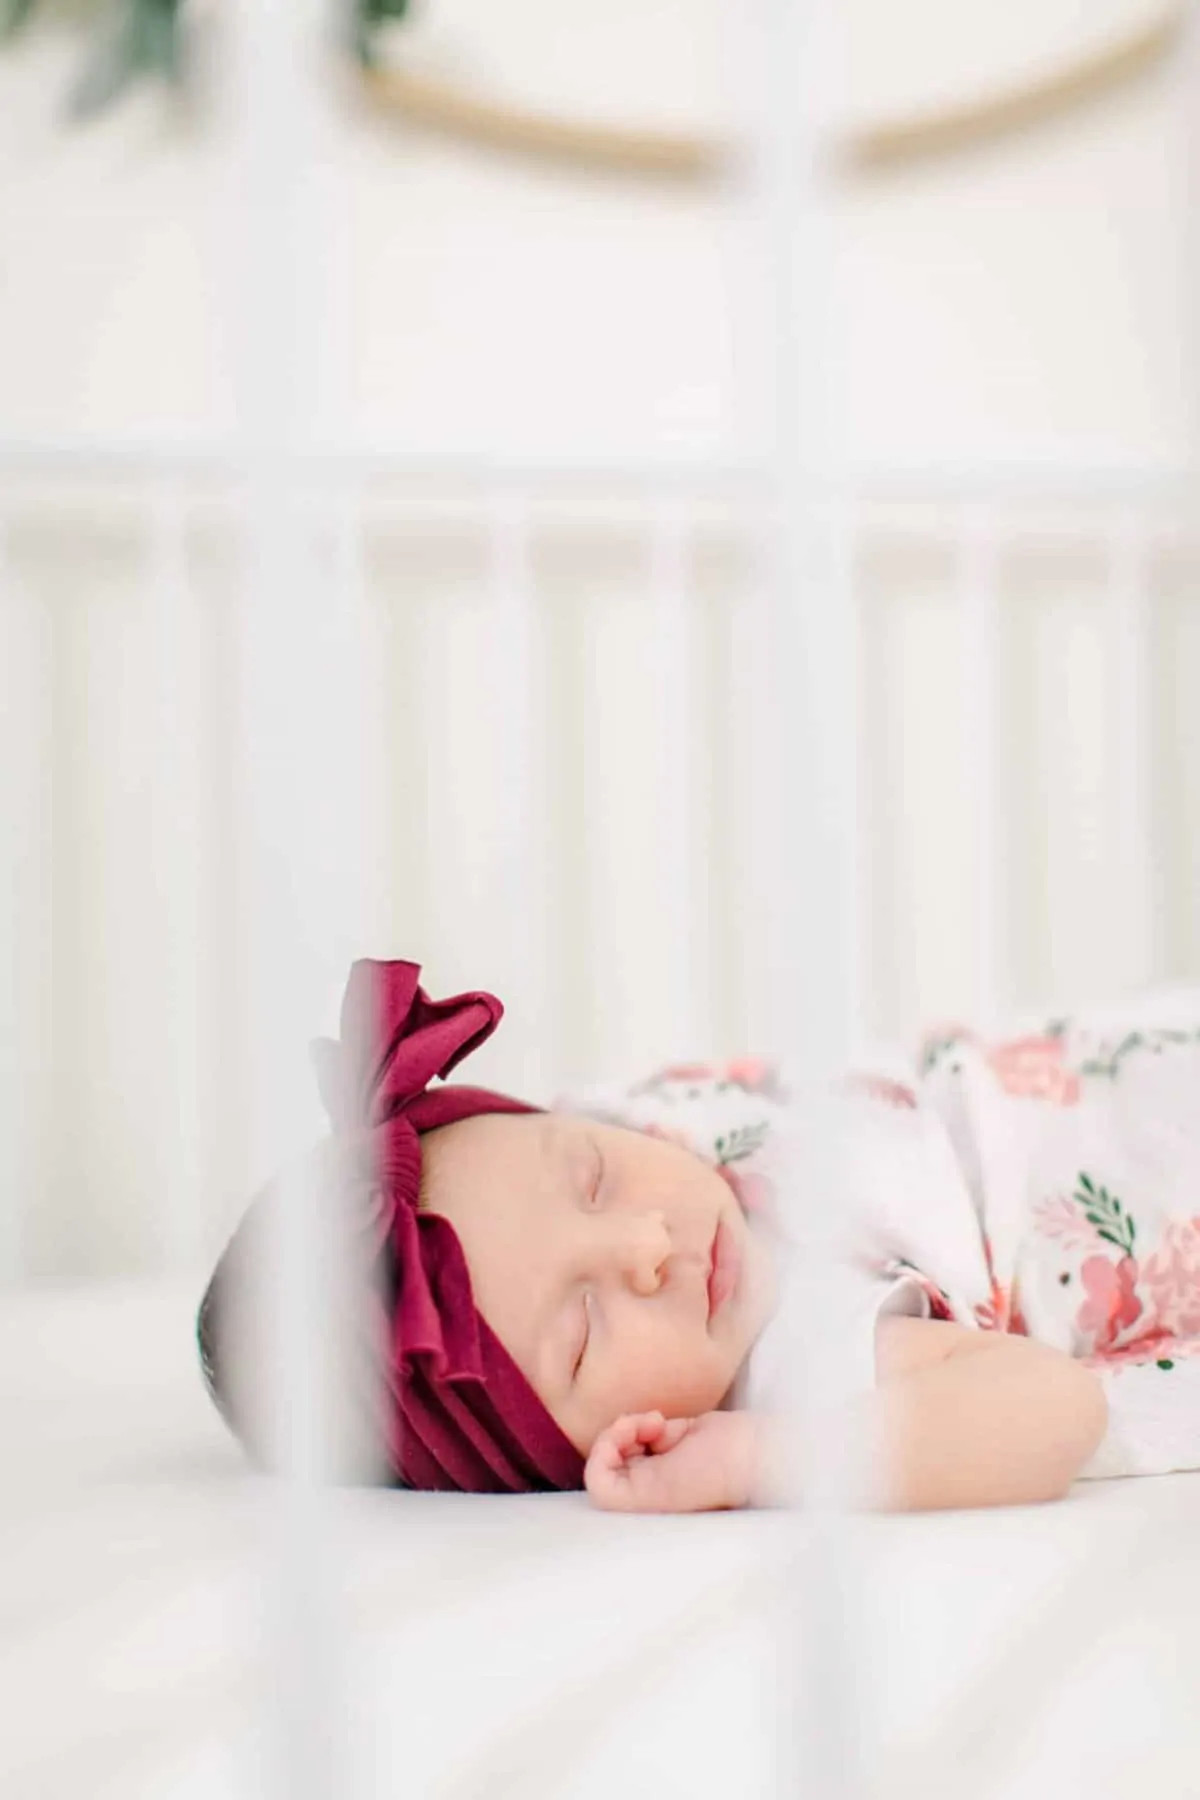
Take a shot from the side, through the crib rails.
 Side crib shot through rails
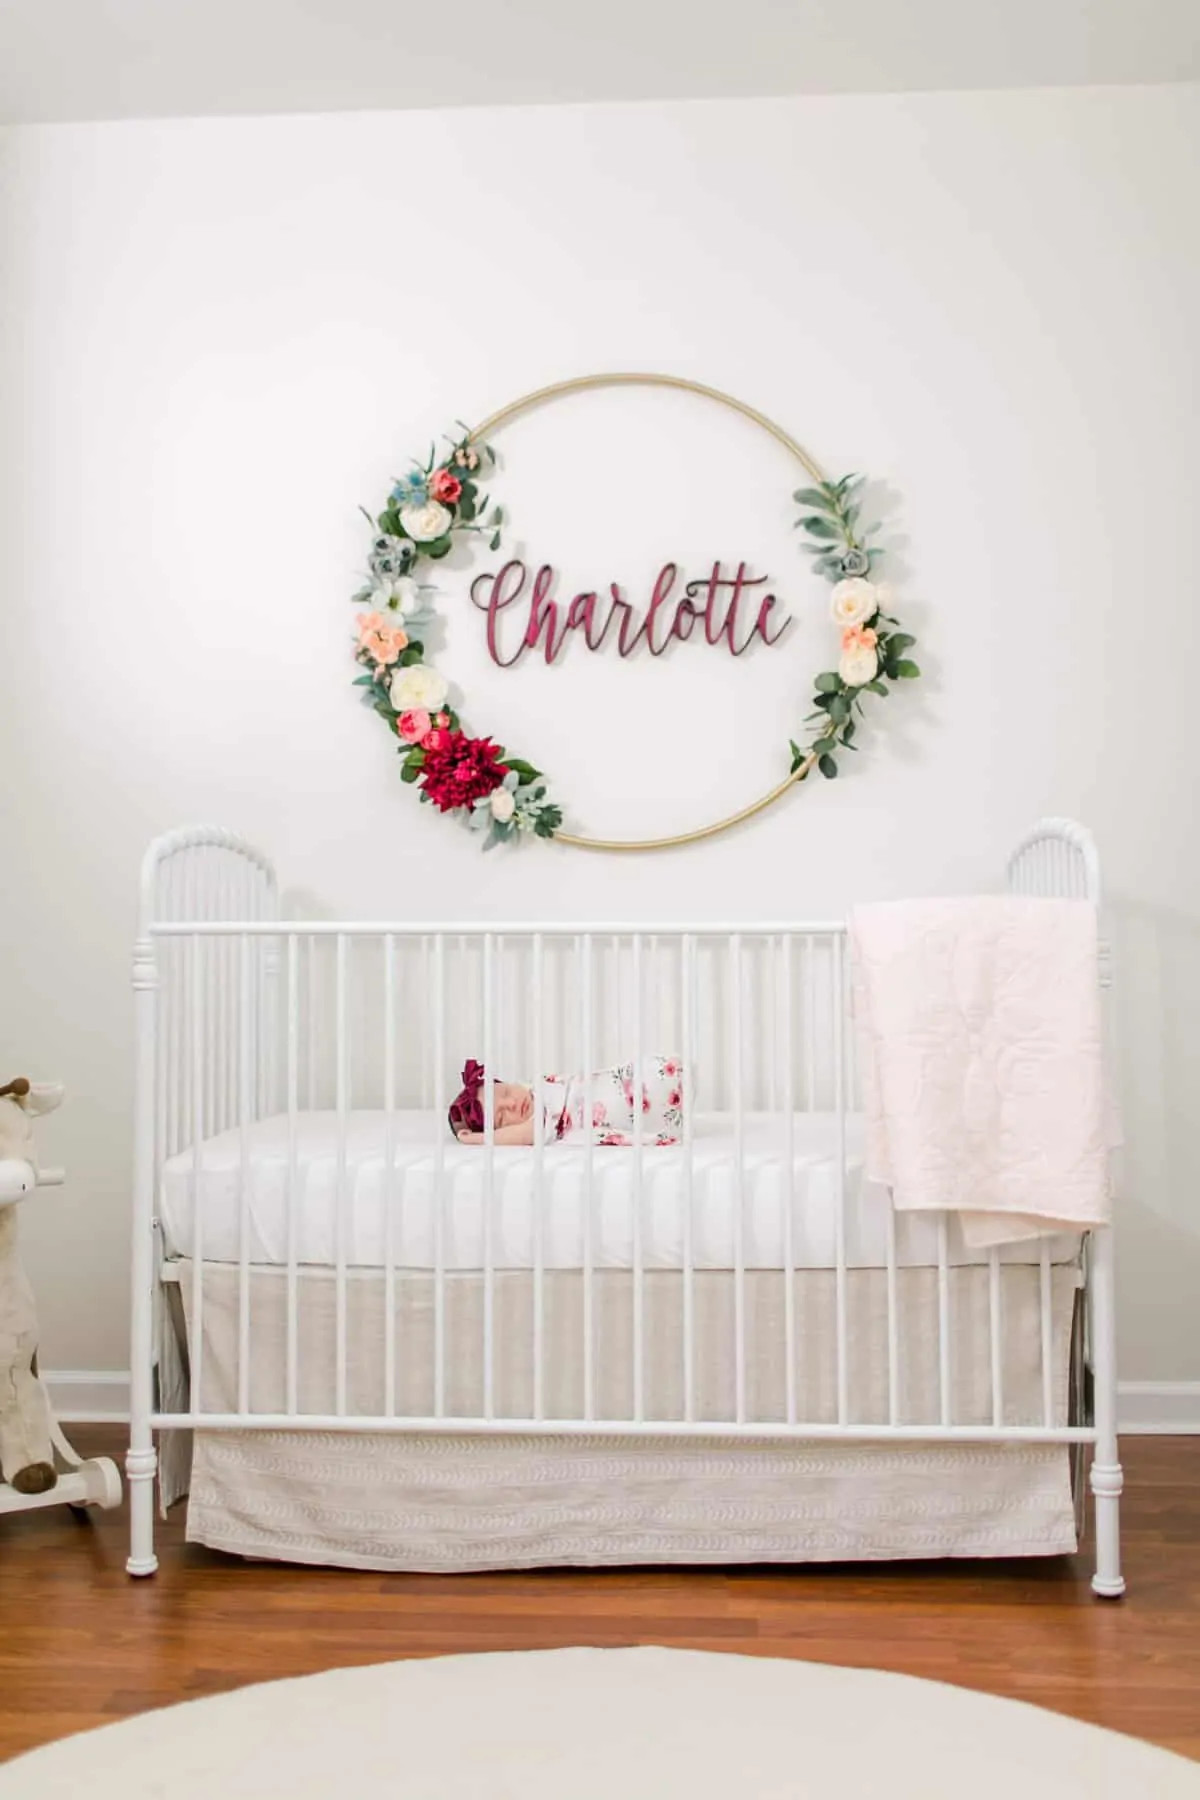
Step back to capture a full shot of the baby within the crib.
 Full crib shot
Experiment by moving around the crib, capturing different angles. Remember to vary your distance, taking both close-up shots and wider shots to add variety to your collection.
 Various crib angle shots
Master Bedroom Poses: Serene and Simple Bed Shots
For bedroom poses, swaddle your baby. Position them gently in the center of the bed near the foot. Ensure you’ve decluttered the nightstands and fluffed the pillows to create a peaceful setting. If you have artwork above your bed, this pose can beautifully incorporate it into the background.
Capture both vertical and horizontal shots from the same position to provide different framing options.
 Vertical and horizontal bedroom shots
Shoot from directly overhead, capturing the baby from above.
 Overhead bedroom shot
For a personal touch, add a letter board with the baby’s name or birthdate and capture an overhead shot that includes both the baby and the letter board in the frame.
 Bedroom shot with letter board
Including Your Furry Family Members
Pets can add a heartwarming element to your newborn photos. However, safety is paramount, especially with newborns.
Cats: Spontaneous and Sweet Moments
Cats are often unpredictable participants in photoshoots. They tend to appear when they feel like it. When your cat decides to investigate the baby, be ready to quickly capture those candid moments.
 Newborn with cat
Calm Dogs: Gentle Introductions
If you have an older or very calm dog, you might consider including them more directly in the photos. Professional photographers often include family pets in newborn sessions, but they prioritize safety. For calm dogs, supervised photos with the dog gently near the baby on the bed can be safe. However, always remain vigilant and ready to intervene.
 Newborn with calm dog
Energetic Pups: Crib Snuggles for Safety
For younger, more energetic dogs, it’s highly recommended not to place the baby down near them unsupervised. Excitable dogs may unintentionally step on or jump on the baby. For energetic dogs, the safest approach is to keep the baby securely in the crib and allow the dog to interact from outside the crib. Encourage your dog to sniff through the crib bars or simply look into the crib. A photographer’s trick is to place a treat in the crib, just out of the dog’s reach but close enough for them to smell it. This encourages the dog to look towards the crib for photos. The treat can then be digitally removed during editing.
 Newborn with dog looking into crib
Phone Photo Editing: Enhancing Your Images
Simple photo editing can significantly enhance your DIY newborn photos. The Lightroom app, from Adobe (the creators of Photoshop), is highly recommended. Many professional photographers use Lightroom for the majority of their photo editing work.
Numerous tutorials are available on YouTube to guide you through using Lightroom Mobile. You can also find presets – pre-designed editing settings – that can quickly apply a consistent style to your photos, similar to Instagram filters. Mobile presets from creators like Noble Presets, Refined Presets, and A&J Mobile Presets are popular choices for achieving beautiful edits easily.
 Edited newborn photo example
Relax and Enjoy the Moment
Remember, you are not aiming for professional perfection. You’ve recently welcomed a newborn, and capturing these memories is a beautiful endeavor in itself. Focus on ensuring your photos are in focus and well-lit. Embrace the process, relax, and enjoy capturing these fleeting newborn moments.
 Relaxed parent with newborn
Considering Professional Newborn Photos
While DIY newborn photos are a wonderful option, photographing your own newborn can be challenging and time-consuming, especially in the early days of parenthood. Moreover, DIY photos often lack photos of you and your partner with the baby.
Hiring a professional newborn photographer ensures that you, your partner, and your baby are all beautifully captured together. Professional photographers bring expertise, experience, and specialized equipment to create stunning images that you will cherish for a lifetime. Explore details about professional newborn photography sessions to learn more about the investment and the beautiful memories they can create.
Learn More: DIY Hospital Newborn Photos
If you found these tips helpful, you might also enjoy a tutorial on taking DIY newborn photos in the hospital.
Melissa Arlena
Melissa Arlena is an award-winning lifestyle newborn photographer based in Charlottesville and Richmond, Virginia. Holding a Master Photographer Certification from NAPCP in maternity, newborn, and family photography, Melissa’s work is known for its natural and simple style and has been featured in numerous magazines and online blogs globally. She was recognized as the Best Maternity and Newborn Photographer in Richmond and Charlottesville, VA in 2024.
melissaarlenaphotography.com