Film photography is experiencing a thrilling renaissance. Are you eager to dive into the world of analog photography, or perhaps you’re a seasoned film shooter looking for the best places to develop your precious rolls? At dfphoto.net, we understand the allure of film and are here to guide you through the options, from local labs to home development, ensuring your artistic vision comes to life. Delve into the art of film photography with dfphoto.net, exploring techniques for film processing, analog photography, and darkroom development, unlocking endless possibilities for your photographic journey.
1. Understanding the Resurgence of Film Photography
The comeback of film photography isn’t just a trend; it’s a testament to the unique aesthetic and hands-on experience that digital photography often lacks. According to research from the Santa Fe University of Art and Design’s Photography Department, in July 2025, the tactile nature of film and the distinctive look it produces provides a sense of connection and artistry that many photographers crave.
1.1 The Allure of Film
Film offers a tangible connection to the photographic process. Unlike the instant gratification of digital, film requires patience, intention, and a deeper understanding of light and composition.
1.2 Kodak’s Revival
Kodak’s reintroduction of classic film stocks like T-Max 3200 and Ektachrome signals a strong belief in the future of film. This resurgence has encouraged many photographers to revisit or explore film photography for the first time.
1.3 The Role of Film Labs
Commercial film processing companies such as Richard Photo Lab, Toronto Image Works, and NYC Film Lab play a crucial role in supporting the film community. These labs provide essential services, ensuring that photographers have access to high-quality development and scanning.
2. Finding Local Film Development Labs
One of the most straightforward options for developing your film is to use a local film lab. These labs offer professional services and can provide high-quality results.
2.1 Benefits of Local Film Labs
- Quality Processing: Labs use professional equipment and chemicals, ensuring consistent and accurate development.
- Scanning Services: Most labs offer scanning services, allowing you to digitize your film photos for sharing and editing.
- Expert Advice: Lab technicians can offer valuable advice on film stocks, exposure, and development techniques.
2.2 How to Find a Local Lab
- Online Search: Use search engines like Google or Yelp to search for “film development near me” or “photo lab Santa Fe.”
- Photography Stores: Check with local photography stores, as they often have partnerships with film labs or offer development services themselves.
- Online Communities: Ask for recommendations in online photography forums or social media groups.
2.3 Questions to Ask a Film Lab
- What types of film do you develop? Ensure the lab can handle the specific film stocks you use (e.g., black and white, C-41, E-6).
- What scanning options do you offer? Inquire about the resolution, file formats, and pricing of their scanning services.
- What is your turnaround time? Understand how long it will take to get your developed film and scans back.
- What are your prices? Compare prices for development and scanning to ensure they fit your budget.
3. Exploring Mail-In Film Development Services
If you don’t have a local lab or prefer the convenience of online services, mail-in film development is an excellent option.
3.1 Advantages of Mail-In Services
- Convenience: You can send your film from anywhere, saving time and travel.
- Wide Selection: Mail-in services often offer a wider range of development and scanning options than local labs.
- Consistent Quality: Reputable mail-in services maintain high standards for processing and scanning.
3.2 Popular Mail-In Film Labs
- Richard Photo Lab: Known for its exceptional quality and customer service.
- The Darkroom: Offers a variety of development and scanning options at competitive prices.
- Indie Film Lab: Specializes in processing and scanning film with a focus on preserving the unique characteristics of each stock.
3.3 Preparing Your Film for Mail-In Development
- Package Securely: Use a padded envelope or box to protect your film from damage during shipping.
- Include Instructions: Clearly state your development and scanning preferences, as well as your contact information.
- Track Your Shipment: Use a tracking service to monitor the progress of your film and ensure it arrives safely.
4. Mastering Home Film Development
For the adventurous photographer, developing film at home offers complete control over the process and can be a rewarding experience.
4.1 Essential Equipment for Home Development
- Developing Tank and Reels: A light-tight tank and reels are necessary for loading and developing your film in complete darkness.
- Chemicals: You’ll need a developer, fixer, and stop bath (optional) specific to the type of film you’re developing.
- Changing Bag: A changing bag allows you to load your film onto the reels in complete darkness without a darkroom.
- Thermometer: Accurate temperature control is crucial for consistent development.
- Timer: Use a timer to ensure precise development times.
- Beakers and Bottles: For measuring and storing your chemicals.
- Film Clips: To hang your film for drying.
4.2 Step-by-Step Guide to Black and White Film Development
- Prepare Your Chemicals: Mix your developer, fixer, and stop bath according to the manufacturer’s instructions.
- Load Your Film: In a darkroom or changing bag, load your film onto the reels and place them in the developing tank.
- Pre-Wash: Pour water into the tank to prevent air bubbles from forming on the film. Soak for 2-5 minutes.
- Develop: Pour in the developer and agitate the tank according to the recommended schedule.
- Stop Bath: Pour in the stop bath (or water) to halt the development process.
- Fix: Pour in the fixer to remove the silver halide crystals from the film.
- Wash: Rinse the film thoroughly with water to remove all traces of chemicals.
- Dry: Hang the film to dry in a dust-free environment.
4.3 Safety Precautions for Home Development
- Ventilation: Always work in a well-ventilated area to avoid inhaling chemical fumes.
- Gloves: Wear rubber gloves to protect your skin from chemical exposure.
- Eye Protection: Consider wearing safety glasses to prevent splashes from getting into your eyes.
- Storage: Store chemicals in clearly labeled containers and keep them out of reach of children and pets.
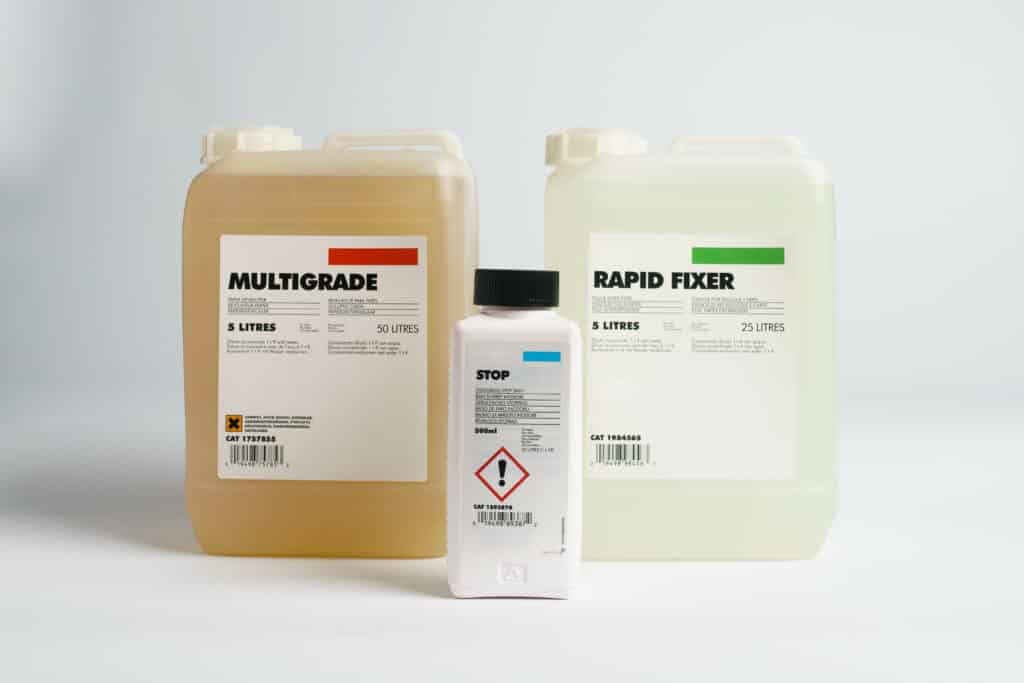 jugs of dark room chemicals; developer, fixer, stop bath
The image showcases jugs filled with darkroom chemicals like developer, fixer, and stop bath, essential components for revealing film photos at home.
4.4 Choosing the Right Developer
Selecting the right developer is crucial for achieving the desired look in your black and white photos. Solvent developers such as ID-11, D76, Perceptol, Microphen, and XTOL provide fine grain and are forgiving enough to cover a wide range of exposures. Non-solvent developers such as Rodinal, HC-110, FX-1, and PMK (Pyro) offer increased grain but also sharpness. Industry standards like ID-11 and D76 are known for their versatility and acceptance of various development times and temperatures.
4.5 Mixing Chemistry Safely
Before you begin, remember safety first. Always wear rubber gloves and ensure the area is well-ventilated. To mix powder developers, fill a beaker to a set level before pouring in developer parts A and B, then add water to the required level. For liquid developers and most fixers, dilute the solution according to the instructions. Be sure to measure with precision to get the best results.
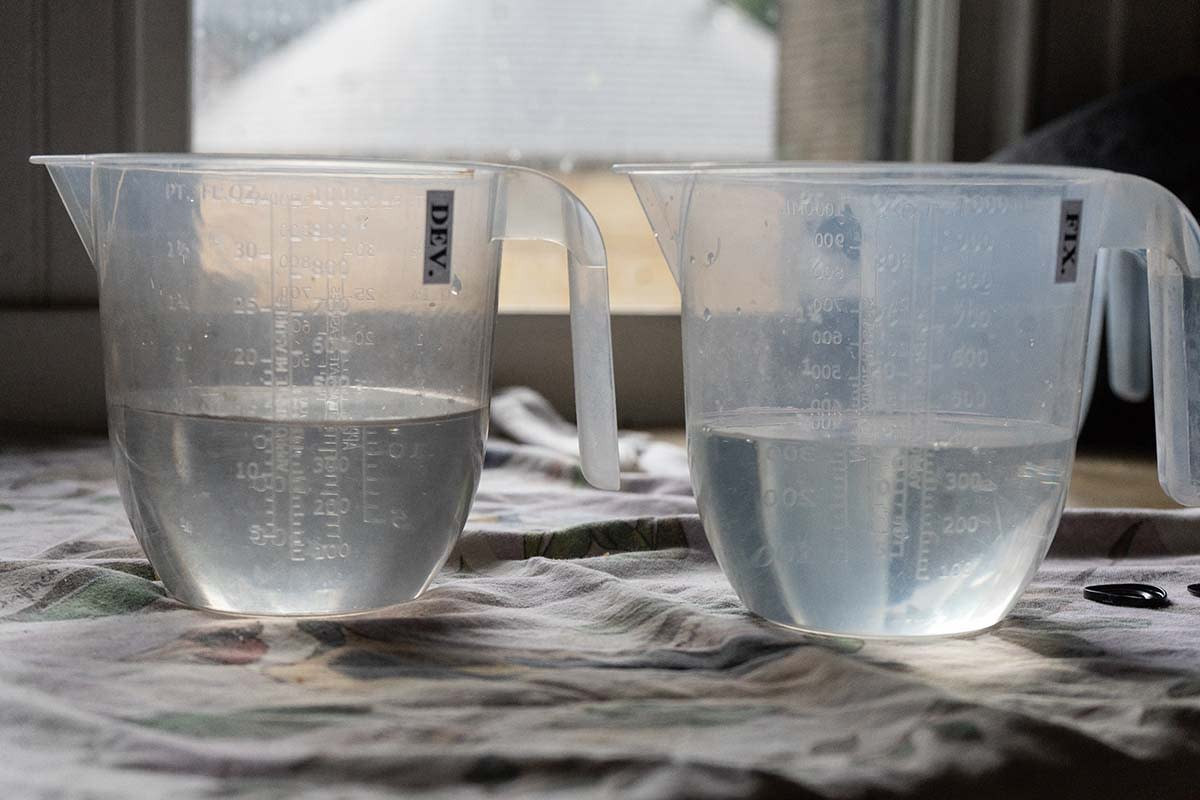 how_to_develop_film_2
This image displays working solutions of developer and fixer for one roll of 35mm film, emphasizing the precise measurements needed for successful film development.
5. Scanning Your Film Photos
Once your film is developed, you’ll need to scan it to create digital versions of your images.
5.1 Options for Scanning
- Lab Scanning: Most film labs offer scanning services, providing high-quality digital files.
- Dedicated Film Scanners: Scanners like the Epson Perfection V300 (for 35mm) and V600 or V550 (for medium format) offer excellent results for home scanning.
- DIY Scanning: You can even scan your film using a digital camera and a light source, although this method requires more effort and may not produce the same quality as dedicated scanners.
5.2 Tips for Better Scans
- Clean Your Film: Use a microfiber cloth to remove dust and fingerprints from your film before scanning.
- Adjust Settings: Experiment with different scanning settings to find the optimal balance of resolution, sharpness, and contrast.
- Post-Processing: Use photo editing software to fine-tune your scans, adjusting brightness, contrast, and color as needed.
5.3 Disposing of Developing Chemicals Safely
It’s important to dispose of developing chemicals responsibly. Developer and stop bath chemistry can typically be diluted with water and poured down the drain, but always check local regulations. Spent fixer contains residual silver and should be processed for silver recovery at a licensed facility to prevent environmental harm.
6. The Art of Darkroom Printing
For the ultimate film photography experience, consider creating prints in a traditional darkroom.
6.1 Setting Up a Darkroom
- Light-Tight Room: You’ll need a room that can be made completely dark to prevent light from exposing your photographic paper.
- Enlarger: An enlarger projects the image from your negative onto the photo paper.
- Chemicals: You’ll need developer, stop bath, and fixer specifically designed for photographic paper.
- Trays: To hold the chemicals for developing, stopping, and fixing your prints.
- Safe Light: A safe light provides illumination without exposing the photo paper.
6.2 The Darkroom Printing Process
- Set Up: Place your photo paper in the enlarger and adjust the focus and composition.
- Expose: Expose the paper to the light from the enlarger for a specific amount of time.
- Develop: Immerse the exposed paper in the developer tray.
- Stop: Transfer the print to the stop bath tray.
- Fix: Place the print in the fixer tray.
- Wash: Rinse the print thoroughly with water.
- Dry: Dry the print on a drying rack or with a print dryer.
6.3 Tips for Darkroom Success
- Practice: Darkroom printing takes practice, so don’t be discouraged if your first prints aren’t perfect.
- Experiment: Try different exposure times, paper types, and development techniques to find your own style.
- Keep It Clean: A clean darkroom is essential for producing high-quality prints.
7. Understanding Push and Pull Processing
“Pushing” or “pulling” film is a development technique that alters the film’s sensitivity. Pushing involves developing film for a longer time or at a higher temperature, effectively overdeveloping it to compensate for underexposure. Pulling film, less common, decreases contrast and saturation while increasing grain. These techniques can dramatically change the visual characteristics of your images.
8. Developing Color Film at Home
Developing color film at home is possible but requires more precision. The C-41 negative process is highly temperature-sensitive, so it’s essential to maintain consistent temperatures throughout the process. A stabilizer is also necessary to protect the dyes in the film from fading.
9. Tips and Tricks for Home Film Development
Mastering film development at home involves many small but significant details. Here are some tips to ensure your rolls develop exactly as you want:
9.1 How Long Should You Agitate the Film?
The agitation process is crucial for even development. During the first 30 seconds, gently agitate the film constantly to ensure it’s thoroughly soaked in the chemicals. After that, hand rotate for 10 seconds every 30 seconds. Avoid shaking the tank vigorously to prevent bubbles from forming.
9.2 How Much Does It Cost to Develop Film at Home?
Developing film at home can be more economical than sending it to a lab. The initial investment includes chemicals and tools like tanks or trays, but buying chemicals in bulk can save money over time. The choice between color and black and white development will also influence the cost.
9.3 Is It Possible to Make Film at Home Without Chemicals?
For an environmentally friendly approach, consider the caffenol process. This method uses household items like instant coffee, washing soda, and vitamin C to develop film. Caffenol provides a sustainable alternative to traditional chemicals.
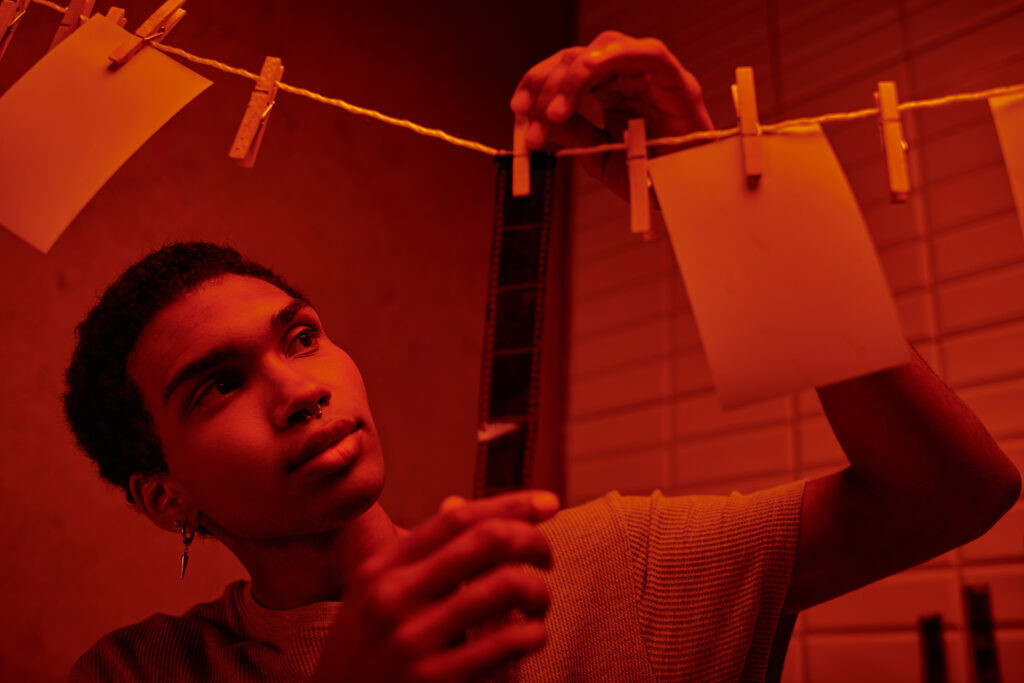 african american photographer hanging up developed film strip in a red lit darkroom
An African American photographer is shown hanging up a developed film strip in a red-lit darkroom, highlighting the final stages of film processing and the anticipation of viewing the images.
10. Preserving and Presenting Your Film Photos
Once you’ve developed and scanned your film, it’s time to preserve and present your work.
10.1 Archiving Your Negatives
- Sleeves: Store your negatives in archival-quality sleeves to protect them from scratches, dust, and fingerprints.
- Binders: Organize your sleeved negatives in binders for easy access and storage.
- Environment: Store your negatives in a cool, dry, and dark environment to prevent deterioration.
10.2 Sharing Your Photos
- Online: Share your film photos on social media, photography websites, or your own personal website.
- Prints: Create physical prints of your favorite images to display in your home or give as gifts.
- Exhibitions: Consider submitting your work to local art galleries or photography exhibitions.
10.3 Exploring Caffenol Recipes
For those interested in experimenting with alternative development methods, caffenol is an intriguing option. This eco-friendly developer uses readily available household ingredients. Here’s a basic recipe to get you started:
| Ingredient | Amount | Purpose |
|---|---|---|
| Instant Coffee | 20 grams | Developing agent |
| Washing Soda | 40 grams | Activator |
| Vitamin C (Ascorbic Acid) | 5 grams | Preservative |
| Table Salt | 1 teaspoon | Restrainer |
| Water | 1000 ml (1 liter) | Solvent |
Instructions:
- Dissolve the washing soda in warm water.
- Add the instant coffee and stir until dissolved.
- Add the vitamin C and table salt, stirring until everything is fully dissolved.
- Let the solution cool to room temperature before using it to develop your film.
Note: Development times may vary depending on the film stock and desired results. Experimentation is key to mastering the caffenol process.
FAQ: Revealing Your Film Photos
1. What is the best way to develop film at home?
The best way to develop film at home is to follow a precise, step-by-step process with careful temperature and timing control, ensuring consistent results.
2. How much does it cost to develop a roll of film?
Developing a roll of film can range from $5 to $15 at a lab, while home development costs vary based on initial equipment investment and chemical expenses.
3. Can I develop color film at home?
Yes, you can develop color film at home using the C-41 process, but it requires precise temperature control and specialized chemicals.
4. What equipment do I need to develop film at home?
Essential equipment includes a developing tank, reels, chemicals (developer, fixer, stop bath), a changing bag, a thermometer, and a timer.
5. Is it safe to develop film at home?
Yes, it is safe to develop film at home if you follow safety precautions such as working in a well-ventilated area and wearing gloves and eye protection.
6. How long does it take to develop a roll of film?
The development process typically takes between 30 minutes to an hour, depending on the type of film and the development method.
7. Can I reuse developing chemicals?
Yes, you can reuse some developing chemicals, such as fixer, but developer is typically a one-time use solution.
8. What is the difference between pushing and pulling film?
Pushing film increases its sensitivity by overdeveloping, while pulling film decreases contrast and saturation by under developing.
9. Where can I buy film developing supplies?
You can buy film developing supplies at photography stores, online retailers, and some drugstores.
10. How do I dispose of film developing chemicals safely?
Dispose of film developing chemicals according to local regulations, typically by diluting and pouring down the drain or taking them to a hazardous waste disposal facility.
Film photography offers a unique and rewarding experience, from the anticipation of shooting to the satisfaction of seeing your developed images. Whether you choose a local lab, mail-in service, or home development, dfphoto.net is here to support your journey. Explore our website for more tips, tutorials, and inspiration to help you master the art of film photography. Join the dfphoto.net community today and discover the joy of revealing your film photos!
Want to delve deeper into the world of film photography? Contact us at Address: 1600 St Michael’s Dr, Santa Fe, NM 87505, United States or call +1 (505) 471-6001. Also, explore dfphoto.net for more insights and connect with fellow enthusiasts. Let’s keep the spirit of film alive together!