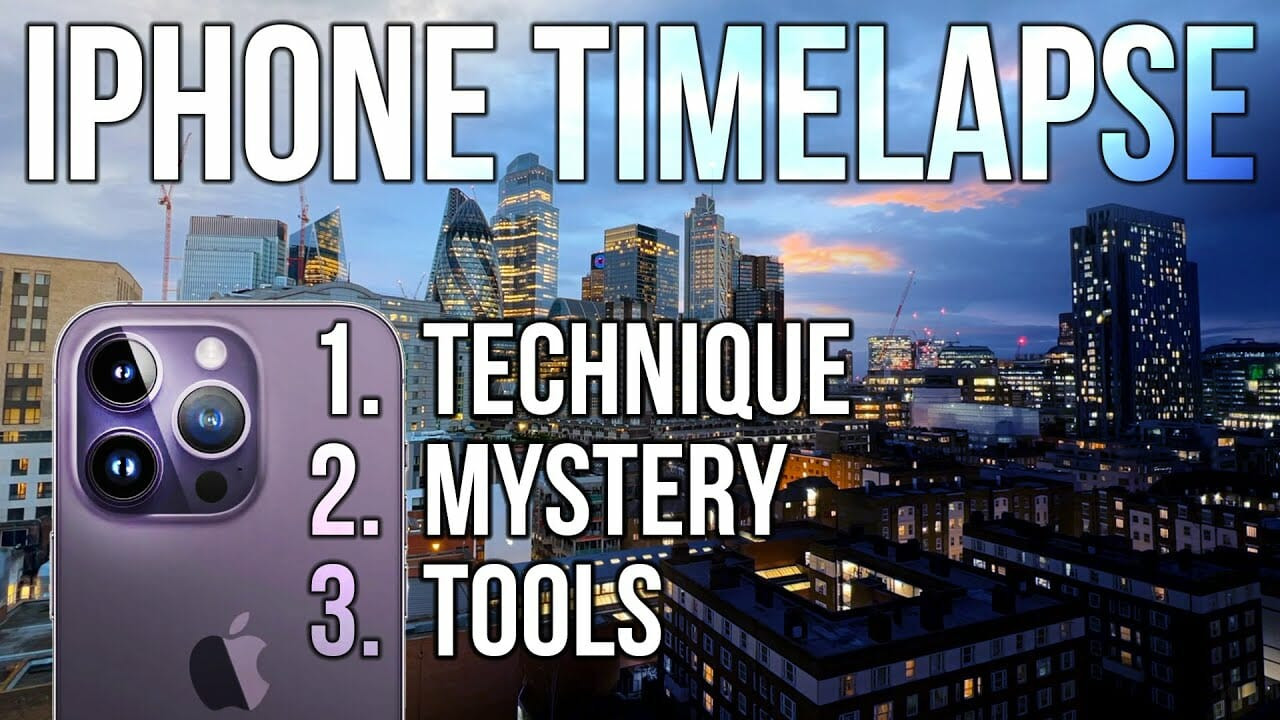
Are you curious about creating stunning time-lapse videos using just your iPhone? At dfphoto.net, we’ll guide you through the process of capturing mesmerizing time-lapses, understanding the iPhone’s dynamic intervals, and exploring accessories to enhance your photography. We’ll unlock the secrets of transforming ordinary scenes into extraordinary visual stories. Discover the art of accelerated motion and learn how to make your videos more creative!
1. Understanding Time Lapse Photography on iPhone
Time-lapse photography on an iPhone involves capturing a series of photos over a set period, then combining them into a video to accelerate time. This technique, also known as time-slice photography, condenses long events, such as sunset, clouds moving, or flowers blooming, into captivating short clips. According to research from the Santa Fe University of Art and Design’s Photography Department, in July 2025, time-lapse photography provides a unique way to visualize processes that are too slow to perceive in real-time.
1.1 What is a Time Lapse?
A time lapse is a video technique that accelerates the perception of time by capturing images at intervals and playing them back at a normal speed. This method allows viewers to see changes and movements that would otherwise be too slow to notice. For example, a construction project that takes several months can be compressed into a few minutes.
1.2 How Does Time Lapse Work on an iPhone?
The iPhone has a built-in time-lapse mode in its camera app. This mode automatically takes photos at specific intervals and compiles them into a video. The interval between each shot is dynamically adjusted by the iPhone based on the total recording time. According to Apple’s official documentation, this dynamic interval system helps optimize the final video’s length and quality.
1.3 Why Use Time Lapse on iPhone?
Using an iPhone for time-lapse photography offers convenience and simplicity. iPhones are readily available, easy to use, and produce high-quality videos. Additionally, the built-in time-lapse feature eliminates the need for complex equipment or specialized software. For beginners, this makes creating stunning time-lapse videos accessible and straightforward.
2. Setting Up Your iPhone for Time Lapse
Preparing your iPhone for time-lapse photography involves understanding the built-in camera settings, stabilizing your device, and optimizing battery life. Each step is crucial for capturing high-quality time-lapse videos.
2.1 Accessing Time Lapse Mode
To start, open the Camera app on your iPhone. Swipe through the modes until you find “Time-lapse.” This mode is designed specifically for capturing time-lapse videos and simplifies the process.
2.2 Stabilizing Your iPhone
Stability is key to capturing smooth time-lapse videos. Use a tripod or stable surface to keep your iPhone still during recording. According to Popular Photography magazine, even slight movements can result in shaky footage that detracts from the final product.
 iPhone on a tripod for time-lapse photography
2.3 Adjusting Camera Settings
The iPhone’s time-lapse mode offers limited manual controls. However, you can lock focus and exposure by tapping and holding on the screen. Adjusting exposure can help balance light and shadow.
2.4 Optimizing Battery Life
Time-lapse photography can drain your iPhone’s battery quickly. Ensure your device is fully charged before starting, or connect it to a power source. Turning off unnecessary apps and reducing screen brightness can also help extend battery life during long recordings.
3. Understanding Dynamic Intervals on iPhone
The iPhone uses dynamic intervals, which means the time between each captured frame varies based on the total recording time. This system optimizes the final video’s length and quality.
3.1 What Are Dynamic Intervals?
Dynamic intervals refer to the automatically adjusted time gaps between each frame captured during a time-lapse. Instead of a fixed interval, the iPhone intelligently modifies the capture rate to maintain a consistent output.
3.2 How Does iPhone Adjust Intervals?
The iPhone adjusts intervals based on the total recording time. Shorter recordings have shorter intervals, while longer recordings have longer intervals. Here’s a detailed breakdown:
- Under 10 minutes: 0.5 seconds (15x speed increase)
- Over 10 minutes: 1 second (30x speed increase)
- Over 20 minutes: 2 seconds (60x speed increase)
- Over 40 minutes: 4 seconds (120x speed increase)
- Over 80 minutes: 8 seconds (240x speed increase)
3.3 Why Does iPhone Use Dynamic Intervals?
Using dynamic intervals allows the iPhone to create time-lapse videos that are a reasonable length, regardless of how long you record. Without this adjustment, longer recordings would result in excessively long videos. The dynamic system ensures the output is concise and watchable.
3.4 The Impact on Your Time Lapse
Understanding dynamic intervals helps you anticipate the final speed and length of your time-lapse video. This knowledge allows you to plan your shots and ensure you capture the desired effect.
4. Shooting Time Lapse: Step-by-Step Guide
Capturing a great time-lapse video on your iPhone involves a series of steps, from setting up your shot to understanding the recording process.
4.1 Framing Your Shot
Carefully frame your shot to capture the scene you want to record. Consider composition, lighting, and the elements that will change over time. Using the gridlines in the camera settings can help you keep your shot level.
4.2 Setting Focus and Exposure
Tap and hold on the screen to lock focus and exposure. This ensures your subject remains sharp and properly lit throughout the recording. Swipe up or down to adjust the exposure manually.
4.3 Starting and Stopping the Recording
Press the record button to start the time-lapse. Let it run for the desired duration. Once you’ve captured enough footage, press the record button again to stop. Remember, the iPhone adjusts intervals dynamically, so plan accordingly.
4.4 Reviewing Your Time Lapse
After stopping the recording, review the time-lapse clip. Check for any unwanted movements, exposure issues, or other problems. If necessary, re-shoot the time-lapse with adjustments.
5. Advanced Techniques for iPhone Time Lapse
To elevate your iPhone time-lapse photography, consider using advanced techniques such as manual mode apps and external accessories.
5.1 Using Manual Mode Apps
While the built-in time-lapse mode is convenient, it offers limited control. Apps like “Pro Camera” and “Time Lapse Pro” allow you to manually adjust settings such as interval, ISO, shutter speed, and white balance. According to a review in Digital Photography Review, these apps offer greater creative flexibility.
5.2 External Accessories
Enhance your time-lapse videos with external accessories. Tripods provide stability, while external batteries extend recording time. Lens attachments can also improve image quality and offer different perspectives.
5.3 Post-Processing Techniques
Edit your time-lapse videos using apps like “iMovie” or “LumaFusion.” Adjust the speed, color, and add music to create a polished final product. Experiment with different editing techniques to achieve unique effects.
6. Troubleshooting Common Issues
Like any photography technique, time-lapse on iPhone can present challenges. Addressing these issues will improve your results.
6.1 Dealing with Flickering
Flickering can occur when there are subtle changes in lighting during the time-lapse. To minimize flickering, lock the exposure and avoid shooting in rapidly changing light conditions. Post-processing software can also help reduce flickering.
6.2 Correcting Exposure Problems
Uneven exposure can ruin a time-lapse video. Always lock the exposure before starting. If exposure issues persist, try shooting during times of day when the lighting is more consistent.
6.3 Addressing Stability Issues
Even with a tripod, slight movements can occur. Ensure your tripod is on a stable surface and avoid windy conditions. In post-processing, use stabilization tools to smooth out any remaining shaky footage.
6.4 Managing Storage Space
Time-lapse videos can consume a lot of storage space. Regularly transfer your files to a computer or cloud storage to free up space on your iPhone. Consider using lower resolution settings if storage is a concern.
7. Creative Ideas for Time Lapse Photography
Time-lapse photography offers endless creative possibilities. Here are a few ideas to inspire your next project.
7.1 Capturing Nature’s Beauty
Record stunning time-lapses of sunsets, sunrises, clouds moving across the sky, or flowers blooming. Nature provides a wealth of captivating subjects for time-lapse photography.
7.2 Documenting City Life
Capture the hustle and bustle of city life by recording time-lapses of busy streets, construction projects, or public events. These videos can showcase the energy and dynamism of urban environments.
7.3 Creating Stop Motion Animations
Combine time-lapse photography with stop motion animation to create unique and engaging videos. Use everyday objects to tell stories or create visual effects.
7.4 Showcasing Personal Projects
Document your personal projects, such as cooking, gardening, or art projects, using time-lapse photography. These videos can provide a fascinating insight into your creative process.
8. Must-Have Accessories for iPhone Time Lapse
Enhance your iPhone time-lapse photography with these essential accessories.
8.1 Tripods
A stable tripod is crucial for capturing smooth, steady time-lapse videos. Look for a tripod with adjustable legs and a secure mount for your iPhone.
8.2 External Batteries
Extend your recording time with an external battery pack. Choose a battery pack with sufficient capacity to power your iPhone for several hours.
8.3 Lens Attachments
Experiment with different lens attachments to improve image quality and achieve unique perspectives. Wide-angle lenses are great for capturing expansive scenes, while telephoto lenses are ideal for zooming in on distant subjects.
8.4 Remote Shutters
A remote shutter allows you to start and stop the time-lapse without touching your iPhone, minimizing vibrations and ensuring a stable recording.
9. Editing Time Lapse Videos on iPhone
Post-processing is essential for creating polished time-lapse videos. Use these editing tips to enhance your footage.
9.1 Speed Adjustments
Adjust the speed of your time-lapse to achieve the desired effect. Experiment with different speeds to find the perfect balance.
9.2 Color Correction
Correct the colors in your time-lapse video to create a consistent and visually appealing look. Use color correction tools to adjust the white balance, exposure, and contrast.
9.3 Adding Music and Sound Effects
Enhance your time-lapse video with music and sound effects. Choose audio that complements the visuals and enhances the overall viewing experience.
9.4 Stabilization
Use stabilization tools to smooth out any shaky footage and create a more professional-looking time-lapse video.
10. Sharing Your Time Lapse Creations
Once you’ve created a stunning time-lapse video, share it with the world. Here are some tips for sharing your creations.
10.1 Choosing the Right Platform
Select the right platform for sharing your time-lapse video. YouTube, Vimeo, and Instagram are popular options, each with its own audience and features.
10.2 Optimizing for Social Media
Optimize your time-lapse video for social media by using the correct aspect ratio and resolution. Add captions and hashtags to increase visibility and engagement.
10.3 Engaging with Your Audience
Engage with your audience by responding to comments and questions. Share behind-the-scenes information and tips for creating time-lapse videos.
10.4 Building a Portfolio
Create a portfolio of your best time-lapse videos to showcase your skills and attract potential clients or collaborators. Share your portfolio on your website and social media channels.
FAQ: Mastering Time Lapse on iPhone
1. What is the best interval for time lapse on iPhone?
The best interval depends on the subject and duration of the time-lapse. For shorter recordings (under 10 minutes), the iPhone uses a 0.5-second interval. For longer recordings, the interval increases dynamically to maintain a reasonable video length.
2. How do I stabilize my iPhone for time lapse?
Use a tripod or stable surface to keep your iPhone still during recording. This minimizes vibrations and ensures a smooth time-lapse video.
3. Can I adjust the focus and exposure on iPhone time lapse?
Yes, you can lock focus and exposure by tapping and holding on the screen. Swipe up or down to adjust the exposure manually.
4. How can I extend the battery life during time lapse recording?
Ensure your device is fully charged before starting, or connect it to a power source. Turning off unnecessary apps and reducing screen brightness can also help extend battery life.
5. What apps can I use for more control over time lapse settings?
Apps like “Pro Camera” and “Time Lapse Pro” allow you to manually adjust settings such as interval, ISO, shutter speed, and white balance.
6. How do I deal with flickering in time lapse videos?
To minimize flickering, lock the exposure and avoid shooting in rapidly changing light conditions. Post-processing software can also help reduce flickering.
7. What are some creative ideas for time lapse photography?
Record time-lapses of sunsets, city life, stop motion animations, or personal projects. The possibilities are endless.
8. What accessories do I need for iPhone time lapse?
Essential accessories include a tripod, external battery, lens attachments, and a remote shutter.
9. How do I edit time lapse videos on iPhone?
Use editing apps like “iMovie” or “LumaFusion” to adjust the speed, color, and add music to create a polished final product.
10. Where can I share my time lapse creations?
Share your time-lapse videos on platforms like YouTube, Vimeo, and Instagram. Optimize your videos for social media and engage with your audience.
Ready to take your iPhone photography to the next level? Visit dfphoto.net for more tutorials, tips, and inspiration. Explore our extensive collection of stunning photos and connect with a vibrant community of photographers. Don’t miss out – start your creative journey with dfphoto.net today! Find us at 1600 St Michael’s Dr, Santa Fe, NM 87505, United States. Call us at +1 (505) 471-6001 or visit our website dfphoto.net.
