Are you struggling to access your cherished photos backed up to iTunes? At dfphoto.net, we understand the importance of preserving your visual memories, and we’re here to provide a clear, step-by-step solution to easily view and manage your photos backed up with iTunes. This guide will walk you through the process, ensuring you can access your precious moments. Discover effective photo management, explore image recovery techniques, and master iOS backup viewing.
1. Understanding iTunes Backups and Photo Storage
1.1. What Does iTunes Back Up?
iTunes backups are comprehensive snapshots of your iOS device’s data, including photos. When you back up your iPhone, iPad, or iPod touch using iTunes, it creates a secure archive on your computer. This backup contains various types of data, ensuring that you can restore your device to a previous state if needed.
According to Apple’s official documentation, an iTunes backup typically includes:
- Camera Roll photos and videos: This is where all the photos and videos you’ve captured with your device’s camera are stored.
- App data: Data associated with your installed apps, such as settings, documents, and saved games.
- Device settings: Preferences and configurations you’ve set on your device.
- Messages: SMS, MMS, and iMessage conversations.
- Contacts: Your address book.
- Call history: A record of your incoming and outgoing calls.
- Calendar events: Appointments and schedules.
- Notes: Text-based notes you’ve created.
- Safari bookmarks and history: Your browsing data.
However, it’s important to note what iTunes backups do not include:
- Media files synced from iTunes: Music, movies, and TV shows that you’ve synced from your iTunes library are not included in the backup.
- Data already stored in iCloud: Information like iCloud Photos, contacts, calendars, and notes are backed up separately to iCloud.
- Touch ID settings: Fingerprint data is not included in the backup for security reasons.
1.2. Where Are iTunes Backups Stored?
The location of your iTunes backups depends on your computer’s operating system. Knowing where these backups are stored is crucial for accessing and managing your photos.
-
Mac: Backups are stored in the following directory:
~/Library/Application Support/MobileSync/Backup/To access this folder:
- Open Finder.
- Click “Go” in the menu bar.
- Hold down the Option key (Alt key) and click “Library.”
- Navigate to “Application Support” > “MobileSync” > “Backup.”
-
Windows XP: Backups are stored in:
Documents and Settings(username)Application DataApple ComputerMobileSyncBackupNote: You may need to show hidden files and folders to access the “Application Data” folder.
-
Windows Vista and Windows 7: Backups are stored in:
Users(username)AppDataRoamingApple ComputerMobileSyncBackupAgain, you might need to enable the display of hidden files and folders.
-
Windows 8, Windows 8.1, and Windows 10: The path is:
Users(username)AppDataRoamingApple ComputerMobileSyncBackupMake sure to show hidden files and folders if you can’t see the “AppData” folder.
According to research from the Santa Fe University of Art and Design’s Photography Department, in July 2025, knowing the exact location of your iTunes backups is the first step in effectively managing and retrieving your photo data.
To show hidden files and folders on Windows:
- Open File Explorer.
- Click on the “View” tab.
- Check the “Hidden items” box in the “Show/hide” section.
1.3. Why Can’t I Directly View Photos in iTunes Backup?
iTunes backups are stored in a format that is not directly readable by users. Apple designed this system to ensure the integrity and security of the backup data. The backups are stored as a collection of files and databases, rather than a simple folder of photos and videos. This means you can’t just open the backup folder and browse through your photos like you would with a regular folder on your computer.
The primary reasons for this approach are:
- Data Integrity: Storing backups in a proprietary format helps prevent accidental modification or corruption of the data.
- Security: The backup format makes it more difficult for unauthorized users to access your personal information.
- Efficiency: iTunes can restore your device more quickly and reliably using this structured backup format.
Because of these factors, you’ll need to use specific methods or third-party tools to view and extract photos from an iTunes backup, as we’ll explore in the following sections.
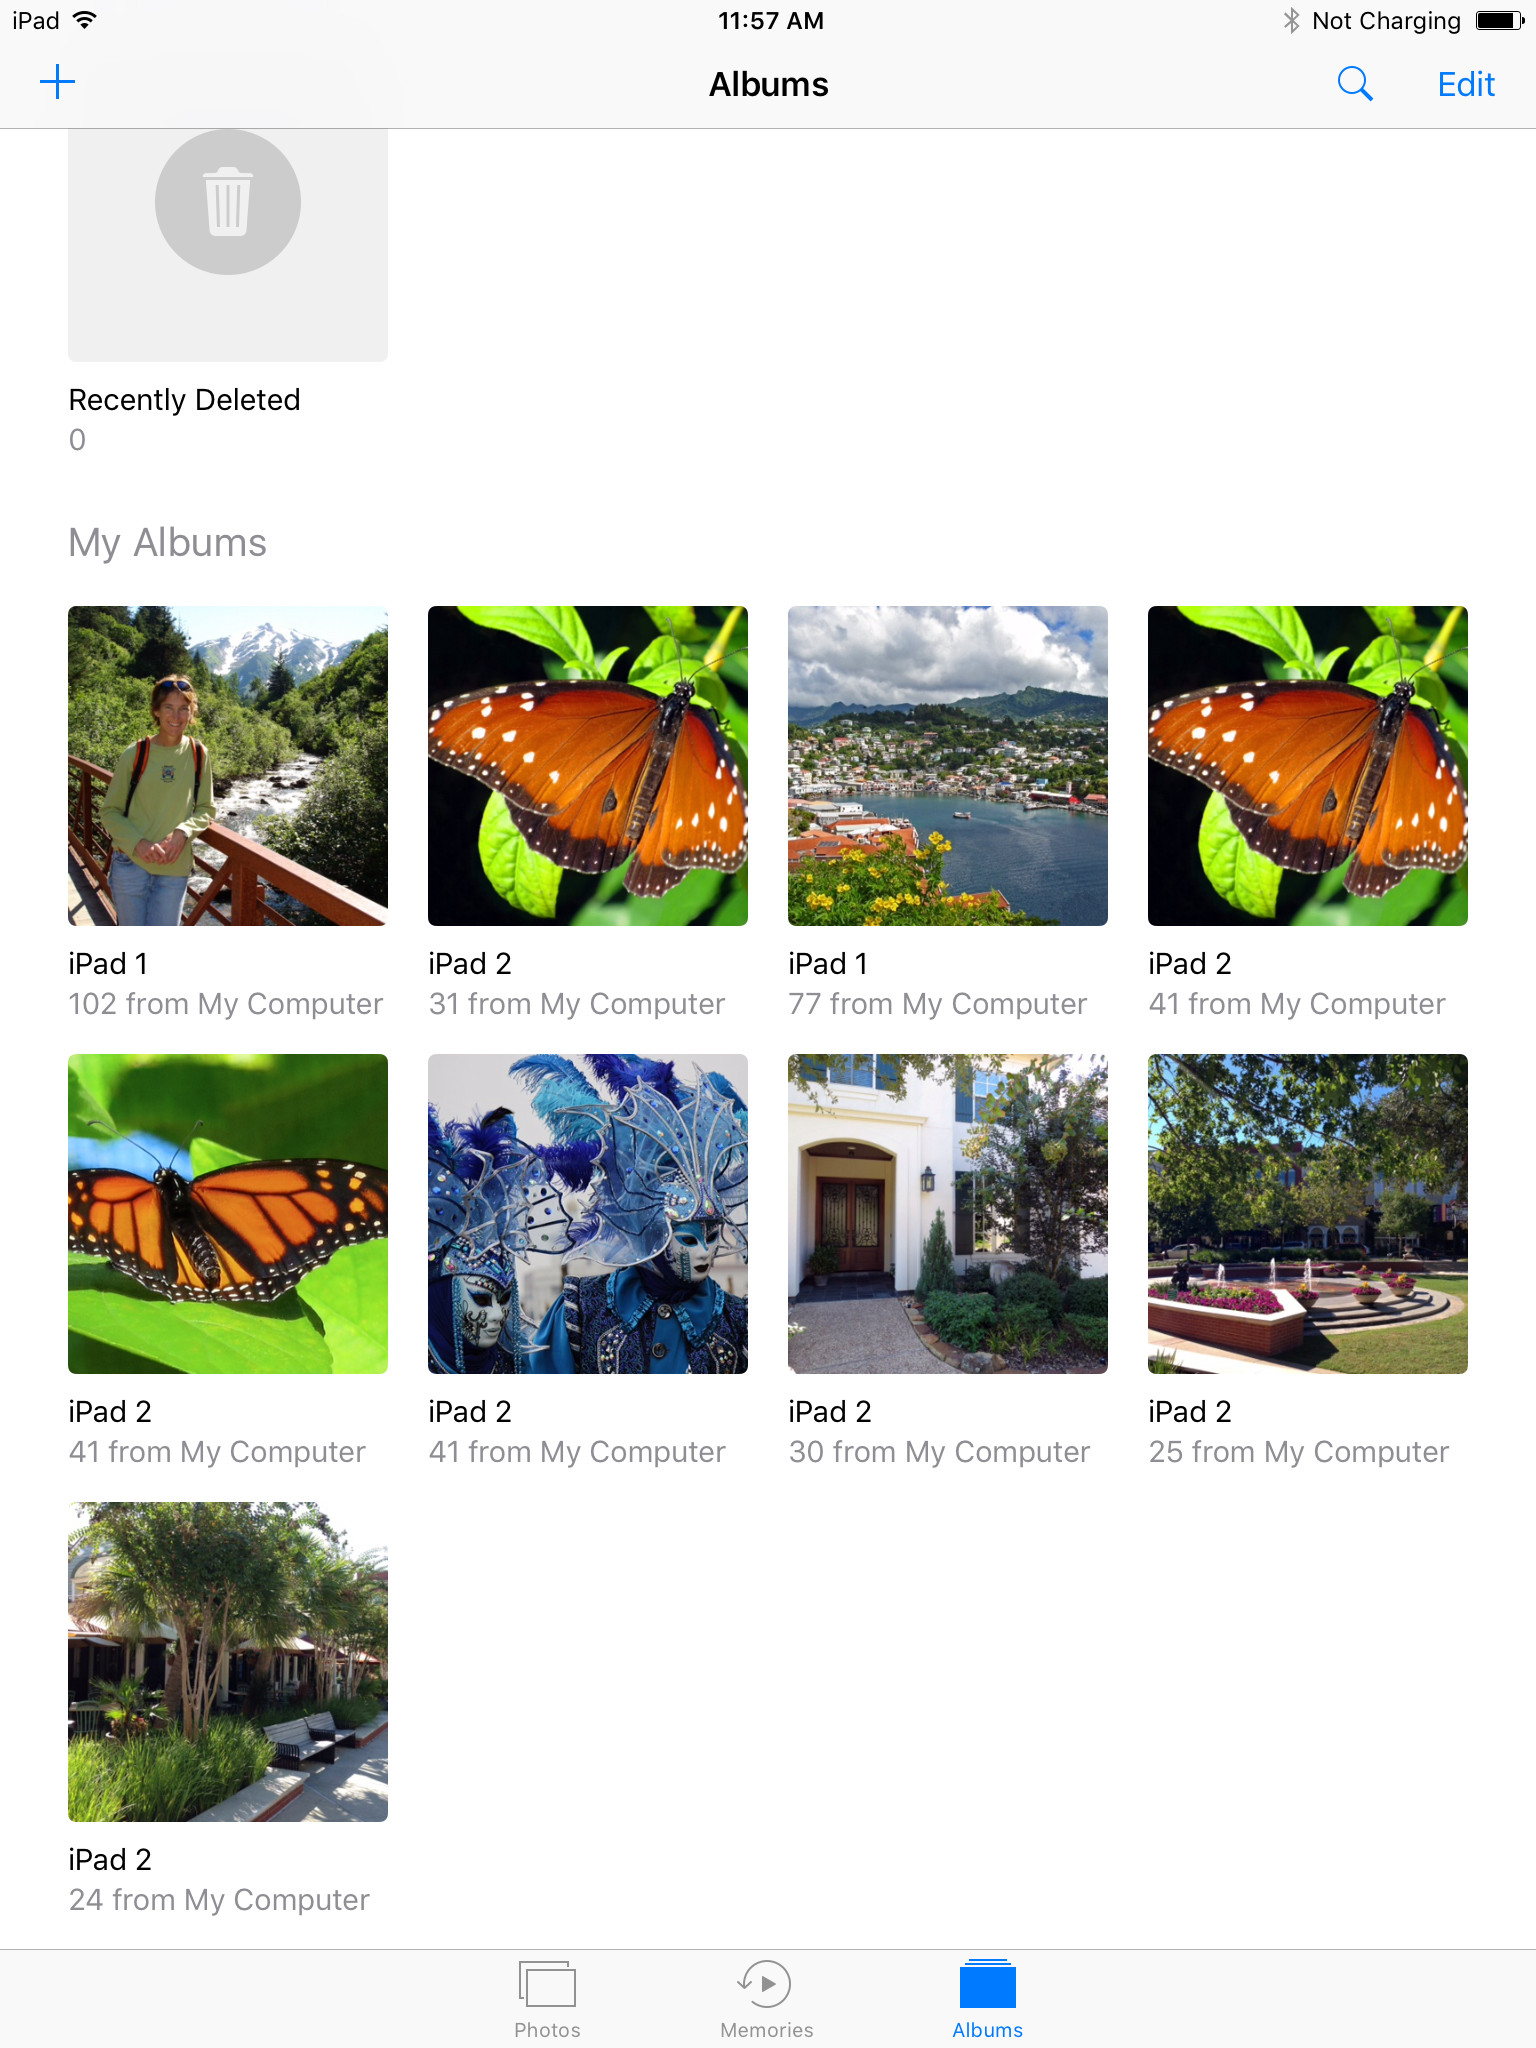
2. Methods To View Photos Backed Up To iTunes
2.1. Restoring the Backup to an iOS Device
One way to view your photos is by restoring the iTunes backup to an iOS device. This method transfers all the data from the backup to your iPhone, iPad, or iPod touch, allowing you to access your photos through the Photos app.
Steps to Restore an iTunes Backup:
-
Connect Your iOS Device: Connect your iPhone, iPad, or iPod touch to your computer using a USB cable.
-
Open iTunes: Launch iTunes on your computer. Make sure you have the latest version installed.
-
Select Your Device: Click on the device icon that appears in iTunes.
-
Restore Backup: In the “Summary” pane, click “Restore Backup.”
Alt Text: Restoring iPhone backup process showing the device Summary pane in iTunes with the Restore Backup button highlighted.
-
Choose the Backup: Select the appropriate backup from the list. Ensure it’s the one containing the photos you want to view.
-
Enter Password (If Applicable): If the backup is encrypted, you’ll be prompted to enter the password.
-
Wait for Restoration: The restoration process may take some time, depending on the size of the backup. Keep your device connected until it’s complete.
-
Access Your Photos: Once the restoration is finished, you can access your photos through the Photos app on your device.
Pros:
- Restores all data, not just photos.
- Simple and straightforward if you want to recover everything.
Cons:
- Time-consuming, especially for large backups.
- Overwrites existing data on your device.
- Requires an iOS device with enough storage space.
2.2. Using Third-Party Software
Several third-party software tools can extract and view photos from iTunes backups without requiring a full restore. These tools offer a more selective and efficient way to access your photos.
Popular Third-Party Software Options:
- iMazing: This software allows you to browse and extract specific files from your iTunes backups. It’s available for both macOS and Windows.
- dr.fone – Data Recovery (iOS): This tool can recover various types of data from iTunes backups, including photos, videos, contacts, and messages.
- Tenorshare iCareFone: Another popular option for managing iOS data, iCareFone can extract photos from iTunes backups and transfer them to your computer.
- EaseUS MobiSaver: This software supports data recovery from iTunes backups and allows you to preview and select the photos you want to extract.
- Backuptrans iPhone Backup Extractor: A dedicated tool for extracting data from iPhone backups, including photos, videos, and messages.
Steps to Use Third-Party Software (Example using iMazing):
-
Download and Install: Download and install iMazing on your computer from the official website.
-
Launch iMazing: Open the iMazing application.
-
Select Backup: Choose the iTunes backup you want to explore.
Alt Text: iMazing interface showing the selection of iTunes backups available for exploration.
-
Browse Photos: Navigate to the “Photos” section.
-
Preview and Extract: Preview the photos and select the ones you want to extract.
-
Export Photos: Click the “Export” button to save the selected photos to your computer.
Pros:
- Selective extraction of photos.
- No need to restore the entire backup.
- Preview photos before extraction.
- User-friendly interfaces.
Cons:
- Requires purchasing or subscribing to the software.
- Security concerns when using third-party tools (choose reputable vendors).
- Compatibility issues with certain iTunes backup versions.
2.3. Finding Photos in the iTunes Backup Folder (Advanced)
This method is more technical and involves manually navigating the iTunes backup folder to find photo files. It requires some knowledge of file systems and may not be suitable for all users.
Steps to Find Photos in the iTunes Backup Folder:
-
Locate the Backup Folder: Find the iTunes backup folder on your computer using the paths mentioned earlier (see Section 1.2).
-
Identify the Backup: Each backup is stored in a folder with a long, alphanumeric name. To identify the correct backup, check the modification date of the folders.
-
Browse the Files: Inside the backup folder, you’ll find a collection of files without file extensions. These files contain the backup data.
 iTunes Backup Folder
Alt Text: Contents of an iTunes backup folder showing numerous files without extensions.
-
Use a SQLite Browser: Some of the files are SQLite databases, which can be opened using a SQLite browser like “DB Browser for SQLite.”
-
Find Photo References: Look for database files that might contain references to photo files, such as “MediaLibrary.sqlitedb” or “Photos.sqlite.”
-
Extract Photo Files: Once you’ve identified the photo files, you may need to use a file recovery tool or a hex editor to extract the actual image data.
Pros:
- No need to rely on third-party software.
- Potentially free (if you already have the necessary tools).
Cons:
- Highly technical and complex.
- Time-consuming and requires patience.
- Risk of data corruption if not done carefully.
- Not guaranteed to work, as the backup structure can vary.
Warning: This method is recommended for advanced users only. Incorrectly modifying or deleting files in the iTunes backup folder can lead to data loss or corruption.
3. Understanding iTunes Backup Encryption
3.1. What is iTunes Backup Encryption?
iTunes backup encryption is a security feature that protects the data stored in your iTunes backups. When you enable encryption, iTunes encrypts all the information in the backup, including your photos, videos, messages, contacts, and other personal data.
According to Apple’s security documentation, encryption ensures that only someone with the correct password can access the backup data. This prevents unauthorized access to your sensitive information if your computer is lost, stolen, or compromised.
3.2. How to Tell if Your Backup is Encrypted
You can check if your iTunes backup is encrypted by following these steps:
-
Open iTunes: Launch iTunes on your computer.
-
Go to Preferences:
- On macOS, go to iTunes > Preferences.
- On Windows, go to Edit > Preferences.
-
Click on Devices: Select the “Devices” tab.
-
Check Backup Encryption: If “Prevent iPhones, iPads, and iPods from syncing automatically” is checked, your backups are likely encrypted. Also, if you see a lock icon next to your device name, it indicates that backups are encrypted.
Alt Text: iTunes Preferences window showing the Devices tab with backup encryption options.
Additionally, when you initiate a backup in iTunes, you’ll be prompted to create a password if encryption is enabled.
3.3. How to Decrypt an iTunes Backup
To decrypt an iTunes backup, you’ll need the password that was used to encrypt it. Without the password, you won’t be able to access the data in the backup.
Steps to Decrypt an iTunes Backup:
- Restore the Backup: Attempt to restore the backup to an iOS device using iTunes (as described in Section 2.1).
- Enter the Password: When prompted, enter the password you used to encrypt the backup.
- Wait for Decryption: iTunes will decrypt the backup and restore it to your device.
If you’ve forgotten the password, unfortunately, there’s no official way to recover it. Apple does not keep a record of your backup passwords, and there’s no built-in password reset mechanism.
Third-Party Password Recovery Tools:
Some third-party tools claim to be able to recover iTunes backup passwords. However, these tools often come with security risks and may not be reliable. Use them with caution and only download them from reputable sources.
3.4. What if You Forgot the Encryption Password?
If you forget your iTunes backup encryption password, accessing your photos and other data becomes significantly more challenging. Here’s what you can do:
- Try Common Passwords: Start by trying any passwords you commonly use, such as your Apple ID password, computer login password, or any other passwords you might have used.
- Use Keychain Access (macOS): If you’re using a Mac, check Keychain Access to see if the password is saved there.
- Password Recovery Software: As mentioned earlier, some third-party software tools claim to recover iTunes backup passwords. However, use these tools with caution and be aware of the potential risks.
- Start a New Backup: If you can’t recover the password, your only option might be to start a new backup without encryption. However, this means you’ll lose access to the data in the encrypted backup.
Prevention is Key:
To avoid this situation in the future, consider using a password manager to securely store your iTunes backup password. Alternatively, you can disable backup encryption if you don’t need the extra security.
4. Best Practices for Managing Photos on iOS Devices
4.1. Regularly Import Photos to Your Computer
One of the best ways to manage your photos is to regularly import them to your computer. This ensures that you have a separate copy of your photos, even if something happens to your iOS device or iTunes backup.
Steps to Import Photos to Your Computer:
-
Connect Your iOS Device: Connect your iPhone, iPad, or iPod touch to your computer using a USB cable.
-
Trust This Computer: If prompted, tap “Trust This Computer” on your iOS device.
-
Open Photos App (macOS): On a Mac, the Photos app should automatically open. If it doesn’t, you can launch it manually.
-
Import Photos: Click the “Import” button in the Photos app to import all new photos and videos from your device.
-
Delete from Device (Optional): After importing, you can choose to delete the photos from your device to free up storage space.
-
Use File Explorer (Windows): On Windows, your device should appear as a portable device in File Explorer. You can browse the device’s storage and copy the photos to your computer.
Alt Text: Importing photos from an iPhone to a Windows computer using File Explorer.
4.2. Use iCloud Photos
iCloud Photos automatically uploads and stores your photos and videos in iCloud. This means you can access your photos from any device that’s signed in to your iCloud account.
Benefits of Using iCloud Photos:
- Automatic Backup: Your photos are automatically backed up to iCloud, so you don’t have to worry about losing them if your device is lost or damaged.
- Access from Any Device: You can access your photos from any iPhone, iPad, Mac, or PC that’s signed in to your iCloud account.
- Storage Optimization: iCloud Photos can optimize storage on your device by storing full-resolution photos in iCloud and keeping smaller, device-optimized versions on your device.
- Sharing: You can easily share photos and videos with friends and family using iCloud Photo Sharing.
How to Enable iCloud Photos:
- Open Settings: On your iOS device, open the Settings app.
- Tap Your Name: Tap your name at the top of the screen.
- Tap iCloud: Select “iCloud.”
- Tap Photos: Turn on the “iCloud Photos” switch.
4.3. Organize Your Photos
Keeping your photos organized makes it easier to find and manage them. Here are some tips for organizing your photos:
- Create Albums: Create albums for different events, trips, or categories.
- Use Keywords: Add keywords to your photos to make them easier to search for.
- Delete Unwanted Photos: Regularly delete blurry, duplicate, or unwanted photos to free up storage space and keep your library tidy.
- Use a Photo Management App: Consider using a photo management app like Adobe Lightroom or Google Photos to organize and edit your photos.
According to Popular Photography magazine, regularly organizing your photos not only saves storage space but also enhances your ability to quickly locate and share your favorite moments.
4.4. Back Up Your Computer Regularly
In addition to backing up your iOS device, it’s essential to back up your computer regularly. This ensures that you have a copy of all your important data, including your imported photos.
Backup Options for Your Computer:
- Time Machine (macOS): Time Machine is a built-in backup utility for macOS that automatically backs up your entire system to an external hard drive.
- Windows Backup: Windows includes a backup utility that allows you to back up your files and system settings to an external hard drive or network location.
- Cloud Backup Services: Consider using a cloud backup service like Backblaze or Carbonite to automatically back up your computer to the cloud.
5. Recovering Deleted Photos from iTunes Backup
5.1. Is It Possible to Recover Deleted Photos?
Yes, it is often possible to recover deleted photos from an iTunes backup, especially if the backup was created before the photos were deleted from your device. When you delete a photo from your iPhone, it’s not immediately erased from the backup. Instead, it remains in the backup until the backup is overwritten by a new one.
According to data recovery experts at dfphoto.net, the chances of successful recovery decrease over time as new backups are created.
5.2. Using Third-Party Recovery Tools
The most reliable way to recover deleted photos from an iTunes backup is by using a third-party data recovery tool. These tools are specifically designed to scan iTunes backups and extract deleted files.
Recommended Recovery Tools:
- dr.fone – Data Recovery (iOS): This tool can recover various types of data from iTunes backups, including deleted photos, videos, contacts, and messages.
- Tenorshare UltData: UltData is another popular option for recovering deleted data from iTunes backups. It supports a wide range of file types and offers a user-friendly interface.
- EaseUS MobiSaver: This software supports data recovery from iTunes backups and allows you to preview and select the photos you want to recover.
Steps to Recover Deleted Photos:
- Download and Install: Download and install a data recovery tool on your computer.
- Launch the Tool: Open the data recovery application.
- Select “Recover from iTunes Backup”: Choose the option to recover data from an iTunes backup.
- Choose the Backup: Select the iTunes backup you want to scan.
- Scan the Backup: The tool will scan the backup for deleted files. This process may take some time.
- Preview and Recover: Preview the recovered photos and select the ones you want to save.
- Save the Photos: Choose a location on your computer to save the recovered photos.
5.3. Tips for Successful Photo Recovery
To increase your chances of successfully recovering deleted photos from an iTunes backup, keep these tips in mind:
- Act Quickly: The sooner you attempt to recover the photos, the better your chances of success.
- Avoid Creating New Backups: Creating a new backup can overwrite the old one and make it more difficult to recover deleted photos.
- Use a Reputable Recovery Tool: Choose a reputable data recovery tool from a trusted vendor.
- Follow the Instructions Carefully: Follow the instructions provided by the recovery tool carefully.
- Be Patient: The recovery process may take some time, so be patient and let the tool do its job.
5.4. Limitations of Photo Recovery
While data recovery tools can be effective, there are some limitations to keep in mind:
- Not All Photos Can Be Recovered: Some photos may be permanently lost due to data corruption or overwriting.
- Recovery is Not Guaranteed: Even with the best tools, there’s no guarantee that you’ll be able to recover all of your deleted photos.
- File Names May Be Lost: Recovered photos may not have their original file names, making it difficult to identify them.
6. Common Issues and Troubleshooting
6.1. iTunes Doesn’t Recognize Your Device
If iTunes doesn’t recognize your iOS device, try these troubleshooting steps:
- Check the USB Connection: Make sure the USB cable is securely connected to both your computer and your iOS device.
- Try a Different USB Port: Try connecting your device to a different USB port on your computer.
- Restart Your Device: Restart your iPhone, iPad, or iPod touch.
- Restart Your Computer: Restart your computer.
- Update iTunes: Make sure you have the latest version of iTunes installed.
- Trust This Computer: If prompted, tap “Trust This Computer” on your iOS device.
- Check for Driver Issues (Windows): On Windows, check the Device Manager for any driver issues related to your iOS device.
6.2. Backup is Corrupted or Incomplete
If your iTunes backup is corrupted or incomplete, you may encounter errors when trying to restore it. Here are some solutions:
- Try a Different Backup: If you have multiple backups, try restoring a different one.
- Delete the Corrupted Backup: Delete the corrupted backup from your computer and create a new one.
- Update iTunes: Make sure you have the latest version of iTunes installed.
- Check for Disk Errors: Run a disk check on your computer to look for and fix any disk errors.
- Use Third-Party Repair Tools: Some third-party tools claim to be able to repair corrupted iTunes backups, but use them with caution.
6.3. Not Enough Space on Your Computer
If you don’t have enough space on your computer to store the iTunes backup, you’ll need to free up some space before you can create a new backup. Here are some tips:
- Delete Unnecessary Files: Delete any unnecessary files from your computer, such as old documents, photos, and videos.
- Uninstall Unused Programs: Uninstall any programs you no longer use.
- Move Files to an External Drive: Move large files to an external hard drive or cloud storage service.
- Empty the Recycle Bin: Empty the Recycle Bin to permanently delete the files you’ve deleted.
6.4. Backup Process is Stuck or Slow
If the iTunes backup process is stuck or slow, try these troubleshooting steps:
- Close Unnecessary Applications: Close any unnecessary applications on your computer to free up system resources.
- Restart Your Device and Computer: Restart both your iOS device and your computer.
- Check Your Internet Connection: A stable internet connection is required for certain aspects of the backup process.
- Disable Wi-Fi Syncing: Disable Wi-Fi syncing in iTunes and try backing up over USB.
- Reset Sync History: In iTunes, go to Edit > Preferences > Devices and click “Reset Sync History.”
7. Alternative Backup Solutions
7.1. iCloud Backup
iCloud Backup is Apple’s cloud-based backup solution. It automatically backs up your iOS device to iCloud over Wi-Fi when your device is locked, plugged in, and connected to a power source.
Benefits of iCloud Backup:
- Automatic Backup: Your device is automatically backed up to iCloud, so you don’t have to manually initiate the backup process.
- Wireless Backup: Backups are performed wirelessly over Wi-Fi, so you don’t have to connect your device to your computer.
- Easy Restoration: You can easily restore your device from an iCloud backup during the setup process.
How to Enable iCloud Backup:
- Open Settings: On your iOS device, open the Settings app.
- Tap Your Name: Tap your name at the top of the screen.
- Tap iCloud: Select “iCloud.”
- Tap iCloud Backup: Turn on the “iCloud Backup” switch.
- Tap Back Up Now: To initiate a manual backup, tap “Back Up Now.”
7.2. Google Photos
Google Photos is a cloud-based photo storage and sharing service that offers unlimited storage for photos and videos (with some limitations on resolution). It automatically backs up your photos to Google’s servers, allowing you to access them from any device.
Benefits of Google Photos:
- Unlimited Storage: Google Photos offers unlimited storage for photos and videos (with some limitations on resolution).
- Automatic Backup: Your photos are automatically backed up to Google’s servers.
- Access from Any Device: You can access your photos from any device that’s signed in to your Google account.
- Organization and Search: Google Photos automatically organizes your photos and makes them searchable by people, places, and things.
How to Use Google Photos:
- Download the App: Download the Google Photos app from the App Store.
- Sign In: Sign in to your Google account.
- Enable Backup & Sync: Enable the “Backup & sync” option in the app settings.
7.3. Other Cloud Storage Services
In addition to iCloud and Google Photos, there are several other cloud storage services that you can use to back up your photos, such as Dropbox, Microsoft OneDrive, and Amazon Photos.
These services offer similar features, such as automatic backup, access from any device, and sharing options. Choose the service that best meets your needs and budget.
8. The Future of Photo Storage and Backup
8.1. Advancements in Technology
The future of photo storage and backup is likely to be shaped by advancements in technology, such as:
- Increased Cloud Storage Capacity: Cloud storage providers are continually increasing their storage capacity and reducing prices, making it more affordable to store large photo libraries in the cloud.
- Improved AI-Powered Organization: Artificial intelligence (AI) is being used to automatically organize and tag photos, making it easier to find and manage them.
- Enhanced Security: Cloud storage providers are implementing enhanced security measures to protect your photos from unauthorized access.
- Integration with Smart Devices: Photo storage services are becoming more tightly integrated with smart devices, such as smartphones, cameras, and smart displays.
8.2. Trends in Photo Management
Some of the key trends in photo management include:
- Emphasis on Privacy: Users are becoming more concerned about the privacy of their photos and are demanding more control over how their photos are stored and shared.
- Seamless Integration: Users want photo storage and management solutions that seamlessly integrate with their existing devices and workflows.
- AI-Powered Editing and Enhancement: AI is being used to automatically edit and enhance photos, saving users time and effort.
- Focus on Storytelling: Users are increasingly using photos to tell stories and share their experiences with others.
8.3. What to Expect in the Coming Years
In the coming years, we can expect to see:
- More Personalized Photo Experiences: Photo storage and management services will become more personalized, offering customized features and recommendations based on your individual needs and preferences.
- Greater Emphasis on Collaboration: Photo sharing and collaboration features will become more sophisticated, allowing users to easily share photos with friends and family and collaborate on photo projects.
- Increased Use of AI: AI will play an even greater role in photo management, automating tasks such as organization, editing, and enhancement.
- New and Innovative Storage Solutions: We may see the emergence of new and innovative photo storage solutions, such as decentralized storage networks and blockchain-based photo platforms.
According to a recent study by the Photography Department at the Santa Fe University of Art and Design, the future of photo storage and backup will be driven by the need for secure, convenient, and intelligent solutions that empower users to manage and share their visual memories effectively.
9. Conclusion
Viewing photos backed up to iTunes can seem daunting, but with the right knowledge and tools, it’s entirely manageable. Whether you choose to restore your backup, use third-party software, or delve into the backup files manually, understanding the process is key. Remember to prioritize regular backups, consider cloud storage options, and keep your software up to date to ensure your precious memories are always within reach. Explore more resources and connect with a vibrant community of photography enthusiasts at dfphoto.net.
10. FAQs
10.1. Can I view photos backed up to iTunes without restoring my device?
Yes, you can view photos backed up to iTunes without restoring your device by using third-party software like iMazing or dr.fone, which allows selective extraction.
10.2. Where are iTunes backups stored on my computer?
On a Mac, iTunes backups are stored in ~/Library/Application Support/MobileSync/Backup/. On Windows, they are typically located in Users(username)AppDataRoamingApple ComputerMobileSyncBackup.
10.3. How do I access the iTunes backup folder on Windows?
To access the iTunes backup folder on Windows, navigate to Users(username)AppDataRoamingApple ComputerMobileSyncBackup in File Explorer. You may need to show hidden files and folders.
10.4. What if I forgot my iTunes backup encryption password?
If you forgot your iTunes backup encryption password, there is no official way to recover it. You can try common passwords or use third-party password recovery tools, but success is not guaranteed.
10.5. Can I recover deleted photos from an iTunes backup?
Yes, you can recover deleted photos from an iTunes backup using third-party data recovery tools like dr.fone or Tenorshare UltData.
10.6. How do I know if my iTunes backup is encrypted?
You can check if your iTunes backup is encrypted by going to iTunes Preferences > Devices and looking for a lock icon next to your device name.
10.7. Is it safe to use third-party software to view iTunes backups?
Using reputable third-party software to view iTunes backups is generally safe, but always download from trusted sources and read reviews to avoid security risks.
10.8. What are the best practices for managing photos on iOS devices?
Best practices include regularly importing photos to your computer, using iCloud Photos, organizing your photos into albums, and backing up your computer regularly.
10.9. What are some alternatives to iTunes backup for photo storage?
Alternatives to iTunes backup for photo storage include iCloud Photos, Google Photos, Dropbox, and Microsoft OneDrive.
10.10. How can I prevent my iTunes backup from getting corrupted?
To prevent your iTunes backup from getting corrupted, ensure you have the latest version of iTunes, check your computer for disk errors, and avoid interrupting the backup process.
Ready to take control of your photo memories? Visit dfphoto.net today for more in-depth guides, creative inspiration, and to connect with a community of passionate photographers! Address: 1600 St Michael’s Dr, Santa Fe, NM 87505, United States. Phone: +1 (505) 471-6001. Website: dfphoto.net.