The Photos app on your iPhone, iPad, Mac, and Apple Vision Pro offers a convenient way to edit your videos, including trimming them to your desired length. However, you might change your mind and want to restore your video to its original, untrimmed state. This guide will show you exactly how to untrim videos in the Photos app across all your Apple devices, ensuring you never lose your original footage.
Sometimes, after trimming a video to share a specific moment or reduce its file size, you might realize you need the full video back. Perhaps you want to use a different section, or simply prefer the original length. Fortunately, Apple’s Photos app provides a straightforward way to undo trimming and revert your video to its initial state. Let’s explore how to untrim your videos, along with a quick recap on how to trim them in the first place.
Quickly Trim Videos in Photos on iPhone, iPad, Mac, and Apple Vision Pro
Before diving into untrimming, let’s quickly revisit how to trim a video. This will help understand the process you might want to undo.
On iPhone or iPad:
-
Open the Photos app and select the video you wish to trim.
-
Tap Edit in the top right corner.
-
At the bottom, you’ll see a video timeline. Drag the sliders at both ends of the timeline to set your desired start and end points.
-
Tap the Play button to preview your trimmed video.
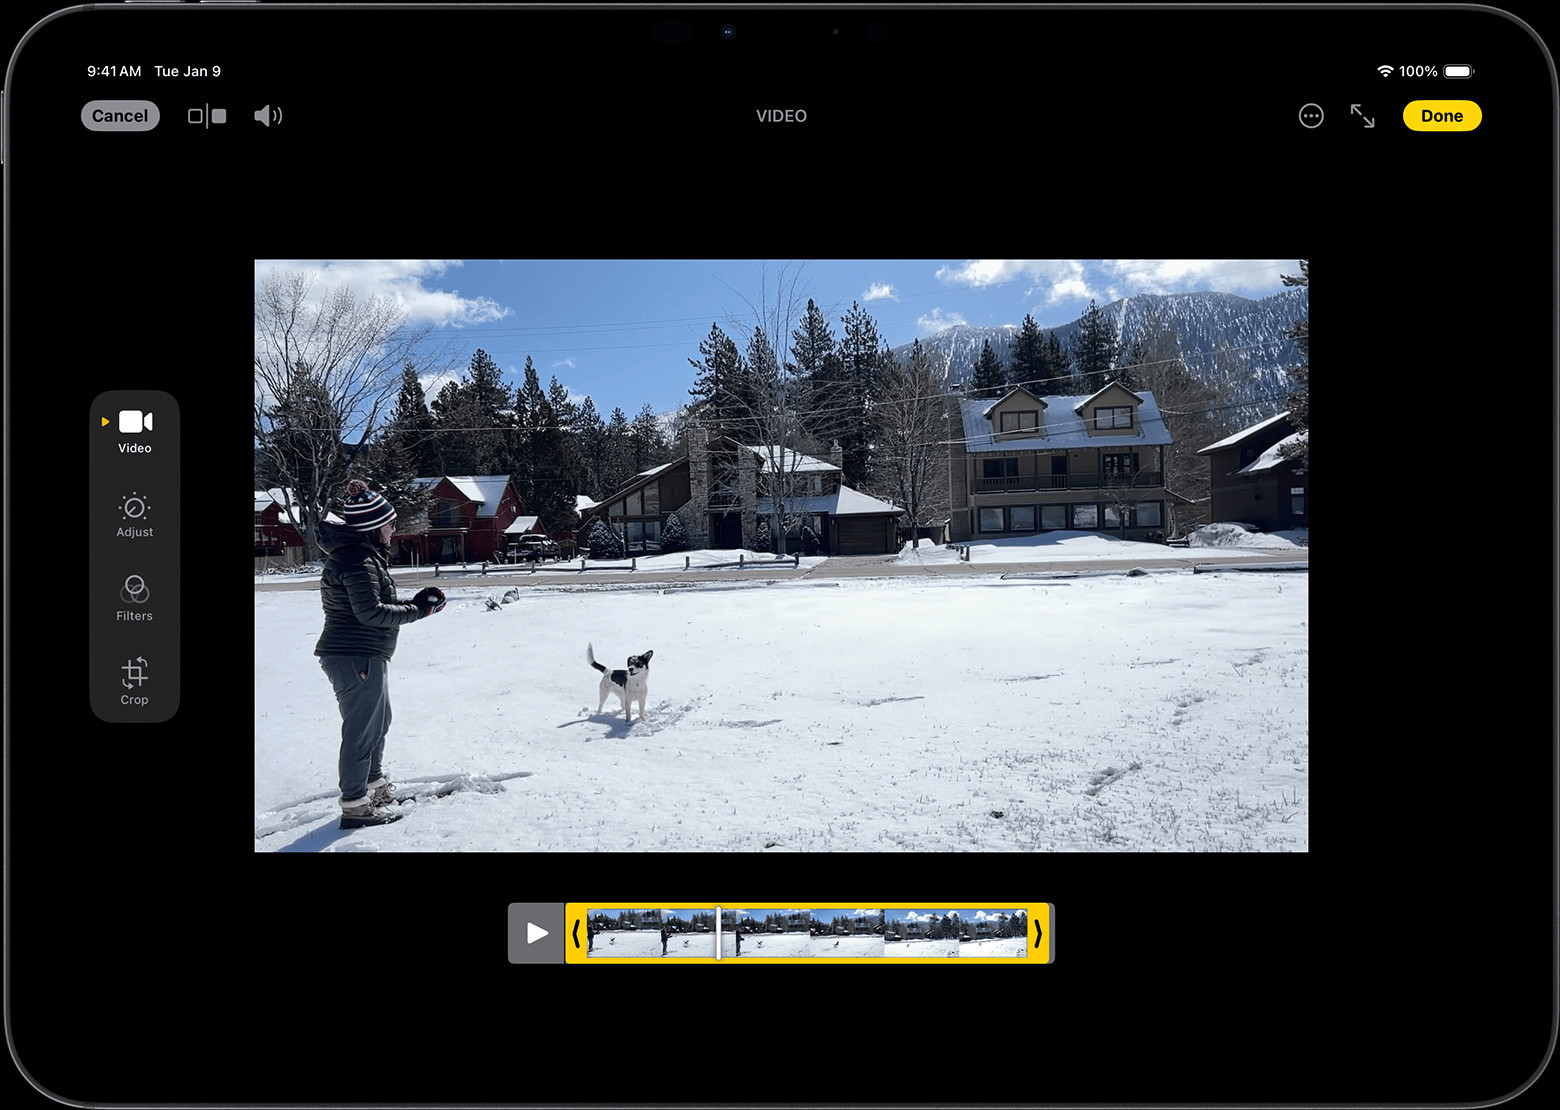 iPad showing a video in edit mode
Alt text: Trimming a video on iPad in Photos app, showing timeline sliders for adjusting start and end points.
-
Tap Done, then choose either Save Video (to overwrite the original with the trimmed version) or Save Video as New Clip (to keep the original and save a trimmed copy).
On Mac:
- Open the Photos app and double-click the video.
- Click Edit.
- Adjust the sliders on the video timeline to trim the video.
- Preview with the Play button.
- Click Done, then Save Video or Save Video as New Clip.
On Apple Vision Pro:
- Open Photos and select your video.
- Tap the More button, then Trim.
- Use the timeline sliders to trim.
- Preview by tapping the Play button.
- Tap Done, and then select Save Video or Save Video as New Clip.
How to Untrim a Video and Revert to Original in Photos App
Now, for the main focus: untrimming your videos. The process is simple and effectively restores your video to its original length.
Steps to Untrim on iPhone or iPad:
- Open the Photos app and select the trimmed video.
- Tap Edit. You’ll recognize the edit interface with the timeline.
- Tap Revert in the bottom right corner.
- Confirm by tapping Revert to Original in the pop-up.
Steps to Untrim on Mac:
- Open the Photos app and double-click the trimmed video.
- Click Edit.
- Click Revert to Original. Alternatively, you can manually drag the timeline sliders back to the very beginning and end of the video.
- Click Done.
Steps to Untrim on Apple Vision Pro:
- Open Photos and select the trimmed video.
- Click Edit.
- Manually drag the timeline sliders back to the beginning and end of the video.
- Click Done.
It’s important to note that if you used “Save Video as New Clip” when trimming, reverting to original will only undo edits like filters or adjustments, but it won’t merge the trimmed clip back with the original full-length video. “Revert to Original” truly works to untrim when you chose “Save Video” and overwrote the original with a trimmed version.
Understanding Save Options: “Save Video” vs. “Save as New Clip” and Untrimming
When trimming videos, Photos app gives you two save options, which directly impact how untrimming works:
- Save Video: This option replaces your original video file with the trimmed version. Untrimming in this case will revert the video back to its original, pre-trimmed length and state.
- Save Video as New Clip: This keeps your original video untouched and saves a new, trimmed version in your library. If you choose this option, “untrimming” the new clip will only revert any additional edits made to that trimmed clip itself (like filters or exposure adjustments) but it cannot restore it to the full original length because the original video file is still separate and exists in your library.
Therefore, to ensure you can fully untrim a video and revert to its original length, using the “Save Video” option when initially trimming is crucial if you anticipate potentially needing the full video again later.
Beyond Trimming: Other Video Edits in Photos App
The Photos app offers more than just trimming. You can also enhance your videos with these features, all of which can be reverted if needed:
-
Filters and Rotate: Add stylish filters or rotate your video. These edits can also be undone using the “Revert” option.
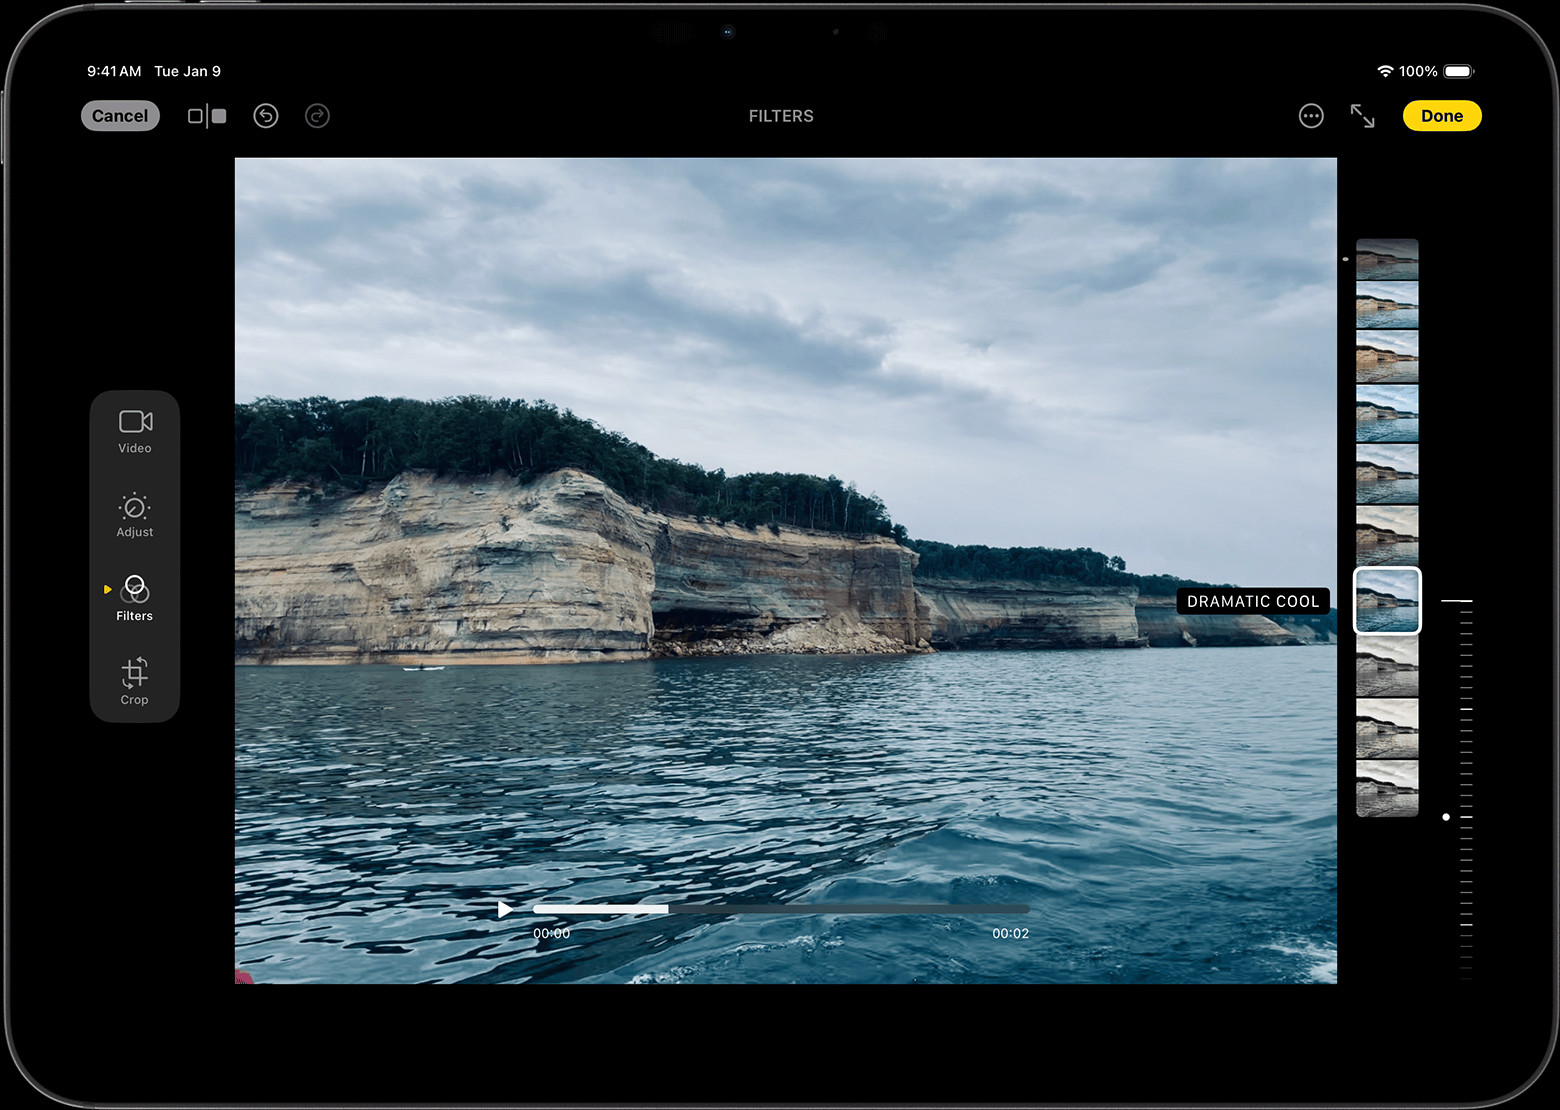 iPad showing a video with a filter being applied
 -
Adjust Playback Speed: For videos shot at high frame rates, you can slow them down for dramatic effect.
-
Slo-mo Editing: Customize which parts of a slo-mo video play in slow motion.
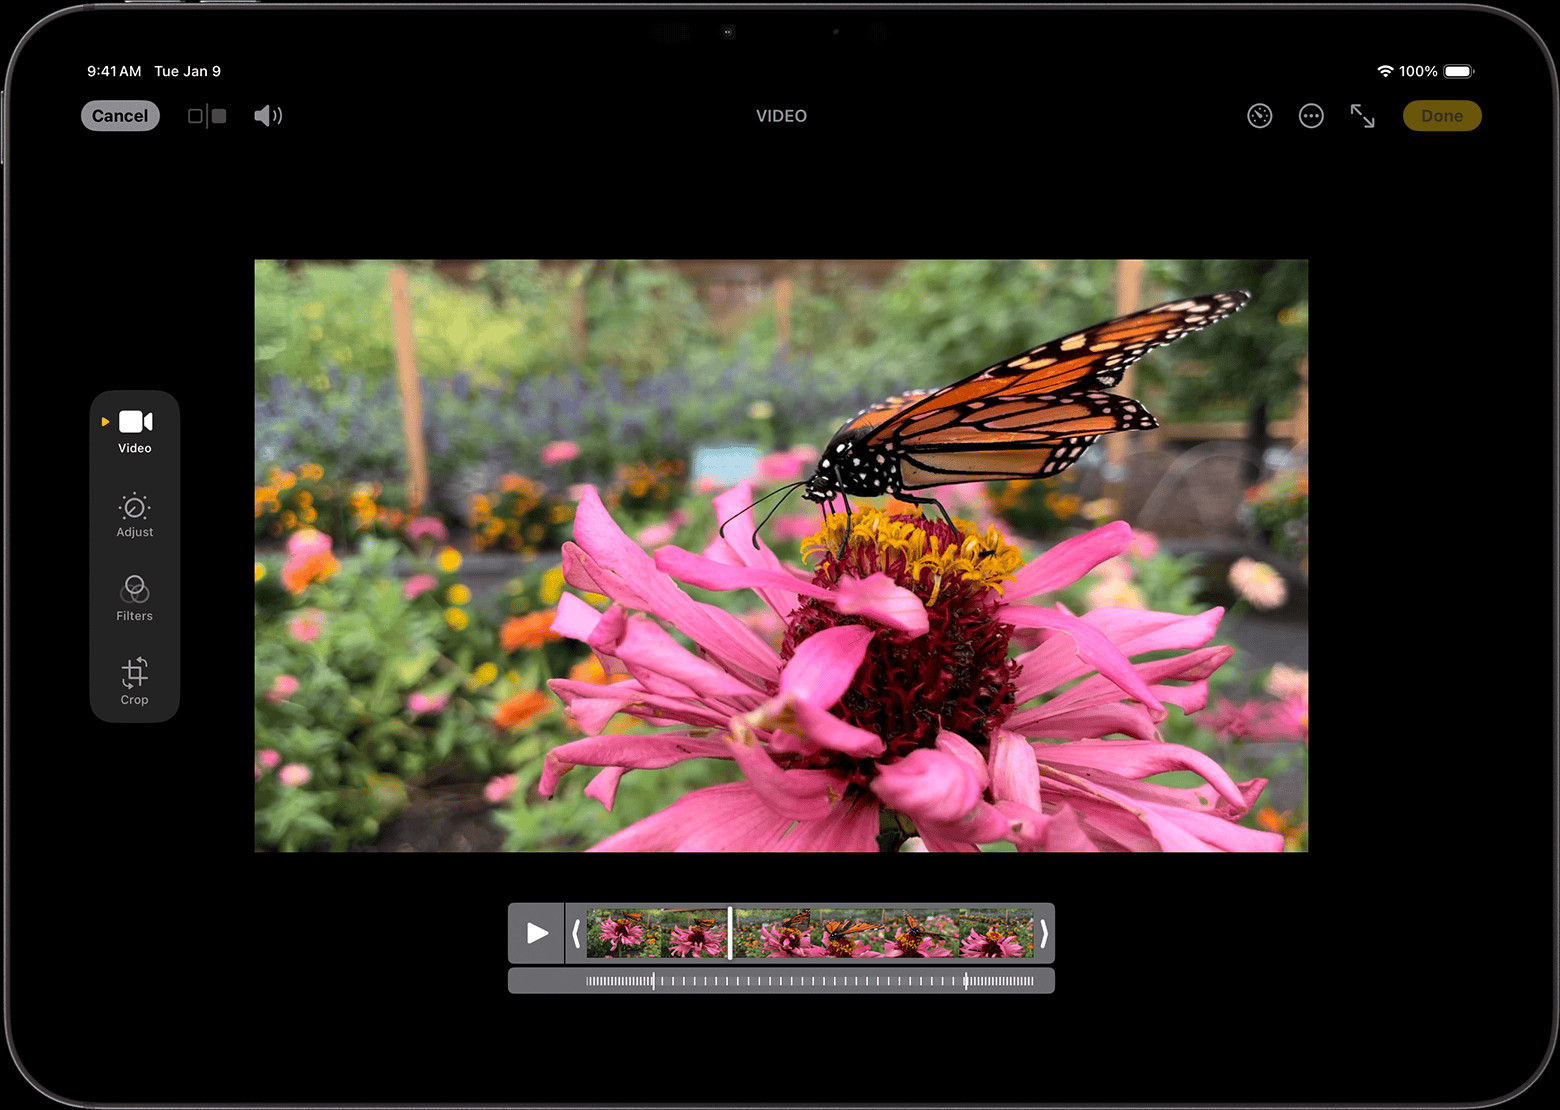 iPad showing a video
 -
Audio Mix (iPhone 16 models with Spatial Audio): Adjust audio focus, reduce background noise, and enhance voices in videos recorded with Spatial Audio.
Conclusion: Untrimming is Easy and Reversible in Photos App
The Photos app provides a user-friendly and reversible way to trim your videos. Knowing how to untrim videos ensures you have the flexibility to experiment with editing while always having the option to restore your original footage. Whether you’re on your iPhone, iPad, Mac, or Apple Vision Pro, untrimming is a straightforward process that empowers you to manage your video content effectively. So go ahead, trim and edit with confidence, knowing you can always revert back to the original with just a few taps or clicks.