Unhiding photos on your iPhone is a simple process, but it can be tricky if you’re not familiar with the Photos app. This guide provides a clear, step-by-step walkthrough on how to unhide photos on your iPhone, ensuring your precious memories are easily accessible again.
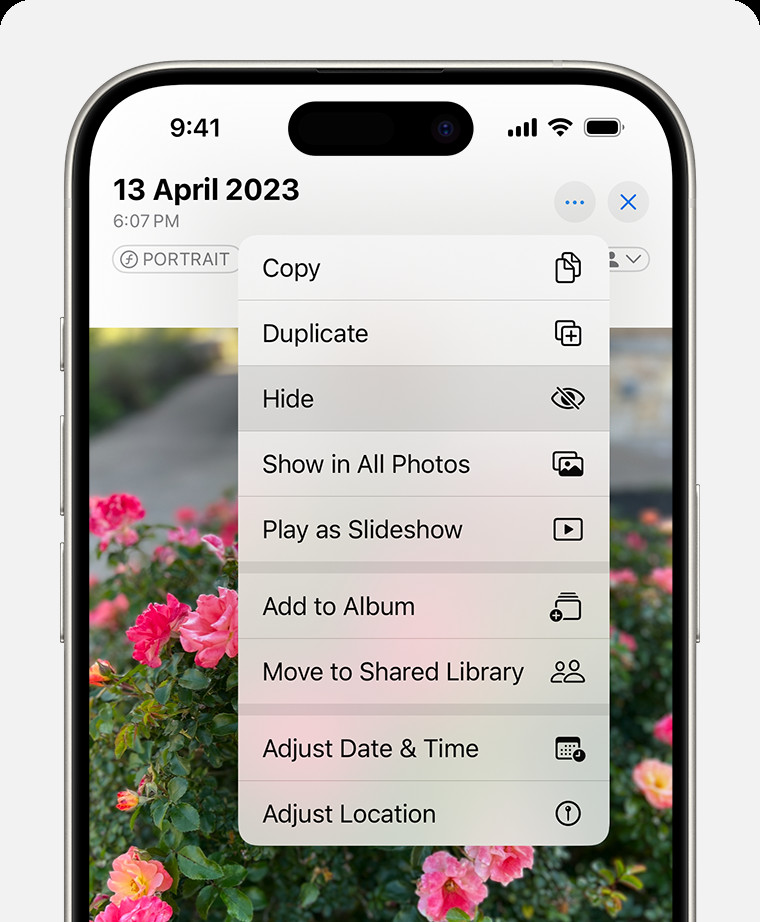 Dropdown menu highlighting the Hide feature feature for a photo.
Locating the Hidden Album on Your iPhone
Before you can unhide photos, you need to find the Hidden album. Here’s how:
- Open the Photos App: Launch the Photos application on your iPhone.
- Navigate to Albums: Tap the “Albums” tab at the bottom of the screen.
- Scroll to Utilities: Scroll down to the “Utilities” section. You might need to scroll past other albums like “My Albums,” “People,” and “Places.”
- Find Hidden: The “Hidden” album is located within the Utilities section.
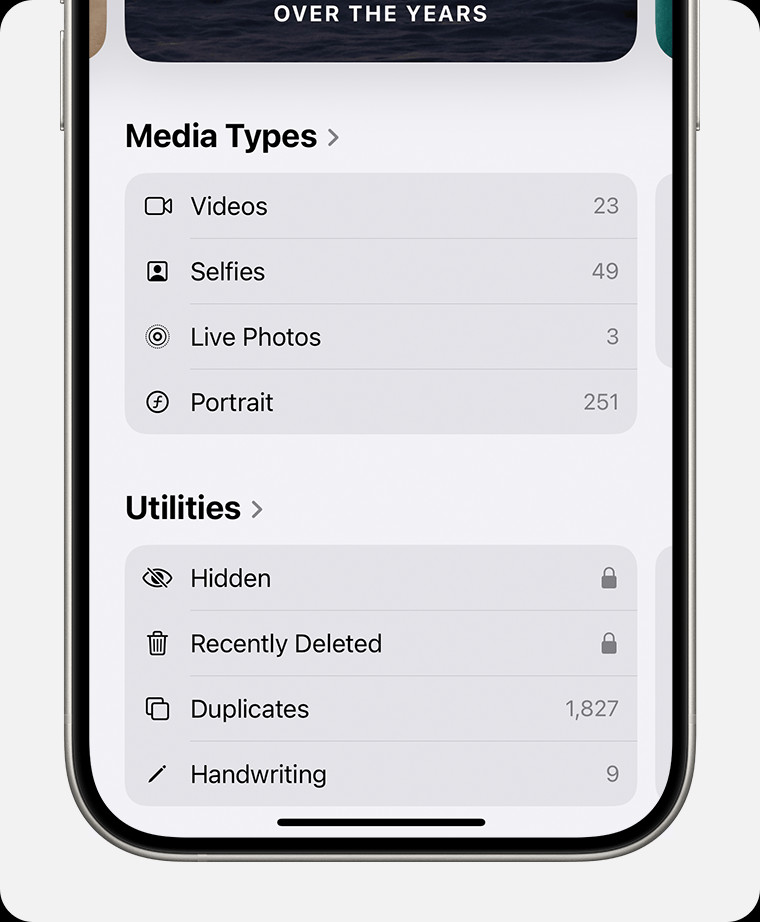 Hidden album highlighted under Utilities.
Important Note: If you can’t find the Hidden album, it might be disabled in your settings. Go to “Settings” > “Photos” and ensure the “Show Hidden Album” toggle is enabled. This setting is on by default. Turning it off completely hides the album, making hidden photos inaccessible.
Unhiding Your Photos: Step-by-Step Instructions
Once you’ve located the Hidden album, follow these steps to unhide your photos:
- Open the Hidden Album: Tap on the “Hidden” album.
- Authenticate: Depending on your iPhone settings, you might be prompted to authenticate using Face ID, Touch ID, or your passcode. This security measure protects your privacy.
- Select Photos to Unhide: Tap “Select” in the top right corner and choose the photo(s) or video(s) you want to unhide. Alternatively, you can tap and hold a photo or video to select it individually.
- Unhide the Selected Items: With the desired photos selected, tap the “Share” icon (the square with an upward arrow) at the bottom left corner.
- Choose Unhide: From the share sheet that appears, scroll down and tap “Unhide.” Confirm your choice when prompted.
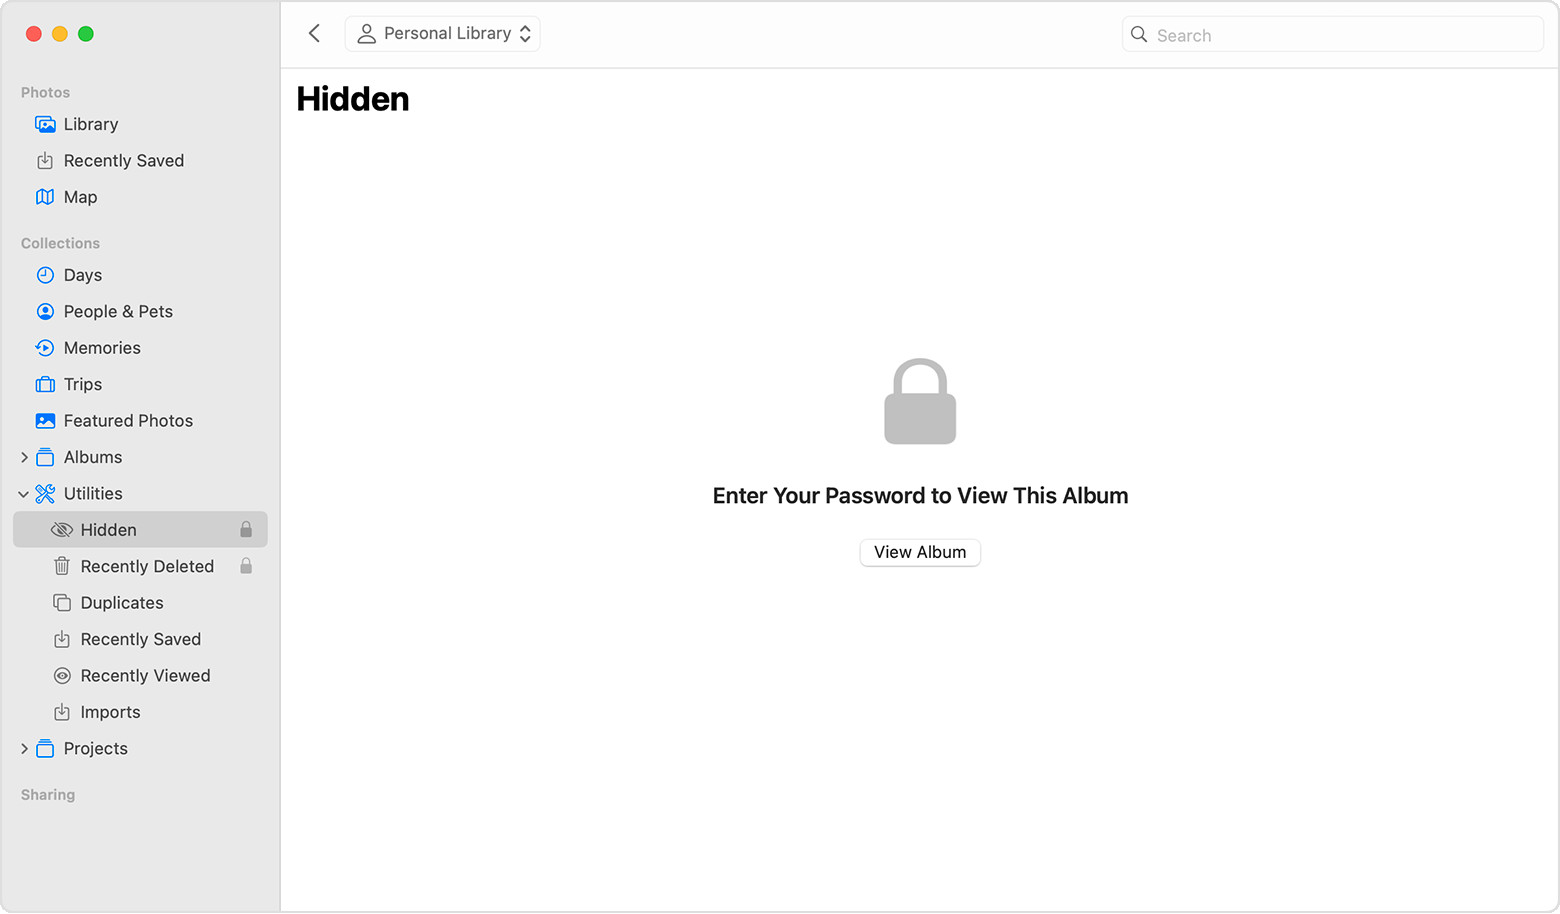 Hidden album highlighted in MacOS Photos app.
After Unhiding: Where to Find Your Photos
After unhiding, your photos will be returned to their original locations in your photo library:
- Recents: They will reappear in the “Recents” album, chronologically organized with your other photos and videos.
- Albums: If the photo was previously in a specific album (besides “Recents”), it will be restored to that album as well.
- Search: You can also find your unhidden photos using the search function within the Photos app.
By following these steps, you can easily unhide photos on your iPhone and restore them to your main photo library. Remember to keep your “Show Hidden Album” setting enabled in “Settings” > “Photos” to maintain access to this feature.