Live Photos on your iPhone capture the moments 1.5 seconds before and after you snap a picture, adding life and motion to your memories. This guide provides a comprehensive walkthrough on how to enable, use, and share Live Photos on your iPhone.
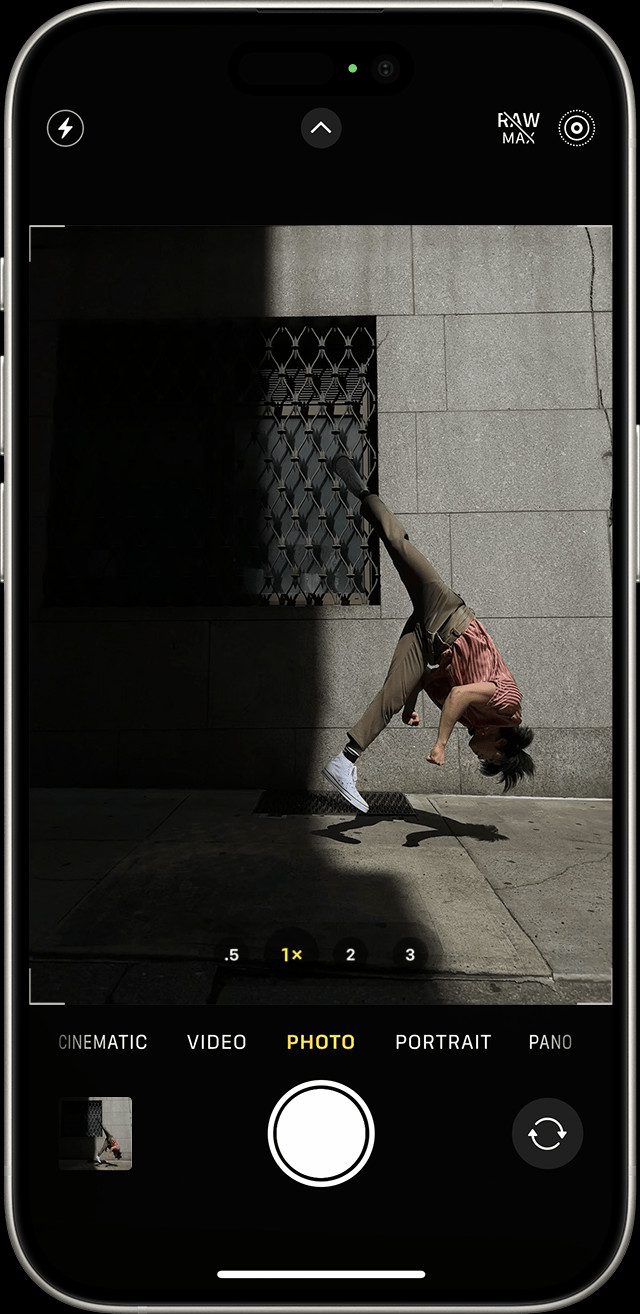 An iPhone displaying the camera app with the Live Photos feature enabled.
Enabling Live Photos on Your iPhone Camera
Turning on Live Photos is a simple process:
- Open the Camera App: Locate and launch the default Camera application on your iPhone.
- Confirm Photo Mode: Ensure your camera is set to photo mode, not video or other modes. The yellow icon should indicate photo mode.
- Activate Live Photos: In the top center of your screen, you’ll see the Live Photos icon (three concentric circles). If it has a slash through it, Live Photos is off. Tap the icon to turn it on. The icon will appear yellow when activated.
Now you’re ready to capture Live Photos! Simply hold your iPhone steady and press the shutter button.
Locating and Playing Your Live Photos
All your Live Photos are saved alongside your regular photos:
- Open the Photos App: Launch the Photos application.
- Navigate to Albums: Tap the “Albums” tab at the bottom of the screen.
- Find Live Photos Album: Scroll down to the “Media Types” section and tap “Live Photos.”
 Screenshot of the Photos app on an iPhone, highlighting the location of the Live Photos album under Media Types.
To play a Live Photo, simply open it and firmly press and hold the screen. You’ll see the animation come to life.
Customizing Your Live Photos: Key Photo & Effects
Live Photos offer several editing options:
Changing the Key Photo
The key photo is the still image that represents the Live Photo in your library. To change it:
- Open the Live Photo.
- Tap “Edit.”
- Tap the Live Photos icon (concentric circles).
- Use the slider to select a different frame.
- Tap “Make Key Photo” and then “Done.”
Adding Effects
You can add fun effects to your Live Photos:
- Open the Live Photo.
- Tap the Live Photos icon.
- Choose from Loop, Bounce, or Long Exposure.
-
Loop: Creates a continuous loop of your Live Photo.
-
Bounce: Plays the Live Photo forward and then backward repeatedly.
-
Long Exposure: Creates a blur effect, ideal for capturing movement like waterfalls or fireworks.
Editing and Sharing Live Photos
Basic Editing
You can edit Live Photos just like regular photos:
- Open the Live Photo.
- Tap “Edit.”
- Make your adjustments using the available tools.
- Tap “Done.”
Sharing
Sharing Live Photos is easy:
- Open the Live Photo.
- Tap the Share icon.
- Choose your sharing method.
Remember, some platforms may not support Live Photos and will display them as still images.
Permanently Disabling Live Photos
While you can toggle Live Photos on and off in the Camera app, you can also disable them permanently:
- Go to “Settings.”
- Tap “Camera.”
- Tap “Preserve Settings.”
- Toggle on “Live Photo.”
This ensures Live Photos remains off even after you close and reopen the Camera app. This setting helps conserve storage space as Live Photos take up more space than standard photos.
By mastering these techniques, you can capture and share dynamic memories using the Live Photos feature on your iPhone. Remember to experiment with different effects and editing options to personalize your Live Photos.