Transferring photos to your iPad is a breeze, especially when you know the right methods. This article on dfphoto.net will walk you through various techniques to seamlessly move your precious memories from different sources to your iPad, ensuring they’re always with you. Discover the easiest and fastest ways to transfer photos, enhancing your photography experience. LSI keywords include: photo management, iPad photography, image transfer.
1. Why Transfer Photos to Your iPad?
Having your photos on your iPad offers numerous advantages:
- Portability: Your entire photo library goes wherever you go, perfect for sharing with friends and family or showcasing your work on the fly.
- Editing on the Go: iPads offer powerful photo editing apps like Adobe Lightroom Mobile and Affinity Photo, letting you enhance your images anywhere.
- Backup: Storing photos on your iPad can act as a secondary backup, providing extra security for your cherished memories.
- Presentation: iPads are ideal for presenting your photography portfolio to clients or collaborators in a professional and visually appealing manner.
2. What Are the 5 Main Reasons for Transferring Photos to an iPad?
- Editing: Transfer photos to your iPad for on-the-go editing with apps like Lightroom and Affinity Photo.
- Sharing: Easily share your photos with friends, family, or clients directly from your iPad.
- Backup: Use your iPad as a secondary backup for important photos, ensuring they’re safe.
- Portfolio Presentation: Showcase your photography portfolio in a sleek, professional format on your iPad.
- Accessibility: Keep your entire photo library accessible wherever you go, for viewing and inspiration.
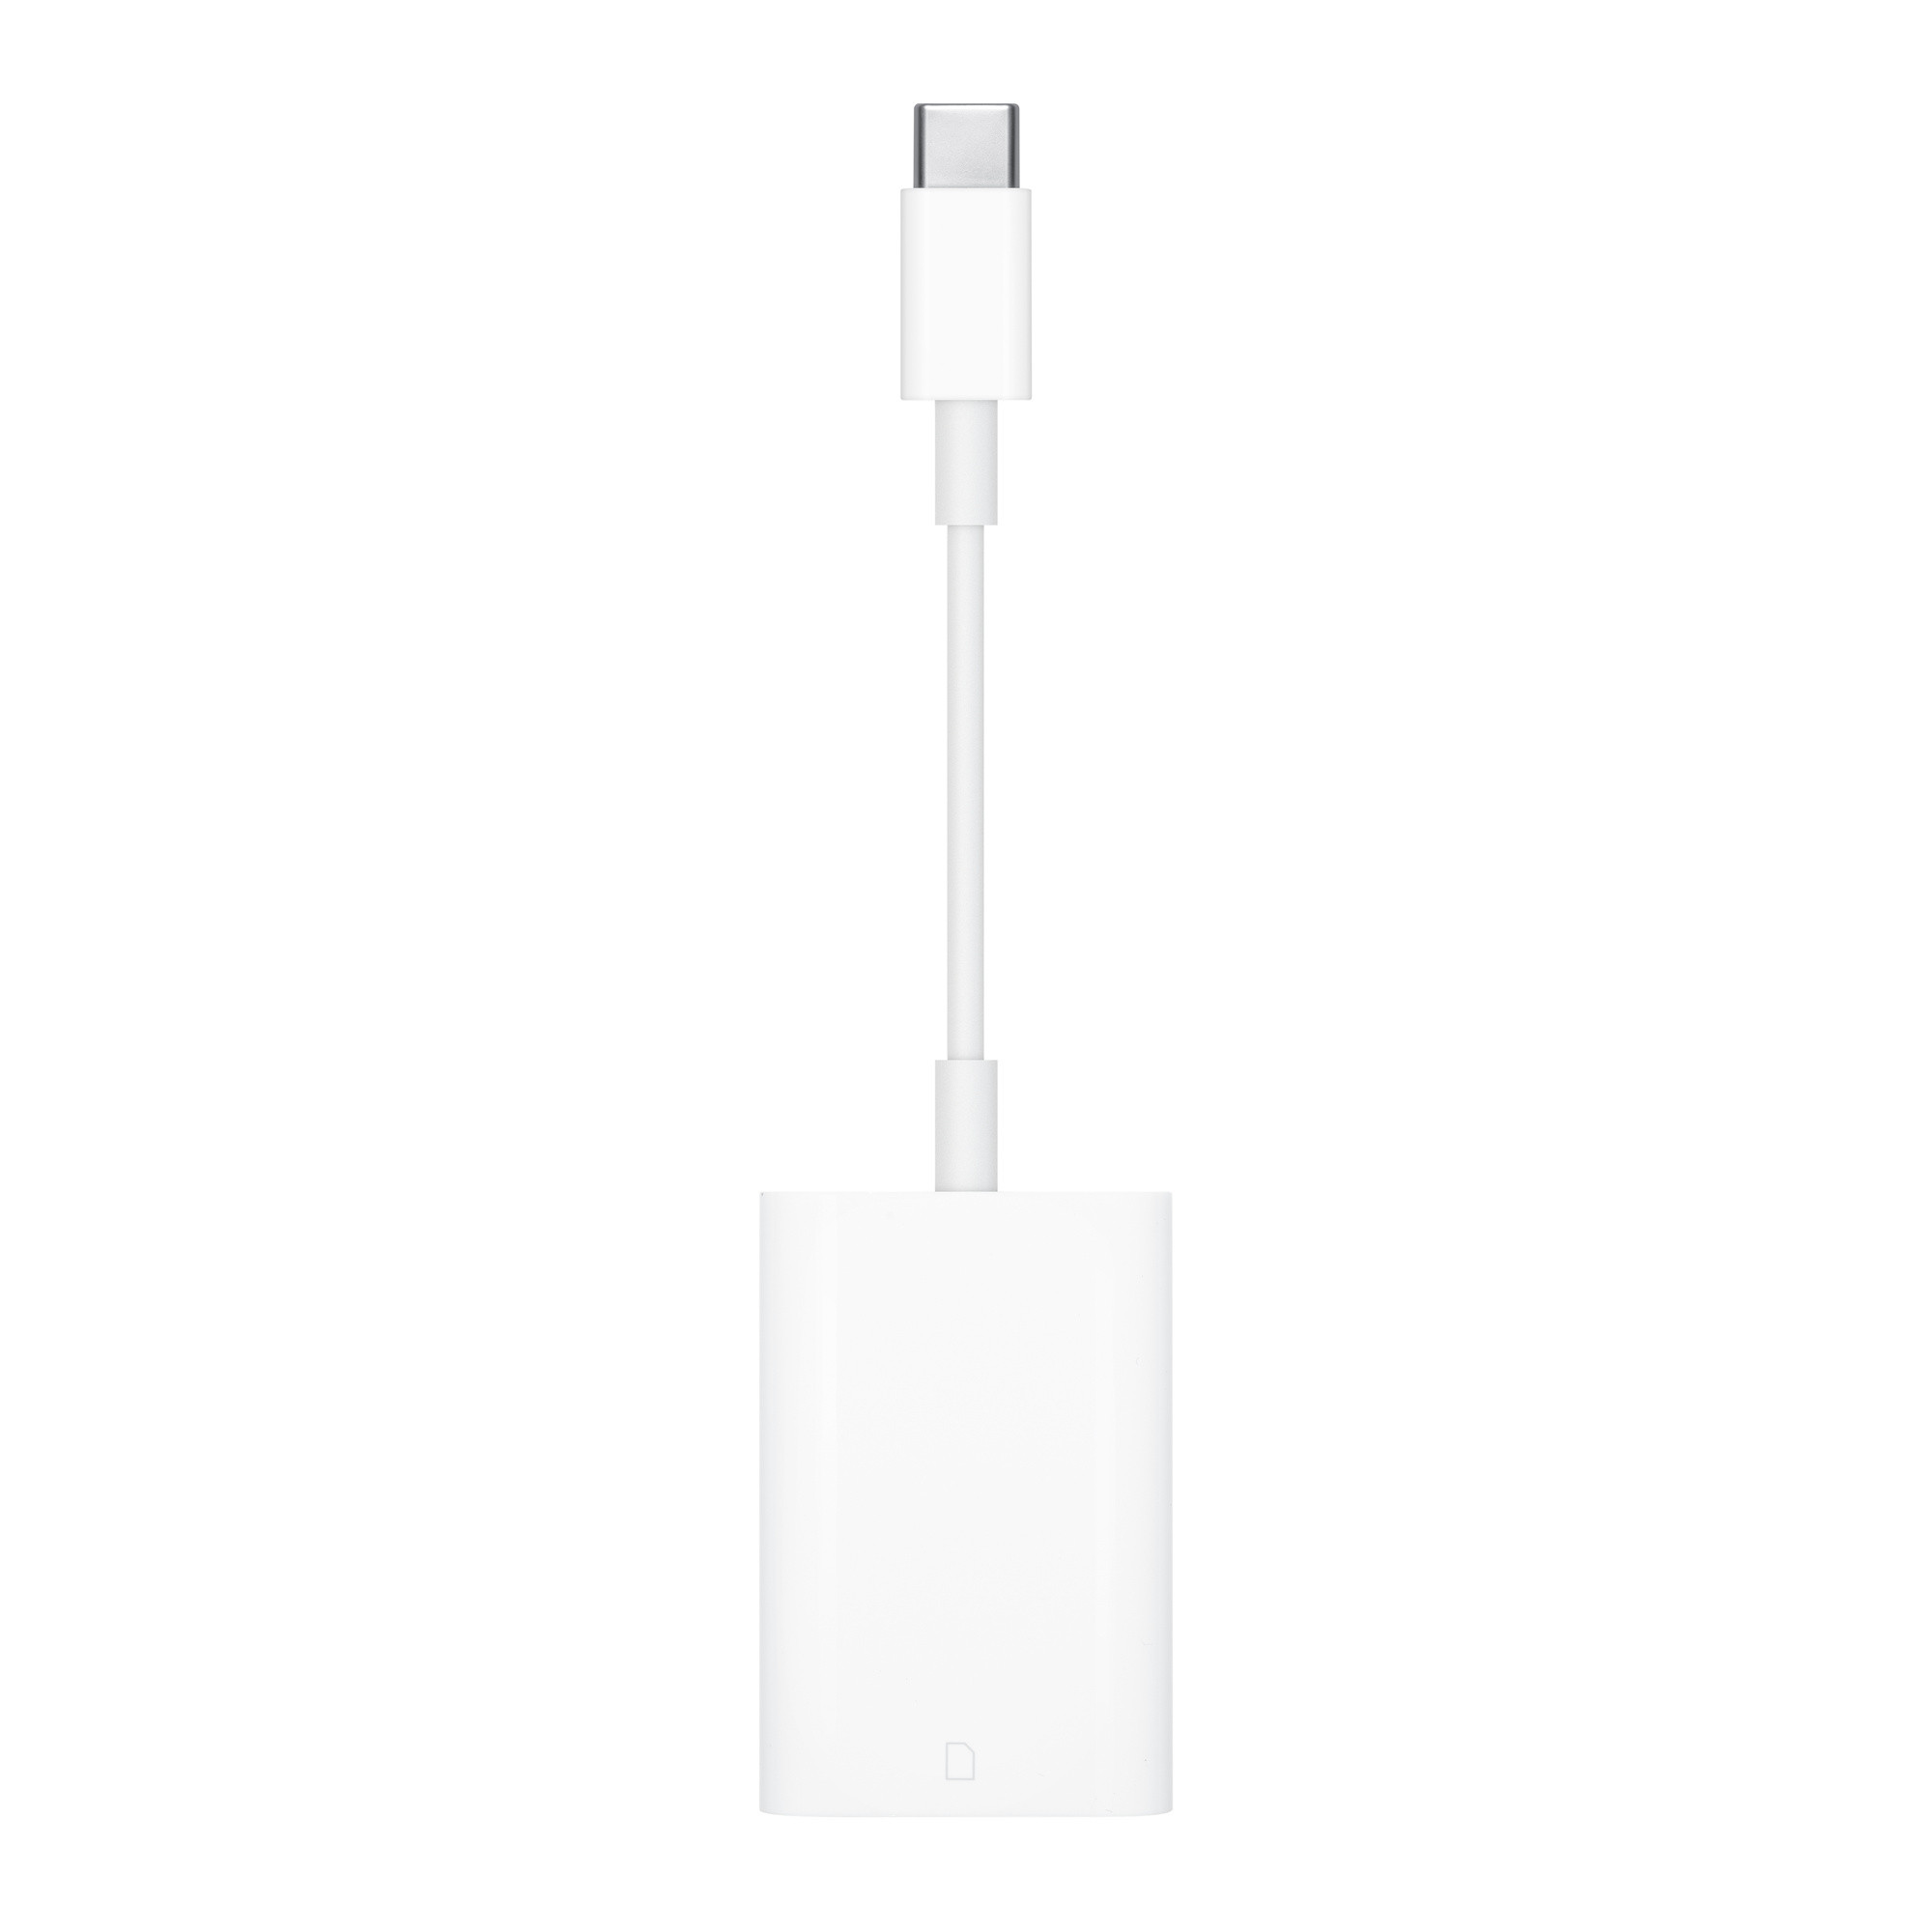
3. Using Apple Camera Adapters
One of the most direct ways to transfer photos to your iPad is using Apple’s camera adapters. There are several types available:
- Lightning to SD Card Camera Reader
- Lightning to USB 3 Camera Adapter
- Lightning to USB Camera Adapter
- Apple USB-C to SD Card Reader
3.1 How to Import Photos and Videos Using an Adapter
The process is straightforward:
- Connect: Plug the adapter into your iPad.
- Connect Source: Connect your digital camera via USB or insert an SD card into the adapter.
- Open Photos App: The Photos app should automatically open to the “Import” tab. If not, open the Photos app and tap “Import”.
- Select Photos: Tap “Import All” to transfer everything or select specific photos and tap “Import.”
- Choose to Keep or Delete: After importing, you may be asked whether to keep or delete the media on the camera or SD card.

3.2 What to Do If You Don’t See the Devices Section or Import Tab
If you encounter issues, try these troubleshooting steps:
- Update iOS: Ensure your iPad is running the latest version of iOS.
- Camera Mode: Make sure your digital camera is on and set to the correct mode for exporting images.
- Reconnect: Disconnect the adapter, wait 30 seconds, and reconnect it. Do the same with the camera or SD card.
- Restart Devices: Restart your iPad and cycle the power on your camera.
- Test with Different Media: If possible, try a different camera or SD card. If another device works, the issue might be with the original media. Try importing the data to a computer and reformatting the SD card using your camera. Remember that reformatting will erase all data.
3.3 What If You Can’t Import Some Content?
Apple camera adapters support various media file types. However, if the format isn’t compatible with iOS, you won’t be able to view it on your iPad but can still import it to a computer later. Additionally, adapters are designed to import content captured by digital cameras. Files that have been renamed, edited, or copied to the camera or SD card might not be importable.
According to the Santa Fe University of Art and Design’s Photography Department, as of July 2025, Apple camera adapters primarily support files directly from digital cameras.
4. Using iCloud Photos
iCloud Photos is a seamless way to keep your photo library synced across all your Apple devices, including your iPad.
4.1 How to Enable iCloud Photos
- Go to Settings: On your iPhone or other device with photos, go to “Settings”.
- Tap Your Name: Tap your name at the top, then select “iCloud.”
- Photos: Tap “Photos” and toggle “iCloud Photos” to on.
- Repeat on iPad: Do the same on your iPad to ensure both devices sync.
 iCloud settings on an iPad showing iCloud Photos enabled.
4.2 Benefits of Using iCloud Photos
- Automatic Sync: Any photo you take on your iPhone will automatically appear on your iPad, and vice versa.
- Storage Optimization: iCloud Photos can optimize storage by keeping smaller, device-optimized versions on your iPad while storing the full-resolution originals in iCloud.
- Collaboration: You can create shared albums with friends and family, allowing everyone to contribute photos and videos.
4.3 Potential Drawbacks
- iCloud Storage: iCloud Photos uses your iCloud storage. If you have a large photo library, you might need to purchase additional storage.
- Internet Dependency: Syncing relies on a stable internet connection.
5. Using AirDrop
AirDrop is a quick and easy way to wirelessly transfer photos and videos between Apple devices that are in close proximity.
5.1 How to Use AirDrop
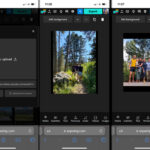
- Enable AirDrop: On both devices, swipe down from the top-right corner to open Control Center. Tap and hold the Wi-Fi or Bluetooth card, then tap “AirDrop.” Choose “Contacts Only” or “Everyone.”
- Select Photos: On the device with the photos, open the Photos app, select the photos you want to transfer, and tap the share button.
- Tap AirDrop: Tap “AirDrop” and choose the receiving device.
- Accept on iPad: On your iPad, tap “Accept” when prompted.
:max_bytes(150000):strip_icc()/airdrop-photos-ios-5c6d56e9c9e77c00017a4a72.png “Using AirDrop to wirelessly transfer photos from iPhone to iPad.”)
5.2 Advantages of AirDrop
- Speed: AirDrop is fast, especially for large files.
- No Internet Required: It works without an internet connection, using Bluetooth and Wi-Fi Direct.
- Simplicity: It’s incredibly easy to use.
5.3 Limitations
- Proximity: Devices need to be close to each other.
- Apple Devices Only: It only works between Apple devices.
6. Using iTunes or Finder (for Older iPads)
For older iPads that don’t support the latest features, you can use iTunes (on Windows or older macOS versions) or Finder (on newer macOS versions) to sync photos.
6.1 How to Sync Photos Using iTunes/Finder
- Connect iPad: Connect your iPad to your computer using a USB cable.
- Open iTunes/Finder: Open iTunes (or Finder on macOS Catalina or later).
- Select iPad: Select your iPad when it appears in iTunes/Finder.
- Photos Tab: Click on the “Photos” tab.
- Sync Photos: Check the box to “Sync Photos” and choose the folder you want to sync from.
- Apply: Click “Apply” to start syncing.
 iTunes interface showing photo syncing options for an iPad.
6.2 Pros of Using iTunes/Finder
- Direct Control: You have direct control over which folders are synced.
- Offline Transfer: No internet connection is required.
6.3 Cons to Consider
- Overwriting: Syncing replaces the existing photos on your iPad with the selected folder, so be careful not to overwrite important images.
- Less Convenient: It’s less convenient than wireless methods like iCloud or AirDrop.
7. Using Third-Party Apps
Several third-party apps can help you transfer photos to your iPad, often offering additional features like cloud storage and automatic backups.
7.1 Popular Apps
- Dropbox: Offers cloud storage and easy photo transfer between devices.
- Google Photos: Provides unlimited photo storage (with some compression) and automatic syncing.
- Microsoft OneDrive: Integrates seamlessly with Windows and offers generous storage options.
7.2 How to Use These Apps
- Download and Install: Download and install the app on both your source device and your iPad.
- Sign In: Sign in with the same account on both devices.
- Upload Photos: Upload photos from your source device to the app’s cloud storage.
- Download on iPad: Open the app on your iPad and download the photos.
 Google Photos app on an iPad displaying a synced photo library.
7.3 Benefits of Third-Party Apps
- Cloud Storage: Provides a secure backup of your photos in the cloud.
- Cross-Platform Compatibility: Works on various devices and operating systems.
- Additional Features: Often includes features like automatic organization and facial recognition.
7.4 Considerations
- Privacy: Be mindful of the app’s privacy policies and ensure your data is secure.
- Cost: Some apps require a subscription for additional storage or features.
8. Transferring Photos from Android Devices
If you’re transferring photos from an Android device, you can use a combination of methods:
8.1 Using Google Photos
- Upload from Android: Upload your photos from your Android device to Google Photos.
- Access on iPad: Open the Google Photos app on your iPad and access your photos.
8.2 Using a Computer as an Intermediary
- Connect Android to Computer: Connect your Android device to your computer via USB.
- Copy Photos to Computer: Copy the photos from your Android device to a folder on your computer.
- Transfer to iPad: Use one of the methods described above (iTunes/Finder, third-party apps, etc.) to transfer the photos from your computer to your iPad.
 Android phone connected to a computer via USB, transferring photos to a folder.
9. Optimizing Photos for iPad
Before or after transferring your photos, consider optimizing them for viewing on your iPad.
9.1 Adjusting Resolution
- High Resolution: For the best quality, especially if you plan to edit or print your photos, transfer them at their original resolution.
- Lower Resolution: If storage is a concern, you can reduce the resolution of your photos before transferring them.
9.2 File Formats
- JPEG: A common and widely supported format that offers good compression and quality.
- PNG: A lossless format that preserves all image data, ideal for images with text or graphics.
- HEIC: Apple’s preferred format, offering better compression than JPEG while maintaining high quality. However, it may not be compatible with all devices.
9.3 Editing Photos on iPad
Take advantage of the powerful photo editing apps available on iPad to enhance your images.
- Adobe Lightroom Mobile: A professional-grade editing app with a wide range of tools and presets.
- Affinity Photo: A full-featured photo editor comparable to Photoshop.
- Snapseed: A free and user-friendly app with a variety of filters and editing tools.
10. Understanding Image-Transfer Protocols
When using Apple Camera Adapters, it’s helpful to know the supported protocols:
- Picture Transfer Protocol (PTP): Allows transferring images from digital cameras to computers and other devices.
- Mass Storage Device Protocol: Enables devices like SD cards and USB drives to be recognized as storage devices.
10.1 Supported SD Card Types
- SDSC
- SDHC
- miniSD
- microSD
- MMC
- SDXC
Note: Flash or USB thumb drives aren’t supported for image importing with Apple Camera Adapters.
11. USB 3 Speeds on iPad
If you’re using a Lightning to USB 3 Camera Adapter, these iPad models support USB 3 transfer speeds:
- iPad Pro 12.9-inch (1st and 2nd generation)
- iPad Pro 10.5-inch
The iPhone 15 Pro and iPhone 15 Pro Max also support USB 3 transfer speeds. All other adapters and iOS devices use USB 2 speeds.
12. Common Issues and Solutions
12.1 iPad Not Recognizing Camera or SD Card
- Check Connections: Ensure all connections are secure.
- Update iOS: Make sure your iPad is running the latest version of iOS.
- Restart Devices: Restart your iPad and camera.
- Test with Another Device: Try a different camera or SD card to isolate the issue.
12.2 Photos Not Importing
- Compatibility: Ensure the file format is compatible with iOS.
- File Integrity: Make sure the photos haven’t been corrupted.
- Permissions: Check that the SD card isn’t write-protected.
12.3 Slow Transfer Speeds
- USB Version: If possible, use a USB 3 adapter and an iPad that supports USB 3 speeds.
- File Size: Transferring large files can take time. Try transferring smaller batches of photos.
13. Preserving Photo Quality During Transfer
To maintain the best possible quality when transferring photos to your iPad, consider these tips:
- Use Lossless Formats: When possible, use lossless formats like PNG or TIFF, especially if you plan to edit your photos.
- Avoid Compression: Minimize compression during the transfer process. For example, when using iCloud Photos, choose the “Download and Keep Originals” option.
- Use Direct Transfer Methods: Direct transfer methods like Apple Camera Adapters or AirDrop generally preserve more quality than cloud-based methods.
- Check Image Settings: Before transferring, ensure your camera is set to capture photos at the highest possible resolution and quality settings.
- Regular Backups: Maintain regular backups of your original photos on a separate storage device or cloud service to safeguard against data loss or corruption.
14. Enhancing Your Photography Workflow with iPad
Integrating your iPad into your photography workflow can significantly enhance your productivity and creativity. Here’s how:
- On-Site Review: Use your iPad to review photos immediately after a shoot, allowing you to make critical decisions about composition, lighting, and subject matter while you’re still on location.
- Client Presentations: Showcase your work to clients using your iPad’s high-resolution display, making a professional and impactful impression.
- Mobile Editing: Take advantage of powerful mobile editing apps like Adobe Lightroom Mobile and Affinity Photo to make quick adjustments and enhancements to your photos while on the go.
- Portfolio Management: Organize and manage your photography portfolio directly on your iPad, making it easy to access and share your best work.
- Inspiration and Education: Use your iPad to browse photography websites, read tutorials, and watch educational videos to stay inspired and improve your skills.
15. Exploring the Photography Community at dfphoto.net
For more in-depth guides, stunning photography, and a thriving community, visit dfphoto.net.
15.1 What dfphoto.net Offers
- Extensive Tutorials: Learn new photography techniques and master your camera.
- Inspiring Galleries: View breathtaking photos from talented photographers around the world.
- Equipment Reviews: Get honest reviews and recommendations on the latest cameras and gear.
- Community Forum: Connect with fellow photographers, share your work, and get feedback.
15.2 How dfphoto.net Can Help You
- Improve Your Skills: Access a wealth of knowledge and resources to enhance your photography skills.
- Find Inspiration: Discover new styles and techniques by exploring the work of other photographers.
- Make Informed Decisions: Read expert reviews to choose the right equipment for your needs.
- Connect with Others: Join a supportive community of photographers who share your passion.
According to research from the Santa Fe University of Art and Design’s Photography Department, dfphoto.net provides a unique combination of educational resources and community engagement.
16. Staying Updated on the Latest Photography Trends
The world of photography is constantly evolving, with new technologies, techniques, and trends emerging all the time. Here’s how to stay updated:
- Follow Photography Blogs and Websites: Stay informed by regularly reading photography blogs and websites like dfphoto.net, which offer the latest news, reviews, and tutorials.
- Attend Photography Workshops and Conferences: Participate in workshops and conferences to learn from industry experts and network with other photographers.
- Join Online Communities: Engage in online photography communities and forums to share ideas, ask questions, and stay connected with the latest trends.
- Experiment with New Gear and Techniques: Don’t be afraid to try out new cameras, lenses, and editing techniques to expand your creative horizons.
- Follow Influential Photographers: Keep an eye on the work of influential photographers on social media and other platforms to stay inspired and informed.
17. Understanding the Importance of Photo Metadata
Photo metadata, also known as EXIF data, is information embedded within a photo file that provides details about the image, such as the camera settings used, the date and time the photo was taken, and the location where it was captured. Understanding and managing photo metadata is crucial for several reasons:
- Organization: Metadata helps you organize and search your photo library more effectively.
- Copyright Protection: You can embed copyright information within your photo metadata to protect your work.
- Historical Context: Metadata provides valuable historical context for your photos, allowing you to remember the circumstances under which they were taken.
- Editing Workflow: Metadata can be used to track editing changes and adjustments made to your photos.
17.1 How to View and Edit Photo Metadata on iPad
- Photos App: The built-in Photos app allows you to view basic metadata information, such as the date, time, and location of a photo.
- Third-Party Apps: Several third-party apps, such as Exif Viewer by Fluntro, provide more advanced metadata viewing and editing capabilities.
- Adobe Lightroom Mobile: Lightroom Mobile allows you to view and edit a wide range of metadata information, including copyright and contact details.
18. Ensuring Data Security During Photo Transfer
When transferring photos to your iPad, it’s essential to take steps to ensure the security of your data and protect your privacy:
- Use Secure Transfer Methods: Opt for secure transfer methods like AirDrop, iCloud Photos, or encrypted cloud storage services.
- Encrypt Sensitive Photos: If you’re transferring sensitive or personal photos, consider encrypting them before transferring them to your iPad.
- Use Strong Passwords: Protect your iPad and cloud storage accounts with strong, unique passwords.
- Enable Two-Factor Authentication: Enable two-factor authentication for your Apple ID and cloud storage accounts to add an extra layer of security.
- Be Cautious of Public Wi-Fi: Avoid transferring sensitive photos over public Wi-Fi networks, as these networks may be vulnerable to hacking.
19. Exploring Advanced iPad Photography Techniques
Once you’ve mastered the basics of transferring and managing photos on your iPad, you can explore more advanced photography techniques to take your skills to the next level:
- Long Exposure Photography: Use your iPad as a remote shutter release for long exposure photography, allowing you to capture stunning images of landscapes, cityscapes, and more.
- Time-Lapse Photography: Create captivating time-lapse videos using your iPad and a tripod.
- HDR Photography: Capture high dynamic range (HDR) photos using your iPad’s built-in HDR mode or a third-party HDR app.
- Macro Photography: Explore the world of macro photography using a clip-on macro lens for your iPad.
- Astrophotography: Capture stunning images of the night sky using your iPad and a telescope adapter.
20. Frequently Asked Questions (FAQ) About Transferring Photos to iPad
20.1 Can I transfer photos from my DSLR directly to my iPad?
Yes, using an Apple Camera Adapter (Lightning to USB or USB-C to SD Card Reader) allows direct transfer.
20.2 Does iCloud Photos cost money?
iCloud Photos is free up to 5GB of storage. Additional storage requires a paid subscription.
20.3 Is AirDrop secure?
AirDrop is secure as it uses encryption and only works between trusted devices.
20.4 Can I transfer photos from an Android phone to my iPad?
Yes, using Google Photos or transferring via a computer are viable options.
20.5 Will transferring photos reduce their quality?
Using direct transfer methods like Apple Camera Adapters or AirDrop preserves the original quality. Cloud services might compress images.
20.6 What file formats are best for iPad?
JPEG is widely supported, but HEIC offers better compression and quality on Apple devices.
20.7 How do I delete photos from my iPad after transferring them?
Open the Photos app, select the photos, and tap the trash icon.
20.8 Can I edit RAW photos on my iPad?
Yes, apps like Adobe Lightroom Mobile and Affinity Photo support RAW editing.
20.9 What is the best way to back up my iPad photos?
iCloud Photos, third-party cloud services, or a computer are all good options.
20.10 Why are some of my photos not showing up on my iPad?
Ensure iCloud Photos is enabled and syncing correctly, or that you’ve selected the correct folder when syncing with iTunes/Finder.
Ready to take your photography to the next level? Visit dfphoto.net today to discover more tips, tutorials, and inspiration. Connect with a vibrant community of photographers and explore the endless possibilities of visual storytelling. Don’t miss out – your journey to stunning photography starts here. Address: 1600 St Michael’s Dr, Santa Fe, NM 87505, United States. Phone: +1 (505) 471-6001. Website: dfphoto.net.