Transferring your precious photos from your computer to Google Photos is a smart move to keep them safe, organized, and accessible from anywhere. Whether you’re switching devices, freeing up computer space, or simply ensuring your memories are backed up, Google Photos offers a seamless solution. This guide will walk you through the simple steps to effortlessly upload your photos to Google Photos directly from your computer.
To get started, the most straightforward method is using the Backup and Sync app from Google. This handy tool makes transferring and syncing your photos a breeze. Here’s how:
Step 1: Download and Install Backup and Sync
First, you’ll need to download the “Backup and Sync” application from Google’s official website. Once downloaded, run the installer and follow the on-screen instructions to install it on your computer. After successful installation, launch the application and sign in using your Google account credentials. This is the same account you use for Google Photos.
Step 2: Choose Your Backup Preferences
Upon logging in, Backup and Sync will present you with options for what you want to back up. You’ll see choices like “Back up photos and videos” or “Back up all file types.” For the purpose of transferring photos to Google Photos, selecting “Back up photos and videos” is typically sufficient. Click “Next” to proceed to the next step.
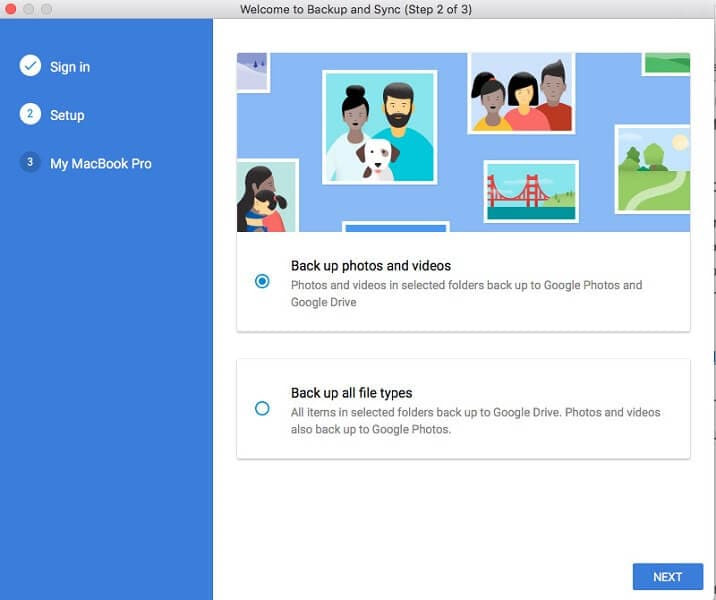 Choose to backup photos and videos or all file types in Google Backup and Sync
Step 3: Select Folders and Upload Quality
Now, you need to specify which folders on your computer contain the photos you want to upload to Google Photos. Click on “Choose folder” and navigate to the location of your photo folders. You can select multiple folders if your photos are scattered across different locations.
Below the folder selection, you’ll find options for upload quality: “High quality” and “Original quality.” Choosing “High quality” allows for unlimited storage at a slightly reduced file size, which is perfect for most users. “Original quality” maintains the original resolution and quality of your photos but counts against your Google account storage quota. Select your preferred option.
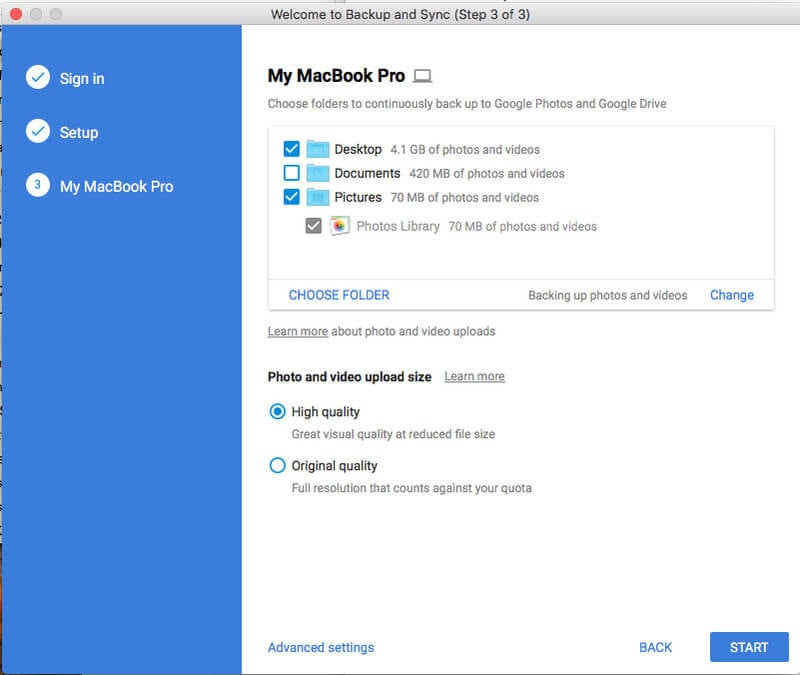 Select folders to backup and choose between High quality or Original quality for Google Photos uploads
Step 4: Start the Backup Process
Once you’ve selected your folders and quality settings, simply click on the “Start” button. Backup and Sync will then begin the process of uploading your photos to Google Photos in the background. The time it takes to complete the backup will depend on the size of your photo library and your internet connection speed.
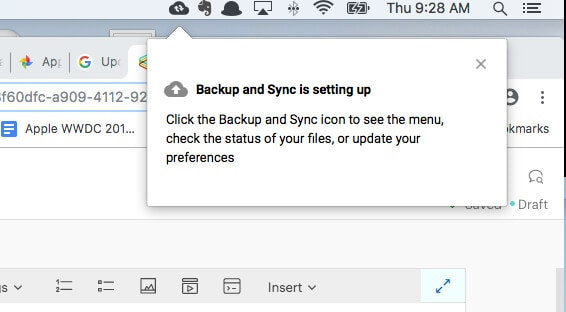 Click Start to begin backing up your photos to Google Photos from computer
After the upload is complete, you’ll receive a notification confirming the backup is finished. You can then click “Open Google Photos” to view your newly transferred photos directly in your Google Photos library. Alternatively, you can click “Not now” and access your photos later through the Google Photos website or app.
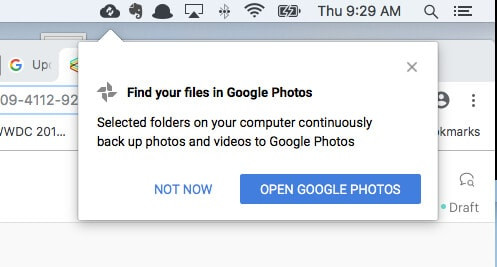 Notification window after Google Photos backup completion with options to Open Google Photos or Not Now
Transferring photos to Google Photos from your computer is a straightforward process with Backup and Sync. By following these simple steps, you can ensure your photos are safely backed up and readily available across all your devices. Enjoy the peace of mind knowing your memories are secure in Google Photos.
