Preserving your precious memories is more important than ever in our increasingly digital world. Many users start with Google Photos for its convenience and integration with Google services. However, as your photo library grows, Google’s storage limitations can become a concern. While Google Photos offers a “High quality” storage option, it compresses your images. For photographers and those who value original quality, this might not be ideal.
Enter Amazon Photos, a compelling alternative, especially for Amazon Prime members. Amazon Photos provides unlimited, full-resolution photo storage for Prime subscribers, a significant advantage over Google’s 15GB limit for original quality uploads. This benefit, often overlooked, makes Amazon Photos a strong contender for your photo storage needs. Beyond storage, Amazon Photos apps for desktop, iOS, and Android ensure your photos are accessible and synced across all your devices.
Moving your photos from Google Photos to Amazon Photos isn’t just about storage capacity; it’s also about creating a robust backup strategy. In the unfortunate event of data loss or account issues with Google Photos, having a separate copy on Amazon Photos provides peace of mind and a quick restoration option.
So, how exactly do you transfer your photos from Google Photos to Amazon Photos? This guide will walk you through two straightforward and effective methods, ensuring you can choose the best approach for your photo library.
Method 1: Manual Download and Upload for Smaller Photo Libraries
If you only have a select number of photos or albums to transfer, the manual download and upload method is a simple solution. This approach involves downloading photos directly from the Google Photos website and then uploading them to the Amazon Photos desktop application.
Here’s how to do it:
Step 1: Access Google Photos.
First, navigate to the Google Photos website and log in to your Google account.
Step 2: Select and Download Photos.
Browse your Google Photos library and select the photos you wish to transfer. Once selected, click the three-dot icon usually found in the top right corner of the interface and choose Download. Your selected photos will be downloaded to your computer, typically in a ZIP file if you’ve chosen multiple images.
Step 3: Install and Set Up Amazon Photos Desktop App.
Download and install the Amazon Photos desktop application from the Amazon website. After installation, open the application and log in using your Amazon account credentials.
Step 4: Upload Photos to Amazon Photos.
There are several ways to upload your downloaded photos to Amazon Photos using the desktop app:
- Drag and Drop: Simply drag the folder containing your downloaded photos directly into the Amazon Photos application window.
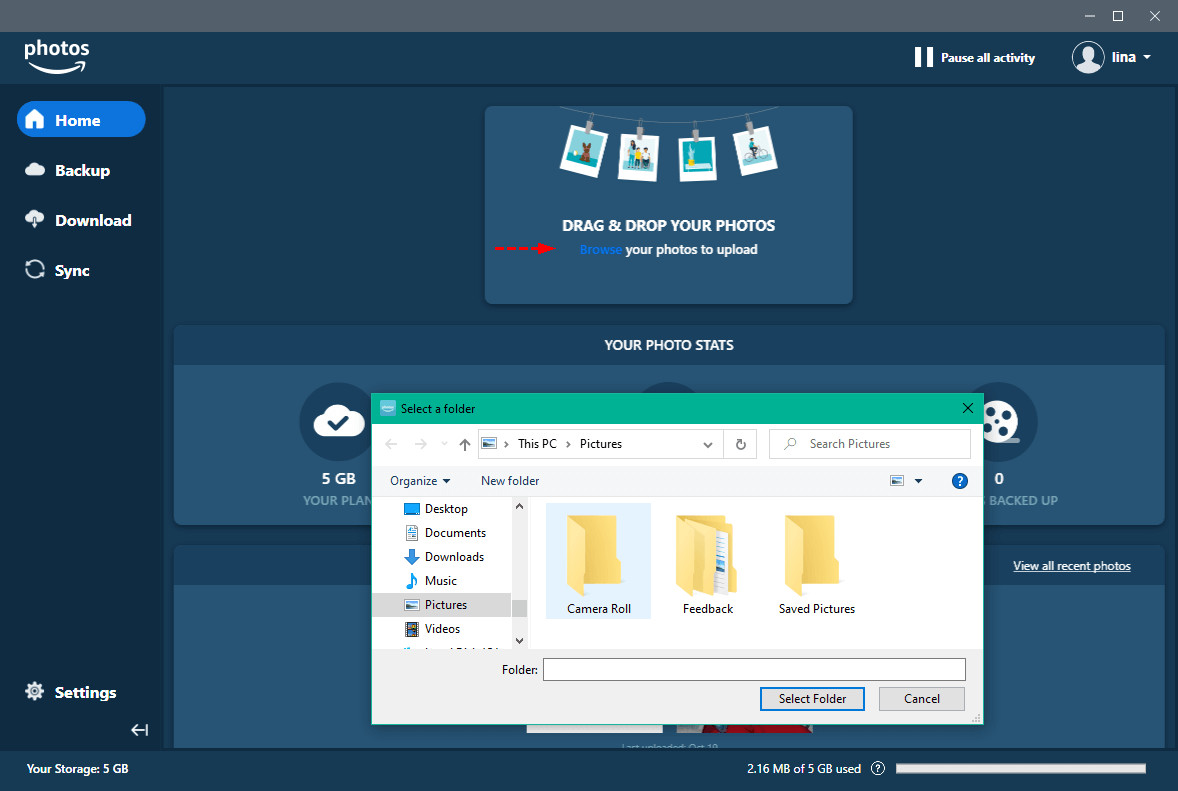
- Choose a Folder: Click the arrow next to the Choose a folder button within the app. Select Once from the dropdown menu and then locate the folder on your computer where you saved the downloaded photos.
- Drag and Drop Photos Directly: You can also drag individual photo files directly into the Amazon Photos window.
 Upload Photos to Google Photos
Amazon Photos will then prompt you to choose a location within your Amazon Drive to store your uploaded photos. You can either select an existing folder or create a new one to organize your transferred photos. The upload process will begin automatically.
Method 2: Using Google Takeout for Large Photo Libraries
For users with extensive Google Photos libraries, downloading photos individually or even album by album can be incredibly time-consuming. Google Takeout provides a much more efficient solution for bulk exporting all your Google data, including your entire Google Photos library.
Here’s how to transfer your photos using Google Takeout:
Step 1: Go to Google Takeout.
Open your web browser and navigate to the Google Takeout website. If you are already logged into your Google account in your browser, Google Takeout will automatically recognize your account.
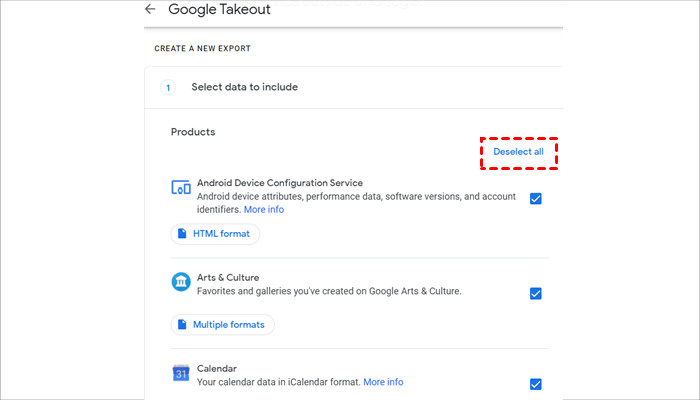
Step 2: Deselect All (Initially).
On the “Select data to include” page, click the Deselect all option. This will uncheck all Google services by default, allowing you to specifically select only Google Photos.
 Deselect All in Google Takeout
Step 3: Select Google Photos.
Scroll down the list of Google services until you find Google Photos and check the box next to it. You can customize the export to include specific albums or date ranges if needed, but to transfer everything, leave the default settings.
Step 4: Configure Export Settings and Create Export.
Scroll to the bottom of the page and click the Next step button. On the “Customize export format” page, you can choose the file type for your download (ZIP or TGZ), the export frequency (one-time export or scheduled exports), and the delivery method (download link via email, or add to Drive, Dropbox, OneDrive, or Box). For a one-time transfer to Amazon Photos, the default settings (ZIP file, one-time export, and download link via email) are usually suitable. Click Create export to initiate the process.
 Create Export in Google Takeout
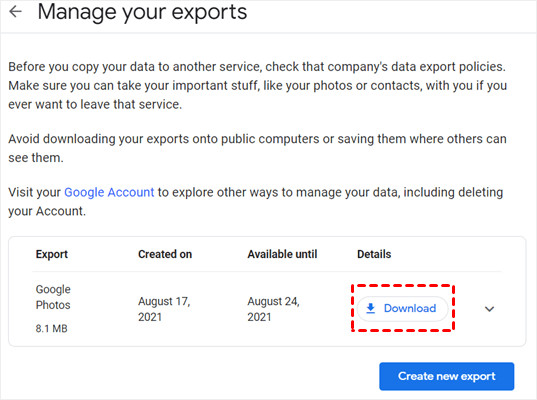
Step 5: Download Your Photos from Google Takeout.
Google will begin preparing your export, which may take some time depending on the size of your Google Photos library. Once the export is complete, you will receive an email from Google with a download link. Click the link in the email to download your photos.
 Download Link in Google Takeout Email
Step 6: Upload to Amazon Photos.
After downloading the ZIP file(s) from Google Takeout, follow Step 3 and Step 4 of Method 1 to upload these downloaded files to your Amazon Photos account using the desktop application. You may need to unzip the downloaded files before uploading if they are in ZIP format, depending on how Amazon Photos handles ZIP archives for upload.
Conclusion
Transferring your photos from Google Photos to Amazon Photos is a smart move for anyone looking for expanded storage and a reliable backup solution, especially if you are an Amazon Prime member. Whether you choose the manual download and upload method for a smaller collection or utilize Google Takeout for a comprehensive transfer, the process is straightforward and ensures your valuable photo memories are safely moved to Amazon Photos. By following these step-by-step guides, you can easily take advantage of the benefits Amazon Photos offers and gain greater control over your digital photo storage.