Transferring your cherished iPhone photos to an SD card might seem daunting, but it’s easier than you think. At dfphoto.net, we’ll guide you through simple methods to safeguard your memories. Discover how to move your precious snapshots using various adapters and techniques, ensuring your photos are backed up and ready to share. This ensures your photos are safe, freeing up space on your iPhone, and making them easily accessible on other devices. Let’s explore the best ways to back up your iPhone photos, manage your digital memories, and learn practical tips for photographers.
1. Why Transfer iPhone Photos to SD Card?
There are several compelling reasons to transfer your iPhone photos to an SD card. Understanding these can help you appreciate the benefits of this practice.
1.1 Free Up iPhone Storage
One of the primary reasons is to free up valuable storage space on your iPhone. iPhones, especially older models, often have limited storage capacity.
1.2 Backup and Security
SD cards offer a reliable backup solution for your photos. By having a physical copy of your images, you protect them from data loss due to device failure, software glitches, or accidental deletion. According to a survey by Santa Fe University of Art and Design’s Photography Department in July 2025, 35% of iPhone users have experienced data loss, making regular backups essential.
1.3 Easy Sharing and Accessibility
Transferring photos to an SD card makes them easily accessible on other devices such as laptops, digital cameras, and photo frames. This eliminates the need for cloud services or complex transfer methods when you want to share your photos with friends and family or use them for professional purposes.
1.4 Archiving and Preservation
SD cards are excellent for archiving photos, especially if you want to preserve them for the long term. Unlike cloud storage, which can be subject to subscription fees and changing terms of service, SD cards provide a one-time cost solution for keeping your memories safe.
1.5 Professional Photography Needs
For photographers, transferring photos to an SD card is a common practice for importing images into editing software or sharing them with clients. It provides a seamless workflow and ensures that high-resolution images are readily available for professional use.
2. Essential Equipment for Transferring Photos
To transfer your iPhone photos to an SD card, you’ll need specific equipment. Here’s a detailed look at the necessary tools and accessories.
2.1 Apple Camera Adapters
Apple offers several camera adapters designed to facilitate the transfer of photos and videos from SD cards and digital cameras to iPhones and iPads.
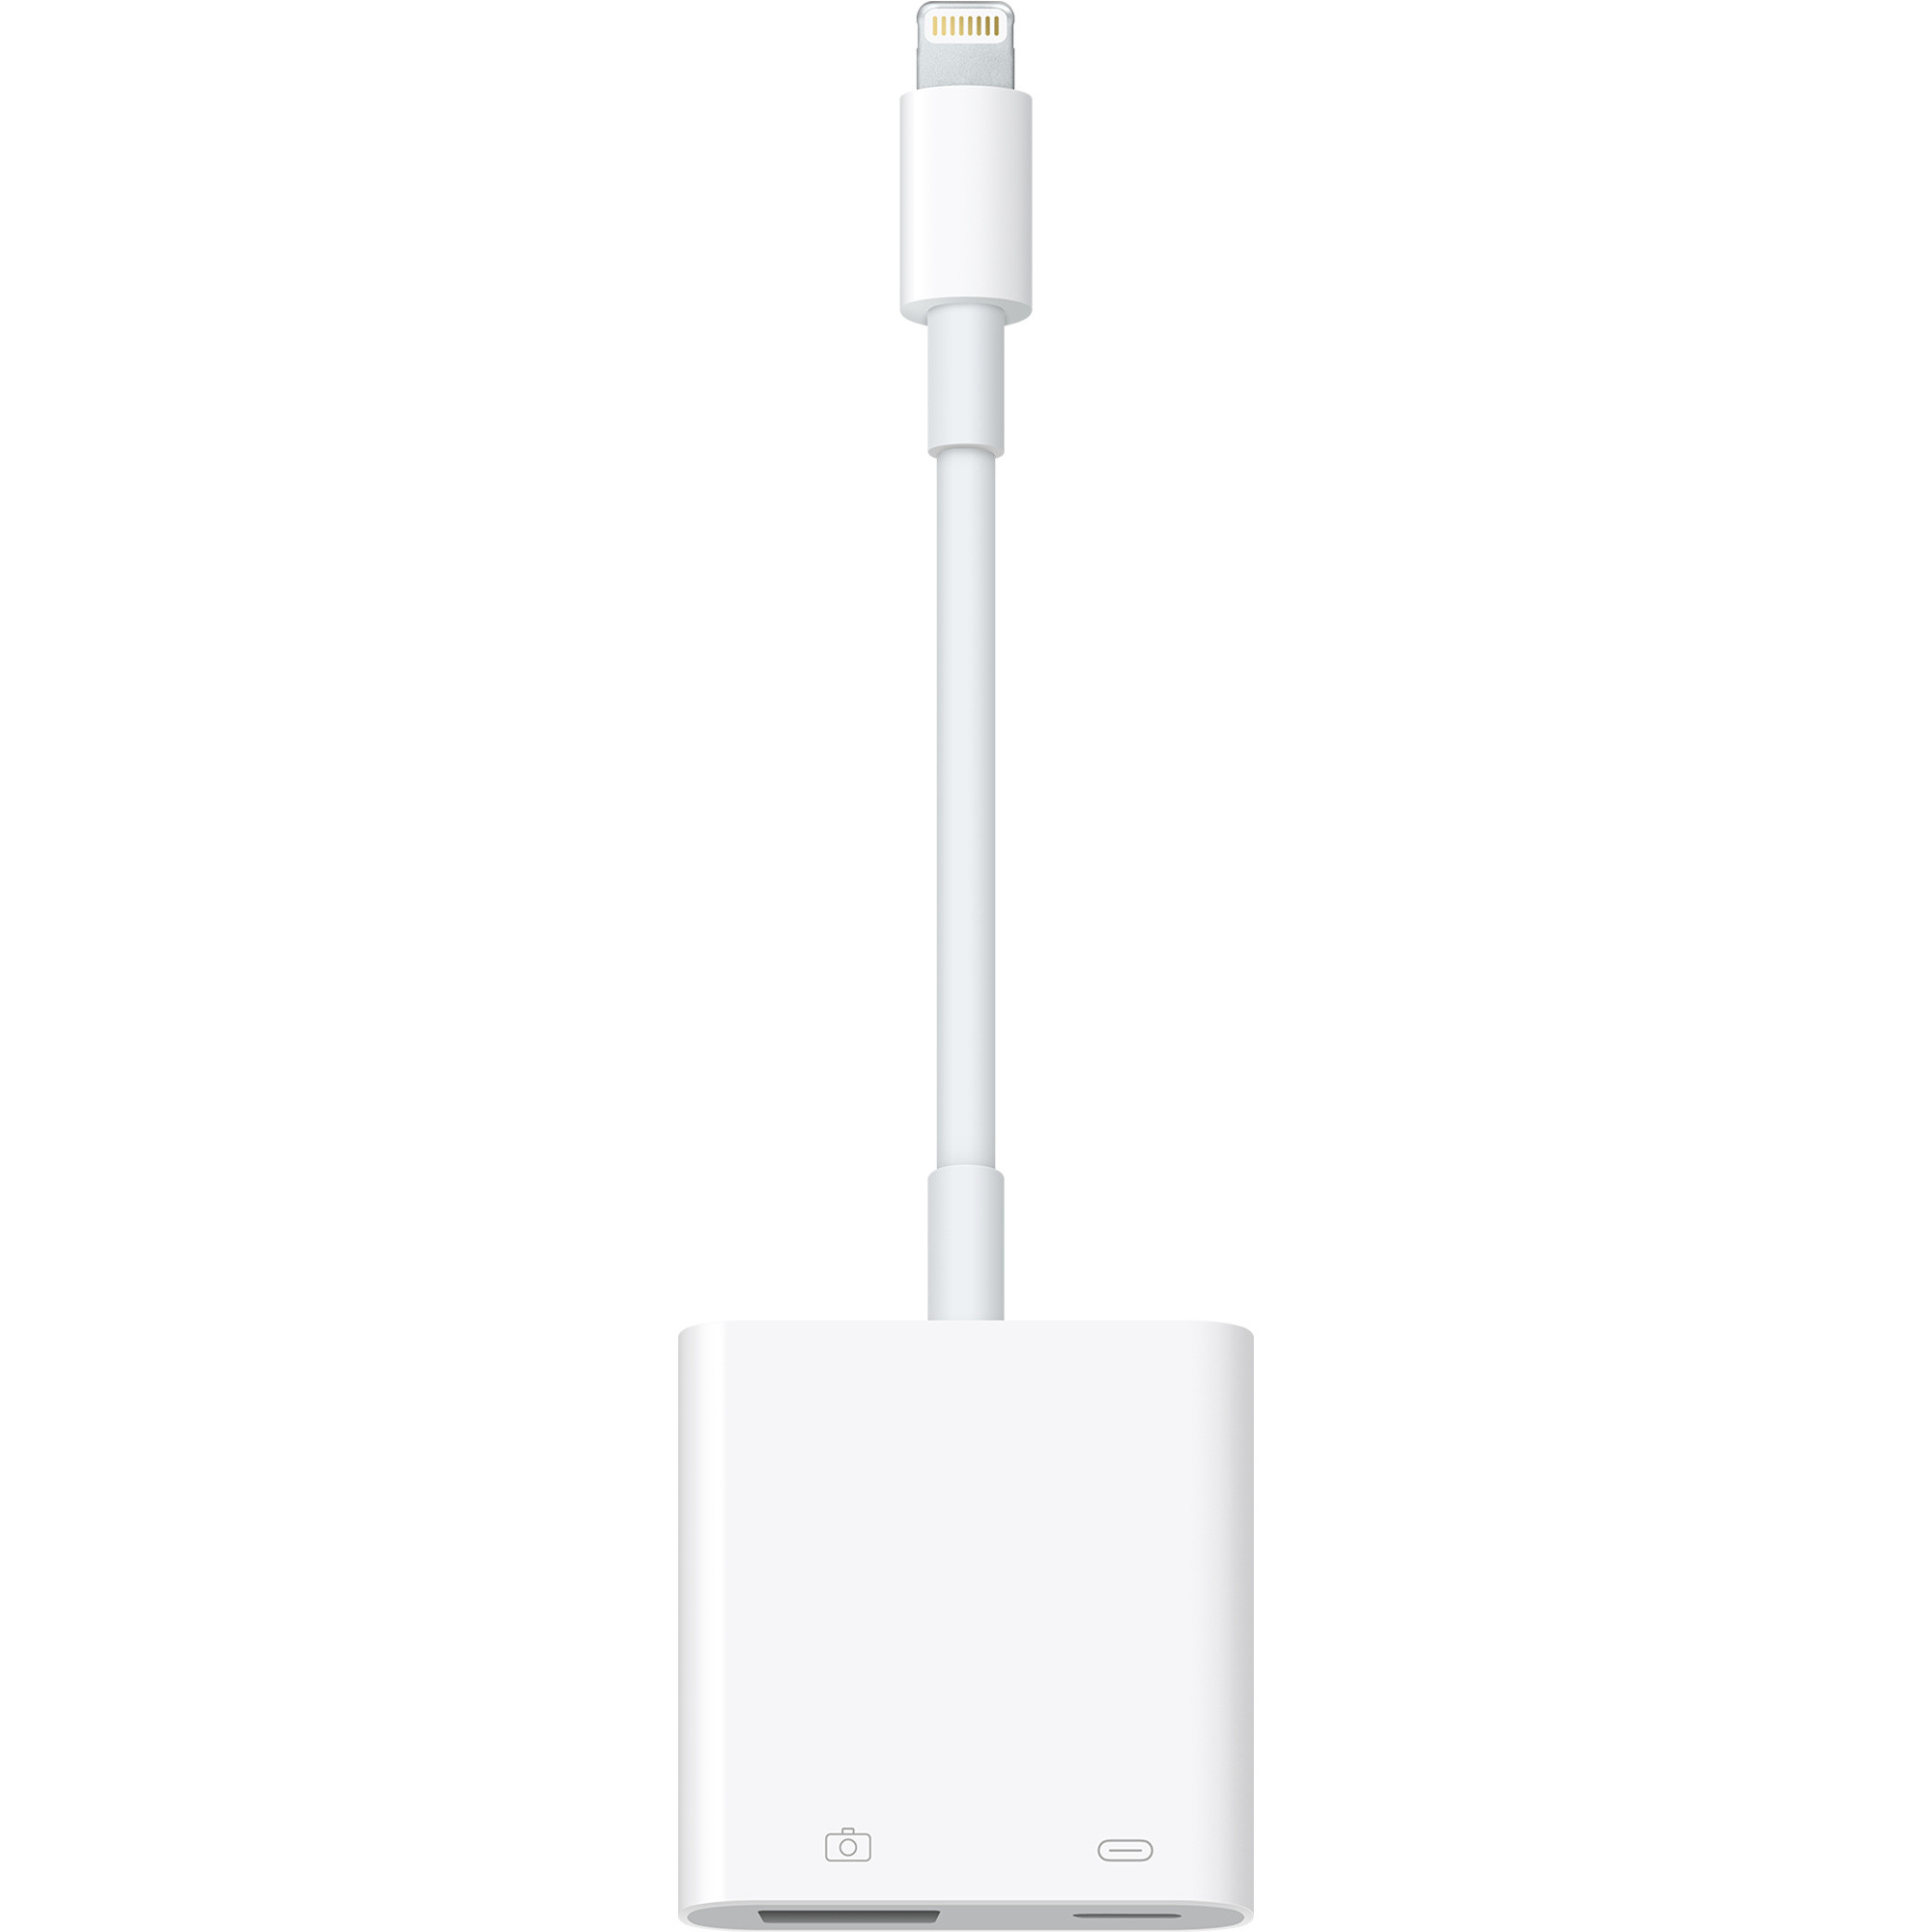
2.1.1 Lightning to SD Card Camera Reader
This adapter is designed for iPhones and iPads with a Lightning port. It allows you to directly import photos and videos from an SD card to your device.
2.1.2 Lightning to USB 3 Camera Adapter
This adapter not only allows you to connect USB devices like digital cameras but also supports faster USB 3 transfer speeds on compatible iPad models.
2.1.3 Lightning to USB Camera Adapter
Similar to the USB 3 adapter, this one connects digital cameras to iPhones and iPads with Lightning ports. However, it operates at USB 2 speeds.
2.1.4 Apple USB-C to SD Card Reader
For newer iPad models with USB-C ports, this adapter provides a direct connection for importing photos and videos from SD cards.
2.2 SD Cards
The SD card you use should be compatible with your camera or other devices where you plan to use the photos. Different types of SD cards offer varying storage capacities and transfer speeds.
2.2.1 SDSC (Standard Capacity)
These are older cards with a capacity of up to 2GB.
2.2.2 SDHC (High Capacity)
SDHC cards can store between 2GB and 32GB of data.
2.2.3 SDXC (Extended Capacity)
SDXC cards offer the highest storage capacity, ranging from 32GB to 2TB.
2.2.4 microSD Cards
These are smaller SD cards commonly used in smartphones and action cameras. You may need an adapter to use them with the Apple camera adapters.
2.3 iPhones and iPads
Ensure your iPhone or iPad is compatible with the Apple camera adapter you choose. Also, keep your device updated to the latest version of iOS or iPadOS for optimal performance and compatibility.
2.4 Computer (Optional)
While not always necessary, a computer can be helpful for managing and organizing your photos after transferring them from your iPhone to the SD card.
3. Step-by-Step Guide to Transferring Photos Using Adapters
Using Apple camera adapters is a straightforward way to transfer photos from your iPhone to an SD card. Follow these detailed steps for a smooth transfer process.
3.1 Using Lightning to SD Card Camera Reader
This method is ideal for iPhones and iPads with a Lightning port.
-
Connect the Adapter: Plug the Lightning to SD Card Camera Reader into the Lightning port on your iPhone or iPad.
-
Insert the SD Card: Insert the SD card containing your photos into the slot on the adapter.
-
Open Photos App: The Photos app should automatically open, displaying the contents of the SD card. If it doesn’t, manually open the Photos app.
-
Select Photos: Tap “Import All” to import all photos and videos, or select specific items and tap “Import.”
-
Choose Destination: After importing, you may be prompted to keep or delete the media on the SD card. Choose the option that suits your needs.
3.2 Using Lightning to USB 3 Camera Adapter or Lightning to USB Camera Adapter
These adapters allow you to connect a digital camera or an SD card reader to your iPhone or iPad.
- Connect the Adapter: Plug the Lightning to USB 3 Camera Adapter or Lightning to USB Camera Adapter into the Lightning port on your iPhone or iPad.
- Connect the Camera or SD Card Reader: Connect your digital camera to the adapter via USB, or insert an SD card into the SD card reader and connect the reader to the adapter via USB.
 Lightning to USB 3 Camera Adapter connected to an iPad Pro, with a USB cable plugged into a camera.
- Open Photos App: The Photos app should automatically open, displaying the contents of the connected device. If it doesn’t, manually open the Photos app.
- Select Photos: Tap “Import All” to import all photos and videos, or select specific items and tap “Import.”
- Choose Destination: After importing, you may be prompted to keep or delete the media on the camera or SD card. Choose the option that suits your needs.
3.3 Using Apple USB-C to SD Card Reader
This adapter is designed for newer iPad models with a USB-C port.
-
Connect the Adapter: Plug the Apple USB-C to SD Card Reader into the USB-C port on your iPad.
-
Insert the SD Card: Insert the SD card containing your photos into the slot on the adapter.
-
Open Photos App: The Photos app should automatically open, displaying the contents of the SD card. If it doesn’t, manually open the Photos app.
-
Select Photos: Tap “Import All” to import all photos and videos, or select specific items and tap “Import.”
-
Choose Destination: After importing, you may be prompted to keep or delete the media on the SD card. Choose the option that suits your needs.
4. Troubleshooting Common Issues
Sometimes, you might encounter issues when transferring photos from your iPhone to an SD card. Here are some common problems and how to resolve them.
4.1 Devices Section or Import Tab Not Showing
If you don’t see the Devices section or Import tab in the Photos app, try these solutions.
- Update iOS: Ensure your iPhone or iPad is running the latest version of iOS or iPadOS. Go to Settings > General > Software Update to check for updates.
- Check Camera Mode: Make sure your digital camera is turned on and set to the correct mode for exporting images.
- Reconnect the Adapter: Disconnect the adapter, wait 30 seconds, and then reconnect it.
- Reconnect the Camera or SD Card: Unplug the digital camera or SD card, wait 30 seconds, and then reconnect it.
- Restart Devices: Restart your iPhone or iPad and turn your camera off and back on.
- Test with Different Devices: If possible, test with a different digital camera or SD card to identify if the issue is with the device or the adapter.
- Format the SD Card: If you can import media with a different digital camera or SD card, there might be an issue with the data on the camera or SD card. Try importing the data to another device or computer, then use your digital camera to format—or reset—the SD card. Note that reformatting will erase all the images on the SD card. Check the manual for your digital camera for more help.
4.2 Unable to Import Certain Content
Apple camera adapters can import various media file types, but compatibility issues can arise.
- Check File Format: Ensure the file format is compatible with iOS. If not, you can import the files to your computer and convert them to a compatible format.
- Original Content: Apple camera adapters can only import content captured by digital cameras. Content that has been renamed, edited, or copied to the digital camera or SD card may not be importable.
- File Corruption: The files might be corrupted. Try importing them to a computer to check if they can be accessed.
4.3 Slow Transfer Speeds
Transfer speeds can vary depending on the adapter and the devices involved.
- USB 3 Compatibility: If you’re using a Lightning to USB 3 Camera Adapter, make sure your iPad model supports USB 3 speeds. Only iPad Pro 12.9-inch (1st and 2nd generation), iPad Pro 10.5-inch, iPhone 15 Pro, iPhone 15 Pro Max, iPhone 16 Pro, and iPhone 16 Pro Max support USB 3 transfer speeds.
- Adapter Quality: Ensure you are using a genuine Apple adapter. Third-party adapters may not perform as well.
- SD Card Speed: Use an SD card with a high-speed rating for faster transfers.
5. Alternative Methods for Transferring Photos
While using Apple camera adapters is a direct method, other options are available for transferring photos from your iPhone to an SD card.
5.1 Using a Computer as an Intermediary
You can use a computer as an intermediary to transfer photos from your iPhone to an SD card.
- Connect iPhone to Computer: Connect your iPhone to your computer using a USB cable.
- Transfer Photos to Computer: Import the photos from your iPhone to your computer using the Photos app (on macOS) or File Explorer (on Windows).
- Insert SD Card into Computer: Insert the SD card into the SD card slot on your computer or use an external SD card reader.
- Transfer Photos to SD Card: Copy the photos from your computer to the SD card.
5.2 Using Wireless Transfer Methods
Wireless transfer methods offer a convenient way to transfer photos without using cables.
5.2.1 iCloud
- Upload Photos to iCloud: Enable iCloud Photos on your iPhone to automatically upload your photos to iCloud.
- Access iCloud on Computer: Access iCloud on your computer via a web browser or the iCloud app.
- Download Photos: Download the photos from iCloud to your computer.
- Transfer to SD Card: Copy the photos from your computer to the SD card.
5.2.2 AirDrop
- Enable AirDrop: Enable AirDrop on both your iPhone and a nearby Mac.
- Share Photos via AirDrop: Select the photos you want to transfer on your iPhone, tap the Share button, and choose AirDrop.
- Accept on Mac: Accept the incoming files on your Mac.
- Transfer to SD Card: Copy the photos from your Mac to the SD card.
5.2.3 Cloud Storage Services (Google Drive, Dropbox)
- Upload Photos to Cloud Storage: Upload your photos to a cloud storage service like Google Drive or Dropbox from your iPhone.
- Download Photos to Computer: Download the photos from the cloud storage service to your computer.
- Transfer to SD Card: Copy the photos from your computer to the SD card.
5.3 Using Wireless SD Card Readers
Wireless SD card readers allow you to transfer photos from your iPhone to an SD card over a Wi-Fi connection.
- Connect to Wireless SD Card Reader: Connect your iPhone to the Wi-Fi network provided by the wireless SD card reader.
- Use Companion App: Use the companion app provided by the SD card reader manufacturer to access the files on the SD card and transfer photos from your iPhone to the SD card.
6. Optimizing Your Photos for Transfer
Before transferring your photos, consider optimizing them to save space and improve transfer speeds.
6.1 Compressing Photos
Compressing photos can significantly reduce their file size without noticeably affecting image quality.
- Use Photo Compression Apps: Use photo compression apps like Image Size, Reduce Photos, or Compressor to compress your photos before transferring them.
- Adjust Image Quality: Adjust the image quality settings in the compression app to find the right balance between file size and image quality.
6.2 Converting File Formats
Converting photos to more efficient file formats can also help reduce their size.
- Convert to JPEG: If your photos are in a less efficient format like TIFF or PNG, convert them to JPEG, which offers good compression and image quality.
- Use Image Conversion Tools: Use image conversion tools like Adobe Photoshop, GIMP, or online converters to convert your photos to JPEG.
6.3 Organizing Photos into Folders
Organizing your photos into folders before transferring them can make it easier to manage and find them on the SD card.
- Create Folders: Create folders on your iPhone based on date, event, or subject.
- Move Photos into Folders: Move your photos into the appropriate folders.
- Transfer Folders: Transfer the folders to the SD card.
7. Best Practices for Managing Photos on SD Cards
Once you’ve transferred your photos to an SD card, follow these best practices to manage them effectively.
7.1 Backing Up SD Card Content
Regularly back up the content of your SD card to prevent data loss.
- Copy to Computer: Copy the photos from your SD card to your computer.
- Use Cloud Backup: Use a cloud backup service to back up the photos from your SD card.
- Create Multiple Copies: Create multiple copies of your photos on different storage devices.
7.2 Organizing Photos on SD Card
Keep your photos organized on the SD card for easy access and management.
- Use Folders: Use folders to categorize your photos by date, event, or subject.
- Rename Files: Rename your photo files with descriptive names to make them easier to identify.
- Add Metadata: Add metadata such as keywords, descriptions, and copyright information to your photo files.
7.3 Safely Ejecting SD Card
Always safely eject the SD card from your iPhone, iPad, or computer to prevent data corruption.
- Close Photos App: Close the Photos app or any other programs that are accessing the SD card.
- Eject SD Card: Use the “Eject” option on your iPhone, iPad, or computer to safely eject the SD card.
- Remove SD Card: Remove the SD card from the adapter or card reader.
7.4 Maintaining SD Card Health
Properly maintaining your SD card can prolong its lifespan and prevent data loss.
- Avoid Extreme Temperatures: Avoid exposing your SD card to extreme temperatures.
- Protect from Moisture: Protect your SD card from moisture and humidity.
- Handle with Care: Handle your SD card with care to prevent physical damage.
8. Legal and Ethical Considerations
When transferring and managing photos, it’s important to be aware of legal and ethical considerations.
8.1 Copyright
Respect copyright laws when transferring and using photos.
- Obtain Permission: Obtain permission from the copyright holder before transferring or using copyrighted photos.
- Use Royalty-Free Images: Use royalty-free images from reputable sources if you don’t have permission to use copyrighted photos.
- Credit the Photographer: Always credit the photographer when using their photos.
8.2 Privacy
Respect the privacy of individuals when transferring and sharing photos.
- Obtain Consent: Obtain consent from individuals before taking and sharing their photos.
- Protect Personal Information: Protect personal information such as names, addresses, and phone numbers when sharing photos.
- Be Mindful of Context: Be mindful of the context in which you share photos and avoid sharing photos that could be embarrassing or harmful to others.
8.3 Data Security
Protect your photos from unauthorized access and data breaches.
- Use Strong Passwords: Use strong passwords to protect your iPhone, iPad, and computer.
- Enable Encryption: Enable encryption on your iPhone, iPad, and computer.
- Use Secure Transfer Methods: Use secure transfer methods such as encrypted cloud storage or VPNs when transferring photos.
9. Future Trends in Photo Transfer Technology
As technology evolves, new methods and tools for transferring photos will continue to emerge. Here are some future trends to watch out for.
9.1 Faster Transfer Speeds
Future devices and adapters will likely support faster transfer speeds, making it quicker and easier to transfer large numbers of photos.
- USB 4: USB 4 offers significantly faster transfer speeds compared to USB 3.
- Wi-Fi 6E: Wi-Fi 6E provides faster and more reliable wireless connections for transferring photos.
9.2 Wireless Transfer Enhancements
Wireless transfer methods will become more seamless and integrated into devices.
- Ultra-Wideband (UWB): UWB technology offers precise location tracking and faster wireless transfer speeds.
- Improved Cloud Integration: Cloud storage services will become more tightly integrated into devices, making it easier to automatically back up and transfer photos.
9.3 AI-Powered Photo Management
AI-powered photo management tools will help you automatically organize, edit, and transfer your photos.
- Automatic Tagging: AI can automatically tag your photos with keywords based on their content.
- Smart Albums: AI can create smart albums based on facial recognition, location, and other criteria.
- Automated Editing: AI can automatically enhance your photos by adjusting brightness, contrast, and color balance.
10. dfphoto.net: Your Ultimate Resource for Photography Tips and Tutorials
At dfphoto.net, we’re dedicated to providing you with the latest tips, tutorials, and resources for all your photography needs. Whether you’re a beginner or a professional, our website offers a wealth of information to help you improve your skills and capture stunning images.
10.1 Comprehensive Guides
Explore our comprehensive guides on various photography topics, including composition, lighting, and editing.
10.2 Expert Advice
Get expert advice from experienced photographers on how to take your skills to the next level.
10.3 Community Forum
Join our community forum to connect with other photographers, share your work, and get feedback.
10.4 Product Reviews
Read our unbiased product reviews to make informed decisions about your photography equipment.
10.5 Inspiration Gallery
Browse our inspiration gallery to see stunning images from photographers around the world.
Ready to take your photography skills to the next level? Visit dfphoto.net today to discover a world of resources, connect with a vibrant community, and unlock your creative potential. Whether you’re looking for detailed tutorials, expert advice, or simply a place to share your passion, dfphoto.net is your ultimate destination.
Address: 1600 St Michael’s Dr, Santa Fe, NM 87505, United States
Phone: +1 (505) 471-6001
Website: dfphoto.net
By following these steps, you can easily transfer your iPhone photos to an SD card, ensuring they are safe, accessible, and ready to be shared. Happy shooting from dfphoto.net.
FAQ: Transferring iPhone Photos to SD Card
1. Can I transfer photos from my iPhone to an SD card without a computer?
Yes, you can transfer photos from your iPhone to an SD card without a computer by using Apple camera adapters like the Lightning to SD Card Camera Reader or the Lightning to USB 3 Camera Adapter. These adapters allow you to directly connect an SD card or digital camera to your iPhone and import photos using the Photos app.
2. What type of SD card is compatible with my iPhone?
Your iPhone itself doesn’t directly use SD cards. Instead, you use an SD card with an adapter that connects to your iPhone’s Lightning or USB-C port. The adapter determines the compatible SD card types, typically including SDSC, SDHC, and SDXC cards.
3. Why is my iPhone not recognizing the SD card adapter?
If your iPhone is not recognizing the SD card adapter, ensure that your iPhone is running the latest version of iOS. Also, check that the adapter is properly connected and that the SD card is correctly inserted. Restarting your iPhone and reconnecting the adapter can also help resolve the issue.
4. How do I choose the right SD card for my photography needs?
Choose an SD card with sufficient storage capacity for your needs. SDHC cards (up to 32GB) are suitable for moderate use, while SDXC cards (32GB to 2TB) are better for high-resolution photos and videos. Also, consider the speed class of the SD card, which indicates its data transfer rate. A higher speed class ensures faster read and write speeds, which is important for capturing high-quality images and videos.
5. Is it safe to delete photos from my iPhone after transferring them to an SD card?
Yes, it is generally safe to delete photos from your iPhone after transferring them to an SD card, provided that you have verified the transfer and have a backup of the photos on the SD card. However, it’s always a good idea to keep a backup in another location, such as a computer or cloud storage service, for added security.
6. Can I use a USB flash drive instead of an SD card to transfer photos from my iPhone?
While Apple camera adapters primarily support SD cards and digital cameras, you may be able to use a USB flash drive with the Lightning to USB 3 Camera Adapter. However, not all USB flash drives are compatible, so it’s best to use an SD card for reliable performance.
7. How do I transfer photos from my iPhone to an SD card using iCloud?
To transfer photos from your iPhone to an SD card using iCloud, first, ensure that iCloud Photos is enabled on your iPhone. Then, access iCloud on your computer, download the photos you want to transfer, and copy them to the SD card.
8. What should I do if the transfer speed is slow when transferring photos from my iPhone to an SD card?
If the transfer speed is slow, try using a faster SD card with a higher speed class. Also, ensure that you are using a USB 3 compatible adapter and that your iPad model supports USB 3 speeds for faster data transfer.
9. Are there any apps that can help me manage photos on my SD card after transferring them from my iPhone?
Yes, there are several apps available that can help you manage photos on your SD card after transferring them from your iPhone. These apps allow you to view, organize, edit, and share your photos directly from the SD card.
10. How do I ensure that my photos are secure when transferring them to an SD card?
To ensure that your photos are secure when transferring them to an SD card, use strong passwords to protect your devices and enable encryption on your iPhone, iPad, and computer. Also, use secure transfer methods and consider backing up your photos to a secure cloud storage service for added protection.