Taking photos with your Mac is surprisingly simple, whether you’re using the built-in camera for quick snapshots or capturing your screen. This guide provides a step-by-step walkthrough on how to take photos with your Mac using Photo Booth and how to take screenshots.
 Using Photo Booth on a Mac
Using Photo Booth to Capture Photos and Videos
Photo Booth is a pre-installed application on your Mac designed for taking quick photos and videos using your built-in webcam. While not a professional photography tool, it’s perfect for casual snapshots or video calls. The camera, usually located at the top of your screen, will activate a small green light when in use.
To take a photo with Photo Booth:
- Launch Photo Booth: Find the application in your Applications folder, Launchpad, or by searching using Spotlight.
- Preview and Position: Once open, Photo Booth will display a live preview from your webcam. Adjust your position as needed.
- Capture the Photo: Click the red camera icon at the bottom of the window to take a photo.
- Explore Effects (Optional): Click the “Effects” button in the bottom right corner to apply fun filters and distortions to your photos.
 Applying effects in Photo Booth
Photo Booth also allows you to record videos:
- Switch to Video Mode: Click the video camera icon next to the red camera icon.
- Start Recording: Click the red record button to begin recording.
- Stop Recording: Click the red stop button to end the recording.
Saving Your Photo Booth Creations
Saving your photos and videos is a straightforward process:
- Select the Photo/Video: Right-click or double-click the thumbnail of the photo or video you want to save at the bottom of the Photo Booth window.
- Choose Export: Select the “Export” option from the context menu.
- Name and Save: Choose a file name and location for your file in the dialog box that appears. Click “Save.”
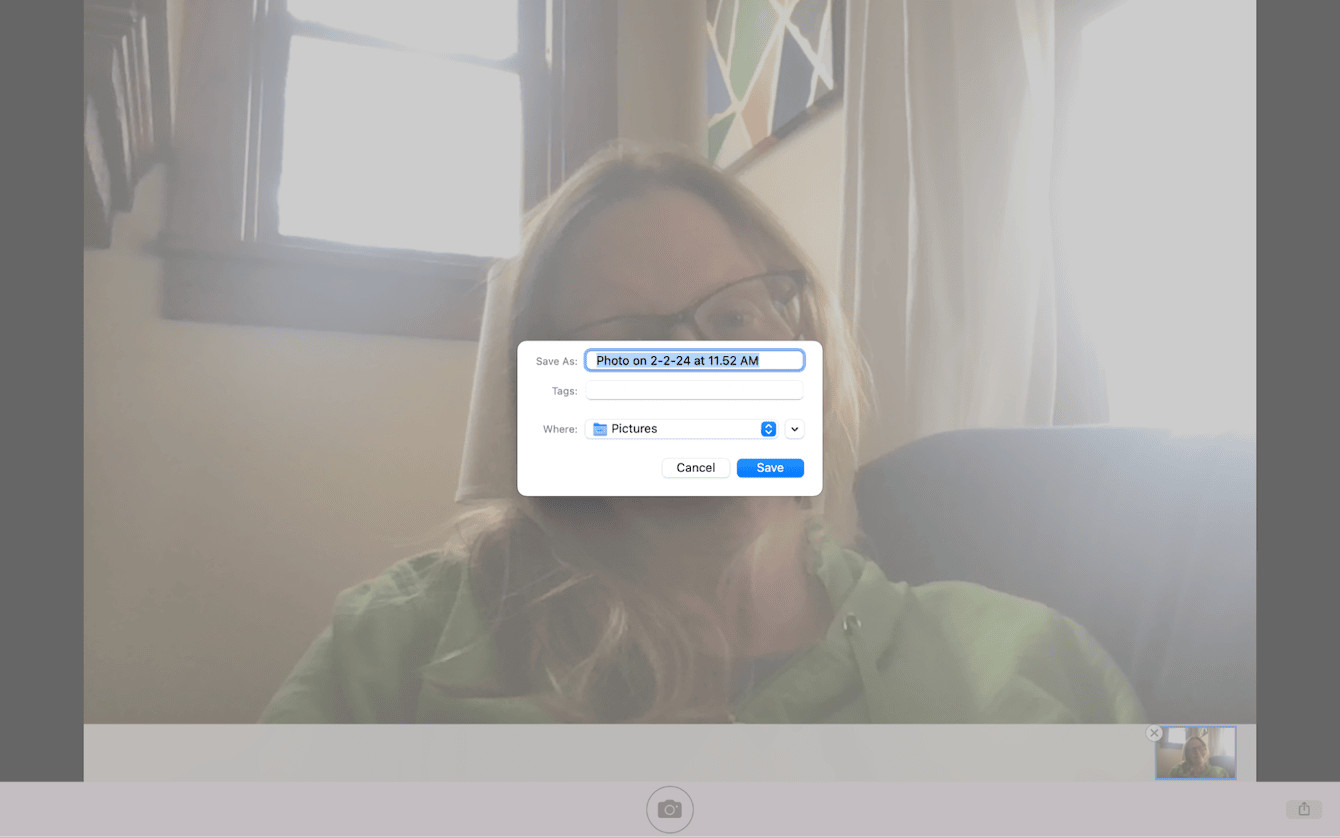 Saving a photo from Photo Booth
Mastering Mac Screenshots: Capturing Your Screen
Taking screenshots on your Mac is essential for sharing information, documenting issues, or saving visual content. Here’s how:
Method 1: Full Screen Capture:
- Press Command + Shift + 3 simultaneously. The screenshot will be saved to your desktop.
Method 2: Partial Screen Capture:
- Press Command + Shift + 4. Your cursor will change to a crosshair.
- Click and drag to select the area you want to capture.
- Release the mouse or trackpad button to take the screenshot.
Method 3: Window Capture:
- Press Command + Shift + 4, then press the Spacebar. Your cursor will change to a camera icon.
- Click on the window you want to capture. This will capture the entire window with a drop shadow.
 Using the screenshot tool on Mac
Additional Screenshot Options:
- Locking Orientation/Repositioning (Command + Shift + 4): Press and hold the Spacebar before releasing the mouse button to lock the dimensions of the selection while allowing you to reposition it.
- Locking Sides (Command + Shift + 4): Hold down the Shift key while dragging to lock either the horizontal or vertical axis of your selection.
By mastering these techniques, you can effortlessly capture photos and screenshots on your Mac for various purposes.