Taking photos on your Mac is straightforward thanks to the built-in Photo Booth application. Whether you want to snap a quick selfie, capture a fun moment, or simply experiment with your Mac’s camera, Photo Booth offers an easy-to-use interface and fun effects. This guide will walk you through the steps to find and use Photo Booth to take photos on your Mac.
Finding and Opening Photo Booth
Photo Booth comes pre-installed on all macOS systems and is easily accessible. Here are two simple ways to open it:
1. Using Spotlight Search:
The quickest way to find Photo Booth is by using Spotlight Search.
- Click on the Spotlight icon (magnifying glass) located in the upper right corner of your Mac’s screen.
- Type “Photo Booth” (remember to include the space).
- Press the Return or Enter key. This will launch the Photo Booth application and automatically activate your Mac’s camera, indicated by a green light next to the lens.
2. Navigating to the Applications Folder:
Alternatively, you can locate Photo Booth within your Applications folder.
- Open Finder.
- Click on “Applications” in the sidebar.
- Scroll through the list of applications until you find “Photo Booth”.
- Double-click on the Photo Booth icon to open the application.
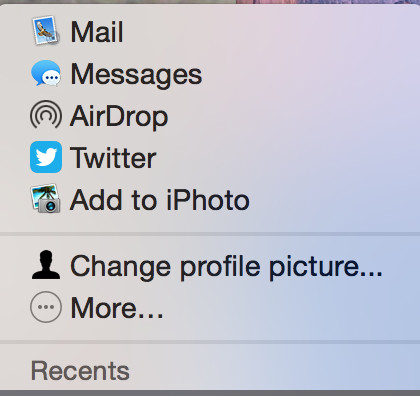 Photo Booth app interface on macOS Yosemite showing the film roll and upload options
Taking a Photo with Photo Booth
Once Photo Booth is open, taking a photo is just a click away.
- Position yourself in front of your Mac’s camera.
- Look at the screen to frame your shot.
- Click the red camera button located at the bottom center of the Photo Booth window.
- Photo Booth will initiate a three-second countdown, accompanied by a screen flash to provide better lighting.
- Your photo will be taken and displayed in the “film roll” at the bottom of the Photo Booth window.
After taking your first photo, a film roll will appear at the bottom of the application window, displaying thumbnails of your captured images. Clicking on a thumbnail will select the photo. To save or manage your photos:
- Control-click on a selected image in the film roll.
- Choose “Export…” to save the photo to a location on your Mac, or select “Delete” to remove it.
- You can also click the “upload” icon (a square with an arrow pointing upwards) beneath the film roll to see sharing options.
Keeping Photo Booth in Your Dock for Easy Access
For quick and convenient access to Photo Booth in the future, you can keep its icon in your Dock.
- With Photo Booth running, right-click (or Control-click) on the Photo Booth icon in the Dock at the bottom of your screen.
- In the context menu, go to “Options”.
- Select “Keep in Dock”.
 Options menu in the macOS Dock showing 'Keep in Dock' for the Photo Booth application
Now, the Photo Booth icon will remain in your Dock even after you close the application, providing one-click access whenever you want to take a photo on your Mac.
With these simple steps, you can easily start taking photos on your Mac using the Photo Booth application and capture your favorite moments.