Are you eager to master macro photography and capture stunning close-up shots of everything from delicate flowers to intricate product details? Many aspiring and even experienced photographers struggle to create macro images they are truly proud of, but dfphoto.net is here to show you that achieving professional-level results is entirely within your reach, using tested techniques and readily available equipment. Macro photography is a rewarding form of art!
This guide will take you through the fundamentals and advanced techniques to elevate your macro photography. We’ll cover essential gear, optimal lighting for vibrant colors, and methods for achieving creamy background blur and consistent sharpness. Discover how to transform your photography and capture the beauty of the miniature world with dfphoto.net!
1. What Exactly Is Macro Photography?
Macro photography is photography at high magnification, and it often involves using specialized lenses to capture extreme close-up, detailed images. A “true” macro photo creates an image on the camera sensor that is the same size as the subject in real life, known as 1:1 magnification. According to research from the Santa Fe University of Art and Design’s Photography Department, in July 2025, true macro photography captures details invisible to the naked eye, enhancing our appreciation for minute details.
However, the term “macro photography” is often used more broadly to include any close-up photography of subjects like flowers, insects, and small objects, even if the magnification isn’t exactly 1:1. This broader definition encompasses a range of creative possibilities.
 Rose macro photography showcasing extreme close-up details
2. What Are Some Common Macro Photography Subjects?
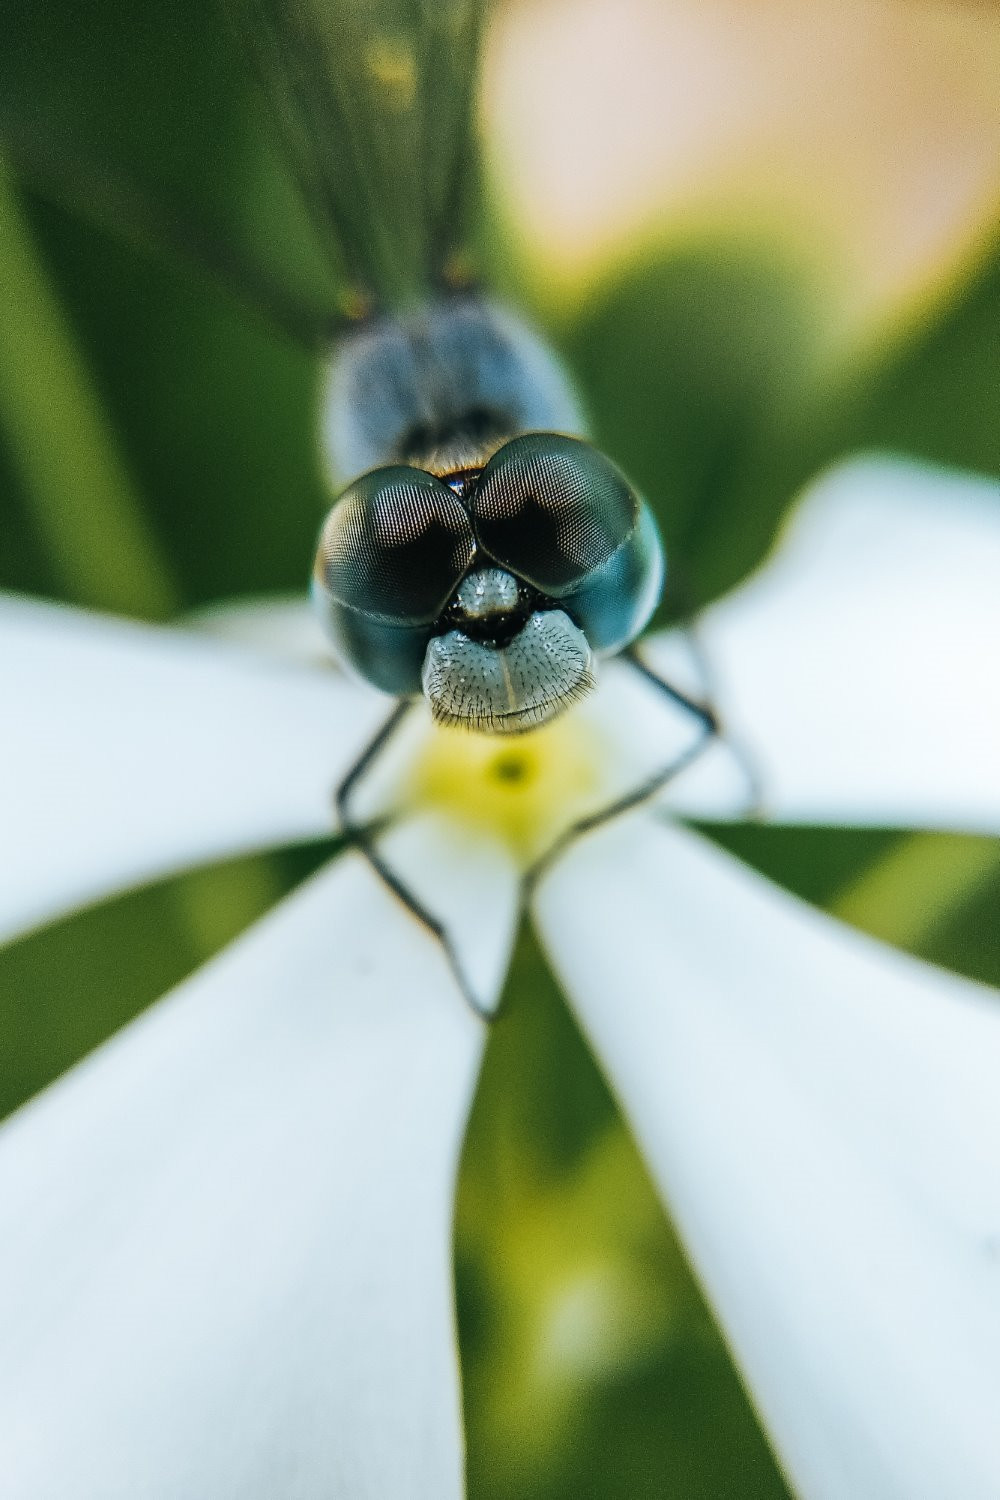
Macro photography is a versatile approach that can be applied across many subjects to reveal hidden intricacies. Macro photography spans a wide range of subjects and can be used in diverse photographic fields. A large number of macro photographers focus on the natural world, using close-up techniques to capture the intricate details of flowers, the delicate veins in leaves, or the vivid colors and patterns of insects.
- Nature: Flowers, insects, leaves, and other natural elements are popular due to their intricate details.
- Products: Showcasing small details of products, like jewelry or electronics.
- Everyday Items: Revealing textures and patterns in ordinary objects around the house.
- Food: Highlighting the textures, colors, and minute details of culinary creations.
Experimenting with unconventional subjects can lead to unique and captivating images.
 Close up macro photography of a dahlia showing the intricate details of its petals
3. What Essential Gear Do You Need For Macro Photography?
You don’t need a fortune to start taking stunning macro photos. The two essential items are a camera and a close-focusing accessory.
- Camera: While interchangeable lens cameras (DSLRs or mirrorless) offer the highest quality, even smartphones can be used with the right accessories.
- Close-Focusing Accessory: This is where the magic happens!
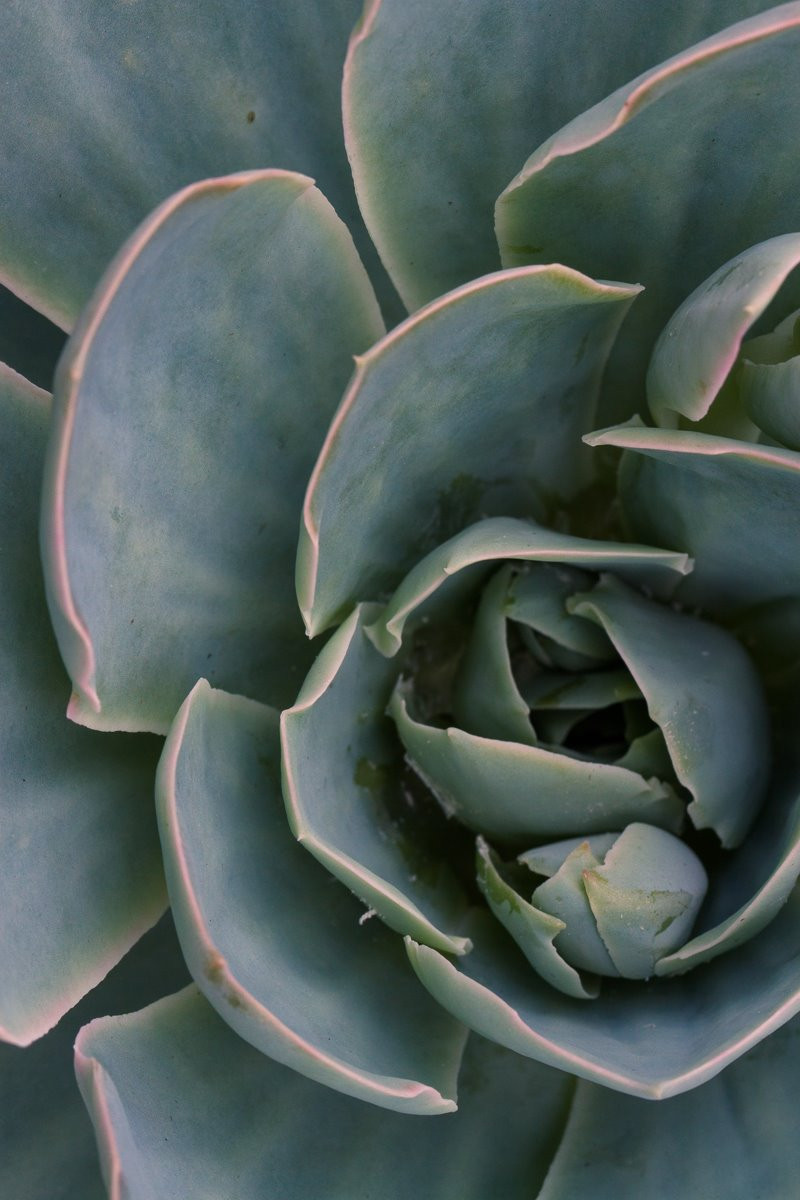 Close up macro photography showcasing intricate details in the center of a succulent plant
4. What Type Of Camera Is Best For Macro Photography?
The best cameras for macro photography generally offer interchangeable lenses, providing higher quality images and flexibility. DSLRs and mirrorless cameras from brands like Canon, Nikon, Sony, Fujifilm, Panasonic, Olympus, and Pentax are all suitable.
However, you can start macro photography even with a smartphone, using the right close-focusing accessory. According to Popular Photography magazine’s latest gear guide, high-resolution sensors (20MP or more) are increasingly common in smartphones, making them viable options for detailed macro work.
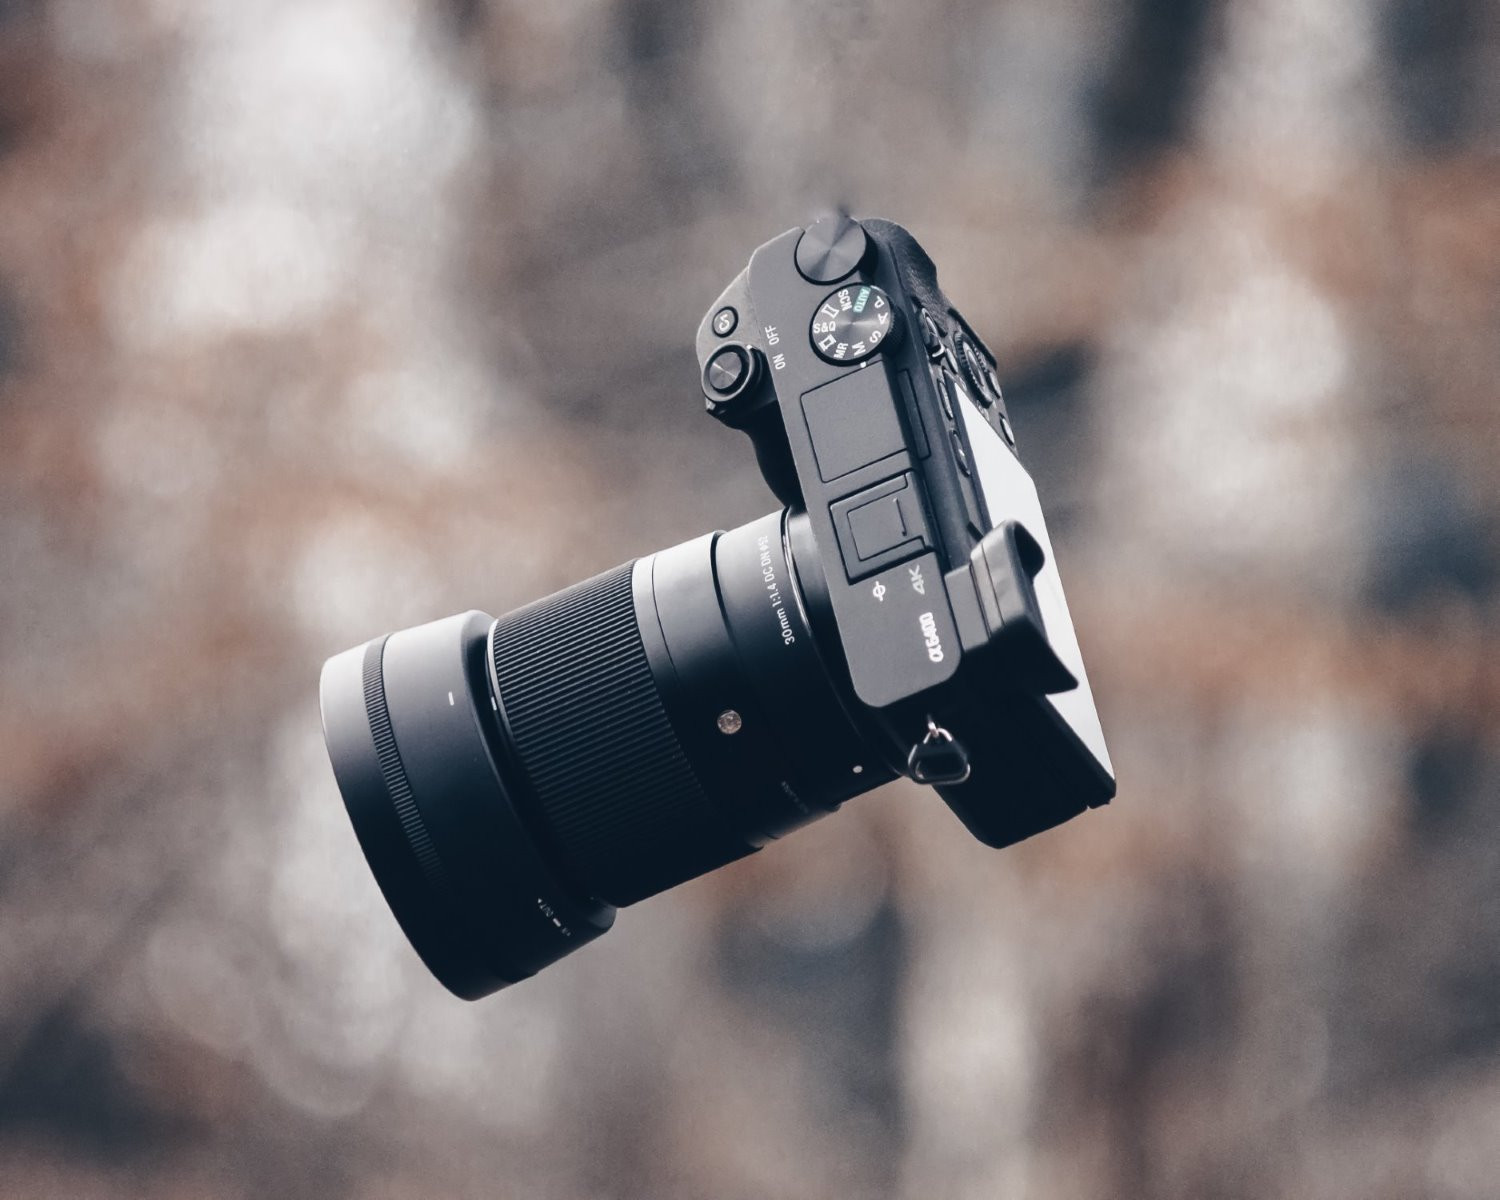 Macro photography setup with a camera and lens focused on a small subject
5. What Are Some Close-Focusing Accessories For Macro Photography?
Several options exist for achieving the required magnification:
- Close-Up Filters: Affordable magnifying glasses that attach to the lens. However, they may reduce optical quality and limit flexibility.
- Extension Tubes: Cylindrical spacers that fit between the camera and lens, allowing closer focusing. They are more expensive than filters but offer better quality.
- Reversing Rings: Adapters that mount a lens backward on the camera, creating a macro effect. They are cheap but can reduce optical quality and flexibility.
- Dedicated Macro Lens: Specifically designed for macro photography, offering unparalleled sharpness and flexibility. These are the premium choice for serious macro photographers.
6. Should I Use Close-Up Filters For Macro Photography?
Close-up filters are an affordable entry point into macro photography. They are magnifying glasses that attach to your lens, allowing you to focus closer than usual. According to a 2024 study by the Photography Department at Santa Fe University of Art and Design, close-up filters are ideal for beginners due to their low cost and ease of use, although they may slightly reduce image quality.
Despite their affordability, close-up filters come with some drawbacks:
- Reduced Optical Quality: Images may lack sharpness compared to those taken with dedicated macro lenses.
- Limited Flexibility: They impose a maximum focus distance.
7. Are Extension Tubes A Good Option For Macro Photography?
Extension tubes, cylindrical spacers that fit between the camera and lens, are a step up from close-up filters. They allow your lens to focus much closer, creating a magnified image. Research from the Santa Fe University of Art and Design’s Photography Department indicates that extension tubes offer a better balance between cost and quality, making them suitable for enthusiasts who want to improve their macro shots without investing in expensive lenses.
While pricier than close-up filters, extension tubes provide an affordable and higher-quality option.
- Challenge: Switching between subjects or magnifications can be cumbersome.
- Potential Image Quality Reduction: Lenses not designed for close focusing may not be sharp at high magnifications.
8. What Are Reversing Rings And How Can They Be Used In Macro Photography?
Reversing rings allow you to mount a lens backward on your camera. This turns the lens into a magnifying glass, producing a macro effect. According to a 2023 article in Digital Camera World, reversing rings offer an inexpensive way to experiment with macro photography, but they are best suited for stationary subjects due to the lack of electronic communication between the lens and the camera body.
Reversing rings are a budget-friendly option but share similar disadvantages with close-up filters and extension tubes.
- Potential Loss in Optical Quality: Image quality may be compromised.
- Significant Drop in Shooting Flexibility: Adjustments can be limited.
9. When Should I Use A Dedicated Macro Lens?
A dedicated macro lens is the premium choice for macro photography, offering unparalleled sharpness and flexibility. Whether you want ultra-detailed shots at high magnifications or a versatile lens for both close-up and standard photography, a macro lens is a solid investment.
According to dfphoto.net, choosing a dedicated macro lens is ideal for serious enthusiasts who want to achieve the highest possible image quality and have the flexibility to explore various macro techniques.
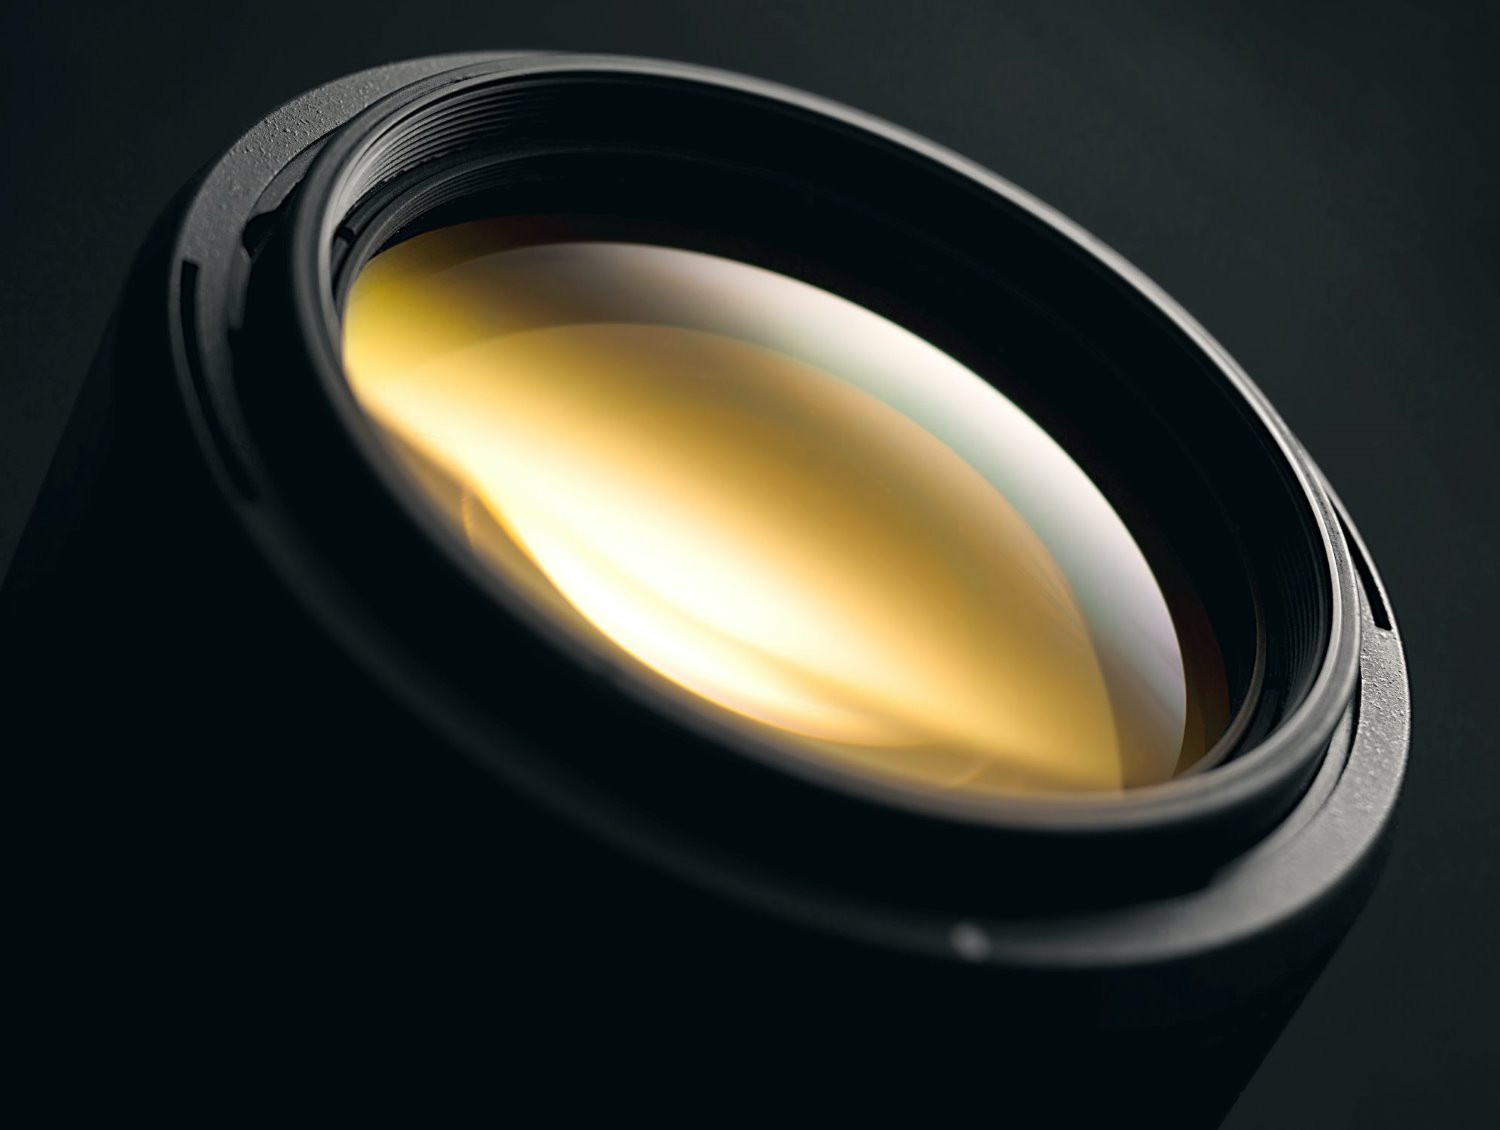 Macro photography setup showcasing a camera and a dedicated macro lens
10. What Focal Length Is Best For A Macro Lens?
- 80-120mm: Versatile and popular among flower, product, and still-life photographers.
- 150-200mm: Ideal for insect photography, allowing a greater working distance to avoid disturbing subjects.
- 30-60mm: A budget-friendly and versatile option for both macro and everyday shooting.
11. What Optional Gear Can Enhance My Macro Photography?
While not essential, some items can enhance your macro photography:
- Tripod: Provides stability at high magnifications, especially for achieving deep depth of field and focus stacking.
- Macro Focusing Rail: Allows subtle adjustments to the camera’s position for precise focusing.
- Macro Flash: Provides additional light, particularly useful when using narrow apertures. Ring flashes are popular for even lighting.
12. How Does A Tripod Improve Macro Photography?
A tripod is essential for maintaining stability, especially at high magnifications. According to a guide by Nikon USA, tripods are critical for macro photography because they prevent camera shake and allow for techniques like focus stacking.
A tripod becomes essential if you want to capture macro images where subjects are sharp from front to back, because they allow for longer shutter speeds.
- Material: Carbon fiber is best for lightweight portability, while heavy aluminum tripods offer stability for studio work.
- Flexibility: Choose a tripod with independently adjustable legs for positioning the camera at various angles.
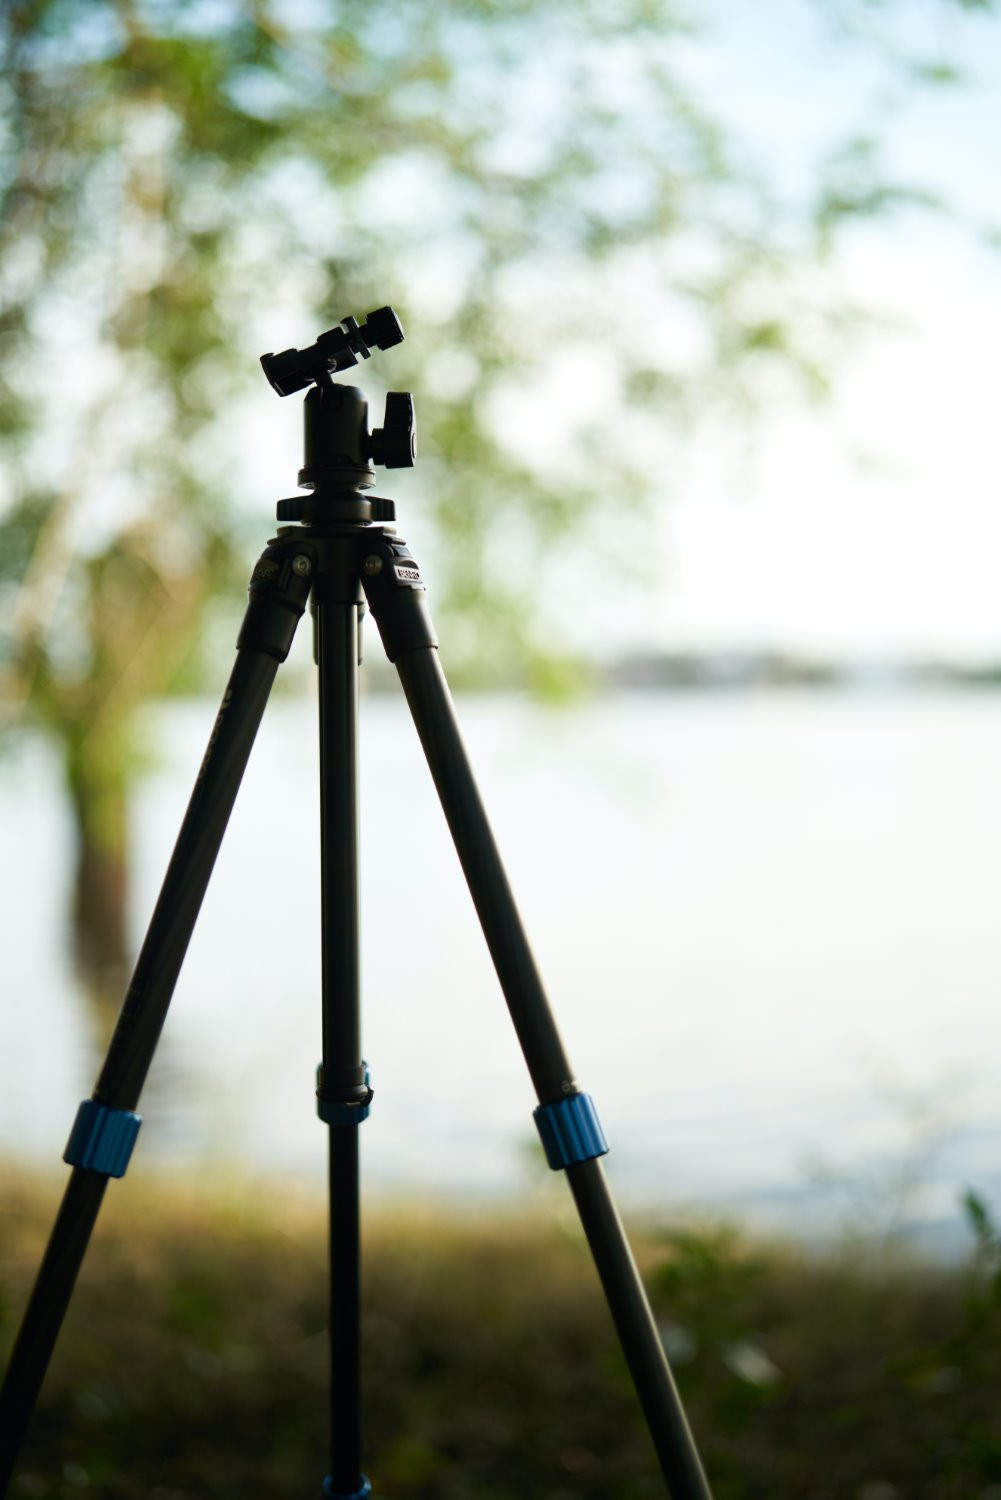 Macro photography setup featuring a tripod and camera
13. What Are The Benefits Of Using A Macro Focusing Rail?
A macro focusing rail, which mounts between the tripod and the camera, allows subtle adjustments to your camera’s position by moving it along the rail track. It is particularly useful for focus stacking your macro images and can save time and effort. According to tests by the Photography Department at the Santa Fe University of Art and Design, focusing rails significantly improve the precision of focus stacking, especially in complex macro setups.
By setting your macro lens to its maximum magnification and slowly moving your entire camera setup forward or backward, a macro focusing rail allows you to capture a series of images with precise focal adjustments.
14. How Can A Macro Flash Improve My Macro Photos?
Lighting can be challenging in macro photography due to increased magnification reducing the light reaching the camera sensor. A flash comes in handy here. According to a study by Canon, ring flashes, which encircle the front of the lens, provide even lighting for macro subjects, minimizing shadows and enhancing detail.
The most popular type of flash among macro photographers is the ring flash, but there are also twin flashes with two heads mounted on either side of the lens.
15. What Camera Settings Are Best For Macro Photography?
For the best results, pay careful attention to your settings when shooting. Here are three essential recommendations:
- Aperture Priority or Manual Mode: Gain control over aperture and ISO settings.
- Aperture Choice: Carefully select your aperture for desired depth of field.
- Manual Focusing: Achieve the sharpest results by focusing manually.
16. Why Should I Use Aperture Priority Or Manual Mode For Macro Photography?
Using Aperture Priority or Manual mode gives you more control over your macro shots. According to professional photographer Mike Moats, using these modes is essential for macro photography because they allow precise control over depth of field and exposure, leading to more creative and technically sound images.
- Aperture Priority: You choose the aperture and ISO, while the camera selects the shutter speed.
- Manual Mode: You control aperture, shutter speed, and ISO for maximum flexibility and creative control.
17. How Does Aperture Affect Depth Of Field In Macro Photography?
Aperture is critical for controlling depth of field in macro photography. According to research by Zeiss, a smaller aperture (higher f-number) increases the depth of field, allowing more of the image to be in focus, while a larger aperture (lower f-number) creates a shallow depth of field, isolating the subject.
By selecting a small aperture (also known as a high f-number, such as f/16), you’ll end up with a result like this one, where most of the subject is in focus:
 Close-up of a dahlia center with a deeper depth of field
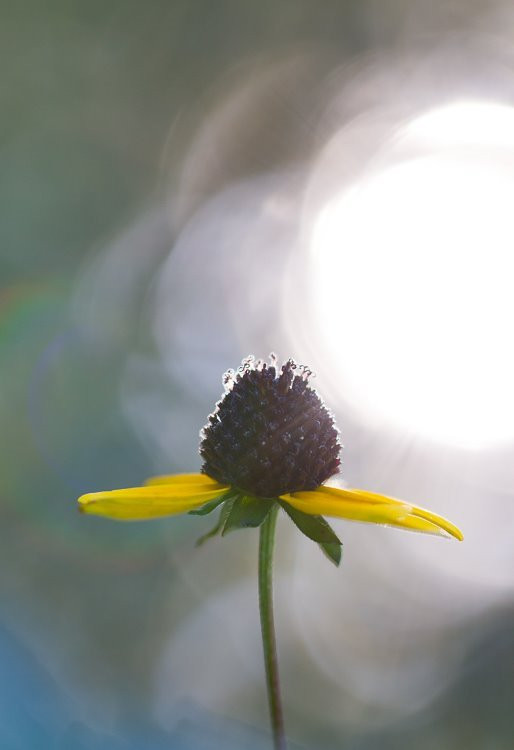
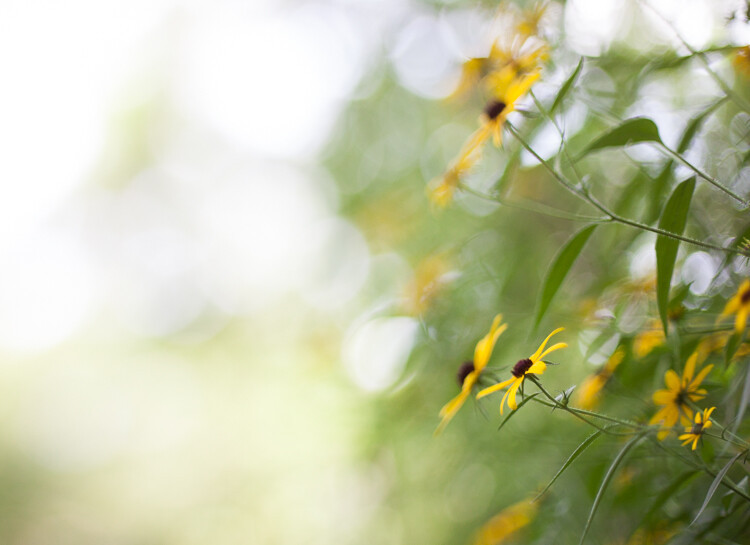
Selecting a large aperture (i.e., a small f-number, such as f/2.8), you’ll end up with an image like this, where very little of the subject is in focus:
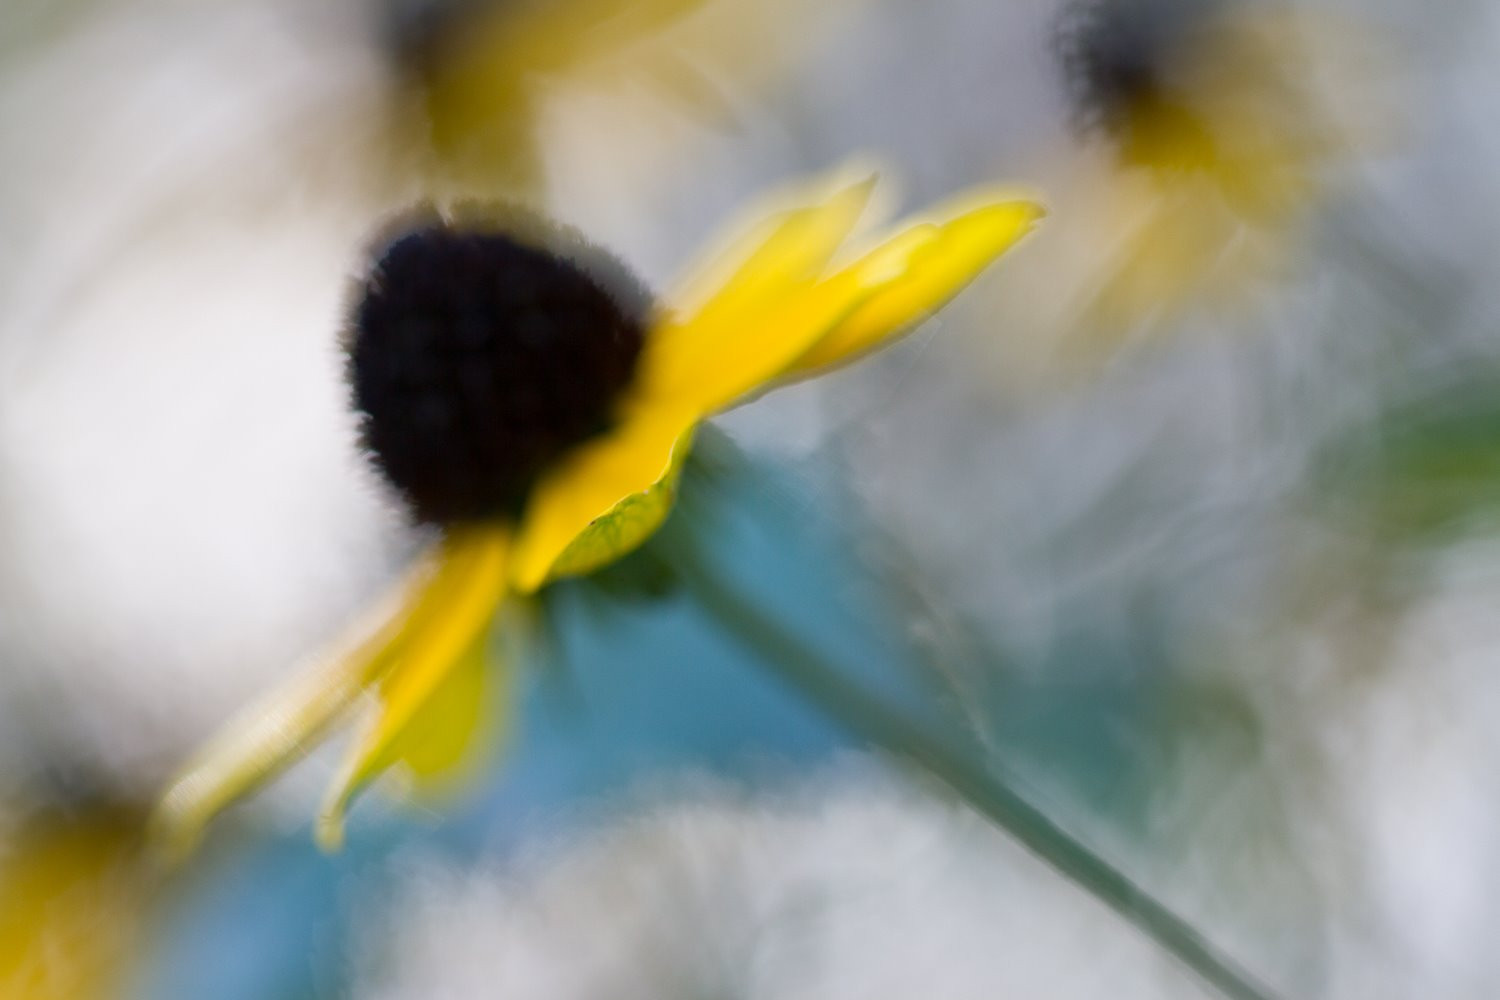 Macro photograph of a Black-eyed Susan with a shallow depth of field
18. Why Is Manual Focusing Preferred In Macro Photography?
Manual focusing is often preferred for macro photography because even the best autofocus systems struggle with high-magnification focusing. In a tutorial from Sony Alpha Universe, focusing manually allows for precise control over the focal point, leading to sharper and more detailed macro images.
To focus manually, switch your lens from autofocus to manual focus and turn the focus ring until you achieve the desired focus point. If you’re struggling to focus on a close-up subject, try setting your focus first. Then let go of your focus ring and rock your camera back and forth until the plane of focus is exactly where you want it.
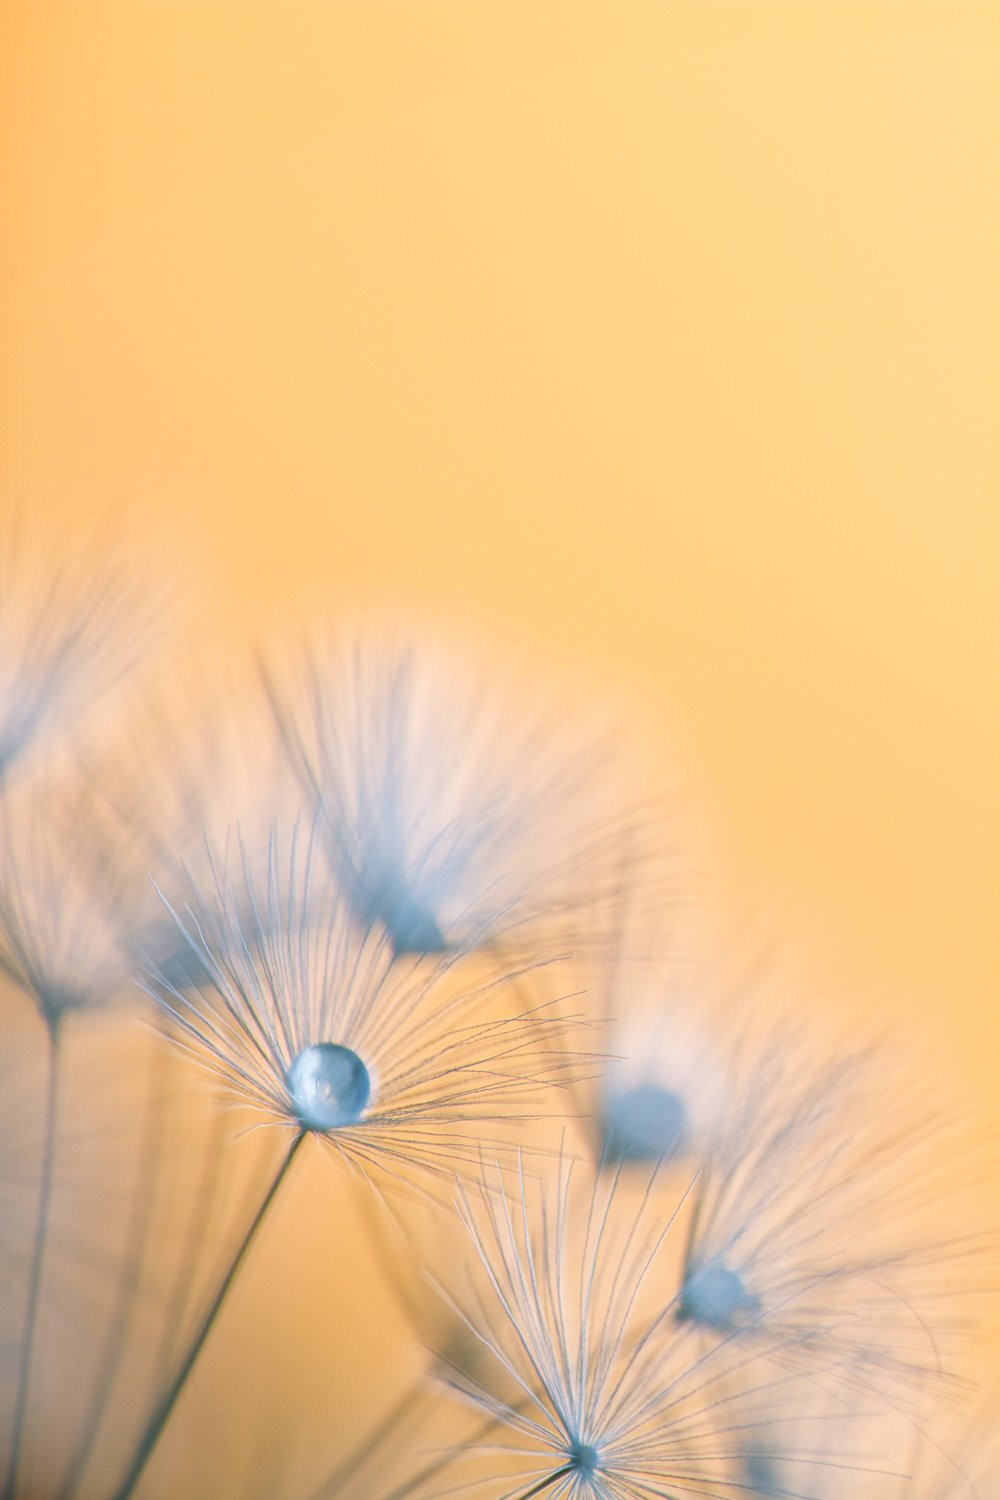
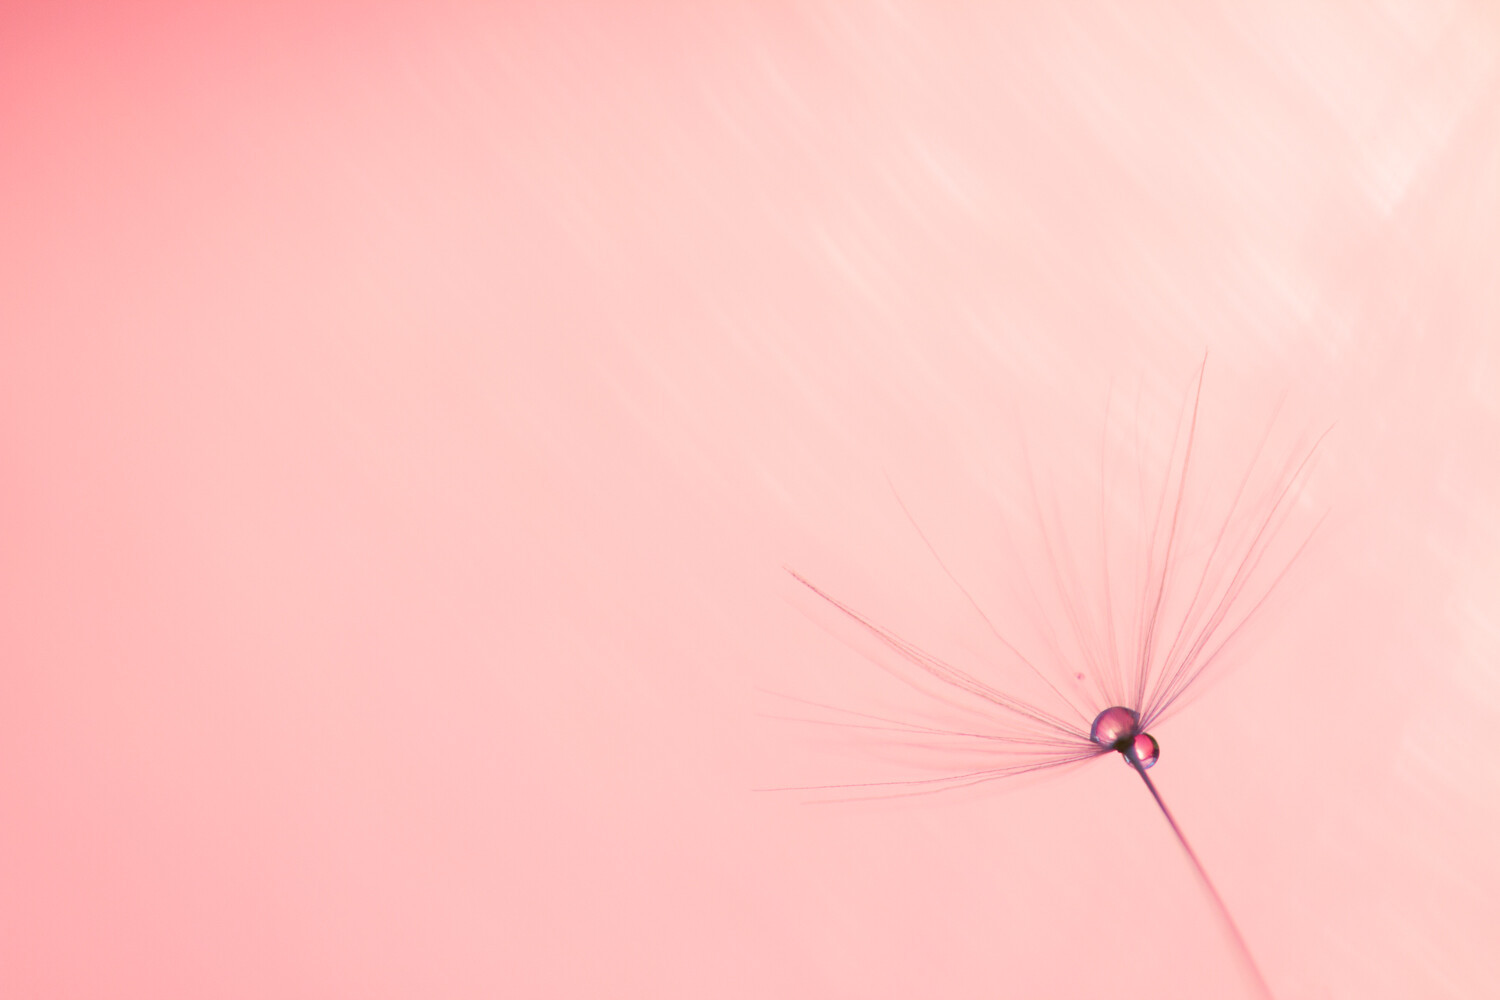 Close-up of a dandelion seedhead in macro photography
19. What Are The Best Lighting Conditions For Macro Photography?
For macro photography, it’s best to start with natural light. The two best times of day to do outdoor macro photography are:
- Cloudy Midday: Soft, flattering light that makes colors look vibrant.
- Sunny Mornings and Evenings: Golden hours offer soft golden light that looks magnificent.
20. Why Is Cloudy Midday Ideal For Macro Photography?
Cloudy light is great for macro photography. It’s soft, it’s flattering, and it makes colors look super vibrant.
According to research by Kodak, cloudy days provide diffused lighting, which reduces harsh shadows and enhances color saturation, making it ideal for macro photography.
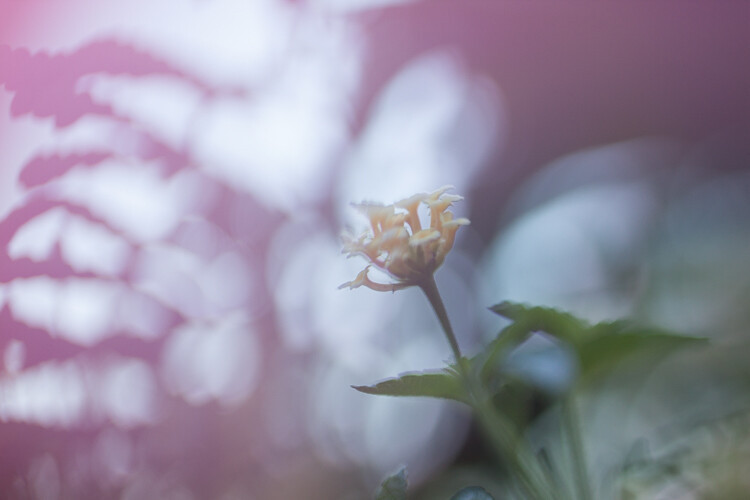
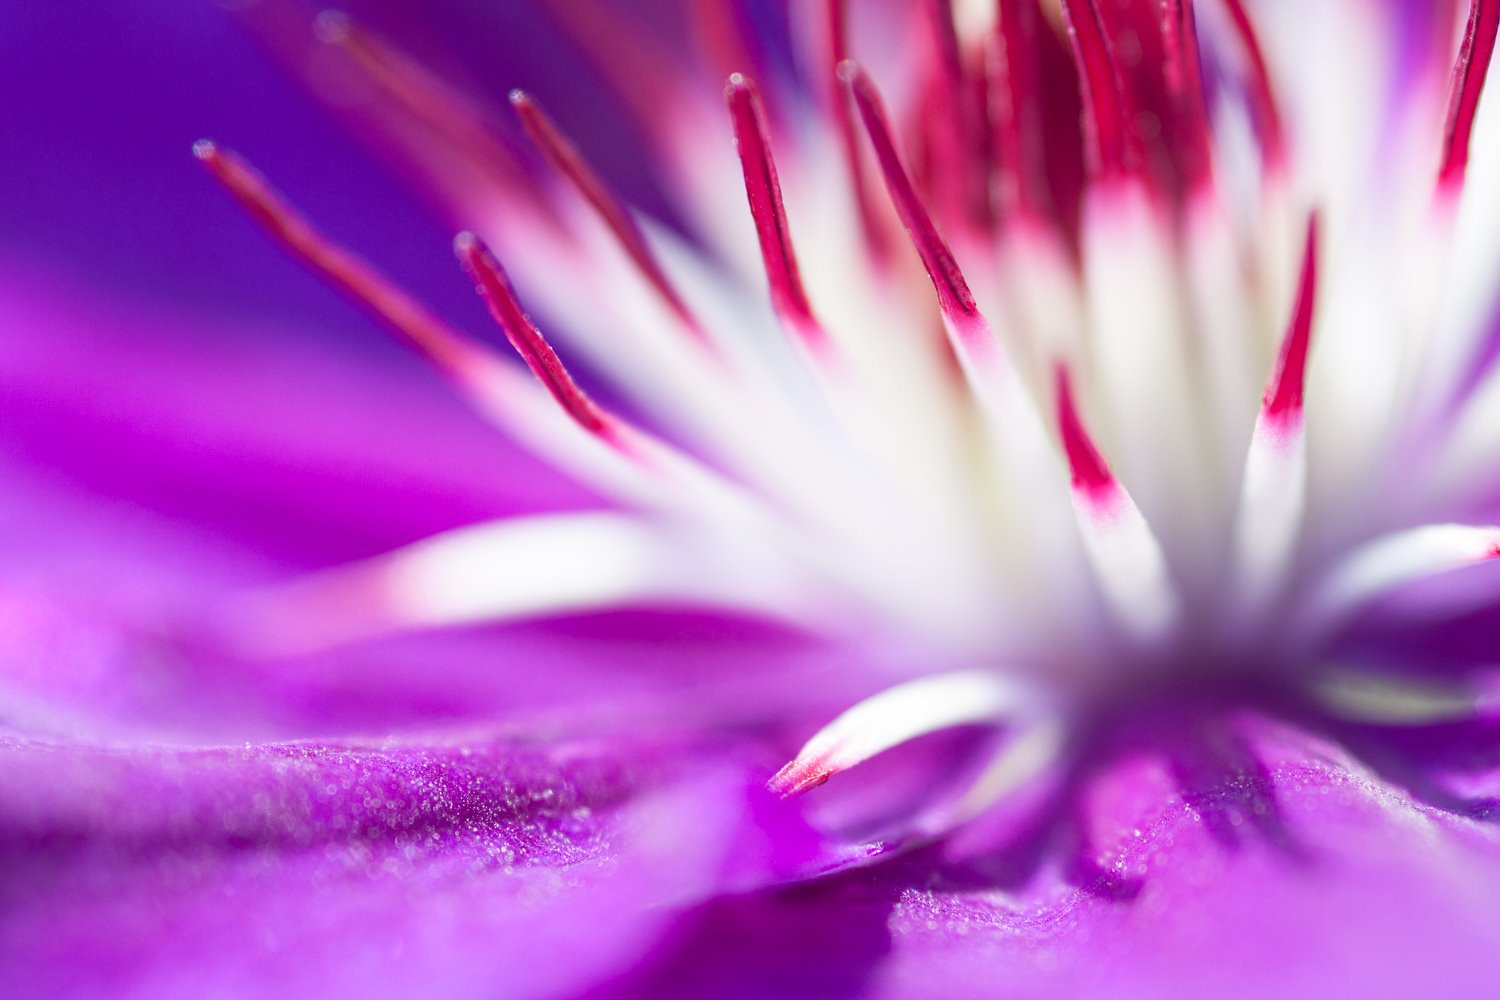 Close up macro photography of a Clematis flower showcasing the colors in soft light
21. How Do Sunny Mornings And Evenings Enhance Macro Photos?
The golden hours (the first hour or two after sunrise and the last hour or two before sunset) offer soft golden light that looks magnificent. Colors look beautiful, and you can create all sorts of interesting lighting effects.
Professional macro photographer Don Komarechka emphasizes that golden hour light enhances textures and adds warmth to macro subjects, making it an ideal time for capturing stunning images.
 Macro photography in the early morning light
22. When Should I Avoid Shooting Macro Photography?
Avoid shooting when the light is harsh (from a couple of hours after sunrise to a couple of hours before sunset, assuming you have no cloud cover). Midday is the absolute worst for macro photography, but a few hours to either side is also pretty bad. If you do have lots of cloud cover, then shooting at midday is completely fine.
23. What Tips Can Help Macro Photography Beginners?
- Get Close – and Go Even Closer: Don’t be afraid to push your lens to its limits.
- Carefully Position Your Subject for Maximum Impact: Composition is a huge deal.
- Increase the Distance Between Your Subject and the Background: Create a beautiful, blurred background.
- Frame Your Subject Against the Sky for Gorgeous Backgrounds: Get down low to frame your subject against the sky.
- Try Selective-Focus Techniques: Employ a wide aperture to create a shallow depth of field.
- Try Focus Stacking: Combine multiple images with different focus points to get the entire subject in focus.
- Try Freelensing for Creative Macro Photos: Disconnect your lens from your camera for unique effects.
- Use the Broken-Backlighting Technique for Beautiful Bokeh: Position yourself between the sun and your subject.
24. Why Is Getting Close Important In Macro Photography?
Getting close is important because macro photography is about showing your subject in a new light. According to a tutorial by Olympus, the closer you get, the more unfamiliar and artistic your subject appears, revealing details that are otherwise missed.
Challenge yourself each time you approach a subject. See how far your lens can go, and explore its potential.
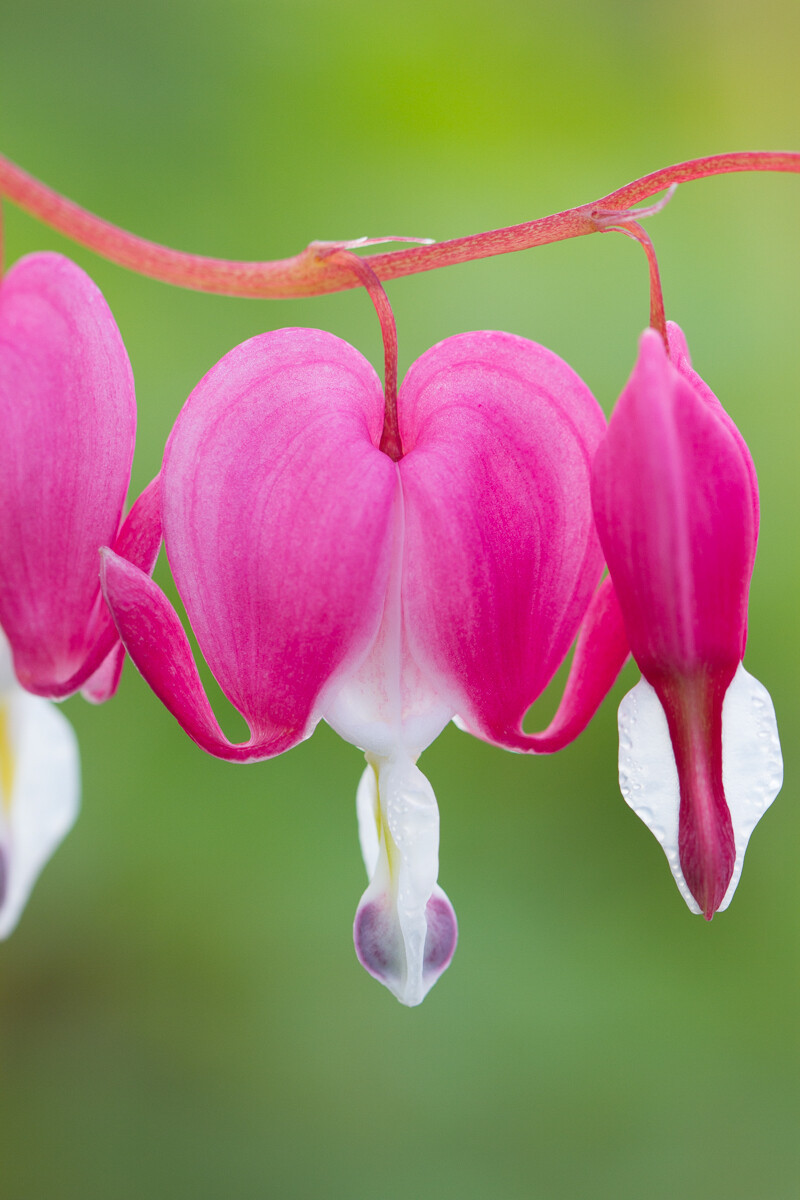 Centered macro photo of a bleeding heart flower
25. How Does Composition Enhance Macro Photography?
Composition in macro photography is a huge deal; by positioning your elements in different areas of the frame, you can achieve very different end results. In fact, composition can be the difference between a boring, snapshot-like image and a stunning, please-let-me-print-this-and-hang-it-on-my-wall image. (No joke.)
Start with the rule of thirds by positioning your subject a third of the way into the frame. Also, experiment with centered compositions, especially if you have a symmetrical subject.
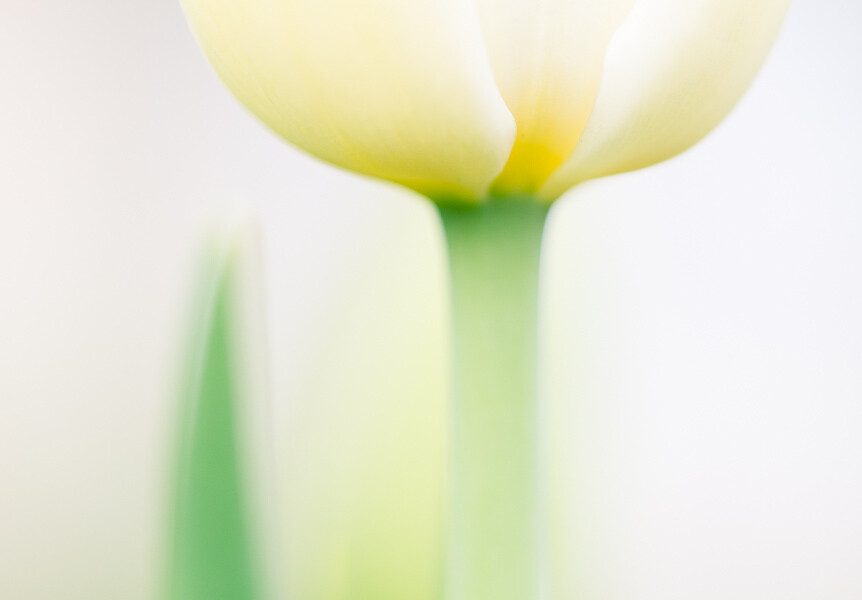 Macro photography of a tulip using soft focus
26. How Can I Create A Beautiful Blurred Background In Macro Photos?
Creating a beautiful blurred background involves using a wide aperture for a shallow depth of field and ensuring your subject is as far from the background as possible. According to insights from the Photography Department at Santa Fe University of Art and Design, increasing the distance between the subject and the background enhances the bokeh effect, making the subject stand out.
You can increase the subject-to-background distance in two main ways:
- Find a Subject Far from the Background: Find one that’s far from the trees or fence or grass behind it.
- Change Your Position: By getting down low to the ground, the area behind your subject will often change from the grass (near to your subject) and become distant trees or distant flowers (far from your subject).
 Macro photograph of grape hyacinths with a blurred background
27. How Does Framing A Subject Against The Sky Improve Macro Photos?
Framing your subject against the sky can create stunning backgrounds in macro photography. According to Nikon, photographing your macro subject against the orange or pink sky created by the setting sun provides a unique and eye-catching backdrop.
By carefully adjusting your camera angle, you can photograph your macro subject against the orange or pink sky created by the setting sun.
 Macro photograph of a dandelion seedhead against the sky
28. What Is Selective Focusing And How Is It Used In Macro Photography?
Selective focusing involves employing a wide aperture to create a shallow depth of field, then deliberately positioning the focus on a particular part of your subject. According to a study by Carl Zeiss AG, selective focus draws the viewer’s eye to the sharp detail of the chosen area, while the rest of the image blurs into a soft wash of color.
With selective focusing, you can adjust the focus to only highlight the edge of a petal.
29. How Can Focus Stacking Improve My Macro Images?
Focus-stacking involves capturing a series of images, each with a slightly different focus point. Using post-processing software, you can stack these images together to create a final file that displays your entire subject in sharp focus. According to Adobe, focus stacking is essential for achieving maximum sharpness in macro photography, especially when dealing with subjects that have significant depth.
One option is to narrow the aperture further, but not all lenses even offer apertures past f/16, plus an ultra-narrow aperture will lead to a phenomenon known as diffraction, which will soften your images.
30. What Is Freelensing And How Does It Create Creative Macro Photos?
Freelensing involves disconnecting your lens from your camera, then holding the detached lens up against the lens mount and tilting it back and forth as you take your shots. According to a tutorial by Lensbaby, freelensing creates effects similar to a tilt-shift lens, resulting in beautiful and mesmerizing background bokeh.
This maneuvering creates an effect similar to a tilt-shift lens – where the plane of focus hits the subject unevenly. One of the many advantages of freelensing is the ability to achieve close-up shots with a non-macro lens.
 Macro photography achieved through freelensing
31. How Does The Broken-Backlighting Technique Enhance Macro Photography?
Broken backlighting helps you create stunning macro images with spectacular bokeh. By positioning yourself between the sun and your potential subjects and adjusting your angle until there is something that breaks up the backlight, the small sources of light created by the broken backlight will turn into enchanting bokeh.
According to a study by Canon, broken backlighting enhances bokeh and creates enchanting backgrounds.
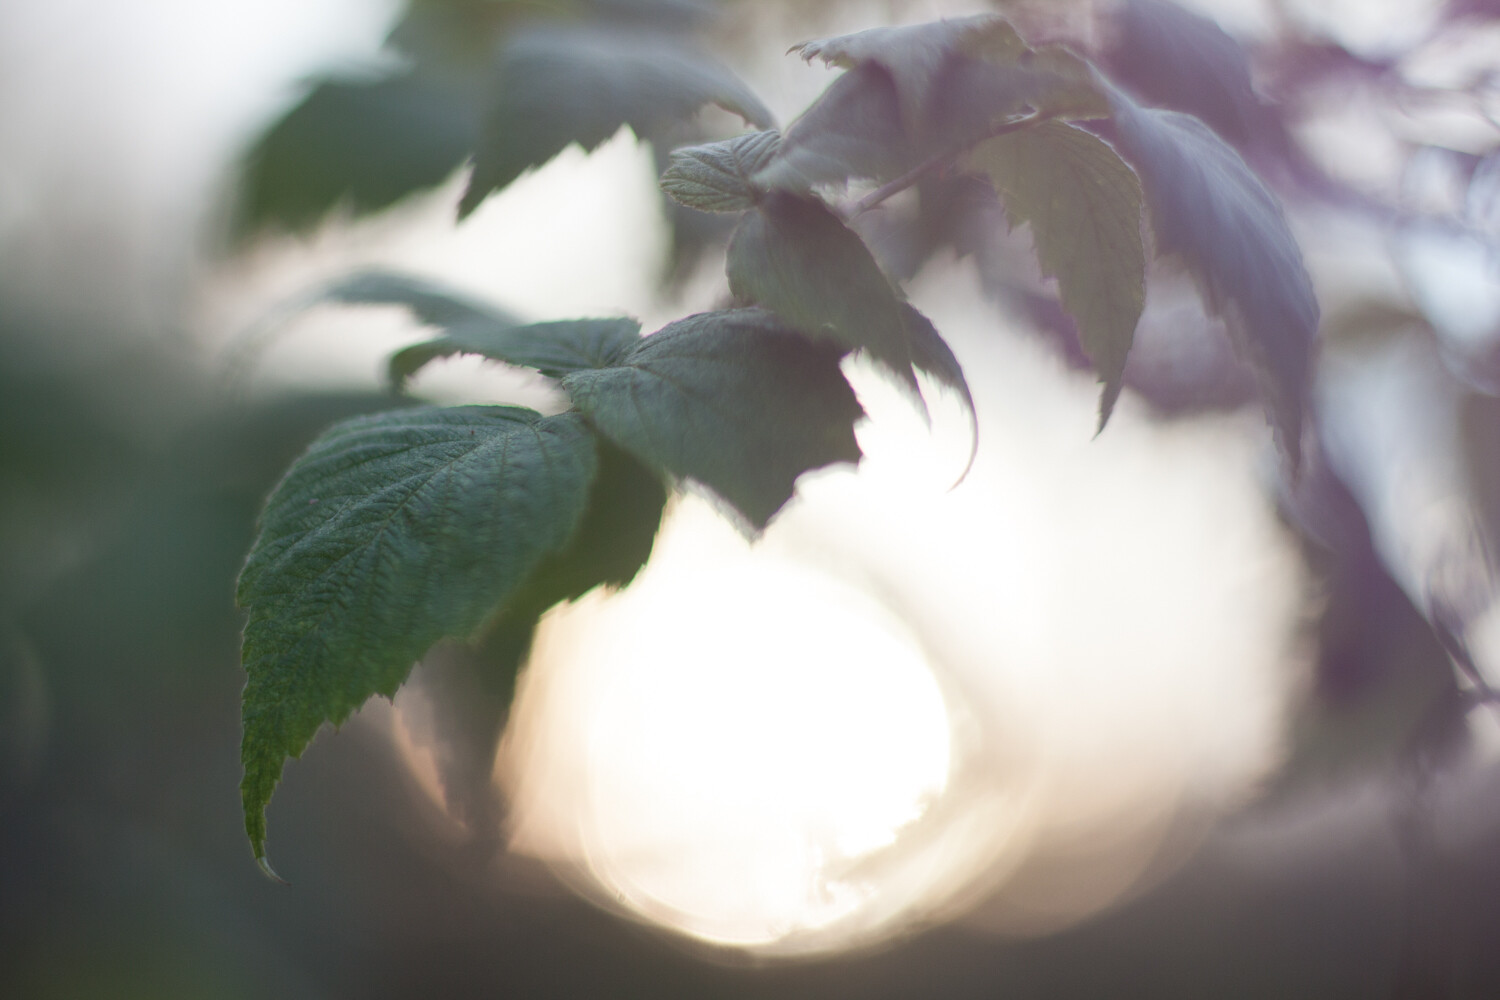 Macro photography using backlit leaves for interesting lighting effects
 Macro photography utilizing the broken-backlighting technique
32. What Is Super Macro Photography?
Super macro photography involves techniques that go beyond standard macro photography so you can capture subjects at even greater levels of magnification. According to a technical guide by the Royal Microscopical Society, super macro photography typically requires a controlled environment, a tripod, and artificial lighting.
Serious super macro photographers often use specialized lenses that offer ultra-high magnifications. But there’s another approach that doesn’t require a specific lens: a reverse-mounting technique.
Example of high-magnification in Super Macro Photography
33. FAQ: How To Take Macro Photos
- What is the best aperture for macro photography? The best aperture depends on the desired depth of field. Use a wide aperture (e.g., f/2.8) for a shallow depth of field or a narrow aperture (e.g., f/16) for a greater depth of field.
- Do I need a special lens for macro photography? While a dedicated macro lens is ideal, you can achieve macro effects with close-up filters, extension tubes, or reversing rings.
- How close should I get to my subject in macro photography? Get as close as your lens allows to capture the most detail, but be mindful of the minimum focusing distance.
- What lighting is best for macro photography? Natural light during cloudy days or golden hours (early morning and late afternoon) is ideal. Avoid harsh midday sunlight.
- How can I prevent camera shake in macro photography? Use a tripod or image stabilization features to minimize camera shake, especially at high magnifications.
- What are the best subjects for macro photography? Common subjects include flowers, insects, leaves, and small everyday objects.
- How do I focus in macro photography? Manual focus is often preferred for precise control. Use live view and zoom in to fine-tune the focus.
- What is focus stacking, and how is it used in macro photography? Focus stacking combines multiple images with different focus points to create a final image with a greater depth of field.
- How can I create a blurred background in macro photography? Use a wide aperture and increase the distance between the subject and the background.
- Is macro photography difficult to learn? Macro photography can be technically demanding but rewarding with practice and experimentation.
34. Elevate Your Macro Photography Skills with dfphoto.net
Macro photography is about more than just equipment; it’s about seeing the world from a fresh, intimate perspective. At dfphoto.net, you’ll find a wealth of resources to help you master the art of macro photography.
Explore detailed tutorials, gear reviews, and a vibrant community of photographers ready to share their knowledge and inspire your next project. Whether you’re looking to fine-tune your focus stacking techniques or discover new, creative approaches like freelensing, dfphoto.net has everything you need to elevate your macro photography.
Ready to transform your photography? Visit dfphoto.net today and unlock the hidden beauty of the miniature world.
Address: 1600 St Michael’s Dr, Santa Fe, NM 87505, United States
Phone: +1 (505) 471-6001
Website: dfphoto.net
Explore the dfphoto.net community, delve into detailed guides, and master the art of close-up photography. Discover macro techniques, experiment with lenses, and enhance your photography skills today!