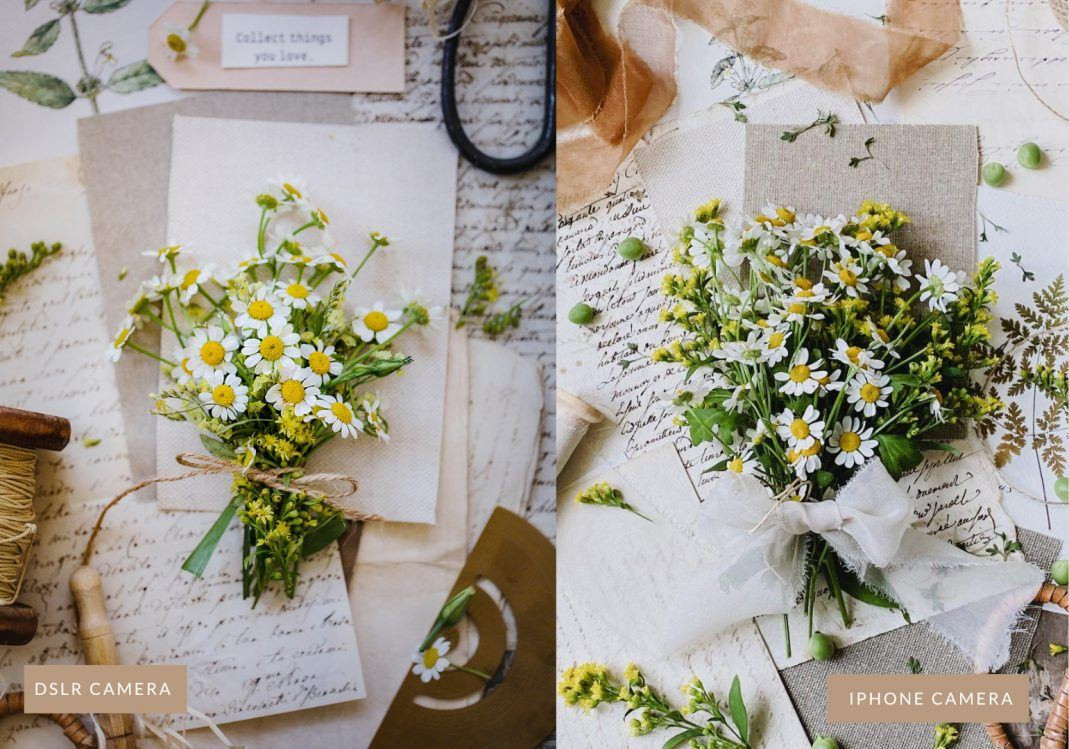
Tired of your iPhone photos not quite capturing the magic you see in real life? It’s a common frustration. Many people feel limited by their smartphone camera, but the truth is, iPhones are incredibly powerful photography tools in your pocket. For years, I leaned heavily on my DSLR for professional work, but the simplicity and speed of iPhone photography have completely won me over for personal projects. From vacation snapshots to everyday moments and even content for my blog and social media, my iPhone is now my go-to camera for capturing life’s moments effortlessly.
There’s a unique joy in iPhone photography. It’s less about technical perfection and more about creative expression and capturing the essence of a moment. The pressure to perform professionally melts away, allowing for playful experimentation and a more relaxed approach to photography. As my iPhone photography skills developed, I discovered that with the right techniques, you can consistently create truly beautiful and impactful images.
 A woman holding an iPhone taking a photo in a sunlit outdoor setting, emphasizing the ease and accessibility of iPhone photography.
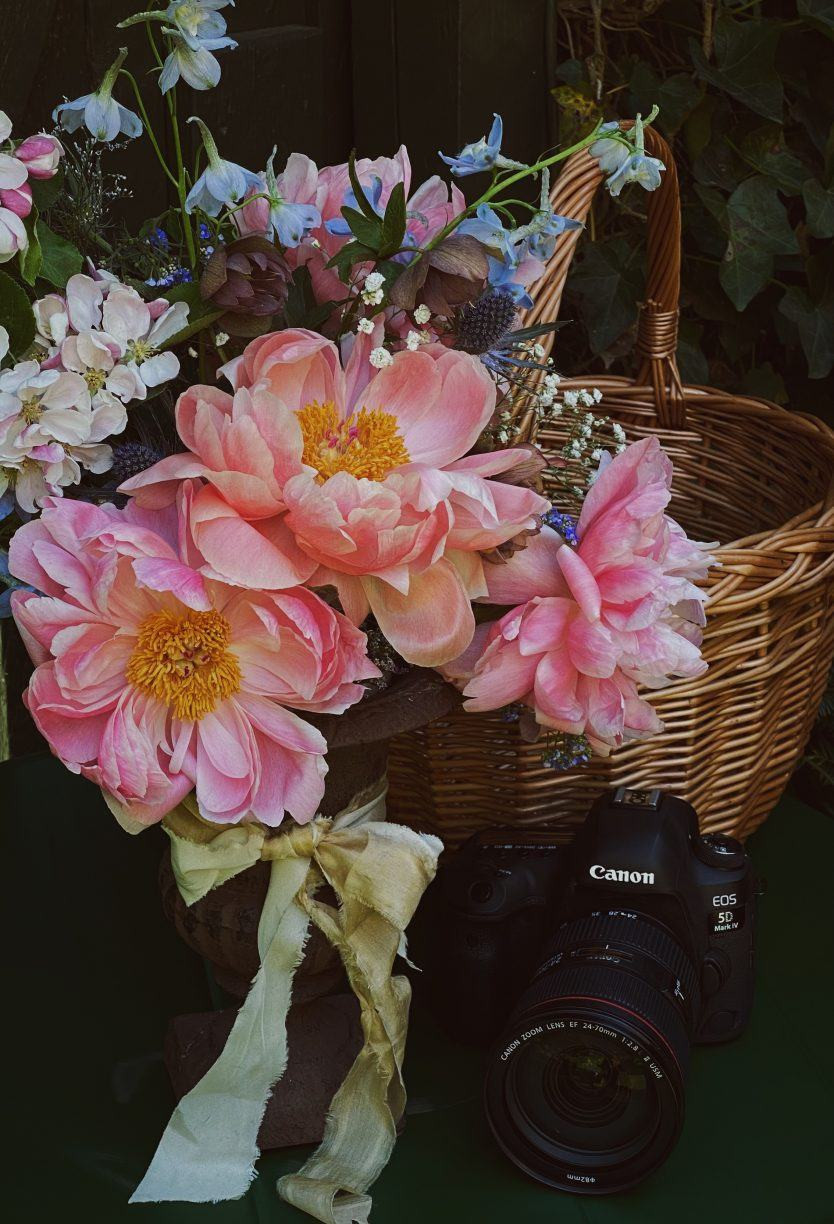
While my professional DSLR still holds a special place for specific projects demanding ultimate image quality and control, the iPhone offers a liberating simplicity. Sometimes, that streamlined workflow is exactly what creativity calls for. It’s about embracing the moment and capturing it beautifully, without the fuss.
One of my favorite iPhone photos ever taken was from a trip to Tuscany. Interestingly, I also photographed the same scene with my DSLR, but it was the iPhone version that truly captured the feeling of that moment. That was the turning point when I began to truly appreciate the potential of iPhone photography.
 A scenic landscape photo of Tuscany taken with an iPhone, showcasing the photographic potential of iPhones even in challenging lighting conditions.
Core Photography Principles Apply to iPhones Too
Even though an iPhone camera operates differently from a traditional DSLR or mirrorless camera, the fundamental principles of great photography remain the same. Elements like understanding light and shadow, mastering composition, thoughtful styling, compelling storytelling, and effective editing are just as crucial for stunning iPhone photos.
If you’re looking to deepen your understanding of these core photography principles, I encourage you to explore resources like my free 5-day photography course or my comprehensive program, The Lifestyle Photography Academy. These resources delve into the techniques that elevate any photograph, regardless of the camera used.
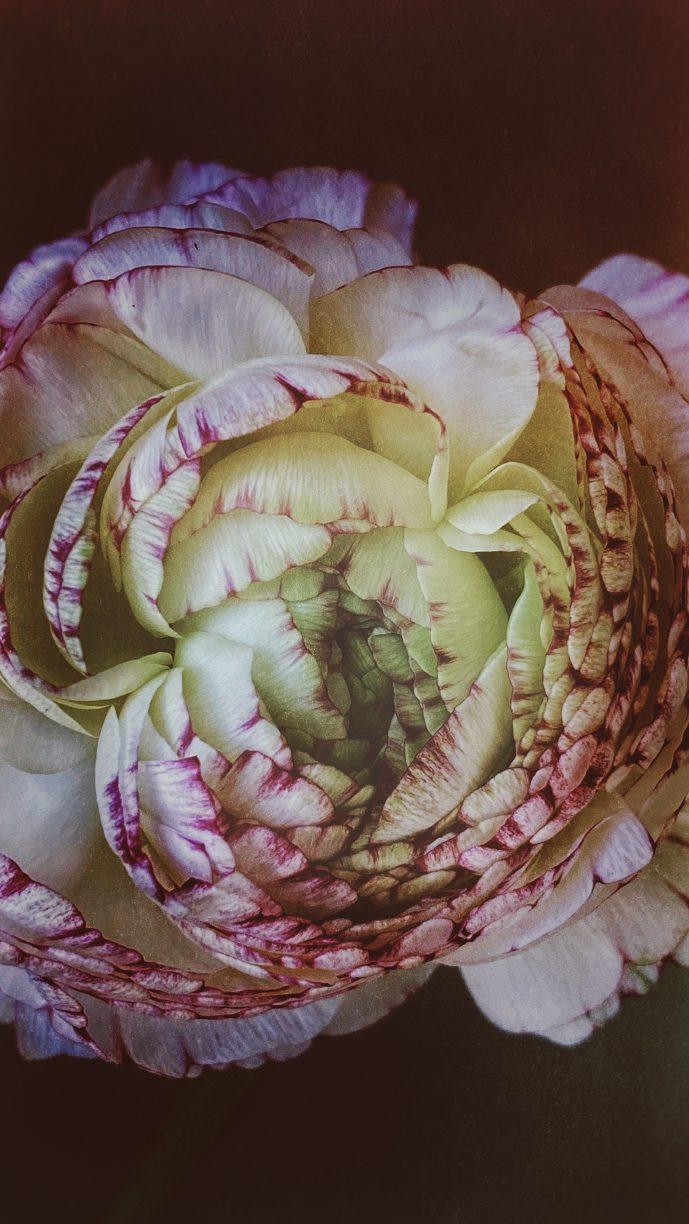
 A close-up portrait taken with an iPhone, highlighting the use of shallow depth of field to emphasize the subject, demonstrating composition in iPhone photography.
The distinct characteristic of iPhone photography lies in its unique aesthetic. Often, iPhone images can appear more realistic and sometimes flatter compared to the depth and dimension achievable with DSLRs and various lenses. However, with a few strategic adjustments and consistent practice, you can absolutely capture captivating and beautiful photos with your iPhone that rival images from larger cameras.
Does the iPhone Model Matter for Photo Quality?
 A hand holding an older model iPhone taking a photo outdoors, illustrating that even older iPhones can take good photos with proper technique.
Whether you’re using the latest iPhone model or an older version, the good news is that excellent iPhone photography is within reach. While newer iPhones often boast advanced camera features, even older models can capture impressive images, particularly in good lighting conditions.
It’s crucial to remember that the camera itself is merely a tool. Think of it like a paintbrush to an artist or a saucepan to a chef. The tool alone doesn’t create art or a delicious meal; it’s the artist’s vision, creativity, and experience that truly bring the creation to life.
 A hand holding an iPhone taking a photo of a brightly lit interior space, demonstrating the importance of lighting in iPhone photography regardless of the model.
The camera is simply a tool; your creativity is the true instrument for crafting beautiful photos.
 A person creatively composing a food photo with an iPhone, emphasizing the photographer's role in image creation over the camera itself.
Of course, a more advanced iPhone camera can offer advantages in terms of image quality and features, making the process of capturing high-quality images smoother and providing more creative possibilities. However, the fundamental truth remains: you are the creator of your images. Your unique perspective, your creative eye, your passions, experiences, and aesthetic vision are what truly shape your photography. The iPhone camera is simply a tool to help you express that vision.
Let’s explore 11 essential iPhone photography tips that will lay the foundation for consistently capturing beautiful and high-quality photos.
 A collage image showcasing various scenes ideal for iPhone photography, inviting readers to learn how to capture beautiful photos with their iPhones.
11 Essential iPhone Photography Tips
#1: Keep Your iPhone Updated
First and foremost, ensure your iPhone is always running the latest iOS update. Apple frequently includes camera improvements and optimizations in their software updates. Keeping your iPhone up-to-date is a simple yet crucial step in maximizing your camera’s potential.
 iPhone settings screen showing software update options, highlighting the importance of keeping iPhone software updated for camera improvements.
Beyond camera enhancements, regular updates also provide vital security patches and ensure compatibility with the latest apps. Enabling automatic iOS updates guarantees you’ll always have the newest features and security safeguards, along with the best possible iPhone camera performance.
#2: Optimize Your Photo Format Settings
Once your iPhone is updated, dive into your camera settings to fine-tune your photo format. iPhones offer two primary format options: High Efficiency (HEIF) and Most Compatible (JPEG).
 iPhone camera settings screen showing format options, explaining the choice between High Efficiency (HEIF) and Most Compatible (JPEG) formats.
Understanding HEIF vs. JPEG:
-
High Efficiency (HEIF): Introduced with iOS 11, HEIF utilizes advanced compression techniques to deliver comparable or even superior image quality to JPEG, but with significantly smaller file sizes. This means you can store more photos on your iPhone without consuming as much storage space. HEIF also supports advanced features like Live Photos and wider color ranges.
-
Most Compatible (JPEG): JPEG is a long-established, universal image format recognized by virtually all devices and software. While highly compatible, JPEGs are generally larger files than HEIFs, limiting storage capacity and potentially impacting sharing speeds.
HEIF is rapidly becoming the preferred format due to its efficient compression and quality. By choosing High Efficiency, you gain storage savings and potentially enhanced image quality.
 A close-up image demonstrating the high image quality achievable with HEIF format on iPhone, showcasing detail and clarity.
Benefits of Shooting in High Efficiency (HEIF):
- Superior Image Quality: HEIF often delivers richer detail and dynamic range compared to JPEG.
- Space-Saving: HEIF files are smaller, allowing you to store more photos.
- Non-Destructive Editing: HEIF is better suited for preserving image quality during editing.
- Wider Color Depth: HEIF supports up to 16-bit color, while JPEG is limited to 8-bit.
- Enables Advanced Features: HEIF is necessary for features like Live Photos.
How to Activate High Efficiency Format:
- Open Settings on your iPhone.
- Scroll down and tap on Camera.
- Tap on Formats.
- Select High Efficiency.
 iPhone settings screen highlighting the steps to select High Efficiency format, providing a visual guide to format setting adjustments.
#3: Leverage HDR for Balanced Lighting
HDR, or High Dynamic Range, is a powerful iPhone camera feature that dramatically improves photos, especially in scenes with challenging lighting. HDR mode captures a wider range of light and shadow detail than standard photos.
 A photo taken with HDR mode on iPhone, demonstrating balanced exposure in a high-contrast lighting situation, showcasing the benefits of HDR.
When HDR is enabled, your iPhone rapidly captures multiple images at different exposures—one correctly exposed, one underexposed, and one overexposed. It then intelligently merges these images into a single photo, resulting in a final image with enhanced detail in both bright highlights and deep shadows. This is particularly useful in situations where there’s a significant difference between the brightest and darkest areas of your scene.
How to Use HDR on Your iPhone:
- Open Settings and navigate to the Camera app.
- Toggle the HDR button to the “On” position. (In some iPhone models, HDR might be automatically applied intelligently.)
With HDR activated, your iPhone will automatically analyze the scene and apply HDR processing when it detects a high-contrast situation, ensuring your photos capture the full range of light and detail.
 A before-and-after comparison showing the effect of HDR on an iPhone photo, visually demonstrating the improvement in dynamic range and detail.
#4: Master Your iPhone Grip for Sharpness
Camera shake is a common culprit for blurry photos, especially with smartphones. Holding your iPhone correctly is essential for achieving sharp, clear images.
The most effective way to stabilize your iPhone is to tuck your elbows in towards your body and use both hands to hold the phone. This creates a steadier base and minimizes movement.
It’s natural to hold your phone extended in front of you with arms outstretched, but this posture makes the camera more susceptible to hand tremors and even subtle movements from breathing. Practice keeping your elbows close to your body and controlling your breathing while taking a shot.
For even greater stability, utilize your surroundings. Lean against a wall, tree, or sturdy object whenever possible. Resting your iPhone on a stable surface like a table, ledge, or even a book can also drastically reduce camera shake.
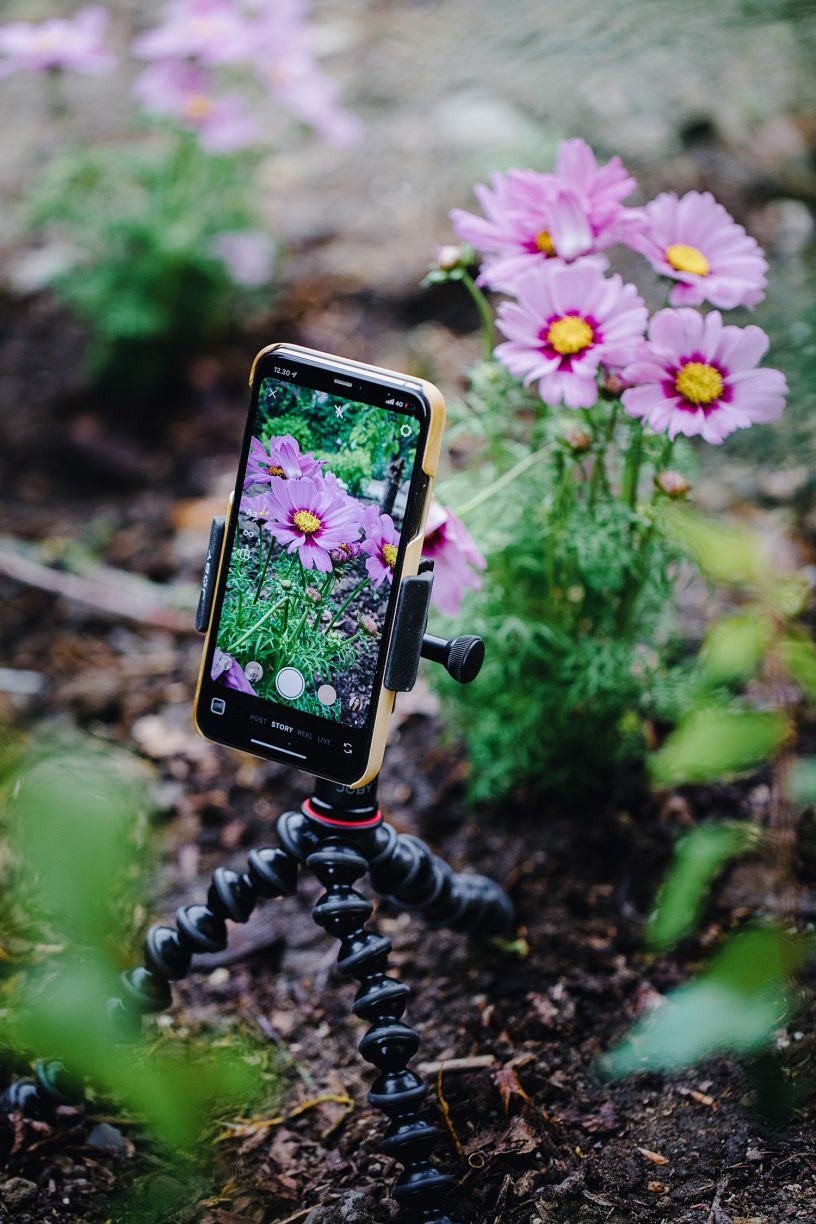
For absolute stillness, especially in low-light situations, consider using a tripod with an iPhone mount and utilize the self-timer function. The self-timer (3 or 10-second intervals) eliminates any physical contact with the phone during the shot, guaranteeing maximum sharpness.
 A person demonstrating the correct way to hold an iPhone for photography, highlighting stable grip and elbow positioning for minimizing camera shake.
#5: Avoid Digital Zoom: Use Your Lenses Instead
Newer iPhones boast multiple lenses, offering true optical zoom capabilities. Utilize these lenses instead of relying on digital zoom, which degrades image quality.
Your iPhone camera app typically displays zoom options like “1x” (standard wide lens), “0.5x” (ultrawide lens), and “2x” or “3x” (telephoto lens, depending on your model). These optical lenses provide different perspectives and magnifications without sacrificing image quality. Experiment with each lens to discover their unique effects.
While iPhones also offer a pinch-to-zoom feature on the screen (digital zoom), this method essentially crops and enlarges the image digitally. Digital zoom often results in pixelation and a loss of detail, especially at higher zoom levels.
 A comparison image demonstrating the difference between optical zoom and digital zoom on iPhone, showing the quality loss with digital zoom.
#6: Keep Your iPhone Lens Clean
A seemingly obvious yet frequently overlooked tip: always ensure your iPhone lens is clean. A smudged or dirty lens can significantly reduce image clarity and sharpness.
Our iPhones are constant companions, exposed to pockets, bags, and our hands throughout the day. It’s easy for the lens to accumulate fingerprints, dust, or grime. If you notice your photos appearing blurry or hazy, especially in bright light, a dirty lens is often the culprit.
 A close-up of an iPhone lens being cleaned with a microfiber cloth, emphasizing the importance of a clean lens for sharp photos.
Carry a small microfiber cloth to regularly clean your iPhone lens. A quick wipe before shooting can make a noticeable difference in image quality.
#7: Front Camera for Superior Quality (and Creative Selfies)
For the absolute best image quality, especially in challenging lighting, utilize the front-facing camera (the one on the back of your iPhone). While the selfie camera (front-facing screen-side camera) is convenient for quick self-portraits, the rear camera generally boasts superior sensors and lens quality.
While selfie mode is handy, for portraits of yourself, consider using the rear camera in conjunction with the self-timer and a tripod or a mirror. This setup allows you to leverage the higher quality lens for self-portraits and group photos, especially in less-than-ideal lighting conditions.
 A person using the rear camera of an iPhone for a self-portrait with a tripod, demonstrating the technique for higher quality self-portraits.
#8: Master Focus for Sharp Subjects
Your iPhone camera’s autofocus is generally reliable, but it doesn’t always pinpoint your intended subject. Take control of focus by manually tapping on the screen where you want the focus to be sharpest.
Tapping on your desired focus point on the iPhone screen will display a yellow focus square, indicating the area where the camera is now focusing. This ensures your chosen subject is tack-sharp.
For situations where you want to maintain focus on a specific subject even as you recompose your shot, utilize AF/AE lock. Tap and hold on your subject on the screen for a couple of seconds until you see “AE/AF LOCK” appear at the top. This locks both autofocus and autoexposure, allowing you to move your camera to reframe your composition without the focus shifting.
 iPhone screen showing the tap-to-focus feature with a yellow square, illustrating how to manually set focus on iPhone.
#9: Adjust Exposure for Perfect Brightness
While iPhones excel at automatic exposure, sometimes you need to fine-tune the brightness of your photos. Exposure control allows you to adjust how much light the camera captures, influencing the overall brightness of your image.
After tapping to set focus, a small sun icon will appear next to the focus square. Swipe up on this icon to brighten the image or swipe down to darken it. Experiment with exposure adjustments to achieve the desired mood and detail in your photos.
For consistent exposure across a series of shots, use the AE/AF lock as described in tip #8. Locking exposure ensures consistent brightness, especially useful for video recording or capturing multiple photos of the same scene.
 iPhone screen showing the exposure adjustment feature with the sun icon and swipe gesture, demonstrating how to control brightness on iPhone photos.
#10: Avoid Overexposure: Preserve Image Detail
When editing photos, it’s generally easier to recover detail in underexposed (darker) areas than in overexposed (blown-out bright) areas. Overexposed areas often lose detail permanently, appearing as pure white with no texture.
To prevent overexposure, especially in bright sunlight, tap on the brightest area of your scene on the iPhone screen. This will often prompt the camera to adjust exposure and prioritize detail in the highlights.
For intentionally darker, moodier photos, tap and hold to lock focus and exposure (AE/AF lock), then swipe down on the exposure icon to darken the image. Experiment with different areas of the scene to tap on to achieve the desired exposure and mood.
 A photo demonstrating overexposure and underexposure, highlighting the importance of correct exposure for preserving image detail in iPhone photography.
#11: Portrait Mode Beyond Portraits: Creative Still Life
iPhone Portrait mode isn’t just for people! It’s a versatile tool for creating beautiful shallow depth-of-field effects in still life, food, and product photography, mimicking the look of DSLR images.
Portrait mode blurs the background, drawing attention to your subject and creating a professional-looking aesthetic. Experiment with Portrait mode for capturing details in everyday objects, food close-ups, or even nature shots.
 A still life photo of a Christmas ornament taken in iPhone Portrait mode, showcasing the blurred background effect and creative use of Portrait mode.
When using Portrait mode, ensure you’re not holding your iPhone too close to your subject. If the background blur effect isn’t appearing, step back slightly and try again. Tap on your subject to ensure focus is correctly set.
 A food photo taken in iPhone Portrait mode, demonstrating the blurred background effect and its effectiveness in food photography.
Bonus Tip: The Power of Editing
Finally, remember that almost every photo can benefit from some level of editing. Editing is not about fixing mistakes; it’s about enhancing your images and bringing them closer to your creative vision.
Editing can transform a photo from ordinary to extraordinary. It allows you to refine colors, adjust brightness and contrast, sharpen details, and create a polished final image.
The built-in photo editor on your iPhone is a great starting point. Open any photo, tap “Edit” in the top right corner, and explore the adjustment tools. Experiment with subtle tweaks to brightness, contrast, saturation, and sharpness to see how they impact your photos. Even minor adjustments can dramatically improve your iPhone photography.
With Love,
Christina
Ready to take your iPhone photography to the next level? Discover more of my best photography tips in my FREE 5-day online course. Download it now and start creating more beautiful photos today!