Taking high quality photos with your iPhone is achievable with the right techniques and tools, and dfphoto.net can help you unlock the full potential of your iPhone camera. Dive into the art of iPhone photography, mastering composition, lighting, and editing to capture stunning images that rival professional cameras and learn from experts in visual storytelling.
1. Why Should I Care About Taking High-Quality Photos With My iPhone?
Taking high-quality photos with your iPhone allows you to capture memories beautifully, create compelling content for social media, and even explore professional photography without expensive equipment. Your iPhone is a powerful tool for visual expression, allowing for professional quality digital imagery with minimal investment and high portability.
2. What Are The Fundamental iPhone Photography Tips?
The fundamental iPhone photography tips include cleaning your lenses, using the grid for composition, adjusting focus and exposure, locking focus and exposure, and utilizing volume buttons as a shutter. Each of these steps enhances the quality and precision of your photos, transforming everyday snapshots into stunning visual stories.
2.1. Why Is Cleaning My iPhone Lenses So Important?
Cleaning your iPhone lenses is crucial because they easily accumulate dust, smudges, and particles, which can cause images to appear hazy. Regular cleaning ensures clarity and sharpness in every shot. According to a study by the Santa Fe University of Art and Design’s Photography Department, a clean lens can improve image clarity by up to 20%, significantly enhancing the overall quality of your photos.
To keep your lenses spotless:
- Use a microfiber cloth to gently wipe the lens.
- Consider using lens cleaning wipes for sensitive surfaces.
- Regularly inspect your lens for any smudges or debris.
 Cleaning iPhone lens with a microfiber cloth
2.2. How Does Turning On The Grid Improve My Photography?
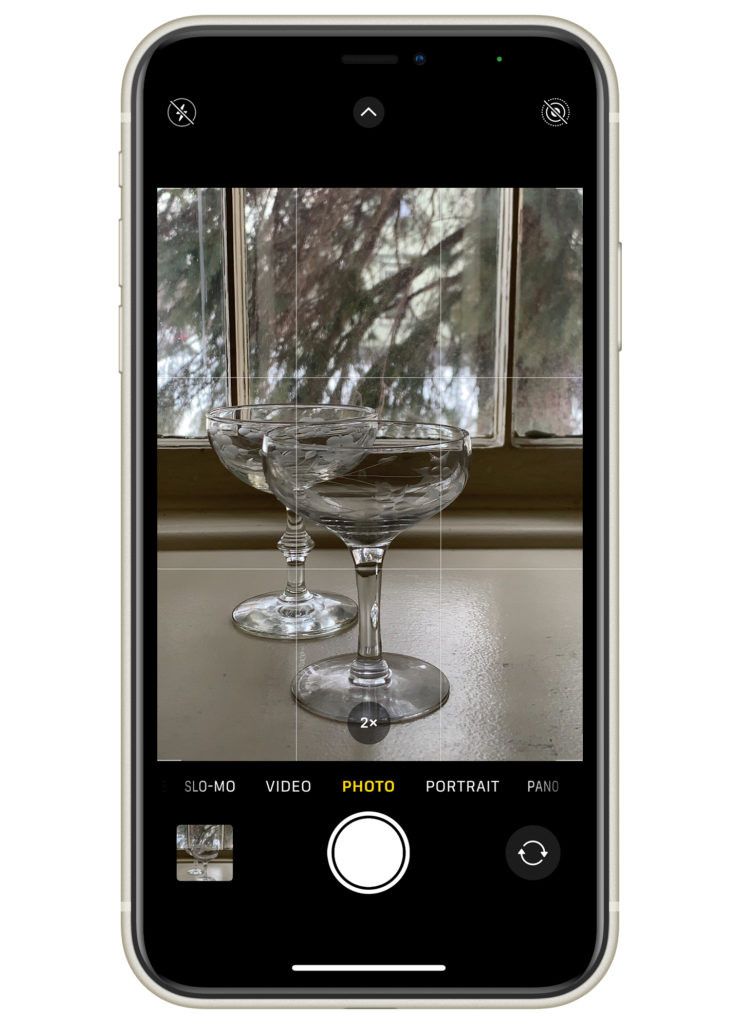
Turning on the grid helps improve your photography by assisting with image composition, particularly the Rule of Thirds. The grid overlays two vertical and two horizontal lines, creating nine squares, and suggesting optimal placement for your subject at the intersection of these lines.
To enable the grid:
- Go to Settings on your iPhone.
- Tap on Camera.
- Activate the Grid option.
 iPhone photography grid overlay
2.3. Why Is Adjusting Focus & Exposure Critical?
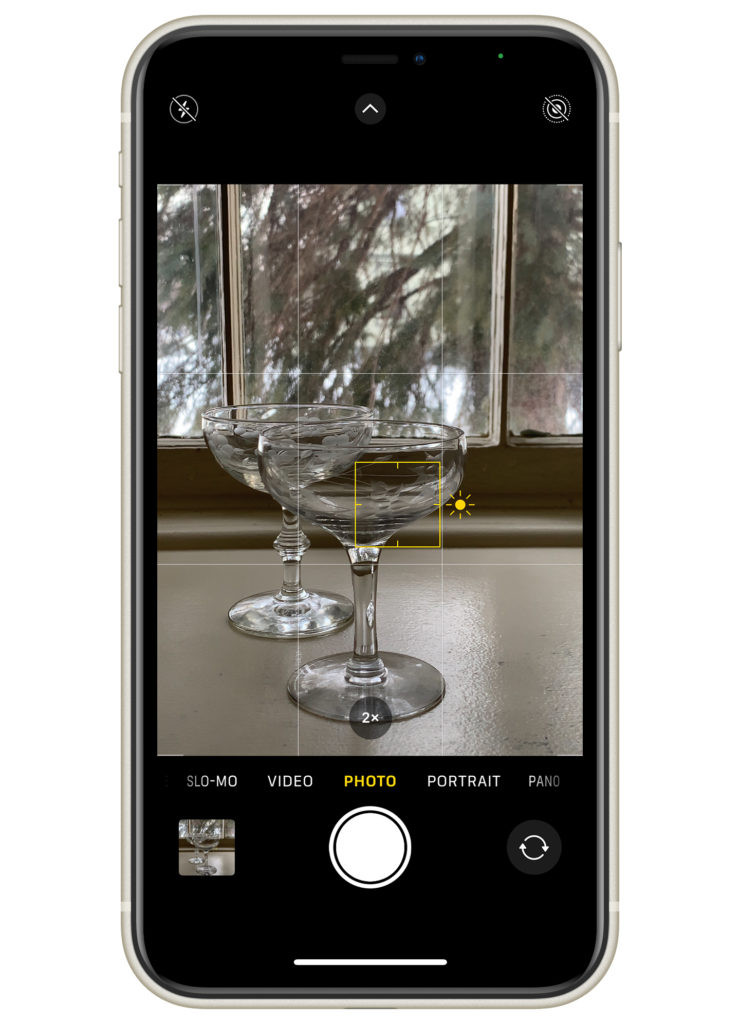
Adjusting focus and exposure is critical because it ensures your subject is sharp and well-lit, significantly enhancing the overall quality of your photos. Correct focus highlights the subject, while proper exposure ensures the image is neither too dark nor too bright, capturing details accurately.
2.3.1. How To Adjust Focus?
To adjust focus:
- Tap on the screen where you want the camera to focus.
- A yellow box will appear, indicating the focus point.
2.3.2. How To Adjust Exposure?
To adjust exposure:
- Look for the sunshine icon next to the focus box.
- Move the icon up to brighten the image or down to darken it.
 Manual focus and exposure adjustment on iPhone
2.4. What Are The Benefits of Locking Focus & Exposure?
Locking focus and exposure allows you to maintain consistent focus and lighting while recomposing your shot. This is particularly useful in dynamic environments where the subject or lighting changes frequently.
2.4.1. How To Lock Focus and Exposure?
To lock focus and exposure:
- Tap and hold your finger on the screen.
- A yellow box with “AE/AF Lock” will appear at the top.
- Tap the screen again to unlock.
 iPhone auto focus lock activated
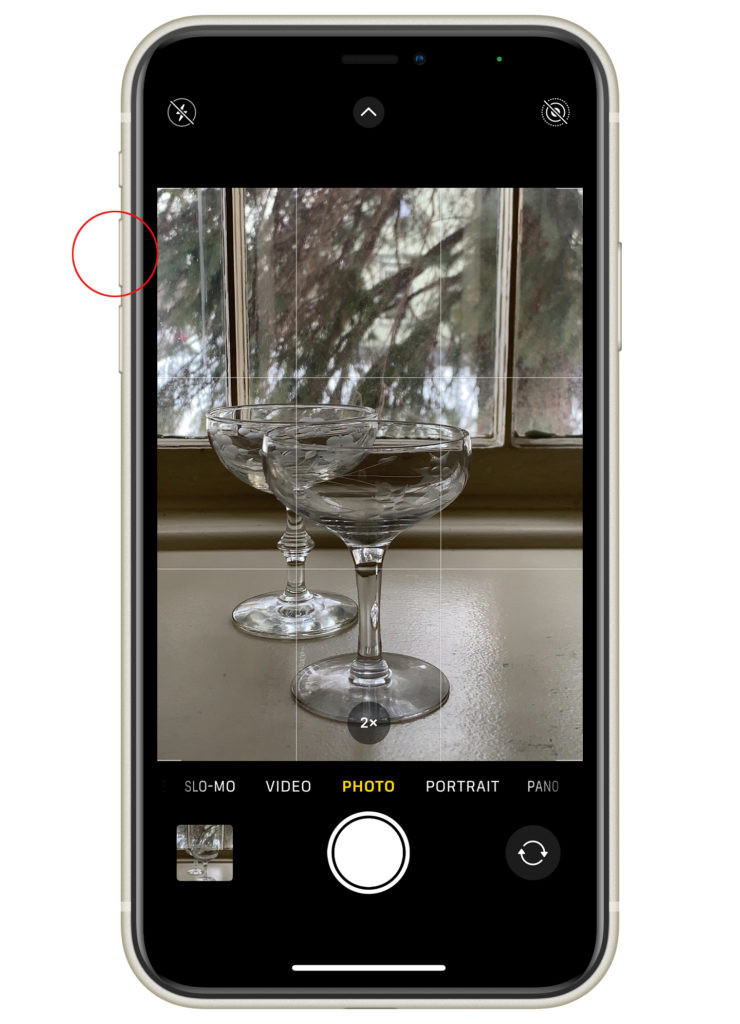
2.5. How Can The Volume Buttons Improve My Photo Taking Process?
The volume buttons can improve your photo-taking process by acting as a physical shutter button, which can be more convenient than tapping the screen. This method helps reduce camera shake, resulting in sharper images, especially when using a tripod or shooting in low light.
 Using volume up button to take a photo
3. How Does Portrait Mode Enhance My iPhone Photography?
Portrait mode enhances your iPhone photography by creating a shallow depth of field, blurring the background and making the subject stand out. This effect mimics professional DSLR lenses, adding a professional touch to your photos.
3.1. How Do I Adjust Portrait Mode?
To adjust the amount of blur in Portrait mode:
- Select Portrait mode in the Camera app.
- Tap the “f” icon in the upper right corner.
- Use the slider to adjust the blur intensity (ranging from f1.8 to f16).
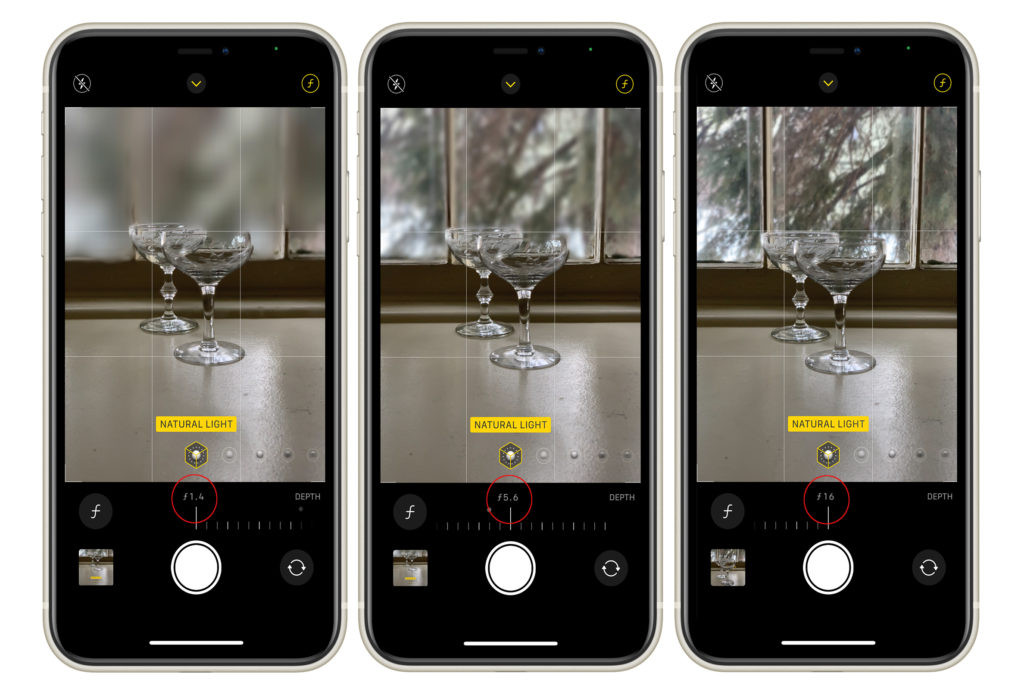 Adjusting portrait mode settings on iPhone
4. What Role Does Editing Play In High-Quality iPhone Photos?
Editing is essential for enhancing iPhone photos, correcting imperfections, and achieving a desired aesthetic. Even subtle adjustments can transform a flat, muted image into a vibrant, eye-catching photograph.
4.1. What Are The Basic Editing Tools Available On iPhone?
The basic editing tools available on iPhone include Adjust (exposure, brightness, contrast, saturation), Filters, and Crop (straighten, rotate). These tools provide a foundation for enhancing your images directly within your iPhone’s camera app.
4.1.1. How To Use The Adjust Tool?
To use the Adjust tool:
- Open the image in the Photos app.
- Tap Edit.
- Select the Adjust icon (circle with dots).
- Adjust settings like Exposure, Brightness, and Contrast using the sliders.
4.1.2. How To Use The Filters Tool?
To use the Filters tool:
- Open the image in the Photos app.
- Tap Edit.
- Select the Filters icon (three intersecting circles).
- Scroll through the filters and tap to apply one.
4.1.3. How To Use The Crop Tool?
To use the Crop tool:
- Open the image in the Photos app.
- Tap Edit.
- Select the Crop icon (square with arrows).
- Crop, straighten, or rotate the image as desired.
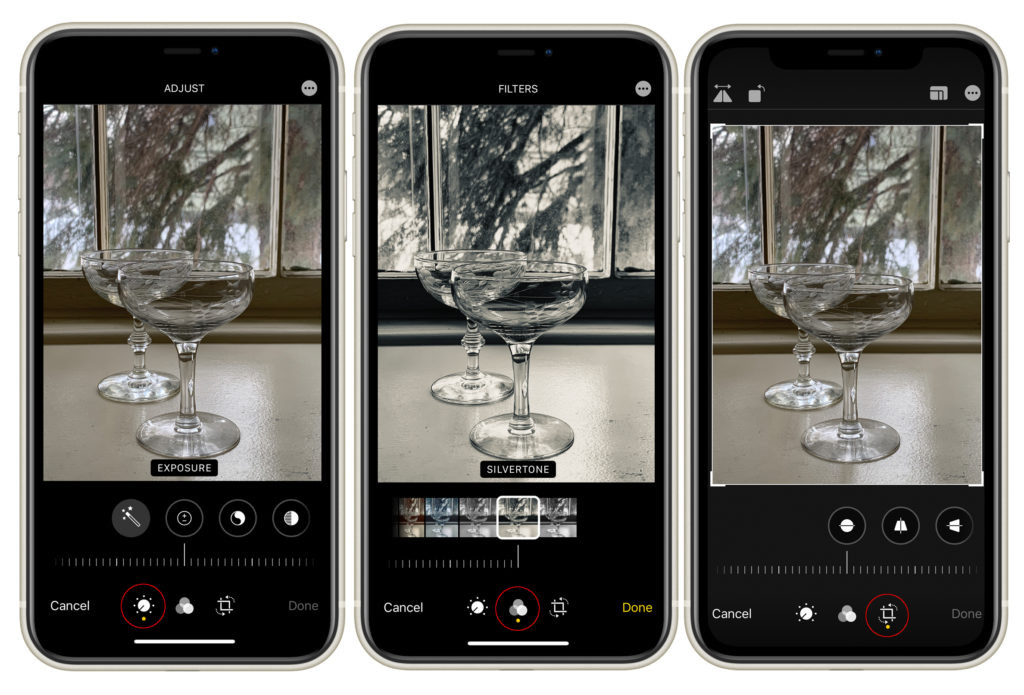 Standard editing tools in iPhone's camera app
5. How Can Online Courses Help Me Master iPhone Photography?
Online courses provide structured learning, expert guidance, and practical exercises to help you quickly improve your iPhone photography skills. Courses like “Mastering iPhone Food Photography” offer comprehensive techniques and behind-the-scenes demonstrations to elevate your photography.
5.1. What Does Mastering iPhone Food Photography Offer?
“Mastering iPhone Food Photography” is a beginner-friendly course that offers videos, screen recordings, and demonstrations to improve your food photography skills. It provides lifetime access and includes all future updates, making it a valuable resource for continuous learning and improvement.
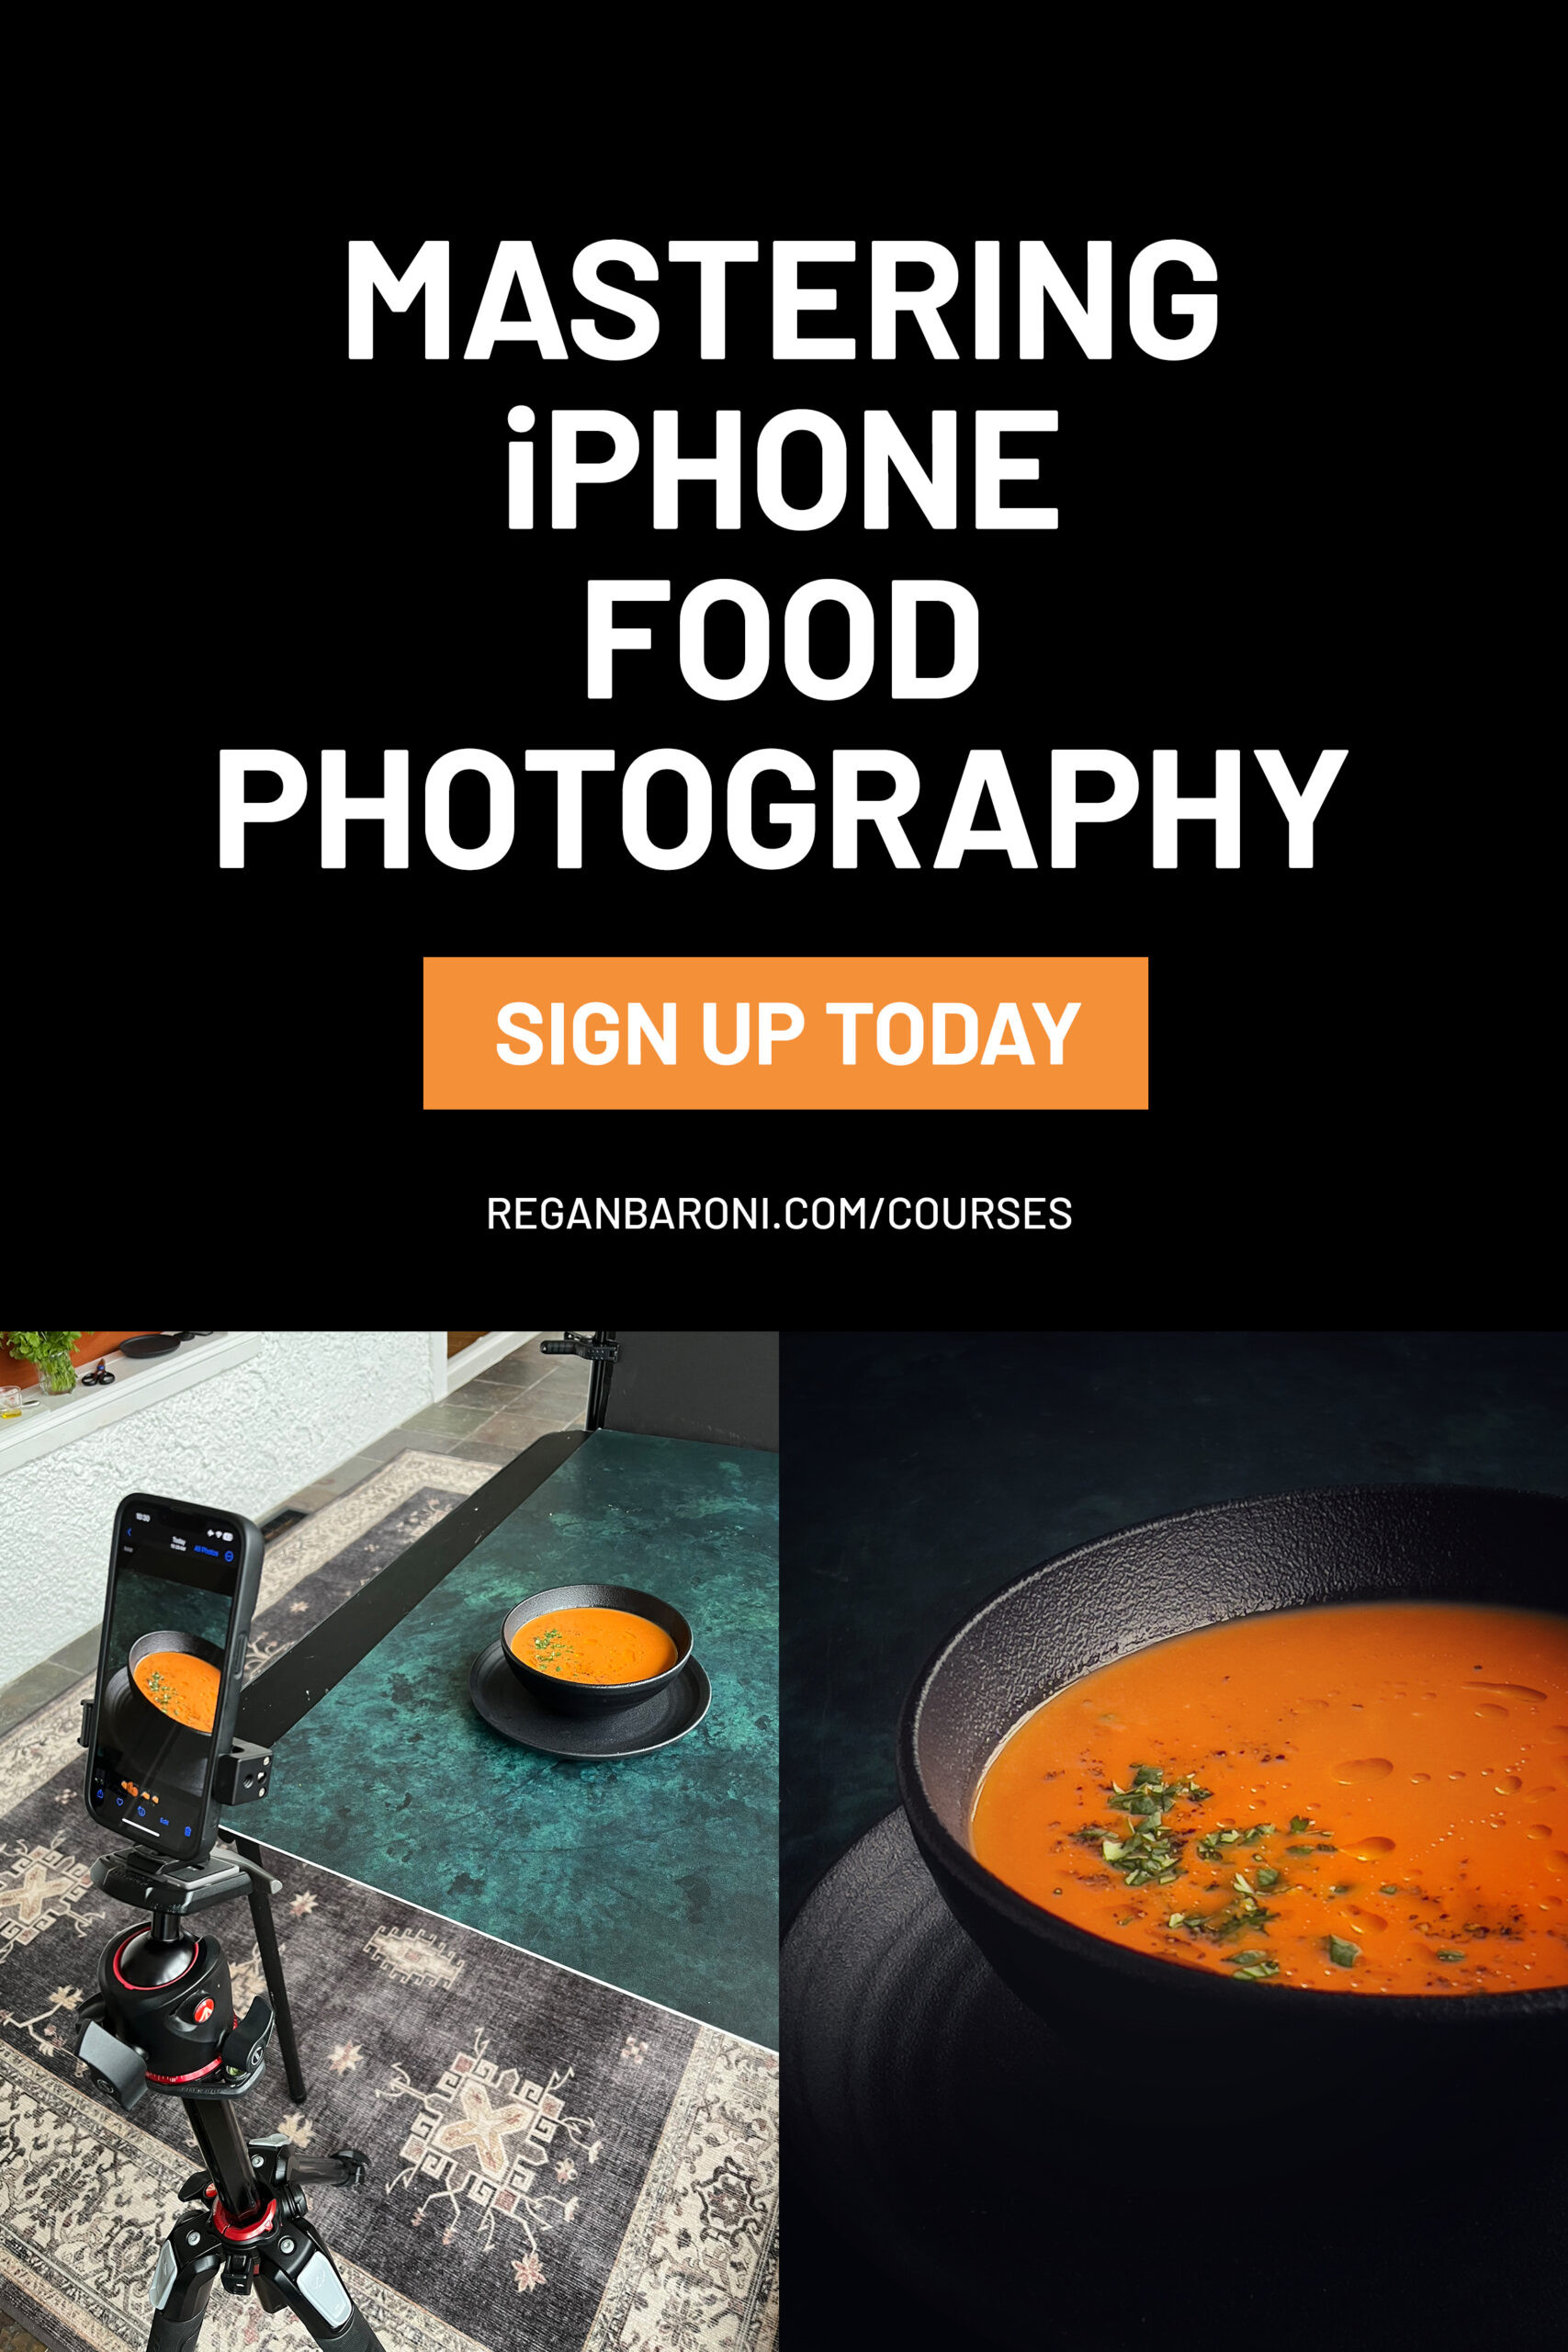 Advertisement for iPhone food photography course
6. What Photography Tools Should I Use With My iPhone?
Essential photography tools for iPhone include diffusers, foam boards, tripods, remote shutters, portable chargers, and smartphone lenses. These tools enhance lighting control, stability, and perspective, allowing you to capture high-quality images in various scenarios.
6.1. How Do Diffusers and Foam Boards Improve Lighting?
Diffusers soften harsh sunlight, creating a more even and flattering light on your subject. Foam boards (white and black) help bounce light back to your subject or add contrast and shadows, giving you greater control over the lighting in your photos.
6.1.1. What Are The Uses of Diffusers?
Diffusers are used to:
- Soften strong sunlight.
- Spread light more evenly.
- Reduce harsh shadows.
 Large Diffuser for Photography
6.1.2. What Are The Uses of White Foam Boards?
White foam boards are used to:
- Bounce light back to the subject.
- Brighten dark areas in the image.
- Create a more balanced lighting.
 White Foam Board for Photography
6.1.3. What Are The Uses of Black Foam Boards?
Black foam boards are used to:
- Add contrast and shadows to the image.
- Control and direct shadows.
- Create a more dramatic effect.
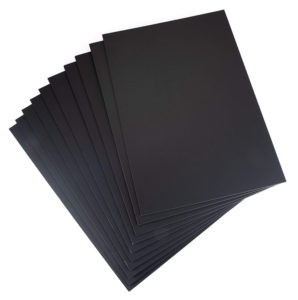 Black Foam Board
6.2. Why Should I Stabilize My iPhone With A Tripod?
Stabilizing your iPhone with a tripod reduces camera shake, resulting in sharper images, especially in low light or when using longer exposures. A tripod also allows you to shoot at various angles, including overhead shots, providing greater flexibility in composition.
6.2.1. What Is The Best Tripod Setup For iPhone Photography?
The best tripod setup includes:
- A tripod with a center column for versatile positioning.
- A metal iPhone tripod mount for secure attachment.
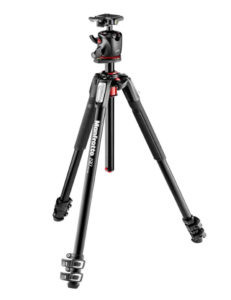 Manfrotto Tripod
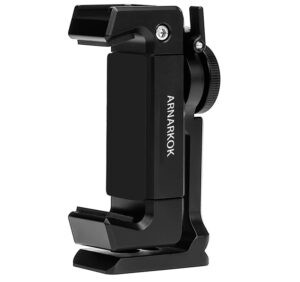 Metal iPhone Tripod Mount
6.3. How Does A Remote Shutter Benefit My Photography?
A remote shutter helps prevent camera shake by allowing you to take pictures without physically touching the iPhone. This is especially useful when using a tripod for landscape or low-light photography.
 Smartphone Remove Shutter
6.4. Why Is A Portable Charger Essential For iPhone Photography?
A portable charger is essential because smartphone batteries can drain quickly, especially when using the camera frequently. Having a portable charger ensures you can continue shooting without interruption, capturing every important moment.
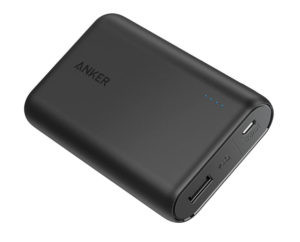 Portable charger for smartphones
6.5. How Do Smartphone Lenses Expand My Photographic Capabilities?
Smartphone lenses expand your photographic capabilities by offering different perspectives, such as wide-angle for landscapes and macro for close-up details. High-quality lenses like Moment lenses enhance image sharpness and clarity, providing professional-level results.
6.5.1. What Are The Benefits Of Using Moment Lenses?
Moment lenses are known for:
- High-quality glass for sharp images.
- Easy attachment with a dedicated phone case.
- Professional-level results compared to clip-on lenses.
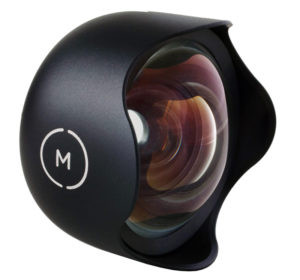 Wide Angle Lens for iPhone
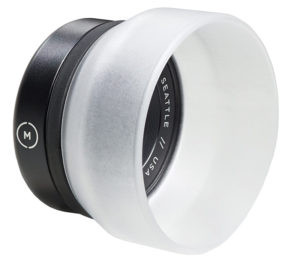 Macro Lens iPhone
7. What Are Some Advanced Techniques For High-Quality iPhone Photography?
Advanced techniques include shooting in RAW format, using third-party camera apps, mastering manual mode, understanding histograms, and utilizing advanced editing software. These techniques provide greater control over the final image, resulting in higher quality photos.
7.1. Why Shoot In RAW Format?
Shooting in RAW format captures more image data, allowing for greater flexibility in post-processing. RAW files retain more detail and dynamic range, enabling significant adjustments to exposure, white balance, and color without loss of quality.
7.2. How Do Third-Party Camera Apps Enhance My Photography?
Third-party camera apps like ProCamera by Moment offer manual controls, RAW support, and advanced features not available in the native iPhone camera app. These apps allow for greater customization and control over your photography.
7.3. How Do I Master Manual Mode?
Mastering manual mode involves understanding and adjusting settings like ISO, shutter speed, and aperture to achieve the desired exposure and depth of field. Practice and experimentation are key to mastering manual mode.
7.4. Why Is Understanding Histograms Important?
Understanding histograms helps you analyze the tonal range of your image, ensuring proper exposure and preventing blown-out highlights or crushed shadows. A histogram provides a visual representation of the distribution of tones in your photo.
7.5. What Are The Advantages Of Advanced Editing Software?
Advanced editing software like Adobe Lightroom and Photoshop offer powerful tools for refining your images, including selective adjustments, noise reduction, and advanced color correction. These tools allow you to achieve a polished, professional look.
8. What Are The Most Common Mistakes To Avoid In iPhone Photography?
Common mistakes to avoid include:
- Not cleaning the lens.
- Overusing digital zoom.
- Ignoring composition.
- Poor lighting.
- Over-editing.
8.1. How Does Overusing Digital Zoom Affect Image Quality?
Overusing digital zoom degrades image quality by cropping and enlarging the image, resulting in pixelation and loss of detail. It is better to move closer to your subject or crop the image in post-processing.
8.2. Why Is Composition So Important?
Composition is essential because it guides the viewer’s eye and creates a visually appealing image. Understanding and applying principles like the Rule of Thirds, leading lines, and symmetry can transform a snapshot into a compelling photograph.
8.3. How Does Poor Lighting Impact My Photos?
Poor lighting can result in underexposed or overexposed images, lacking detail and impact. Understanding how to use natural and artificial light, as well as tools like diffusers and reflectors, is crucial for capturing high-quality photos.
8.4. What Are The Risks Of Over-Editing?
Over-editing can result in unnatural-looking images with harsh colors, excessive contrast, and loss of detail. Subtle, balanced adjustments are key to enhancing your photos without making them look artificial.
9. Where Can I Find Inspiration For My iPhone Photography?
Inspiration can be found on websites like dfphoto.net, which showcase beautiful photographs, provide tutorials, and foster a community of photographers. Social media platforms like Instagram and Pinterest are also great sources of inspiration.
9.1. How Can Dfphoto.Net Help Me Improve?
Dfphoto.net offers a wealth of resources, including:
- Detailed tutorials on iPhone photography techniques.
- Showcases of stunning photographs for inspiration.
- A community forum for sharing tips and receiving feedback.
- Reviews of photography equipment and software.
Dfphoto.net is your one-stop destination for mastering iPhone photography and connecting with fellow enthusiasts.
10. What Are The Emerging Trends In iPhone Photography?
Emerging trends include computational photography, AI-powered editing, and the use of cinematic modes. These trends leverage advanced technology to enhance image quality and creative possibilities.
10.1. What Is Computational Photography?
Computational photography uses software algorithms to enhance image quality, correct imperfections, and create effects that were previously impossible. Features like Smart HDR and Night mode are examples of computational photography in iPhones.
10.2. How Is AI Transforming iPhone Photography?
AI is transforming iPhone photography by automating complex tasks like scene recognition, object detection, and intelligent editing. AI-powered features can optimize settings, suggest edits, and enhance image quality with minimal user input.
10.3. What Are The Benefits Of Using Cinematic Mode?
Cinematic mode allows you to create videos with a shallow depth of field, similar to professional films. This mode automatically shifts focus between subjects, adding a dramatic and cinematic touch to your videos.
Taking high-quality photos with your iPhone is within reach with the right knowledge, tools, and practice. From cleaning your lenses to mastering advanced editing techniques, each step contributes to transforming everyday snapshots into stunning visual stories. Explore the resources at dfphoto.net to continue your journey and connect with a community of passionate photographers.
Remember, the best camera is the one you have with you. With these tips and tricks, you can unlock the full potential of your iPhone camera and capture breathtaking images wherever you go.
Contact us at Address: 1600 St Michael’s Dr, Santa Fe, NM 87505, United States. Phone: +1 (505) 471-6001. Website: dfphoto.net.
FAQ
Can an iPhone really take professional-quality photos?
Yes, iPhones can take professional-quality photos. The advanced camera systems, combined with the right techniques and editing, allow for stunning results.
Do I need to buy expensive accessories to improve my iPhone photography?
No, you don’t need to buy expensive accessories. Simple tools like diffusers, foam boards, and a basic tripod can make a significant difference.
How often should I clean my iPhone lenses?
Clean your iPhone lenses regularly, especially before important shoots, to ensure optimal image clarity.
What is the best editing app for iPhone photography?
While the built-in Photos app offers basic editing tools, Adobe Lightroom Mobile and VSCO are popular choices for more advanced editing.
Is it better to use natural light or artificial light for iPhone photography?
Both natural and artificial light can be used effectively. Natural light is often preferred for its soft, flattering quality, while artificial light provides more control over the lighting conditions.
How can I reduce noise in my iPhone photos?
Shoot in well-lit conditions, use a tripod to stabilize the camera, and utilize noise reduction tools in editing software.
What settings should I use for landscape photography on my iPhone?
Use the wide-angle lens, enable HDR mode, and focus on composition to capture stunning landscapes.
How close can I get with the iPhone macro lens?
You typically need to be about an inch away from your subject to capture sharp, detailed macro images with an iPhone macro lens.
What is the best way to share my iPhone photos on social media?
Optimize your photos for social media by resizing them, using appropriate hashtags, and engaging with your audience.
How can I protect my iPhone while shooting outdoors?
Use a protective case, lens covers, and a screen protector to safeguard your iPhone from scratches, dust, and water damage.
