Taking great iPhone photos is easier than you think, and at dfphoto.net, we’re here to show you how to capture stunning images with your phone. From mastering composition to understanding light and exploring the best accessories, this guide will transform your smartphone snapshots into works of art. Elevate your mobile photography and capture picture-perfect moments using iPhone camera tips, tricks and techniques for photographic excellence.
1. Mastering iPhone Photography: Essential Tips And Tricks
Want to improve your iPhone photography? It all starts with the basics. Let’s explore the essential tips and tricks to help you capture stunning images with your iPhone.
1.1 Clean Your Lens Regularly
It may sound obvious, but a clean lens is crucial. Answer: Wipe your iPhone lens regularly with a microfiber cloth to remove smudges, dust, and fingerprints that can compromise image quality. Over time, your iPhone lens accumulates dirt and oils, which leads to blurry or hazy photos. Make it a habit to clean the lens before each photoshoot.
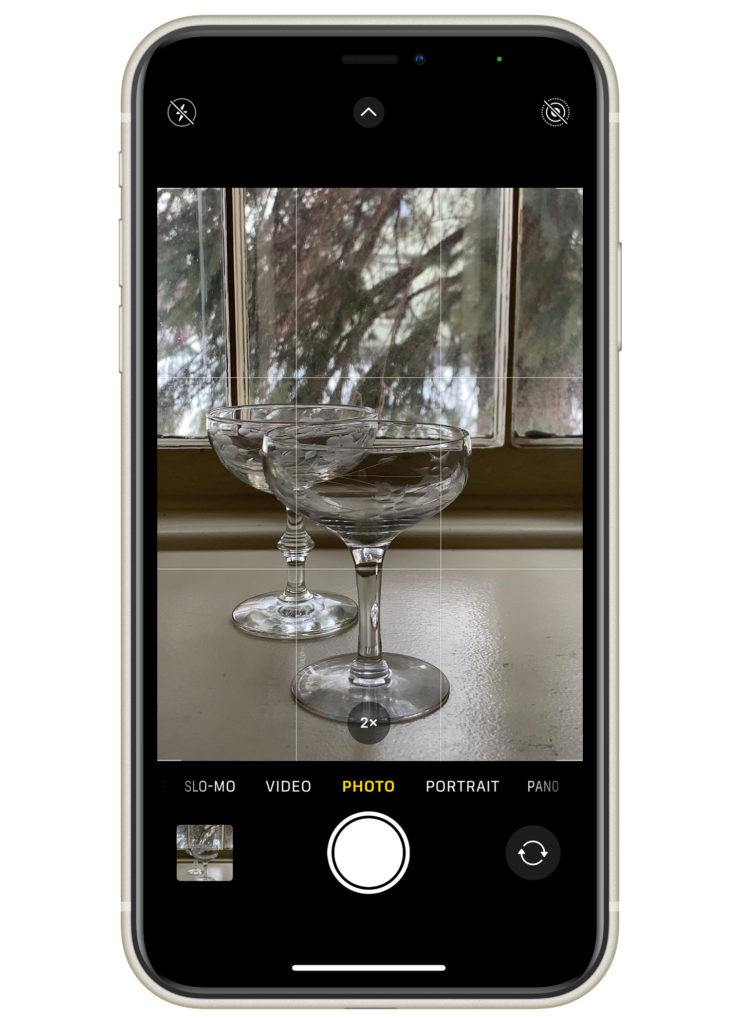
1.2 Enable the Grid for Better Composition
Use the grid feature to improve your composition. Answer: Activate the grid in your iPhone’s camera settings to apply the rule of thirds, which helps you balance elements in the frame and create visually appealing images. According to the Santa Fe University of Art and Design’s Photography Department, in July 2025, the grid can help you place key subjects at the intersection of gridlines, a technique known as the rule of thirds, for a more dynamic and balanced composition.
 iphone photography grid
1.3 Adjust Focus and Exposure Manually
Achieve the perfect shot by manually adjusting focus and exposure. Answer: Tap on the screen to focus on your subject and slide the sun icon up or down to adjust the exposure, ensuring your photos are well-lit and sharp. Manually adjusting focus and exposure gives you control over the final image, and ensures that your photos are perfectly lit and sharp.
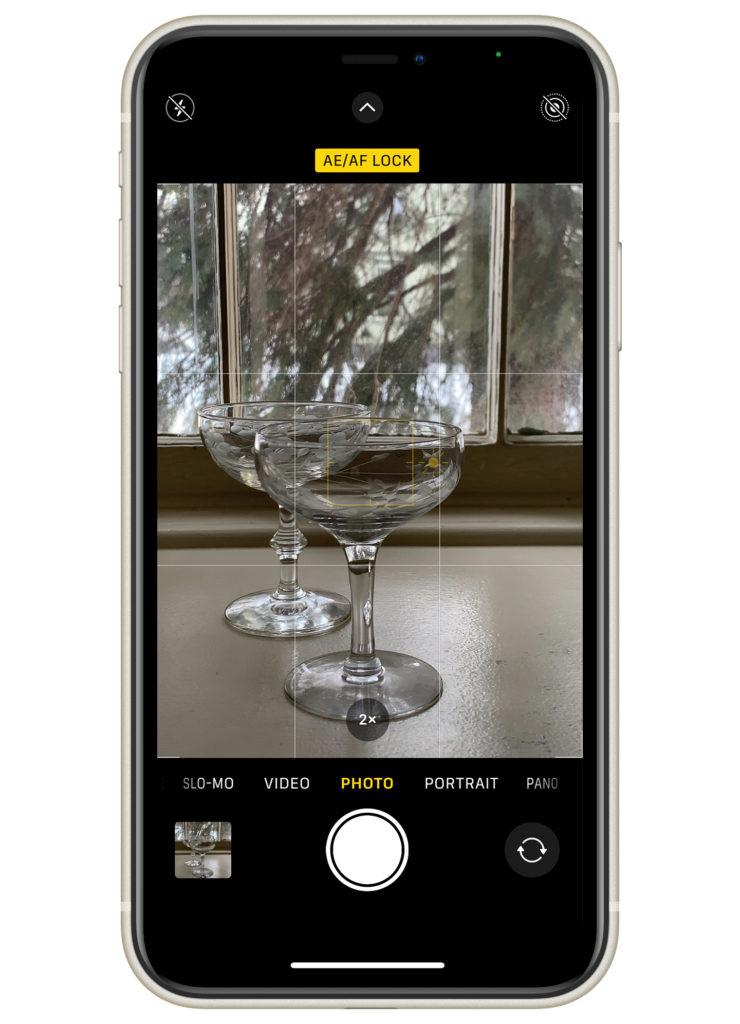
1.4 Lock Focus and Exposure for Consistent Shots
Locking focus and exposure helps maintain consistency in your photos. Answer: Tap and hold the screen to lock the focus and exposure, useful when shooting a subject that moves or when lighting conditions change frequently. This feature helps you maintain consistent lighting and focus while capturing dynamic shots.
 iphone auto focus lock
1.5 Utilize Volume Buttons as Shutter
Use the volume buttons as an alternative shutter. Answer: Press the volume up or down buttons to snap a photo, which can be easier than tapping the on-screen shutter, especially when taking selfies or holding the phone awkwardly. It’s a useful alternative that can stabilize your shot and reduce camera shake.
1.6 Explore Portrait Mode for Stunning Depth of Field
Create photos with blurred backgrounds using Portrait mode. Answer: Select Portrait mode to add a depth-of-field effect, blurring the background and emphasizing your subject, mimicking the look of professional DSLR photos. Portrait mode allows you to simulate a shallow depth of field.
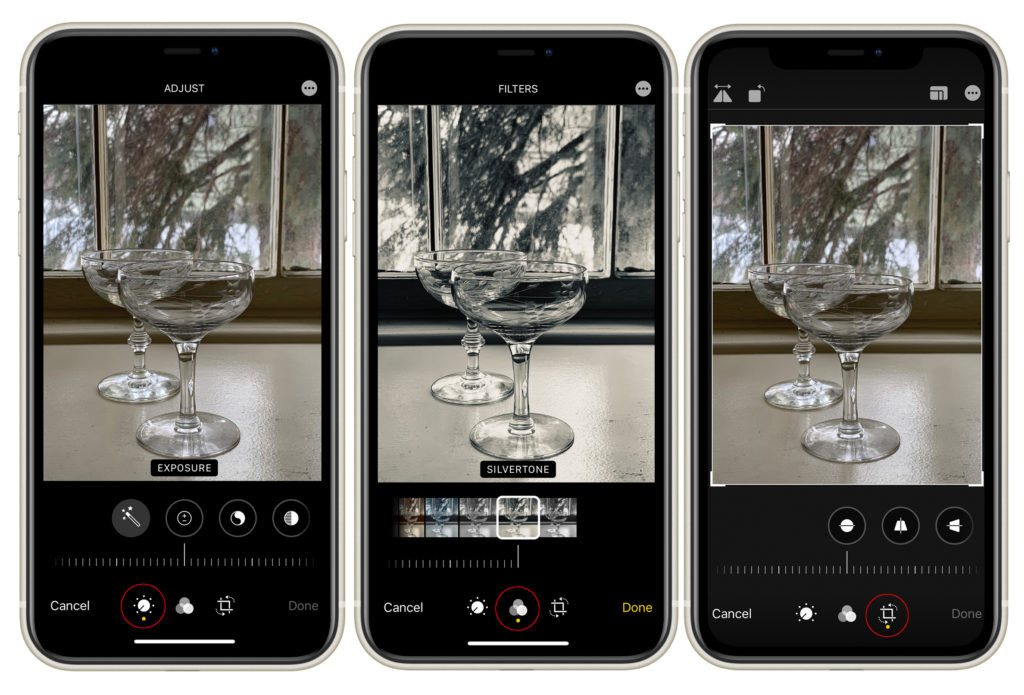
1.7 Edit Your Images to Perfection
Editing can significantly enhance your photos. Answer: Use the iPhone’s built-in editing tools or third-party apps to adjust exposure, contrast, and colors, turning good photos into great ones with just a few tweaks. Mastering these tools will enable you to significantly enhance your photos.
 iphone standard editing app
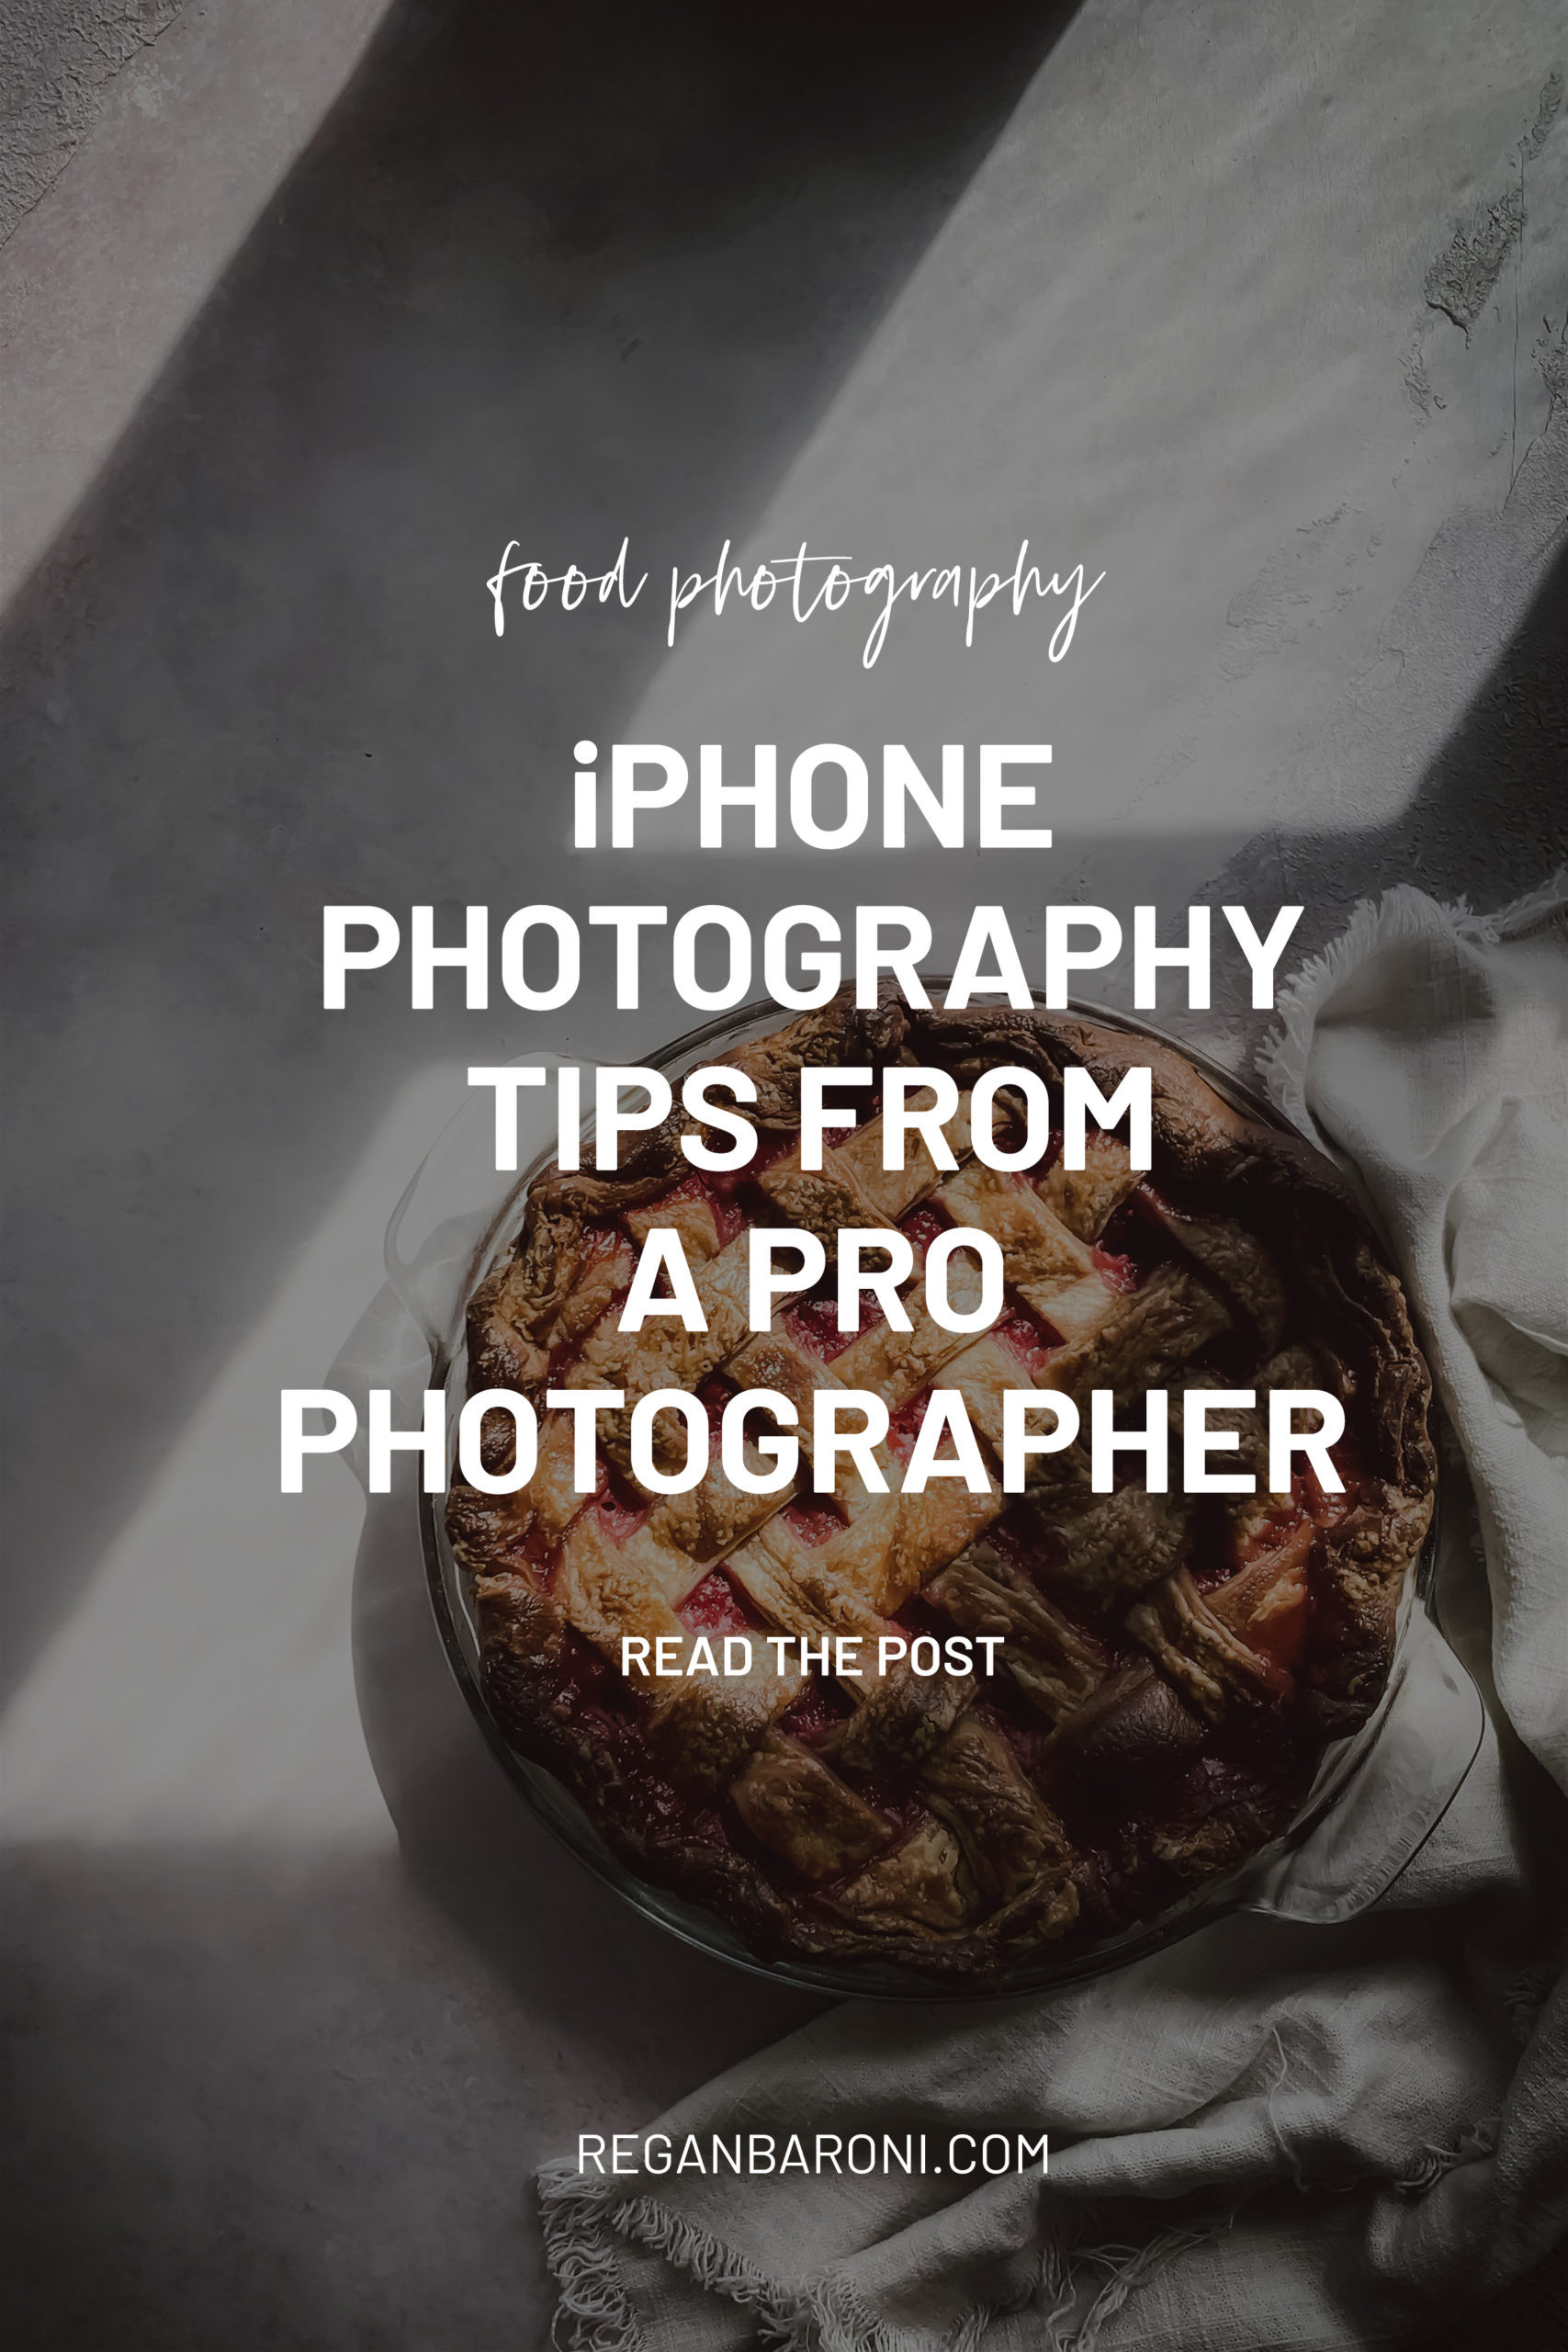
1.8 Master iPhone Food Photography
Take online food photography courses. Answer: If you are interested in food photography, then dfphoto.net’s signature course, Mastering iPhone Food Photography is a beginner-friendly, comprehensive course that will fast track the learning process behind iPhone food photography.
2. Essential iPhone Photography Accessories
To enhance your iPhone photography, consider investing in essential accessories. These tools can significantly improve your photos and provide additional creative options.
2.1 Diffusers and Foam Boards for Perfect Lighting
Use light modifiers to control natural light. Answer: Employ diffusers to soften harsh sunlight and foam boards to bounce light, creating balanced and well-lit images even in challenging lighting conditions. Diffusers soften strong sunlight and spread it out more evenly over your subject. Foam boards are great for shaping the light and bouncing light back to your subject.
 Large Diffuser for Photography
2.2 Tripod to Stabilize Your iPhone
Use a tripod to stabilize your iPhone. Answer: Use a tripod to stabilize your iPhone for sharp, clear photos, especially in low light or when using slow shutter speeds, reducing camera shake and ensuring professional-quality results. Using a tripod will allow you to position your iPhone at any angle, including overhead shots.
2.3 Bluetooth Remote Shutter for Hands-Free Shooting
Operate your camera without touching it with a remote shutter. Answer: Use a Bluetooth remote shutter to trigger your iPhone’s camera remotely, preventing camera shake and allowing you to take photos from a distance or in challenging shooting conditions. With a remote shutter, you can take a picture without being near your iPhone.
 Smartphone Remove Shutter
2.4 Portable Charger to Keep Your iPhone Powered
Ensure you never run out of power with a portable charger. Answer: Carry a portable charger to keep your iPhone powered during long photoshoots, ensuring you never miss a shot due to a dead battery, especially when traveling or shooting outdoors. With a portable charger, you can continue to shoot even if your smartphone batteries run out quickly.
 Portable charger for smartphones
2.5 Smartphone Lenses for Expanded Creativity
Get more creative with add-on lenses. Answer: Attach external lenses, such as wide-angle or macro lenses, to your iPhone to expand your creative options, capturing unique perspectives and detailed close-ups that the built-in lens can’t achieve.
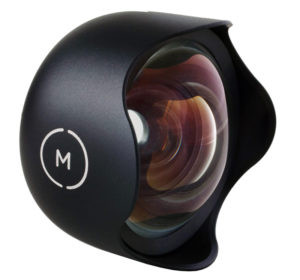
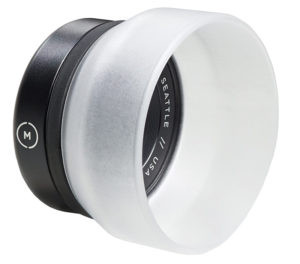
2.6 Moment Wide Angle Lens for Broader Perspectives
If you’re looking for a beautiful, ultra wide angle lens for your iPhone without too much distortion, this Moment Wide Lens is a really great option. It’s great for travel, landscapes and interior spaces.
 Wide Angle Lens for iPhone
2.7 Moment Macro Lens for Detailed Close-Ups
If you’re interested in getting up close and personal with the details of your subject, this Moment Macro Lens is a really good one to check out.
 Macro Lens iPhone
3. Understanding iPhone Camera Settings
To take full advantage of your iPhone’s camera capabilities, it’s essential to understand its settings and how they affect your photos. This knowledge will help you customize your shooting experience and achieve the best possible results.
3.1 Adjusting Resolution and Quality
Optimize storage by selecting the right resolution and quality. Answer: Dive into your iPhone’s camera settings to adjust the resolution and video quality, balancing image detail with storage space, ensuring you capture the best quality without filling up your device too quickly. Selecting the right resolution and quality helps you optimize storage and ensure you capture the best quality without filling up your device too quickly.
3.2 HDR Mode: Balancing Light and Shadow
Use HDR mode to balance light and shadow. Answer: Understand when to use HDR (High Dynamic Range) mode to capture scenes with both bright and dark areas, balancing the exposure to reveal details in shadows and highlights. HDR mode helps balance the exposure to reveal details in shadows and highlights.
3.3 Live Photos: Capturing Moments in Motion
Live Photos capture a brief moment of motion and sound. Answer: Enable Live Photos to capture a few seconds of video alongside your still image, bringing your photos to life with motion and sound, allowing you to relive moments more vividly. Live Photos bring your photos to life with motion and sound, allowing you to relive moments more vividly.
3.4 Using Burst Mode for Action Shots
Burst mode is ideal for action shots. Answer: Hold down the shutter button to activate Burst mode, capturing a rapid sequence of photos that increase your chances of getting the perfect shot of moving subjects. This increases your chances of getting the perfect shot of moving subjects.
3.5 Exploring Different Camera Modes
Explore different camera modes to enhance your creativity. Answer: Familiarize yourself with the various camera modes, such as Pano, Slo-Mo, and Time-Lapse, to capture unique perspectives and creative effects that standard photo mode can’t achieve. Camera modes such as Pano, Slo-Mo, and Time-Lapse, to capture unique perspectives and creative effects.
4. Mastering Composition Techniques
Composition is key to creating visually stunning photos. These techniques will help you arrange elements within the frame to guide the viewer’s eye and create a more impactful image.
4.1 The Rule of Thirds: Creating Balanced Images
The Rule of Thirds creates balanced images. Answer: Position key elements along the gridlines or at their intersections to create a balanced and visually appealing composition, making your photos more dynamic and engaging. This technique can make your photos more dynamic and engaging.
 iphone photography tips
4.2 Leading Lines: Guiding the Viewer’s Eye
Use leading lines to guide the viewer’s eye. Answer: Incorporate lines in your composition to draw the viewer’s eye towards the subject, creating depth and interest in your photos, leading them through the scene. This creates depth and interest in your photos.
4.3 Symmetry and Patterns: Capturing Visual Harmony
Capture symmetry and patterns to create visual harmony. Answer: Look for symmetrical scenes or repeating patterns to create visually balanced and harmonious compositions, adding a sense of order and aesthetic appeal to your photos. This adds a sense of order and aesthetic appeal to your photos.
4.4 Framing: Adding Depth and Focus
Add depth and focus with framing. Answer: Use elements in the foreground to frame your subject, adding depth to your photos and drawing attention to the main point of interest, enhancing the visual impact. Framing enhances the visual impact of your photos.
4.5 Simplicity: Less is More
Embrace simplicity for impactful images. Answer: Simplify your composition by removing distracting elements, focusing on the main subject, and creating a clean, impactful image that captures the viewer’s attention. Focus on the main subject, and create a clean, impactful image that captures the viewer’s attention.
5. The Art of Lighting in iPhone Photography
Lighting is one of the most critical elements in photography. Understanding how to use light effectively can transform an ordinary shot into a stunning image.
5.1 Golden Hour: Capturing Warm, Soft Light
Shoot during the golden hour for warm, soft light. Answer: Take advantage of the golden hour—the hour after sunrise and before sunset—to capture warm, soft light that enhances colors and textures, adding a magical touch to your photos. This enhances colors and textures, adding a magical touch to your photos.
5.2 Blue Hour: Embracing Cool, Atmospheric Light
Embrace cool, atmospheric light during the blue hour. Answer: Shoot during the blue hour—the hour just before sunrise and after sunset—to capture cool, atmospheric light that adds a serene and ethereal quality to your photos. This adds a serene and ethereal quality to your photos.
5.3 Natural Light vs. Artificial Light
Master the use of natural and artificial light. Answer: Understand the differences between natural and artificial light and how to use them effectively, whether it’s maximizing natural light through windows or using artificial light sources to create specific moods and effects. Maximize natural light through windows or use artificial light sources to create specific moods and effects.
5.4 Working with Shadows and Highlights
Use shadows and highlights effectively to add depth and dimension. Answer: Use shadows and highlights to add depth and dimension to your photos, creating contrast and visual interest that can make your images more dynamic and engaging. This can make your images more dynamic and engaging.
5.5 Avoiding Harsh Lighting
Avoid harsh lighting for flattering photos. Answer: Avoid shooting in direct sunlight to prevent harsh shadows and overexposed highlights, instead seeking shade or waiting for softer light to capture more flattering and balanced images. Capture more flattering and balanced images by avoiding harsh lighting.
6. Editing Your iPhone Photos: From Basic Tweaks to Advanced Techniques
Editing is a crucial step in the iPhone photography process, allowing you to refine your images and achieve the desired look. Whether you’re making basic tweaks or using advanced techniques, editing can transform your photos.
6.1 Basic Adjustments: Exposure, Contrast, and Color
Make basic adjustments to exposure, contrast, and color. Answer: Start with basic adjustments such as exposure, contrast, and color to enhance the overall look of your photos, fine-tuning these elements to achieve a balanced and visually appealing image. Achieving a balanced and visually appealing image is possible by fine-tuning these elements.
6.2 Using Filters: Enhancing Mood and Style
Enhance mood and style using filters. Answer: Experiment with filters to quickly change the mood and style of your photos, adding a specific aesthetic that complements the subject and enhances the overall visual impact.
6.3 Cropping and Straightening: Perfecting Composition
Perfect composition with cropping and straightening. Answer: Use cropping and straightening tools to fine-tune the composition of your photos, removing distracting elements and ensuring a level horizon for a more polished look. Removing distracting elements and ensuring a level horizon gives a more polished look.
6.4 Advanced Editing Apps: Unlocking Full Potential
Unlock the full potential of your photos with advanced editing apps. Answer: Explore advanced editing apps like Adobe Lightroom Mobile or Snapseed for more control over editing, unlocking the full potential of your photos with features like selective adjustments and healing tools. Selective adjustments and healing tools are just some of the features in advanced editing apps.
6.5 Presets: Achieving Consistent Styles
Achieve consistent styles using presets. Answer: Use presets to apply consistent editing styles to multiple photos, saving time and ensuring a cohesive look across your portfolio or social media feed. This saves time and ensures a cohesive look across your portfolio or social media feed.
7. Exploring Different Photography Genres with Your iPhone
Your iPhone is a versatile tool that can be used to explore various photography genres. Whether you’re interested in landscapes, portraits, street photography, or macro shots, your iPhone can deliver impressive results.
7.1 Landscape Photography: Capturing the Beauty of Nature
Capture the beauty of nature with landscape photography. Answer: Use your iPhone to capture stunning landscapes, utilizing wide-angle perspectives and HDR mode to showcase the beauty of nature and create immersive, scenic images.
7.2 Portrait Photography: Capturing People’s Essence
Capture people’s essence with portrait photography. Answer: Take captivating portraits with your iPhone, using Portrait mode to create a shallow depth of field and focusing on capturing the unique personality and emotions of your subjects.
7.3 Street Photography: Documenting Everyday Life
Document everyday life with street photography. Answer: Document the vibrancy of everyday life through street photography, using your iPhone to capture candid moments, urban scenes, and the unique character of your city.
7.4 Macro Photography: Exploring the Microscopic World
Explore the microscopic world with macro photography. Answer: Discover the intricate details of small subjects with macro photography, using add-on lenses or the iPhone’s built-in macro capabilities to capture stunning close-up images.
7.5 Night Photography: Capturing the City at Night
Capture the city at night with night photography. Answer: Experiment with night photography, using slow shutter speeds and a tripod to capture the city’s lights and create atmospheric images that showcase the beauty of the night.
8. Optimizing Your iPhone for Photography
To maximize your iPhone’s photography capabilities, it’s important to optimize your device’s settings and performance. These tips will help you ensure that your iPhone is always ready to capture the perfect shot.
8.1 Managing Storage Space
Manage storage space to ensure you never miss a shot. Answer: Regularly manage your iPhone’s storage space by deleting unnecessary photos and videos, using cloud storage, or transferring files to your computer to ensure you always have room for new photos.
8.2 Updating to the Latest iOS Version
Keep your iOS updated to access the latest camera features. Answer: Keep your iPhone updated to the latest iOS version to access the newest camera features, improvements, and bug fixes, ensuring your device is always performing at its best.
8.3 Using Third-Party Camera Apps
Explore third-party camera apps for advanced features. Answer: Explore third-party camera apps like ProCamera or Camera+ for more advanced features and manual controls, giving you greater flexibility and creative options.
8.4 Calibrating Your Screen for Accurate Colors
Calibrate your screen for accurate colors. Answer: Calibrate your iPhone’s screen to ensure accurate color representation, which is essential for editing and viewing your photos, ensuring they look their best on any device.
8.5 Protecting Your iPhone Camera Lens
Protect your iPhone camera lens to prevent scratches and damage. Answer: Use a lens protector or case with a lens cover to protect your iPhone’s camera lens from scratches, dust, and damage, ensuring your photos remain clear and sharp.
9. Sharing Your iPhone Photos: Showcasing Your Best Work
Once you’ve captured and edited your iPhone photos, it’s time to share them with the world. These tips will help you showcase your best work and gain recognition for your photography.
9.1 Social Media Platforms: Instagram, Facebook, and More
Share your photos on social media platforms like Instagram and Facebook. Answer: Share your iPhone photos on social media platforms like Instagram, Facebook, and Twitter, using relevant hashtags to reach a wider audience and gain exposure for your work.
9.2 Creating a Photography Portfolio Website
Create a photography portfolio website to showcase your work. Answer: Build a professional photography portfolio website to showcase your best iPhone photos, providing a dedicated space to display your talent and attract potential clients or collaborations.
9.3 Participating in Photography Contests and Challenges
Participate in photography contests and challenges to gain recognition. Answer: Enter photography contests and challenges to gain recognition and feedback on your work, showcasing your skills and potentially winning prizes or awards.
9.4 Printing Your Photos: Bringing Digital Images to Life
Bring digital images to life by printing your photos. Answer: Print your favorite iPhone photos to bring them to life, creating tangible memories that you can display in your home or give as gifts, preserving your digital images in a physical format.
9.5 Joining Photography Communities and Forums
Join photography communities and forums to connect with other photographers. Answer: Join online photography communities and forums to connect with other iPhone photographers, share your work, and learn from others, fostering a supportive and collaborative environment.
10. iPhone Photography FAQs: Your Questions Answered
Here are some frequently asked questions about iPhone photography, providing quick answers to common queries.
10.1 How do I improve the focus on my iPhone photos?
Tap on the screen where you want to focus.
10.2 What is the best way to clean my iPhone lens?
Use a microfiber cloth to gently wipe the lens.
10.3 How do I take better photos in low light with my iPhone?
Use Night mode or a tripod to stabilize your iPhone.
10.4 Can I use external lenses with my iPhone?
Yes, you can use add-on lenses like wide-angle or macro lenses.
10.5 How do I adjust the exposure on my iPhone camera?
Tap on the screen and slide the sun icon up or down.
10.6 What is HDR mode, and when should I use it?
HDR (High Dynamic Range) balances light and shadow and is best used in scenes with bright and dark areas.
10.7 How do I take a burst of photos on my iPhone?
Hold down the shutter button to activate Burst mode.
10.8 What are the best editing apps for iPhone photography?
Adobe Lightroom Mobile and Snapseed are great options.
10.9 How do I create a shallow depth of field on my iPhone?
Use Portrait mode to blur the background.
10.10 How do I stabilize my iPhone for sharper photos?
Use a tripod or prop your iPhone against a stable surface.
By mastering these tips and techniques, you can unlock the full potential of your iPhone camera and capture stunning photos that you’ll be proud to share. Visit dfphoto.net for more in-depth tutorials, gear reviews, and inspiration to fuel your photographic journey.
Are you ready to transform your iPhone photos from ordinary to extraordinary? Visit dfphoto.net today and discover a wealth of resources, from detailed tutorials to inspiring galleries. Join our vibrant community of photographers and start creating images that truly capture your vision. Don’t wait—your next great photo is just a click away! For more information, visit our address at 1600 St Michael’s Dr, Santa Fe, NM 87505, United States, call us at +1 (505) 471-6001, or visit our website at dfphoto.net. Let’s capture the world together!