They say the best camera is the one you have with you, and for millions, that’s their iPhone. The iPhone camera has evolved dramatically, offering incredible capabilities in your pocket. But simply having a great camera isn’t enough; knowing how to use it is key to capturing stunning images. This guide dives into essential iPhone photography tips and techniques to elevate your mobile photography game and help you consistently take amazing photos with your iPhone.
 Close-up of iPhone lens showing its compact and accessible nature, perfect for everyday photography.
Essential iPhone Photography Tips for Stunning Shots
Ready to transform your iPhone photos from average snapshots to eye-catching images? Let’s explore practical tips and tricks that will make a significant difference in your photography, covering everything from basic settings to creative techniques and essential accessories.
1. Start with a Clean Lens
It sounds incredibly simple, but it’s often overlooked: a dirty lens is the enemy of sharp photos. Our iPhones live in pockets, bags, and hands, constantly collecting dust, fingerprints, and smudges. These imperfections, though tiny, can significantly soften your images, creating a hazy or blurry effect, especially in bright light.
Before you take any photo, make it a habit to quickly clean your iPhone lenses. A soft, lint-free microfiber cloth is ideal. You can also use lens wipes designed for delicate surfaces for a more thorough clean. Keeping your lenses clean is a fundamental step to ensuring image clarity and sharpness.
 Hand gently wiping iPhone lens with a microfiber cloth, emphasizing the importance of lens hygiene for photo clarity.
2. Master Composition with the Grid
Composition is how you arrange elements within your frame, and it’s crucial for visually appealing photographs. The iPhone’s built-in grid feature is an invaluable tool for learning and applying compositional principles, especially the Rule of Thirds.
Activating the Grid: Navigate to Settings > Camera > Grid and toggle it on. This overlays a grid of two vertical and two horizontal lines on your screen, dividing your viewfinder into nine equal rectangles.
The Rule of Thirds: This rule suggests placing your subject along these grid lines or at their intersections. Doing so often creates more balanced and engaging compositions compared to simply centering your subject. Experiment with positioning your subject at different grid intersections to see how it impacts the visual story of your photo.
 iPhone screen displaying the grid overlay in the camera app, demonstrating how it assists in applying the rule of thirds for better composition.
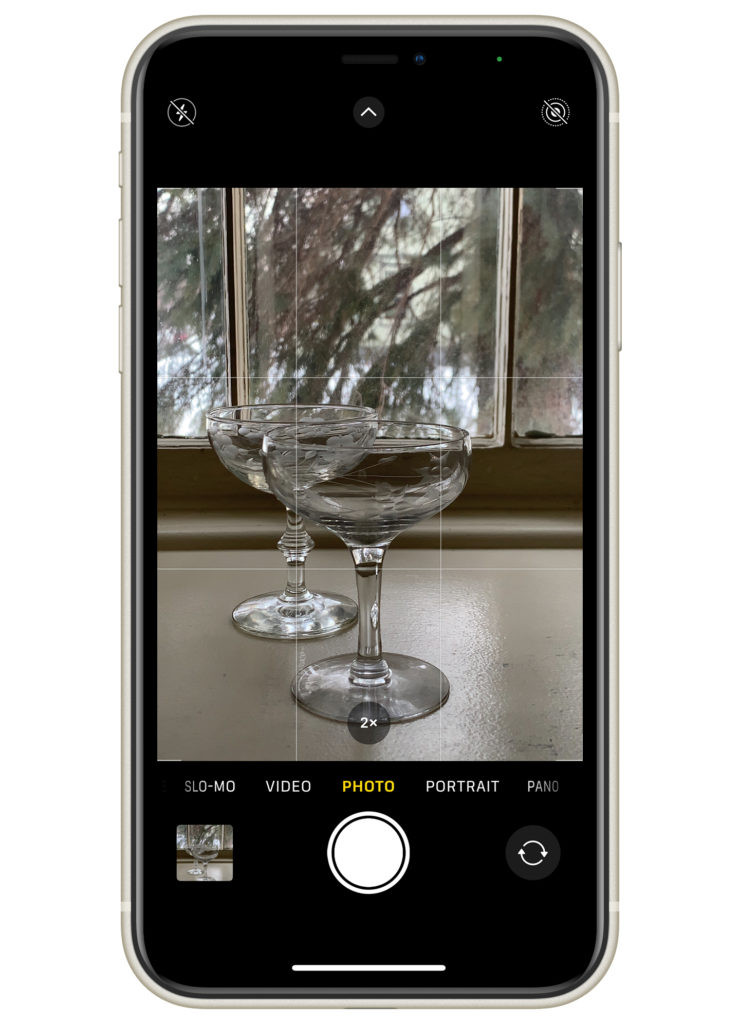
3. Focus and Exposure: Take Control
iPhone cameras are smart, but they aren’t mind-readers. To ensure your subject is sharp and well-exposed, you need to take manual control of focus and exposure.
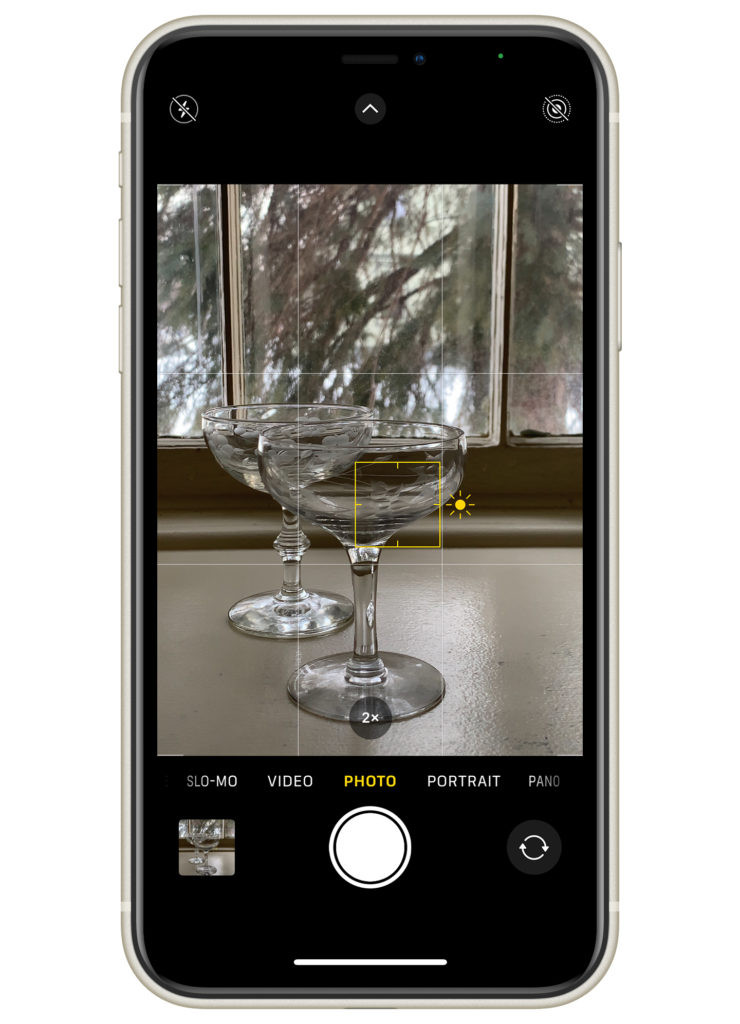
Manual Focus: Tap on the area of your screen where you want the camera to focus. A yellow box will appear, indicating your focus point. This is essential for ensuring your intended subject is sharp, especially in scenes with multiple elements.
Exposure Adjustment: Next to the focus box, you’ll notice a sun icon. Slide your finger up on this icon to brighten the image or down to darken it. This allows you to fine-tune the exposure and prevent overexposed (too bright) or underexposed (too dark) photos, ensuring details are preserved in both highlights and shadows. Mastering manual focus and exposure is key to achieving professional-looking iPhone photos.
 Screenshot showing how to tap to focus and adjust exposure using the sun icon on an iPhone camera interface.
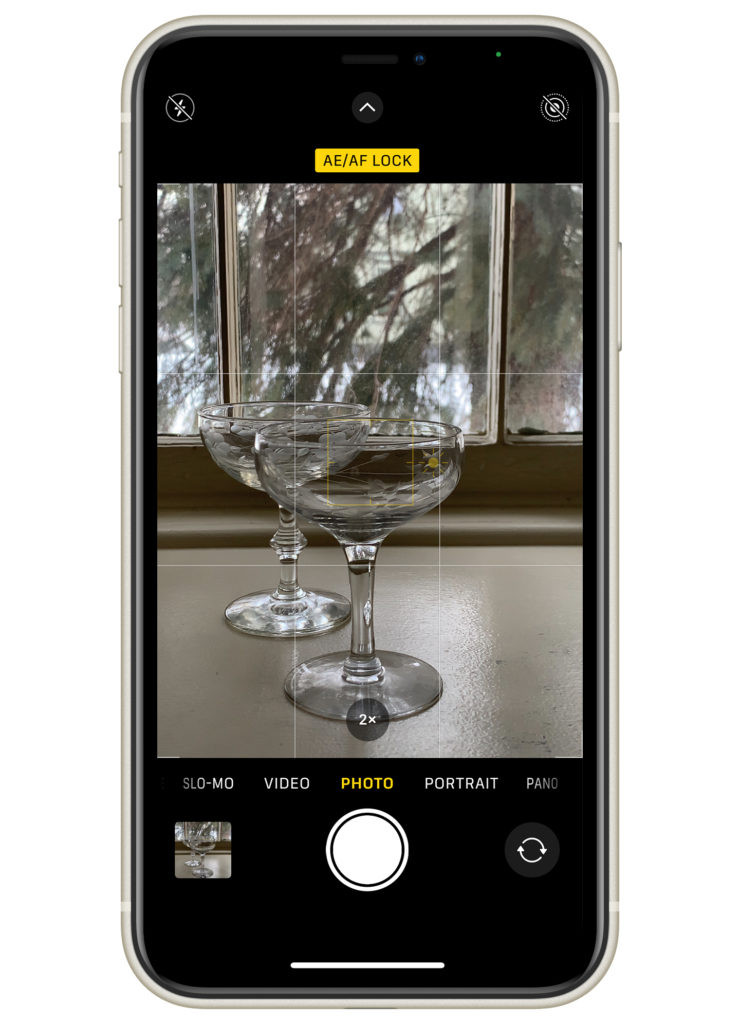
4. Lock Focus and Exposure for Consistent Shots
For situations where you want to maintain focus and exposure settings across multiple shots, the AE/AF Lock is your best friend.
How to Lock: Press and hold your finger on the screen until you see “AE/AF Lock” appear at the top. This locks both the autofocus and auto exposure at your chosen point. This is particularly useful when photographing a moving subject or in changing lighting conditions where you want to keep your settings consistent.
Unlock: Simply tap the screen again to disengage the lock and revert back to automatic focus and exposure. The AE/AF Lock feature gives you greater control and consistency in your iPhone photography.
 Screenshot demonstrating the AE/AF Lock feature activated on an iPhone, indicating locked focus and exposure settings.
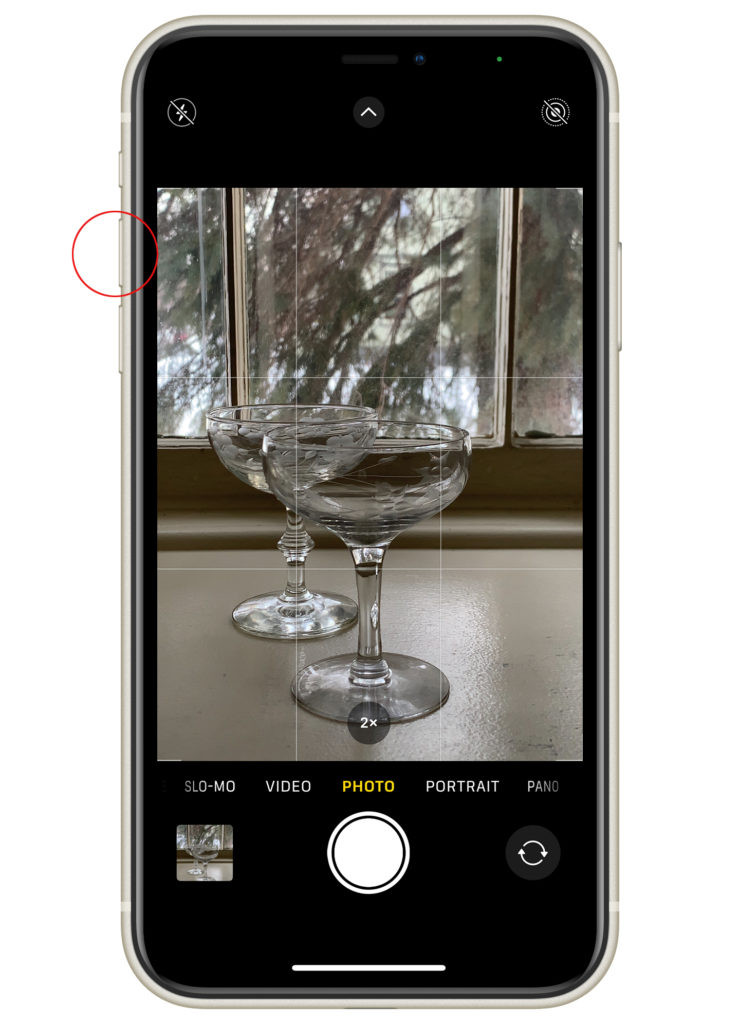
5. Volume Buttons as Shutter Release
A hidden trick many iPhone users miss is using the volume buttons as a shutter release. When your camera app is open, either the volume up or volume down button can trigger the shutter, just like a traditional camera.
This method can be more comfortable and natural, especially when holding your phone in landscape orientation. It also minimizes camera shake compared to tapping the on-screen shutter button, leading to sharper images, particularly in low light. Experiment with using the volume buttons for a more stable and convenient shooting experience.
 Fingers pressing the volume up button on an iPhone to take a photo, highlighting this alternative shutter release method.
6. Explore the Power of Portrait Mode
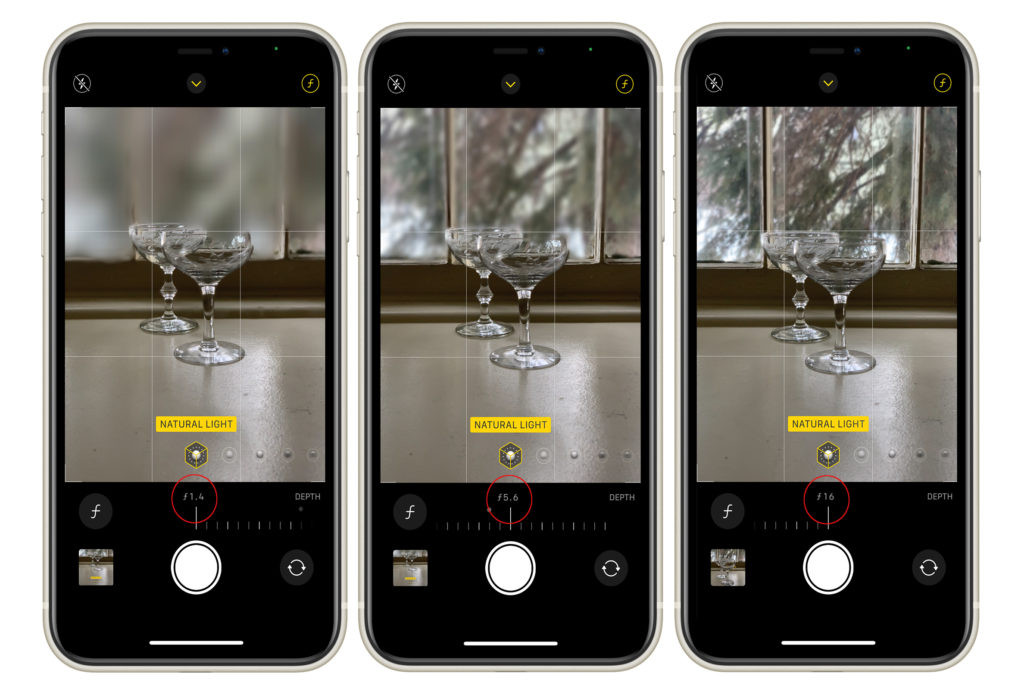
Portrait mode is a game-changer for iPhone photography, allowing you to create images with a shallow depth of field, where your subject is sharp and the background is beautifully blurred. This effect, known as bokeh, isolates your subject and adds a professional, artistic touch to your photos.
Adjusting Portrait Mode Depth:
- Select Portrait mode in your camera app.
- Tap the f icon in the top right corner.
- Use the slider at the bottom to adjust the depth of field. Lower f-numbers (like f/1.8) create more background blur, while higher f-numbers (like f/16) keep more of the background in focus.
Experiment with different f-numbers to achieve the desired level of background blur. Portrait mode is fantastic for photographing people, pets, and even objects, adding depth and visual interest to your iPhone photos.
 Examples of iPhone portrait mode at different f-stop settings, showing varying degrees of background blur from strong to subtle.
7. Enhance Your Photos with Editing
Editing is an integral part of the photographic process, even for iPhone photos. Straight out of the camera, images can often appear a bit flat or lacking in punch. Basic editing can dramatically improve your photos, bringing out their full potential.
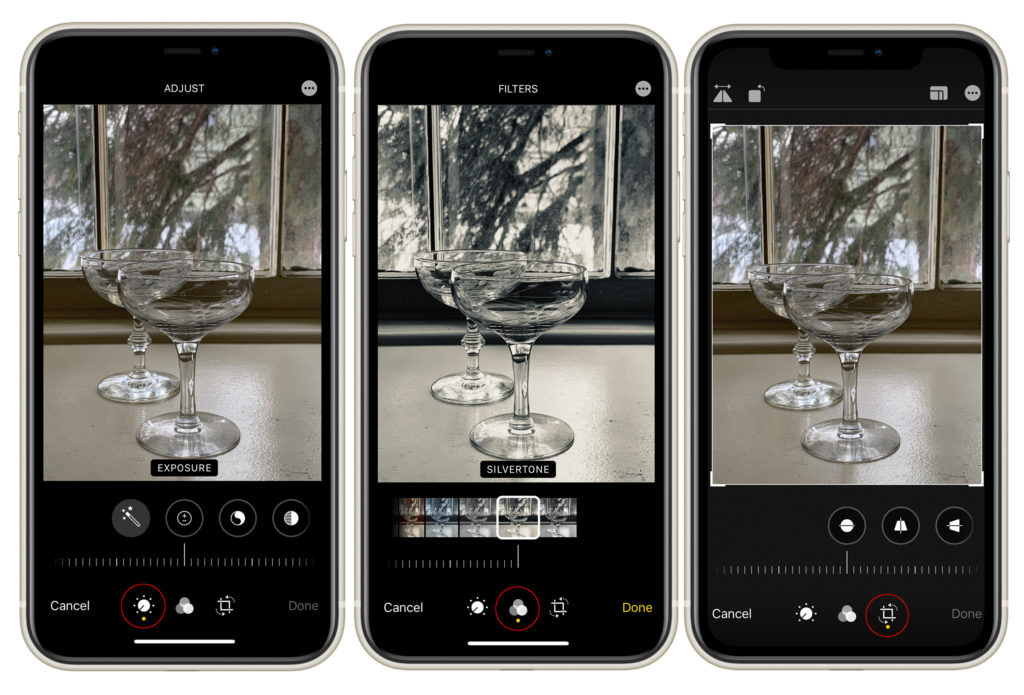
iPhone’s Built-in Editing Tools: The Photos app on your iPhone has surprisingly powerful built-in editing tools. Open your image, tap Edit, and you’ll find three main tool categories:
- Adjust: Control exposure, brightness, contrast, shadows, highlights, saturation, vibrance, and more. These tools allow you to fine-tune the light and color in your images.
- Filters: Apply pre-set filters for quick stylistic changes. While filters can be fun, subtle adjustments in the “Adjust” tool often yield more refined results.
- Crop: Straighten horizons, crop unwanted elements, and adjust aspect ratios. Cropping can significantly improve composition and focus attention on your subject.
Take time to explore these editing tools and learn how they affect your images. Even subtle edits can make a big difference in the final look of your iPhone photos.
 Screenshot of the iPhone's built-in editing app interface, highlighting the Adjust, Filters, and Crop tools.
8. Expand Your Knowledge with Online Courses
To truly master iPhone photography, consider investing in online learning resources. A dedicated course can provide structured guidance, in-depth techniques, and personalized feedback to accelerate your progress.
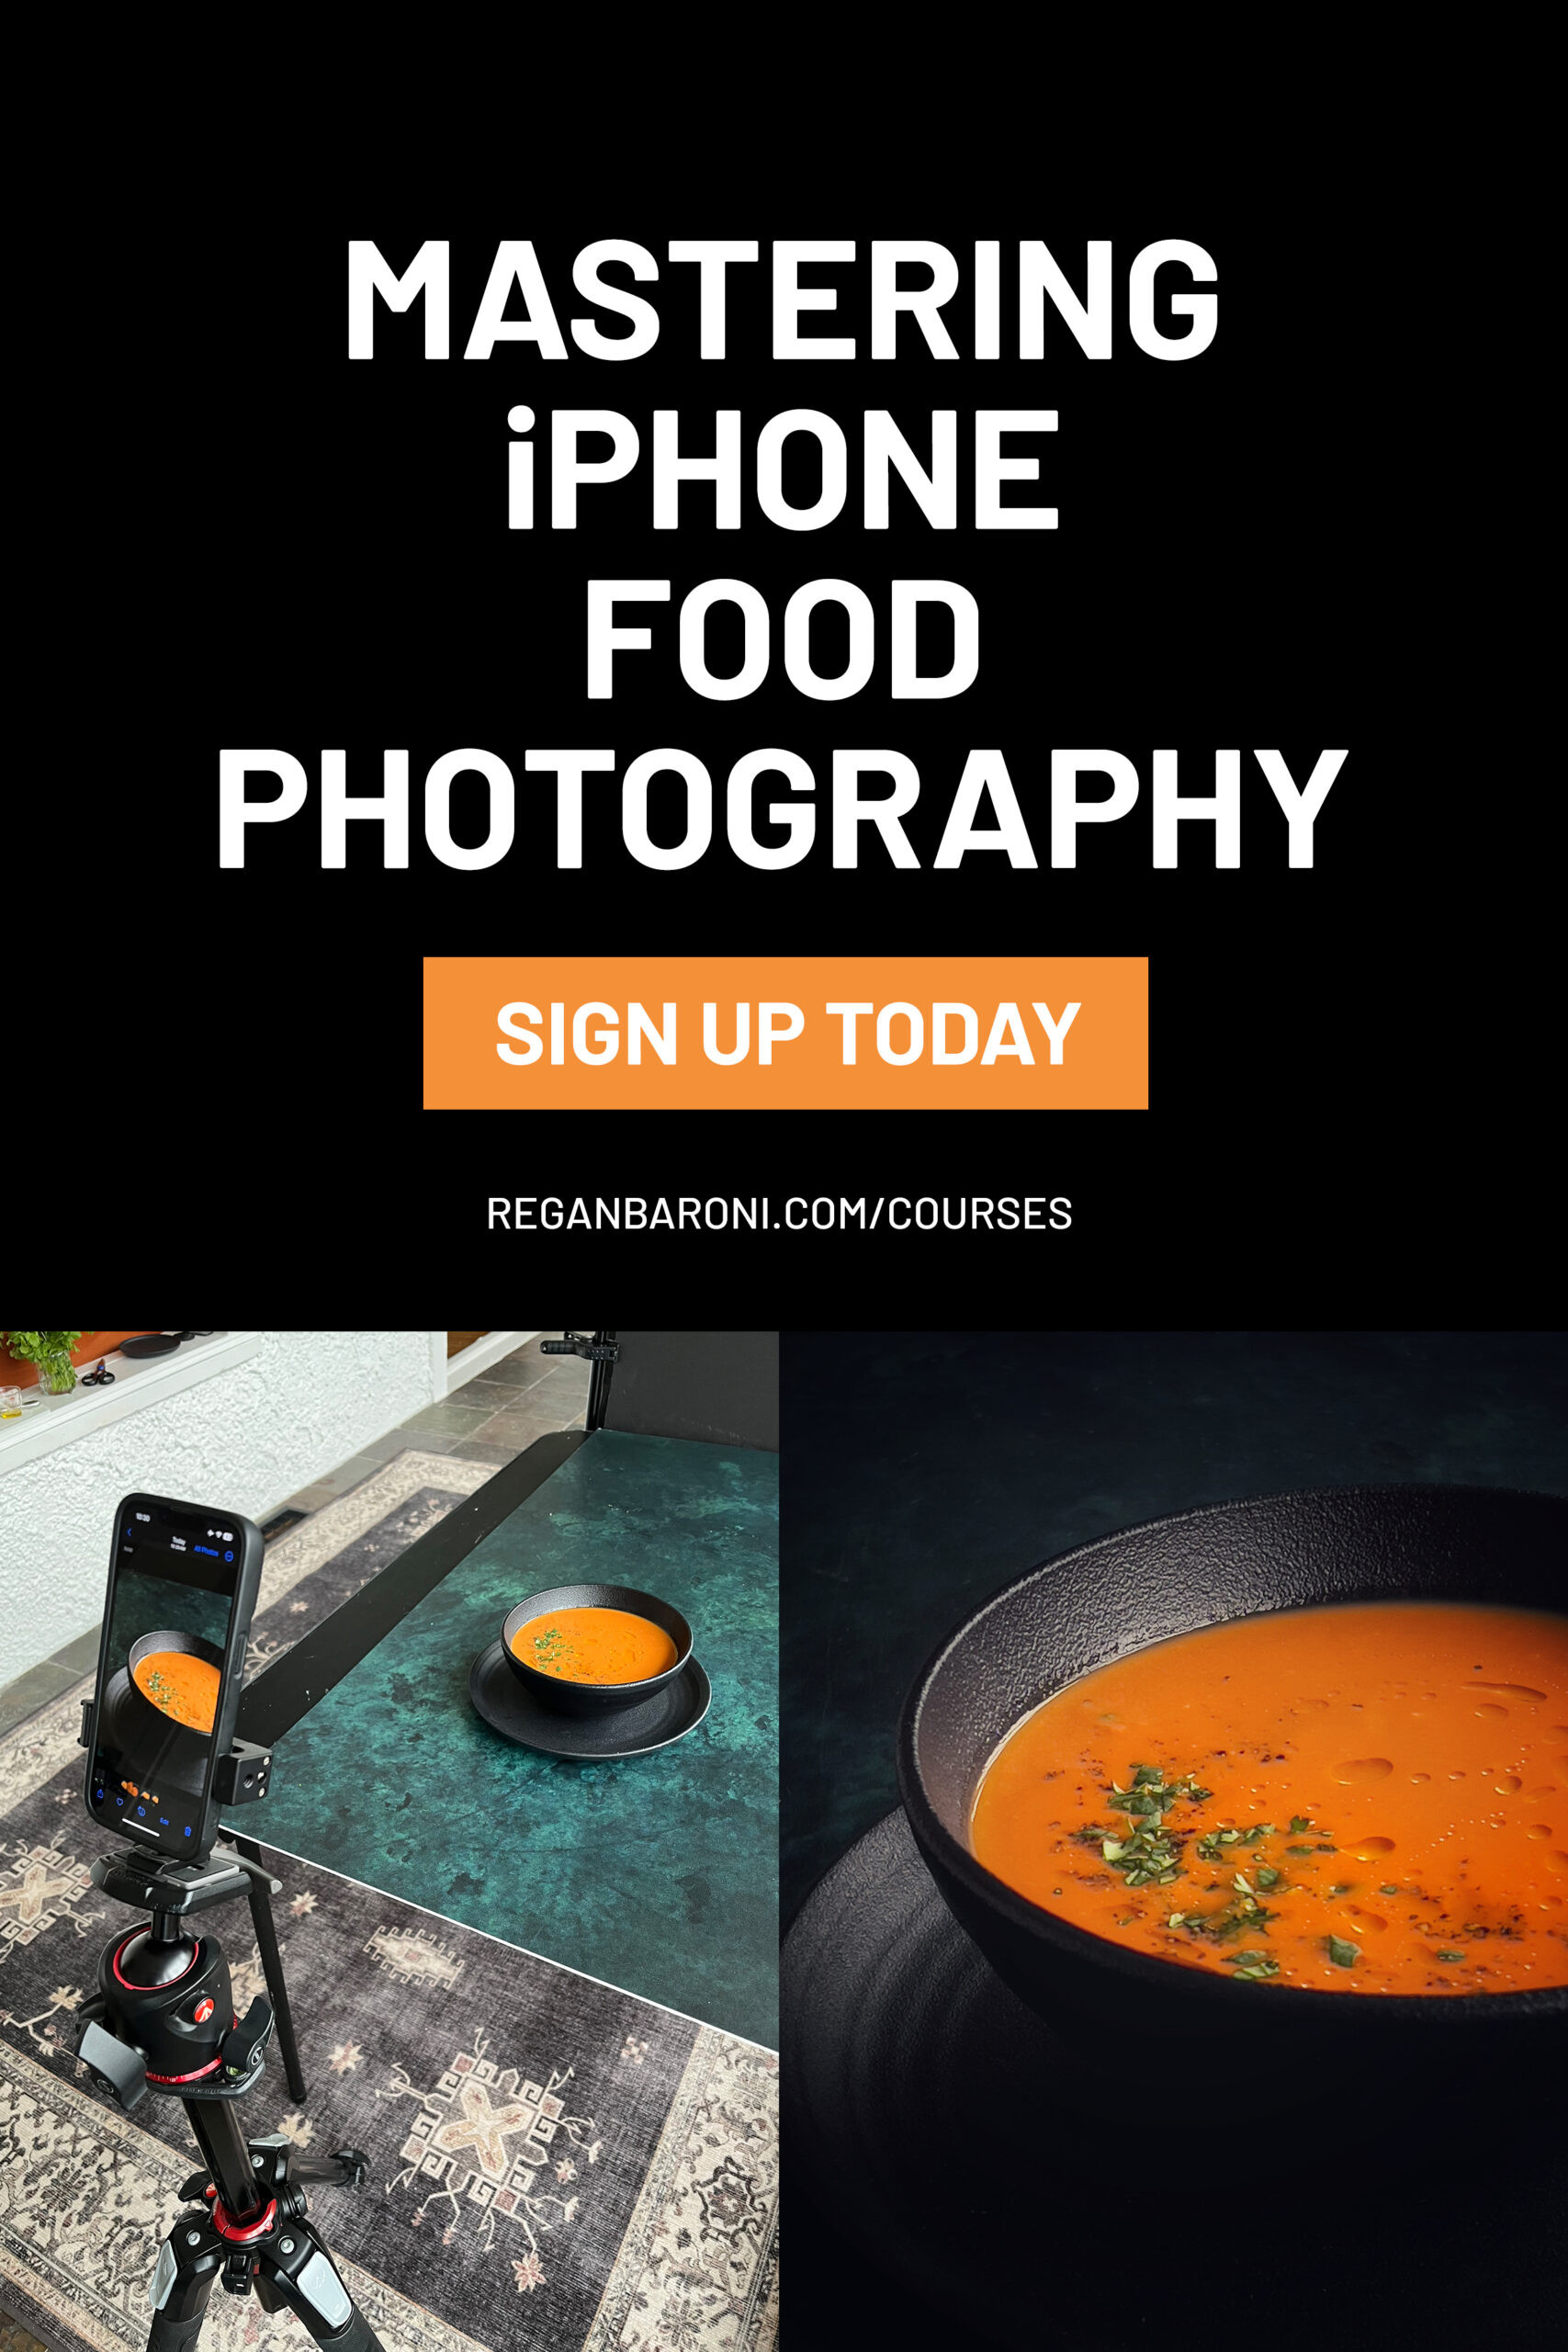 Thumbnail for an online iPhone food photography course, inviting viewers to learn more.
For those particularly interested in food photography with their iPhones, courses like Mastering iPhone Food Photography offer specialized instruction, covering everything from lighting and styling to composition and editing specifically for food subjects. These courses often include video lessons, practical exercises, and community support to enhance your learning experience.
Essential Tools to Elevate Your iPhone Photography
Beyond camera settings and techniques, certain accessories can significantly enhance your iPhone photography capabilities, providing more control and creative possibilities.
9. Light Modifiers: Diffusers and Foam Boards
Natural light is often ideal for iPhone photography, but it can be unpredictable and harsh. Light modifiers like diffusers and foam boards give you control over natural light, allowing you to shape and refine it for better results.
Diffusers: These translucent panels soften harsh sunlight, creating a more even and flattering light. Placing a diffuser between your light source (like a window) and your subject reduces harsh shadows and highlights, resulting in softer, more balanced lighting.
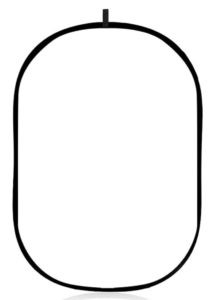 Product image of a large photography diffuser, showcasing its use in softening harsh light.
Foam Boards: These inexpensive boards are versatile light shaping tools.
- White Foam Boards: Used as reflectors to bounce light back into shadows, brightening darker areas of your scene and reducing contrast.
- Black Foam Boards: Used as flags to block light and create deeper shadows, adding contrast and drama to your images.
Experimenting with diffusers and foam boards will give you greater control over lighting, a crucial element in photography.
 Product image of a white foam board for photography, demonstrating its use as a reflector.
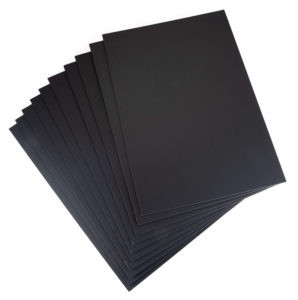 Product image of a black foam board, illustrating its use in creating shadows and contrast.
10. Tripods: Stability for Sharper Images
Handheld shooting is convenient, but for ultimate sharpness and creative possibilities, a tripod is essential. Stabilizing your iPhone on a tripod eliminates camera shake, especially crucial in low light or when using slow shutter speeds.
Tripod Recommendations: Look for tripods with a center column that allows for overhead shots and versatile angles. Models like the Manfrotto 055 Tripod are robust and adaptable for various photography styles.
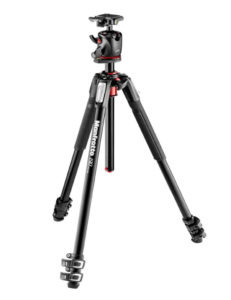 Product image of a Manfrotto tripod, highlighting its sturdiness and versatility for iPhone photography.
iPhone Tripod Mounts: A dedicated metal iPhone tripod mount securely attaches your phone to the tripod, allowing for both vertical and horizontal orientations without obstructing the screen.
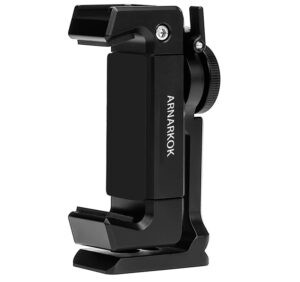 Product image of a metal iPhone tripod mount, showing how it securely holds an iPhone on a tripod.
Using a tripod opens up new photographic avenues, from long exposures to precisely framed compositions.
 Demonstration of an iPhone mounted on a tripod for a stable photography setup.
11. Bluetooth Remote Shutter: Hands-Free Control
Complementing a tripod, a Bluetooth remote shutter release provides hands-free control over your iPhone camera. This eliminates any camera shake caused by pressing the shutter button directly on your phone, ensuring maximum sharpness.
A remote shutter is also invaluable for self-portraits or group photos where you need to be in the shot. Compact and portable Bluetooth remotes are readily available and compatible with most smartphones.
 Product image of a smartphone Bluetooth remote shutter, emphasizing its small size and portability.
12. Portable Charger: Stay Powered Up
iPhone batteries can drain quickly, especially when using the camera extensively. A portable charger is an essential accessory to ensure you never miss a photo opportunity due to a dead battery. Choose a fast-charging portable charger for quick power boosts on the go.
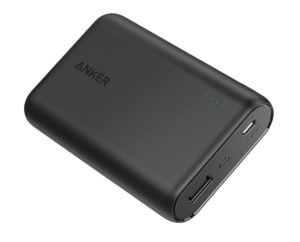 Product image of a portable charger for smartphones, highlighting its compact design and charging capability.
13. External Lenses: Expand Your Perspective
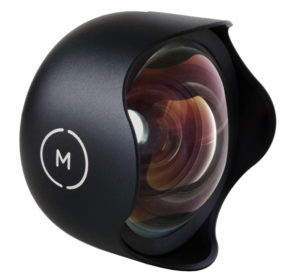
While iPhone cameras are versatile, external lenses can significantly expand your creative options, offering different perspectives and focal lengths.
Moment Lenses: Considered high-quality smartphone lenses, Moment lenses require a special phone case for secure attachment. While clip-on lenses are cheaper, Moment lenses offer superior optical quality and image sharpness.
 Product image showcasing Moment lenses for iPhone, emphasizing their professional quality and lens options.
 Recommended Moment Lenses:
- Moment Wide Angle Lens: Ideal for landscapes, interiors, and travel photography, capturing expansive scenes with minimal distortion.
 Product image of a Moment Wide Angle Lens for iPhone, showcasing its wide field of view.
 Example of a wide-angle shot taken with an iPhone lens, demonstrating the expansive perspective.
- Moment Macro Lens: Allows for extreme close-up photography, capturing intricate details with impressive sharpness. Perfect for photographing textures, small objects, and details you can’t normally see with the naked eye.
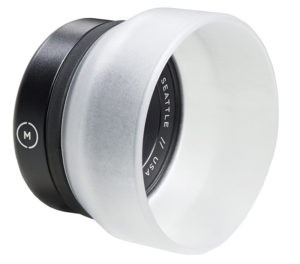 Product image of a Moment Macro Lens for iPhone, highlighting its capability for close-up detail.
 Example of a macro shot taken with an iPhone lens, showcasing extreme close-up detail of a tomato.
By understanding these tips, techniques, and tools, you’re well on your way to taking good iPhone photos. Remember, practice is key. Experiment with these suggestions, explore your iPhone’s camera features, and most importantly, have fun with your mobile photography journey. The best iPhone photography comes from a blend of knowledge, creativity, and a willingness to learn and experiment.