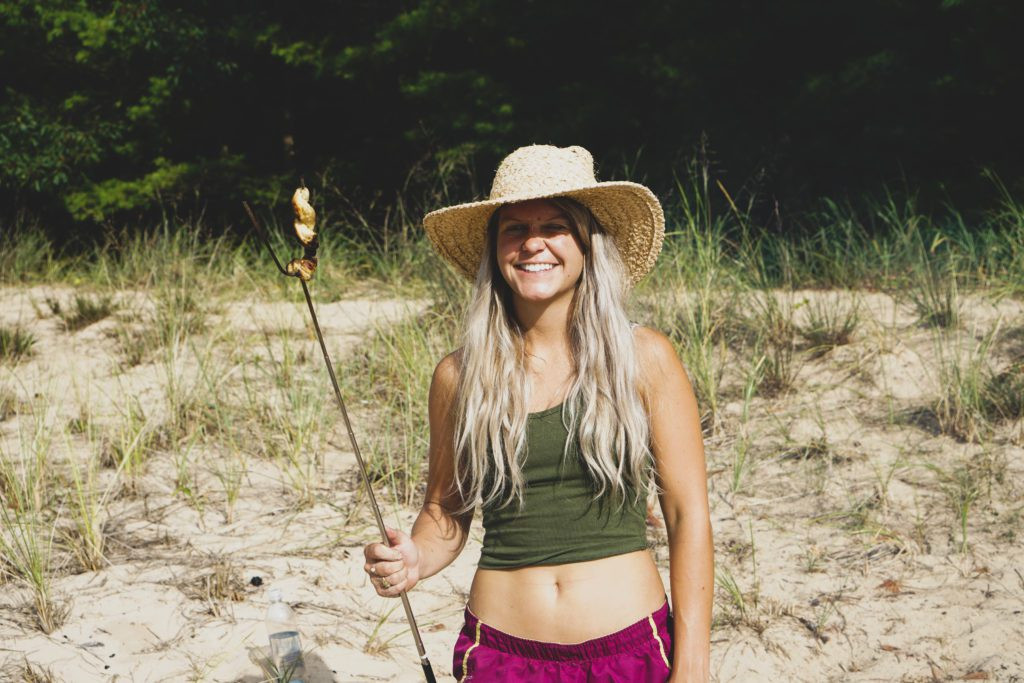
Let me be upfront, I’m far from an “Instagram model.” Most of the time, I look more like this while traveling:
 Candid travel moment showing a relaxed, non-model pose
However, learning How To Take Good Instagram Photos doesn’t require being a model. It boils down to mastering three key elements:
- Angles
- Posing
- Editing
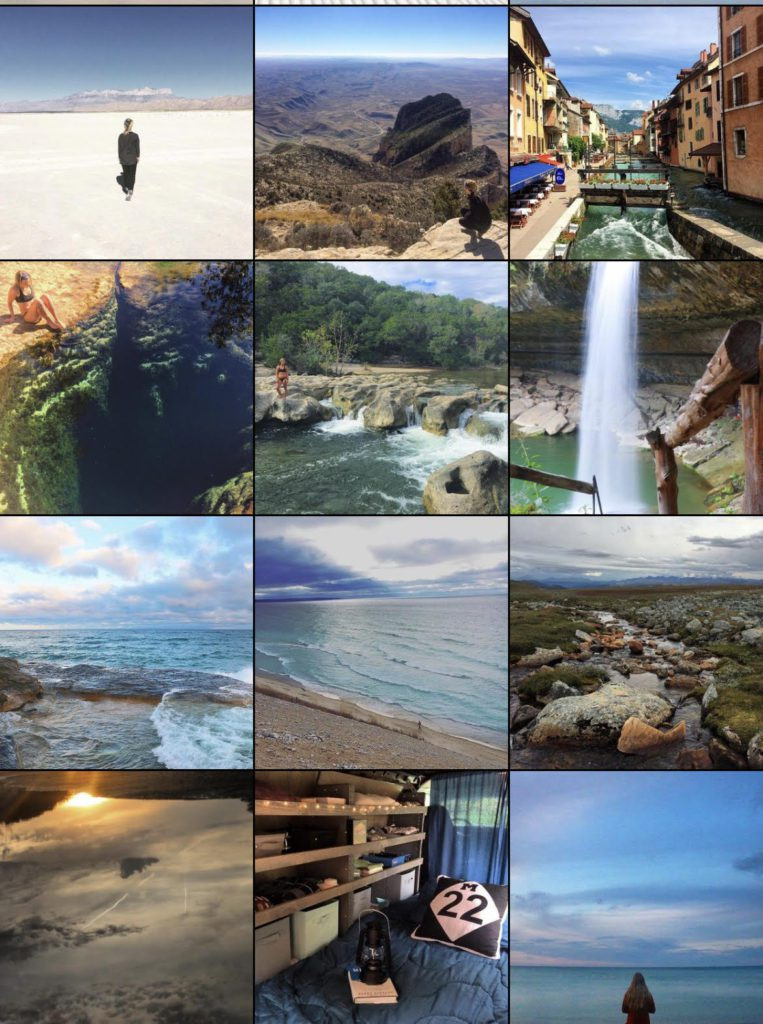
Looking back at my Instagram journey, the evolution is clear. My earlier photos, while decent, lacked the polish of my current feed. Here’s a comparison showcasing my Instagram then and now:
 Before and after Instagram photo comparison
 Improved Instagram feed example with better composition and editing
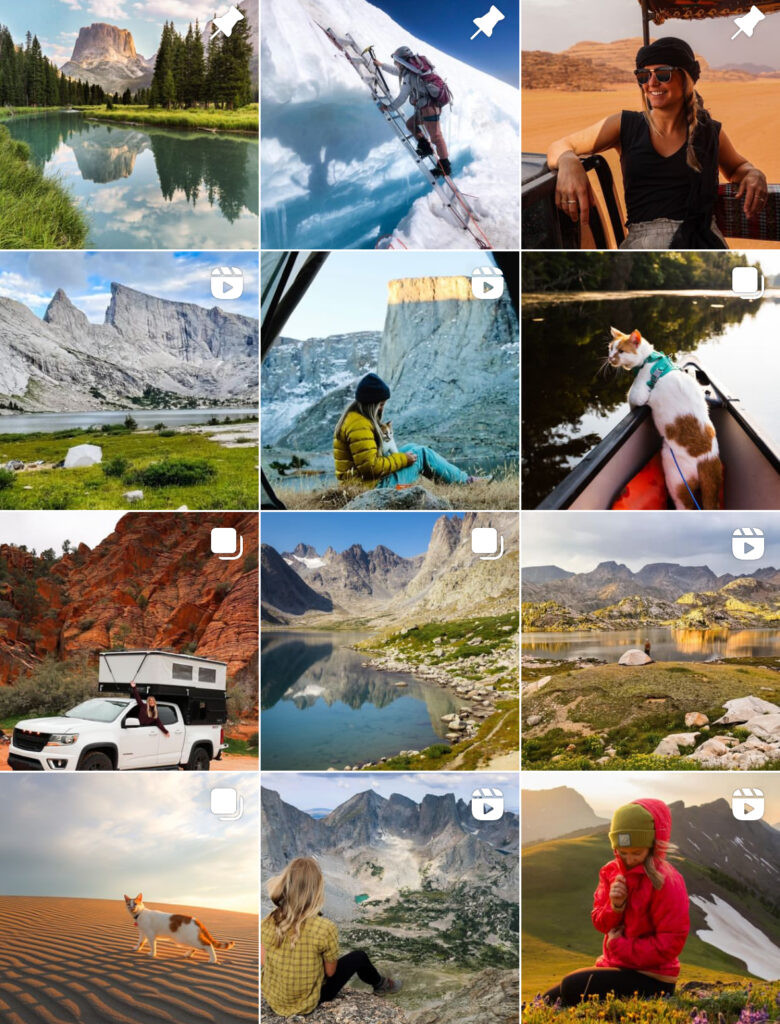 Example of a well-composed and edited Instagram photo
Essential Equipment for Instagram-Worthy Photos
While creativity is key, having the right equipment can elevate your Instagram game. As of 2024, my go-to gear includes:
For beginners seeking a versatile, lightweight camera that delivers exceptional image quality, I highly recommend the Canon 80d or the Sony a6000. I personally used the Canon 70d (the predecessor to the 80d) for over five years and still occasionally use it.
The Sony a6000, a mirrorless option, offers a more compact body compared to the Canon. While I’ve explored Sony cameras, I’ve always felt more comfortable and enjoyed the Canon shooting experience.
The Canon 80d is priced around $1000 for the body and kit lens.
The Sony a6000 is available for approximately $879.
 Canon 80d camera recommendation for Instagram photography
 Sony a6000 camera recommendation for mobile Instagram photographers
Photo Tips to Enhance Your Instagram Feed
1) Master the Rule of Thirds
Research indicates that positioning your subject slightly off-center enhances visual appeal and viewer engagement. This fundamental photography principle is known as the “Rule of Thirds.”
Instead of placing the focal point directly in the middle, consider positioning it along the intersecting lines of a grid that divides your image into thirds, both horizontally and vertically. Here are a couple of illustrations:
 Rule of thirds example in Instagram photography composition
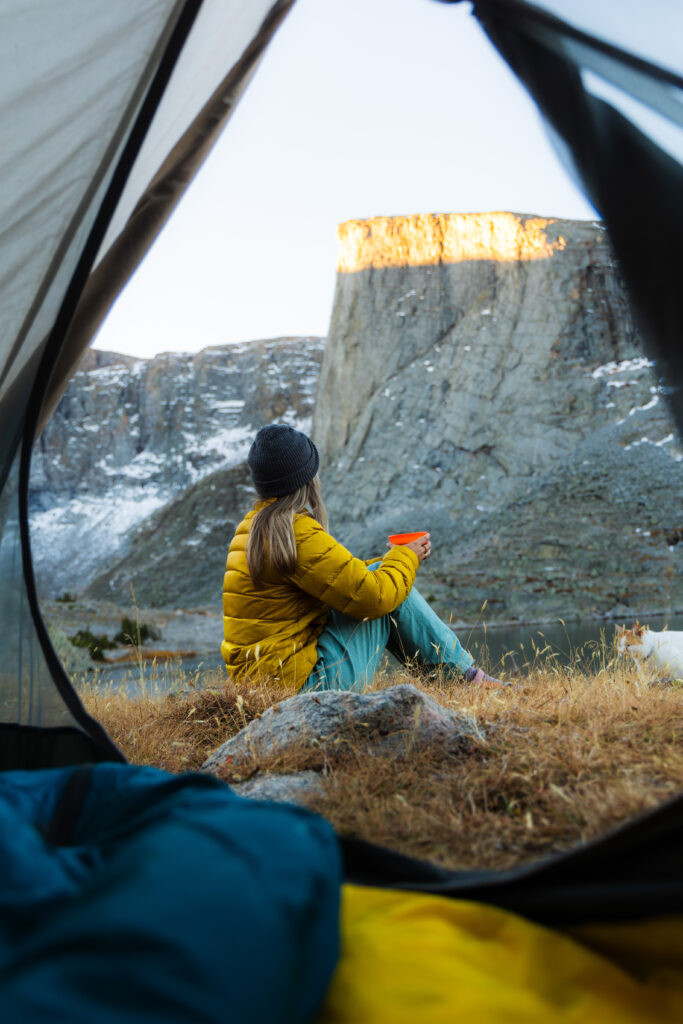
2) Embrace Natural Posing
When photographing clients or even myself, I always encourage authenticity. Overly posed photos can appear stiff and unrelatable.
Don’t shy away from sharing genuine, candid moments, even if they aren’t perfectly polished. Photos capturing real laughter and emotion often resonate most with audiences. My most engaging Instagram posts often feature authentic stories and unscripted photos.
 Candid photo example for authentic Instagram content
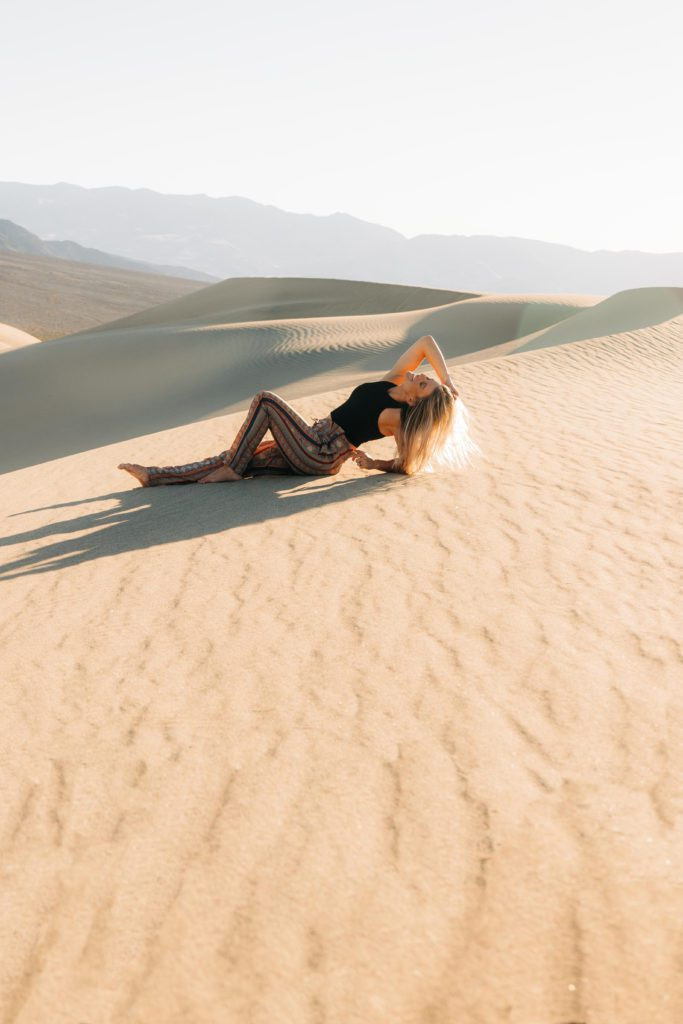
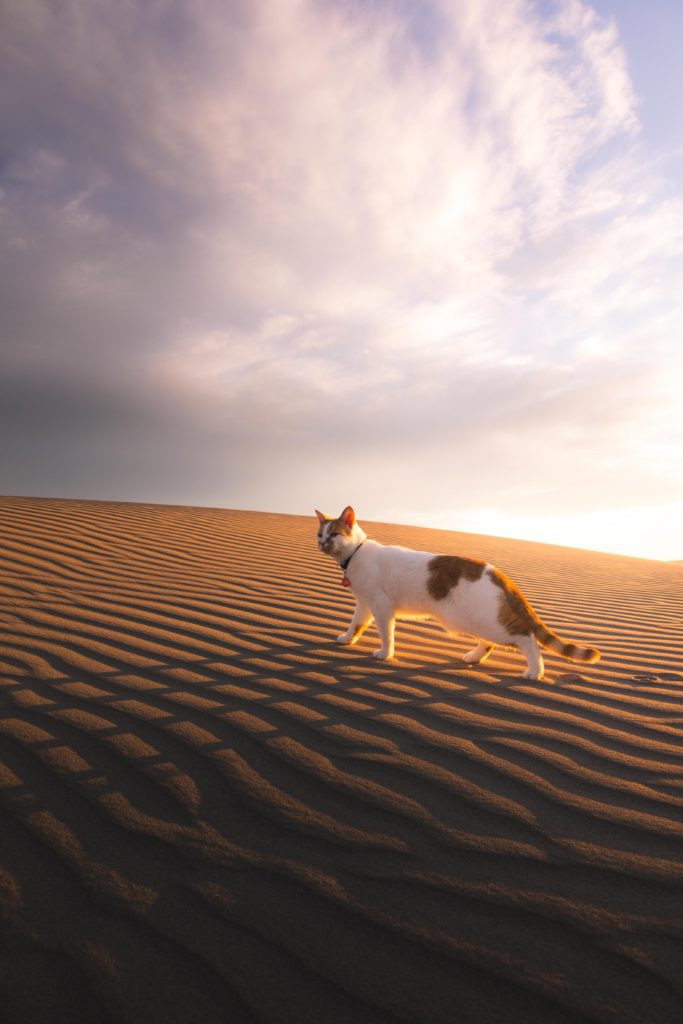
3) Strive for Naturalness
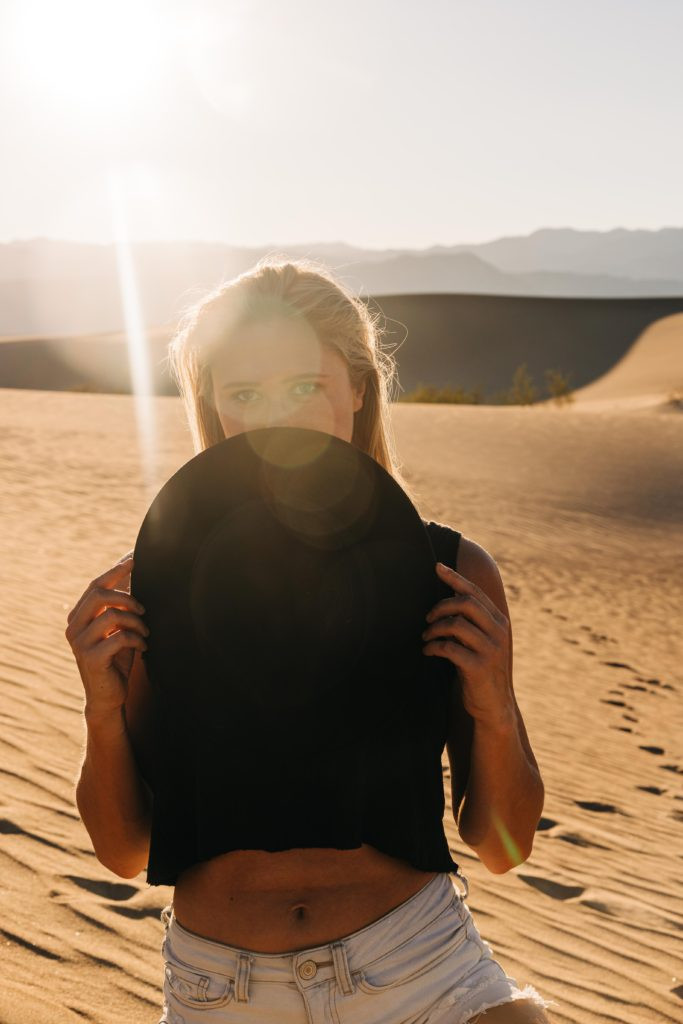
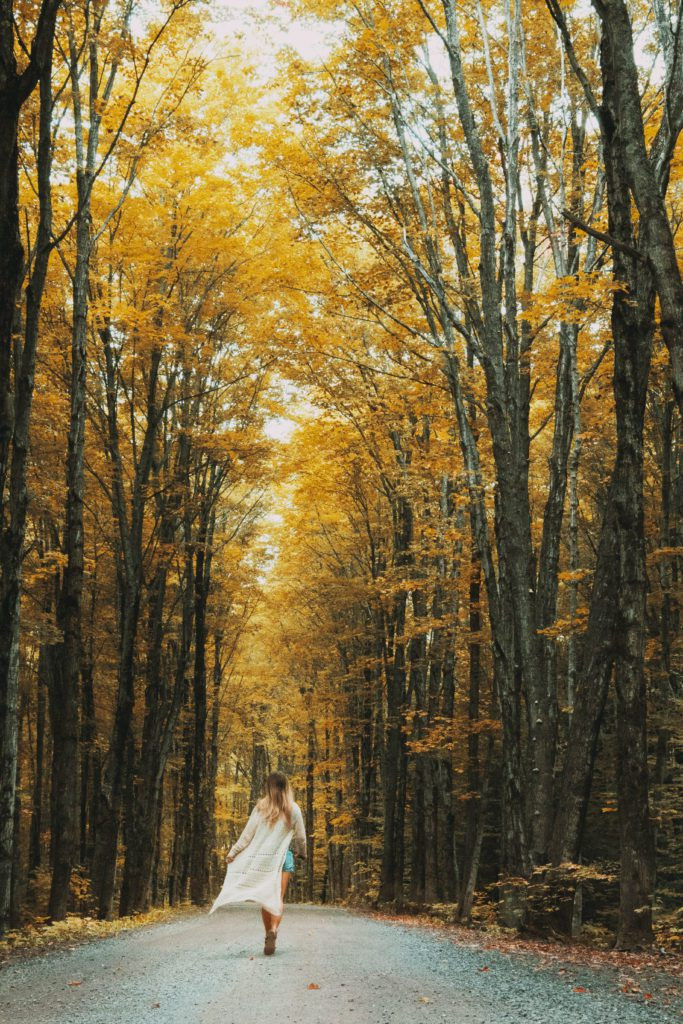
Building on the idea of posing, aim for a natural and realistic feel in your photos. If you’re enjoying a sunset at the beach, have a friend or use a self-timer to capture you naturally interacting with the scene, like standing in the waves. This authenticity adds depth and relatability to your photos.
It’s natural to feel self-conscious when you know you’re being photographed. To overcome this, relax, laugh, and let your personality shine through. Candid shots of genuine moments are always more compelling than forced poses.
 Natural beach scene photo for Instagram inspiration
4) Edit Subtly
Photo editing is crucial for enhancing your Instagram photos, but often, less is more when it comes to filters and adjustments.
Having edited countless photos, I primarily use Photoshop sparingly, mainly to remove distractions like unwanted footprints or background elements. I prefer to keep my photos close to the original shot in terms of color and style, opting for subtle enhancements.
 Subtly edited photo example demonstrating natural enhancements
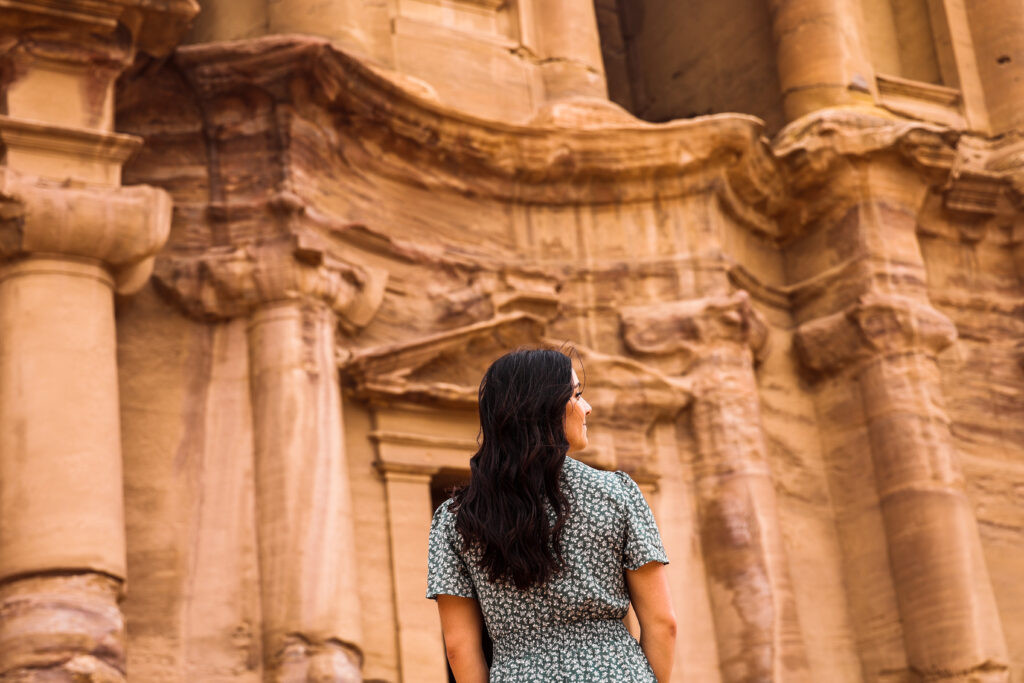
5) Seek Unique Locations and Avoid Crowds
A single viral social media post can transform a hidden gem into a tourist hotspot. Devil’s Bridge in Arizona is a prime example. During my visit in 2016, it was deserted. However, it’s now known for long queues of people waiting to capture the same iconic shot.
When choosing a location, venture beyond the obvious and explore less crowded alternatives. The slot canyon pictured below is often mistaken for Antelope Canyon, but it’s a less-known location in Utah where we could shoot freely without interruption.
Shooting in peaceful surroundings allows you to relax, reducing pressure and often resulting in better photos. Personally, I dislike photographing in crowded places. I prefer to move around, be spontaneous, take numerous shots, and hope for a few usable images.
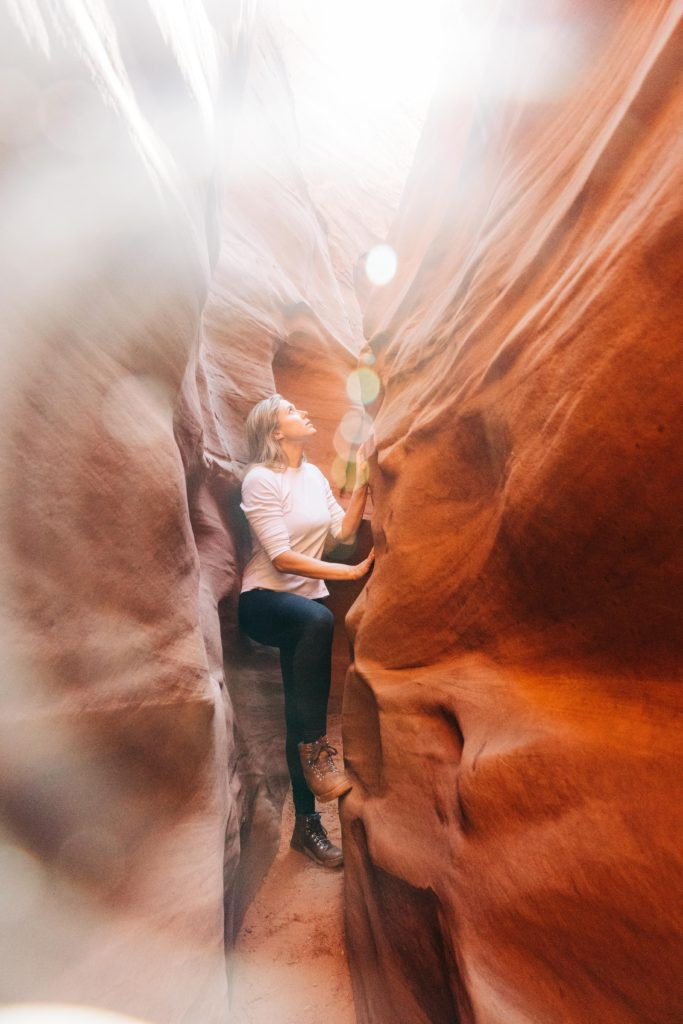 Secluded slot canyon photo for unique Instagram location ideas
 Alternative angle of a secluded photography location
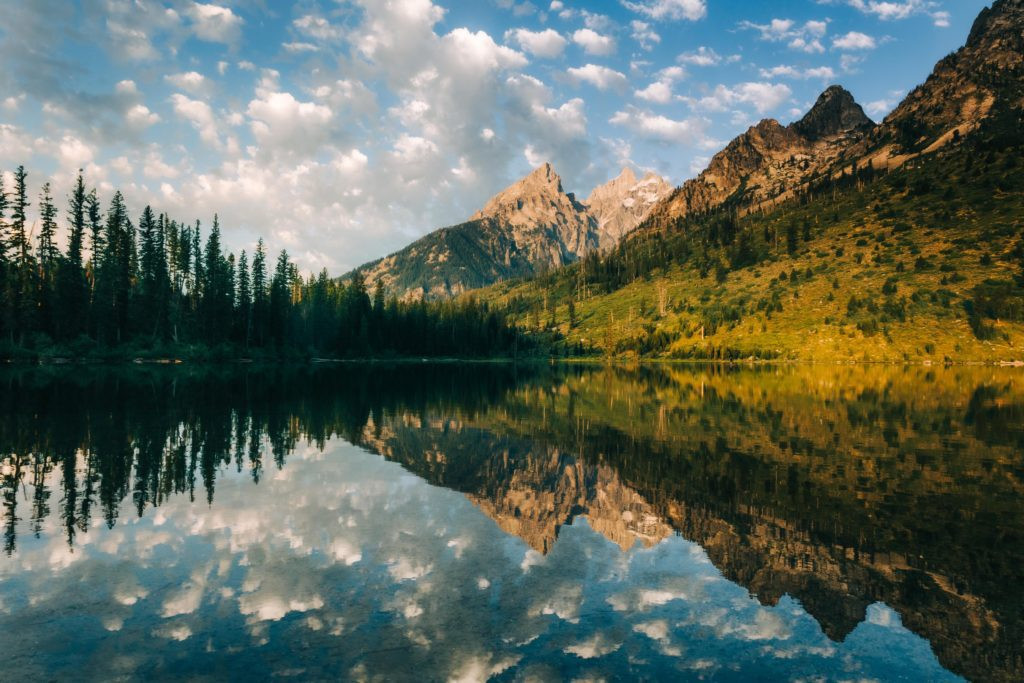
6) Experiment with Angles
Mastering angles is fundamental to taking good Instagram photos. Whether it’s a close-up outfit shot or a breathtaking travel landscape, playing with different angles can dramatically improve your photos.
In the photo below, the angle makes it appear as if I’m on a precarious cliff edge in Canyonlands National Park. In reality, it was a safe spot, but the angle exaggerates the sense of adventure. My friend, who is afraid of heights, even sat there to demonstrate its safety (second photo).
If you want to appear taller in photos, especially if you’re petite like me (5’2″), position your tripod low to the ground and shoot from a slightly upward angle. This elongates your legs and creates a taller illusion.
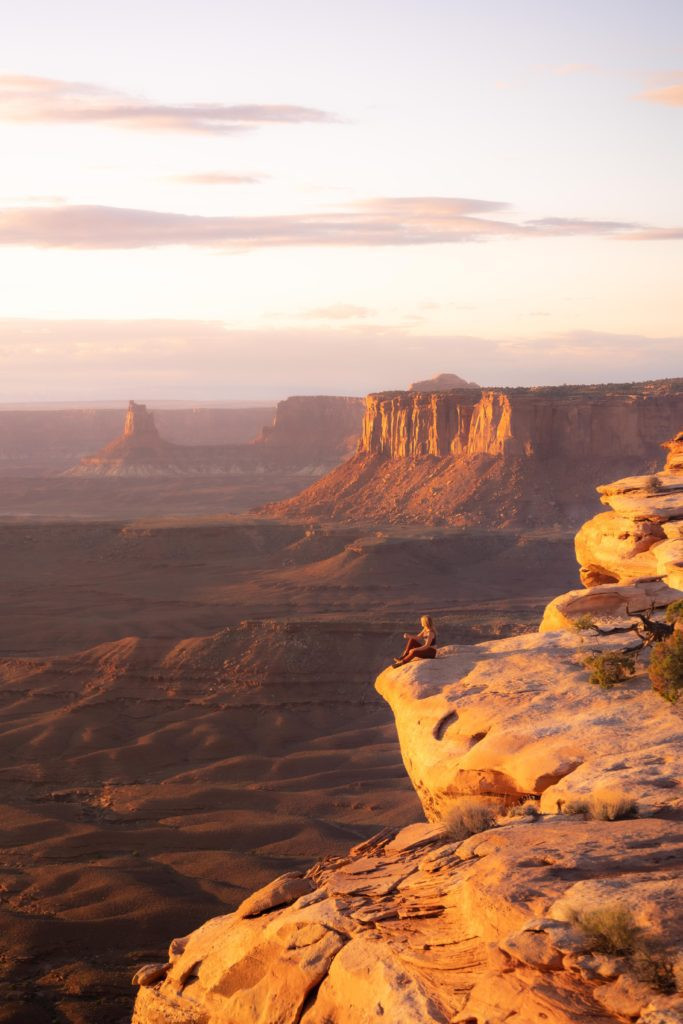 Dramatic angle photography example in a landscape setting
7) Communicate with Your Photographer
My partner Josh and I share a passion for travel photography, but we have distinct editing and shooting preferences. Clear communication about desired angles and compositions is essential. Instead of simply handing over your camera, show your photographer the exact framing and position you envision to ensure you get the shot you want.
 Photographer communication example for achieving desired Instagram shots
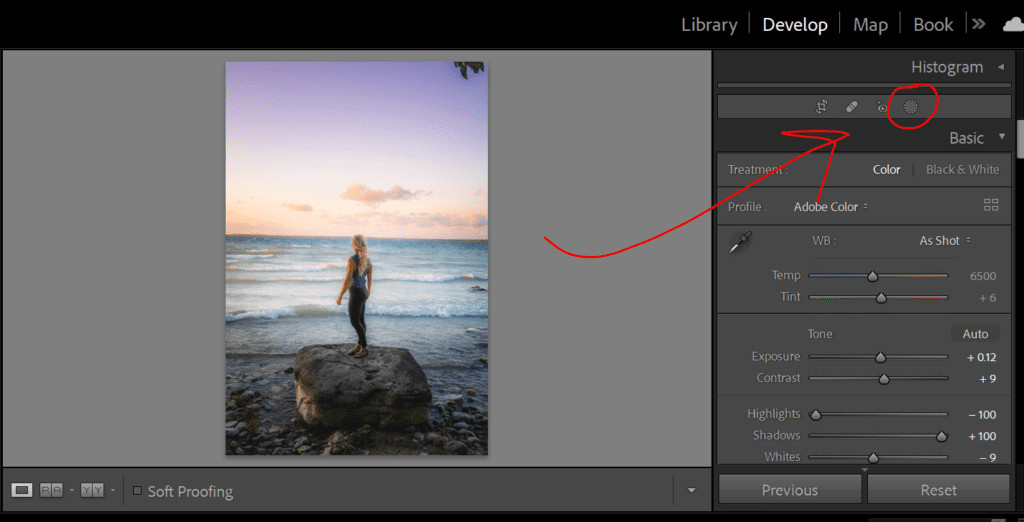
8) Learn Basic Lightroom Editing
Capturing the photo is the first step; editing is the second, equally vital step. Adobe’s Photography Plan, at $10/month, provides access to Lightroom, Mobile Lightroom, and Photoshop, which is more than sufficient for comprehensive photo editing.
For those new to photo editing, presets can be a helpful starting point. My typical editing workflow involves three basic adjustments in Lightroom:
- Tone Curve Adjustment: I adjust the tone curve for nearly every photo to fine-tune contrast and lighting.
- Brightness: My aesthetic leans towards bright and vibrant photos, so I often increase brightness accordingly.
- Contrast and Clarity: I typically increase contrast while slightly decreasing clarity to achieve a dreamy, softer look.
- Subject Brightening: Lightroom’s “select subject” masking tool simplifies highlighting your subject. Use subtle brightness adjustments to maintain a natural look. In Lightroom, use the masking tool, select “+”, and choose “select subject.” The subject will be highlighted in red, allowing targeted adjustments.
 Lightroom editing interface example for Instagram photo enhancement
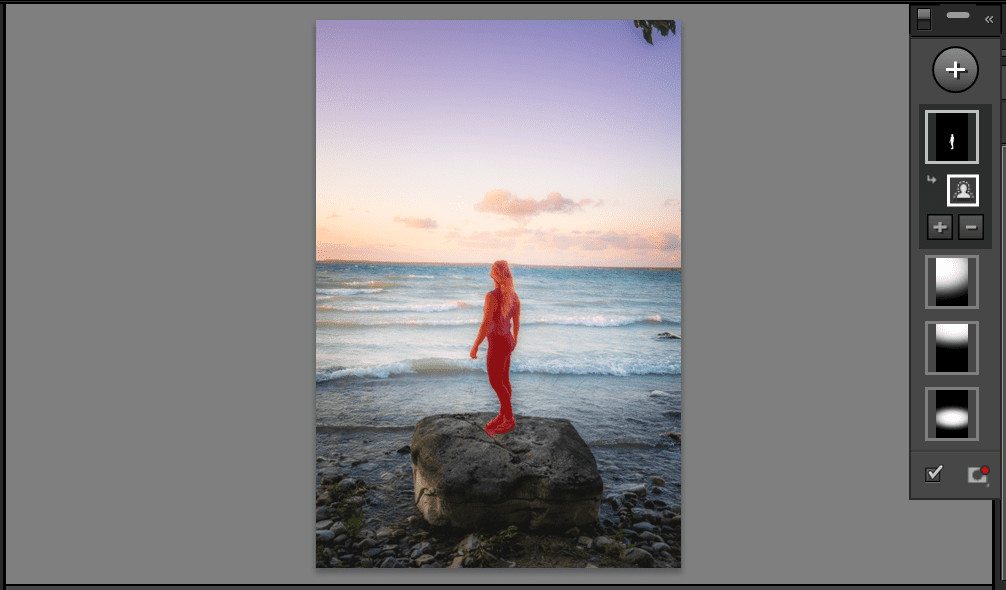 Lightroom masking tool example for subject selection in photo editing
9) Take Lots of Photos
For every great photo, there might be 99 that don’t make the cut. That single exceptional shot is what you’re aiming for.
I avoid spending excessive time shooting, as I believe experiences shouldn’t revolve solely around Instagram. DSLR cameras often have rapid-fire modes for capturing multiple shots quickly. Combine the advice of acting natural with rapid shooting.
For instance, walk towards the camera and run your hand through your hair. This simple action can yield 20-40 photos in just 10 seconds. Repeat this a few times, and you’ll have a diverse selection to choose from later, increasing your chances of capturing a perfect shot.