Food photography boasts a rich history, dating back to the very inception of photography. Early daguerreotypes featured fruits like pineapples and peaches as some of their first subjects. The 20th century witnessed an explosion in food imagery, fueled by the popularity of food magazines, cookbooks, and eventually, food bloggers, all showcasing enticing visuals of delectable dishes.
In today’s digital age, captivating product photos are crucial for ecommerce businesses to establish their brand and boost sales. A mouthwatering image of rosemary focaccia can effectively promote olive oil, while a tempting bowl of Sichuan noodles can elevate the appeal of chili crisp condiments.
So, what’s the secret to capturing food photos that make viewers crave a bite? While professional equipment like a DSLR or mirrorless camera can be beneficial, it’s not essential. Whether you’re a marketer, entrepreneur, small business owner, or simply a food enthusiast, mastering fundamental photography principles will empower you to take captivating food photos.
Essential Steps for Delicious Food Photography
Taking truly appealing food photos goes beyond simply pointing and shooting. Whether you’re using your smartphone for quick snaps or a professional camera for high-quality images, certain core principles are universally applicable.
1. Choose the Right Background
Selecting a complementary background is crucial for drawing attention to your food subject. A seamless backdrop paper effectively isolates the food, ensuring it remains the focal point. Incorporating tableware, linens, and carefully chosen props can subtly educate potential customers about your brand’s aesthetic and the lifestyle associated with your edible products.
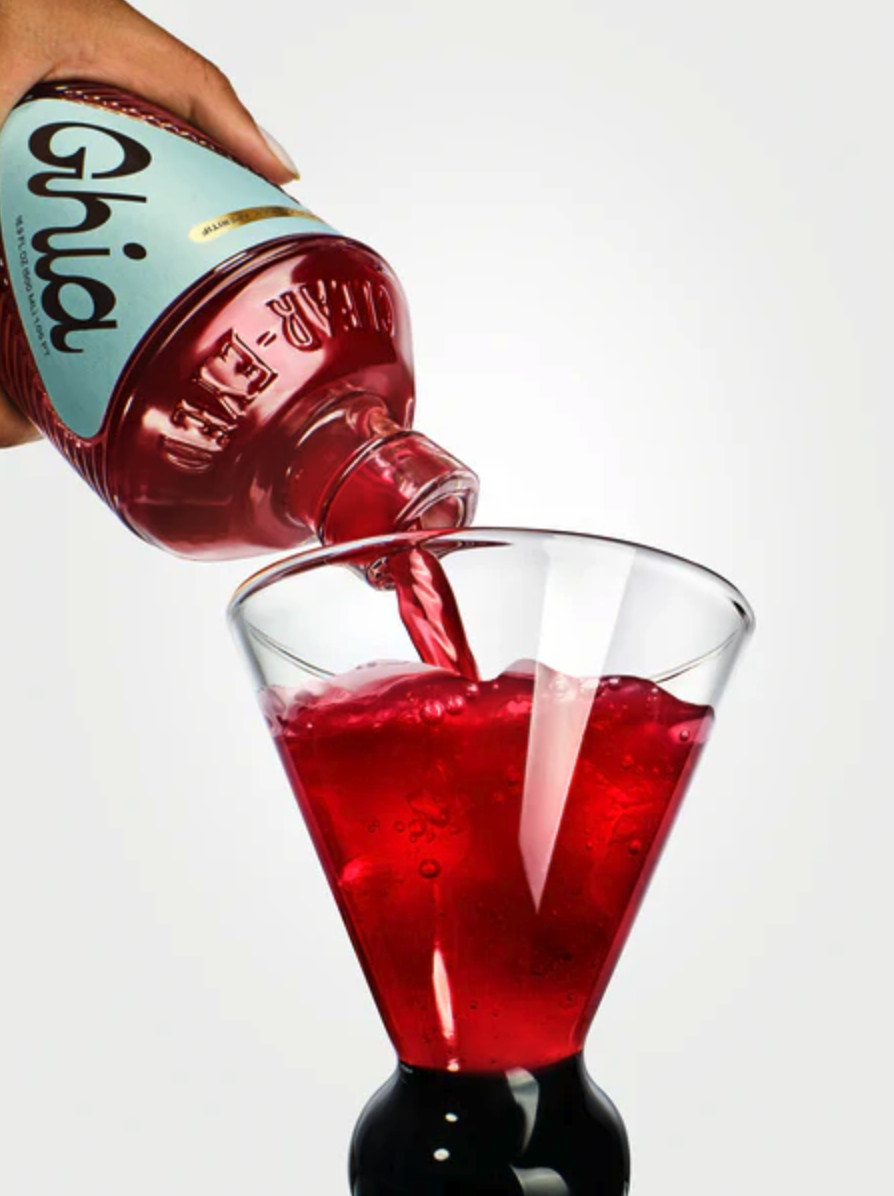 Ghia's white background highlights the vibrant red color of their apéritif.
For instance, Ghia, a non-alcoholic apéritif brand, opted for a clean white background for their product photography, enhancing the vibrant red of their drink. According to founder Melanie Masarin on the Shopify Masters podcast, they chose a stemless glass with a totem foot to convey a sense of “luxury, but also very approachable.”
2. Master the Art of Lighting
Lighting plays a pivotal role in food photography. It can accentuate the textures of your dishes, set the desired mood, and eliminate distracting shadows. Soft light provides even illumination, minimizing harsh shadows, while hard light can create more dramatic shadows. For food photography, soft light is generally preferred. Utilize a large, soft light source, such as a frosted window or a softbox, to diffuse light and prevent harsh shadows. Alternatively, take your food photos outdoors in natural, indirect light.
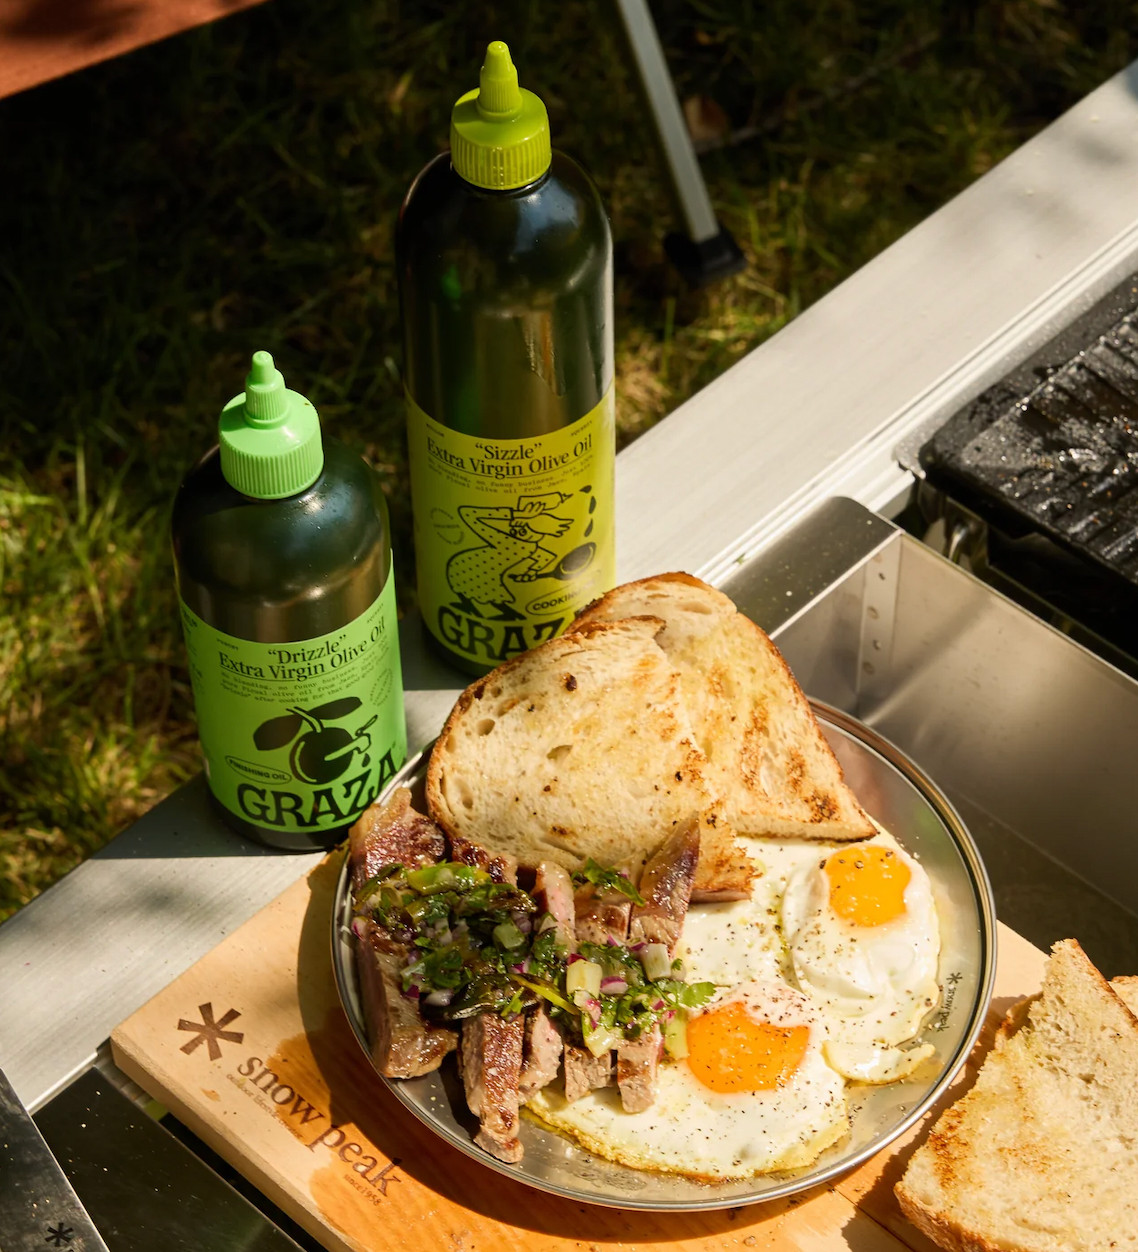 Graza uses natural side lighting to enhance the textures in their steak and eggs photo.
Consider Graza’s photograph of steak and eggs. They effectively used natural side lighting to emphasize the textures and deliciousness of the dish. Different lighting directions can be advantageous depending on the subject. Top lighting is ideal for flat lays of plated meals or tablescapes. Simple front lighting works well for social media posts. Side lighting can add depth and drama, perfect for showcasing individual ingredients or products.
3. Perfect Your Composition
Overcrowding your frame with too many elements can detract from the food itself. While centering the main dish might seem intuitive, it doesn’t always result in the most visually appealing image. Embrace the rule of thirds: mentally divide your frame into nine equal rectangles by two horizontal and two vertical lines. Position your main subject along these lines or at their intersections to create a more dynamic and engaging composition.
 Floof's side shot of their cotton candy cake highlights the colorful layers and dimension.
Different dishes benefit from various shooting angles. Experiment to find the most flattering perspective for your food. For example, a side shot of Floof’s cotton candy cake beautifully showcases its vibrant layers and unique texture.
4. Stabilize Your Camera for Sharpness
Camera shake can lead to blurry images, especially detrimental when capturing the intricate textures of food. Using a tripod or camera stand is essential for ensuring sharpness and clarity. This is particularly important for foods with enticing textures, such as powdered sugar-dusted tea cakes or the crispy crust of fried tofu. For precise adjustments, consider a tripod with a geared head, like the Manfrotto 405, allowing for meticulous pan and tilt movements. A camera stand further enhances versatility by facilitating easy vertical and horizontal adjustments for capturing diverse angles.
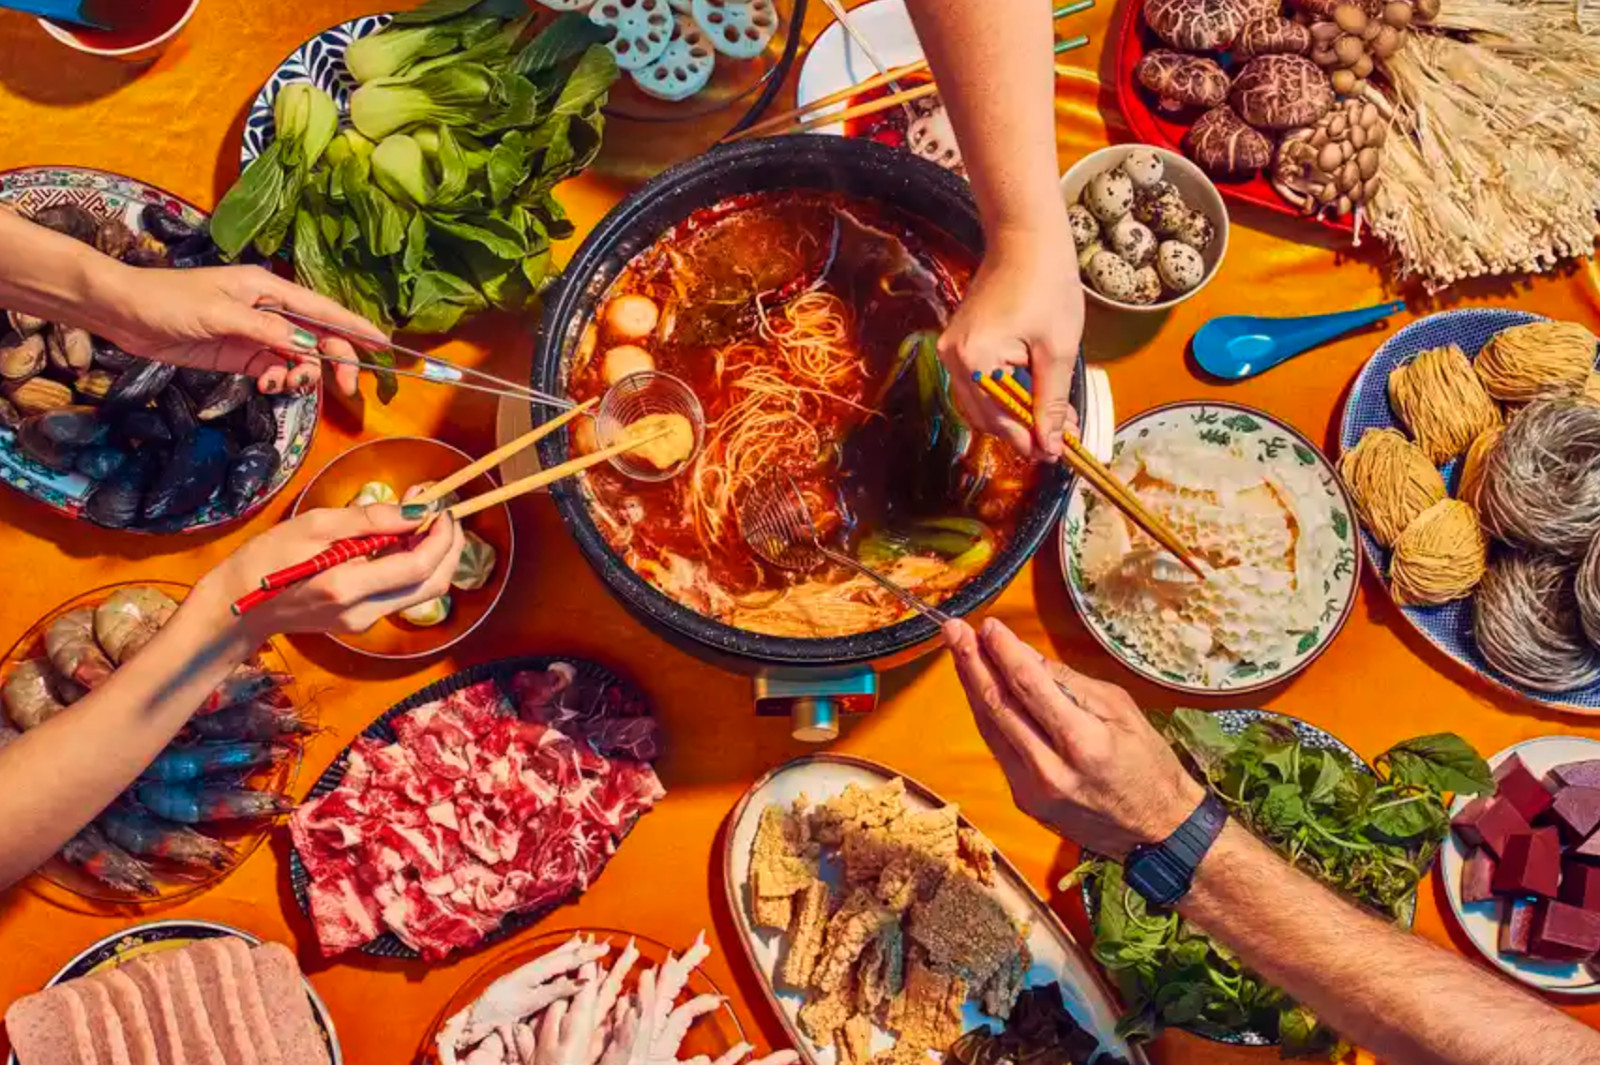 Fly by Jing's overhead shot of hot pot highlights the variety of colors and textures.
Fly by Jing effectively utilizes an overhead shot to showcase the vibrant colors and textures of their hot pot ingredients. Food photographers frequently employ overhead rigs or boom arms to stabilize cameras specifically for overhead shots like this, guaranteeing image sharpness and detail.
5 Pro Food Photography Tips to Elevate Your Shots
While large brands often have dedicated creative teams for food photography, small business owners and individual creators often handle all aspects themselves. Here are five professional tips to enhance your food photography skills:
1. Experiment with Different Lenses
Lenses significantly impact the look and feel of your food photos. Macro lenses, with their longer focal length and higher magnification, are ideal for capturing extreme close-ups. They excel at highlighting intricate details, whether it’s a specific ingredient or a captivating texture.
Probe lenses, such as the Laowa 24mm f/14 2x macro probe, offer unique perspectives with their long, slender barrels, enabling shots from otherwise impossible angles. Imagine capturing a donut from the center hole – a perspective only a probe lens can achieve.
2. Master Light Filters and Modifiers
Controlling light is key to professional-looking food photos. Soften harsh light sources by using diffusion materials. While professional photographers use diffusers like LEE Filters’ Opal Frost, a simple bedsheet can serve as a makeshift diffuser in a pinch.
To add visual flair, explore light filters. A North Star filter creates dazzling streaks of light from point light sources, adding sparkle to cocktail glasses or candles. Light modifiers like nets and flags allow you to selectively block or soften light in specific areas, giving you precise control over illumination.
3. Utilize Focus Stacking for Extreme Detail
Focus stacking is a powerful technique that combines multiple images with different focus points into a single, highly detailed composite image. This is particularly useful in macro food photography, where achieving complete focus in extreme close-ups can be challenging.
Professional cameras with large sensors and shallow depths of field are well-suited for focus stacking. Smartphone users can also explore focus stacking apps like FocusStacker on iOS to achieve similar results.
4. Ensure Color Accuracy with a Color Checker
Appetizing colors are paramount in food photography. However, accurately capturing these colors can be tricky. A color checker, such as the X-Rite ColorChecker Passport, is a valuable tool for color accuracy. This palette-like tool contains squares of precisely calibrated colors. By including a color checker in your photo, you can ensure accurate color representation during post-processing, keeping your food looking as vibrant and true-to-life as possible. X-Rite provides plugins for Capture One and Adobe Lightroom that analyze the color patches and calibrate your camera for faithful color reproduction.
5. Monitor Your Images on a Larger Screen
For a more detailed view while shooting, connect your camera to a computer via USB. Software like Adobe Lightroom and Capture One offer tethered shooting support for major camera brands. These programs allow you to instantly view your images on a larger screen, enabling immediate assessment of composition, focus, and lighting. Tethered shooting also streamlines your workflow by directly transferring images to your computer, eliminating the need for SD card imports and preventing memory card overflow.
Optimal Camera Settings for Food Photography
Shooting in manual mode gives you complete control over aperture, shutter speed, ISO, and white balance, ensuring consistency across your food photos. If you’re using a smartphone, apps like Halide offer manual control over some of these settings.
Aperture
Aperture controls the amount of light entering your lens by adjusting the lens diaphragm opening. A wider aperture (lower f-stop number) lets in more light and creates a shallow depth of field, where only a narrow plane of focus is sharp, blurring the background. A narrower aperture (higher f-stop number) lets in less light but increases the depth of field, bringing more of the image into focus.
For food photography, a mid-range aperture like f/11 on a full-frame DSLR often strikes a good balance. It provides sufficient depth of field to keep the food sharp while still allowing for some background blur. However, stopping down too much (increasing the f-stop) can lead to diffraction, which can actually reduce sharpness.
Shutter Speed
Shutter speed determines how long your camera’s sensor is exposed to light. A slower shutter speed allows more light in, which is useful in low-light situations but can also introduce motion blur if there’s movement in the scene or camera shake. A faster shutter speed freezes motion and requires more light.
When shooting in natural light, you might need to use slower shutter speeds. If using flash, check your camera’s flash sync speed (often around 1/200th of a second). Using a faster shutter speed than the sync speed will reduce ambient light and maximize the impact of your flash.
ISO
ISO measures your camera sensor’s sensitivity to light. Lower ISO values (e.g., ISO 100) are less sensitive to light, produce less noise (grain), and are ideal for bright conditions or when using flash. Higher ISO values (e.g., ISO 3200) are more sensitive to light, allowing you to shoot in darker environments, but they also introduce more noise.
For food photography, aim for the lowest ISO possible to minimize noise and maintain image quality. Your camera’s native ISO (often between 100 and 200) typically provides the best results.
White Balance
White balance corrects for color casts caused by different light sources. Different light sources have different color temperatures, measured in Kelvin (K). Incandescent light is warm (around 2700K), while daylight on a cloudy day is cooler (around 6000K). Your camera’s white balance settings help neutralize these color casts.
Avoid mixing different color temperatures of light in your scene, as it can be challenging to correct in post-processing. If using daylight or flash, turn off artificial lights to maintain consistent white balance.
Learn More About Food Photography
[Read more about food photography techniques and inspiration.]
Food Photography FAQs
How do you take good pictures of food?
The key to great food photos lies in three essential elements: aesthetically plating your food, utilizing beautiful natural light, and ensuring camera stability with a tripod.
How do you take food pictures without shadows?
Minimize shadows in food photography by avoiding direct sunlight and positioning a large, diffused light source close to your subject. Shooting in shade outdoors or near a window with soft light will yield shadow-free results, transforming good photos into exceptional ones.
What camera settings should I use for food photography?
For optimal food photography settings, use a low ISO to minimize noise, a mid-range aperture like f/11 for ample depth of field and sharpness, and a shutter speed appropriate for your lighting conditions. Shoot in RAW format to maximize editing flexibility.

