They say the best camera is the one you have with you. In today’s world, for millions, that camera is their iPhone. The iPhone has revolutionized mobile photography, putting powerful imaging capabilities right in our pockets. But simply having a great camera doesn’t automatically translate to great photos. This guide dives deep into actionable iPhone photography tips designed to elevate your images from snapshots to stunning photographs.
Whether you’re aiming to capture breathtaking landscapes, mouth-watering food photos, or simply document your daily life with clarity and artistry, mastering your iPhone camera is the first step. As a content creator for dfphoto.net and a photography enthusiast, I’ve explored numerous cameras, yet the iPhone continues to impress with its consistent performance and user-friendly features. My journey into photography actually began with an iPhone and the natural light streaming through my apartment window as I explored food photography.
While professional client work demands more specialized equipment, my iPhone remains an indispensable tool for everyday photography and creative exploration. Over years of use, I’ve accumulated a wealth of tips and tricks, and I’m excited to share these insights with you. Let’s unlock the full potential of your iPhone camera and transform your photography today!
 Close-up of vibrant purple grapes on a dark, textured surface, showcasing the detail achievable with iPhone photography.
Essential iPhone Photography Techniques
Tip 1: The Unsung Hero – Clean Your Lenses
It’s a simple step, often overlooked, but critically important: clean your iPhone lenses! Our iPhones are constantly handled, tossed into bags and pockets, and exposed to the elements. This daily life inevitably leads to smudges, dust, and fingerprints accumulating on the lens. These seemingly minor imperfections can significantly degrade image quality, resulting in hazy or blurry photos, especially when shooting into the light.
Before you even think about framing your shot, make it a habit to give your lenses a quick wipe. While your shirt sleeve might do in a pinch, it’s best to use a soft, lint-free microfiber cloth designed for cleaning optics. For a more thorough clean, consider lens wipes, which are also excellent for screens and other delicate surfaces. Keeping your lenses pristine is the foundation of sharp, clear iPhone photos.
Tip 2: Master Composition with the Grid
Composition is the backbone of compelling photography. It’s how you arrange the elements within your frame to guide the viewer’s eye and tell a story. The iPhone’s built-in grid feature is an invaluable tool for honing your compositional skills, especially for beginners.
Activating the grid overlay displays two vertical and two horizontal lines on your screen, dividing it into nine equal rectangles. The intersections of these lines are known as “power points” or “rule of thirds” points. The Rule of Thirds is a fundamental compositional guideline suggesting that placing key elements of your subject along these lines or at their intersections creates more balanced and visually appealing images.
While the Rule of Thirds is a great starting point, the grid also aids in other compositional techniques, such as leading lines, symmetry, and creating balanced negative space. Experiment with positioning your subject at different grid intersections and observe how it impacts the overall feel of your photo. The grid is a silent guide that won’t appear in your final image, but it will dramatically improve your compositional awareness.
To activate the grid: Navigate to Settings > Camera > Grid and toggle the switch to green (on).
 Screenshot of iPhone settings menu showing the 'Grid' option activated under the 'Camera' settings, demonstrating how to enable the compositional grid overlay.
Tip 3: Take Control of Focus and Exposure
Focus: Sharpness Where It Matters
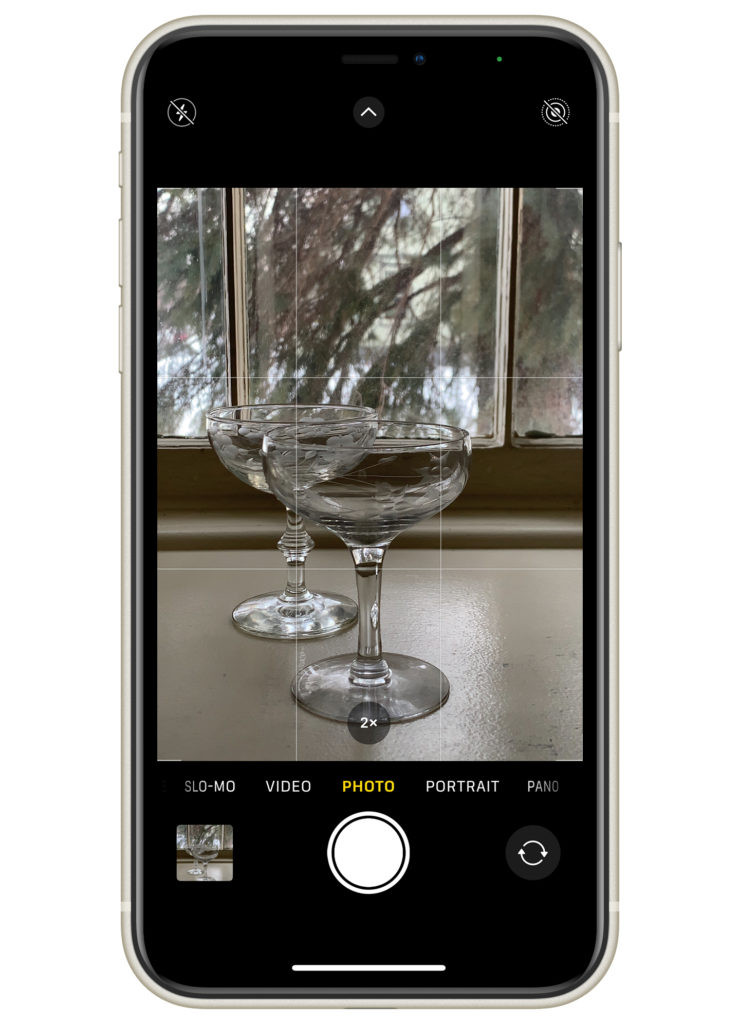
Nothing is more frustrating than reviewing a photo only to find your subject is blurry. Ensuring your image is sharply focused is paramount. The iPhone camera excels at autofocus, but sometimes it needs a little direction.
To precisely control focus, simply tap on the area of your screen where you want the focus to be sharpest. A yellow box, the “focus box,” will appear, indicating your selected focus point. The iPhone will then prioritize focusing on this area. This manual focus override is crucial when you want to emphasize a specific subject or detail within your frame.
Exposure: Balancing Light and Dark
Exposure refers to the overall brightness or darkness of your image. Correct exposure is vital for capturing detail in both highlights (bright areas) and shadows (dark areas). The iPhone automatically meters exposure, but you can easily adjust it manually for creative control.
Alongside the focus box, you’ll notice a small sun icon. This is your exposure control. Tap and drag this sun icon upwards to brighten the image or downwards to darken it. Experiment with adjusting exposure to achieve the desired mood and highlight details in different lighting conditions. Underexposing slightly can preserve highlight detail in bright scenes, while overexposing can brighten shadows in darker environments.
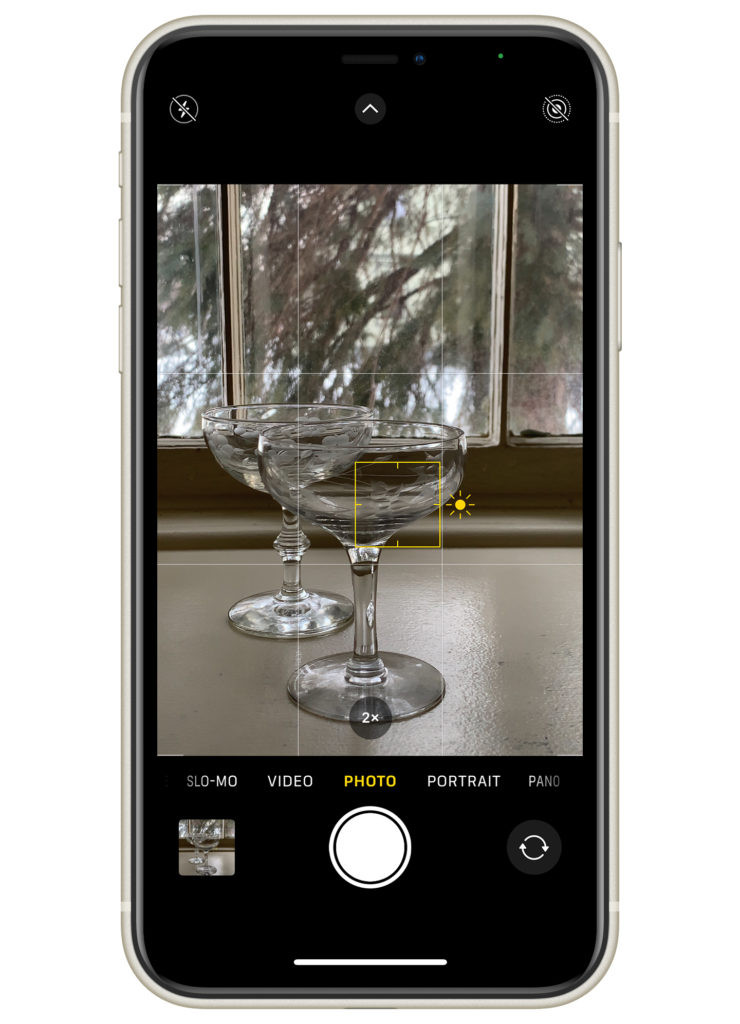 Demonstration of manual focus and exposure adjustment on an iPhone screen, showing the yellow focus box and sun icon being dragged to control brightness.
Tip 4: Lock Focus and Exposure for Consistency
Manually adjusting focus and exposure is great for single shots, but what if you’re taking a series of photos of a moving subject or in dynamic lighting? Locking your focus and exposure ensures consistency across multiple shots, preventing unwanted focus shifts or exposure changes.
To lock focus and exposure, simply tap and hold your finger on the screen for a couple of seconds. You’ll see an “AE/AF Lock” notification appear at the top of the screen. This indicates that both Auto Exposure (AE) and Auto Focus (AF) are now locked at your chosen point. The focus and exposure will remain fixed, even if you recompose your shot or the lighting slightly changes.
While locked, you can still fine-tune the exposure by dragging the sun icon up or down. To unlock focus and exposure, simply tap anywhere on the screen again. This feature is incredibly useful for capturing consistent shots in challenging situations.
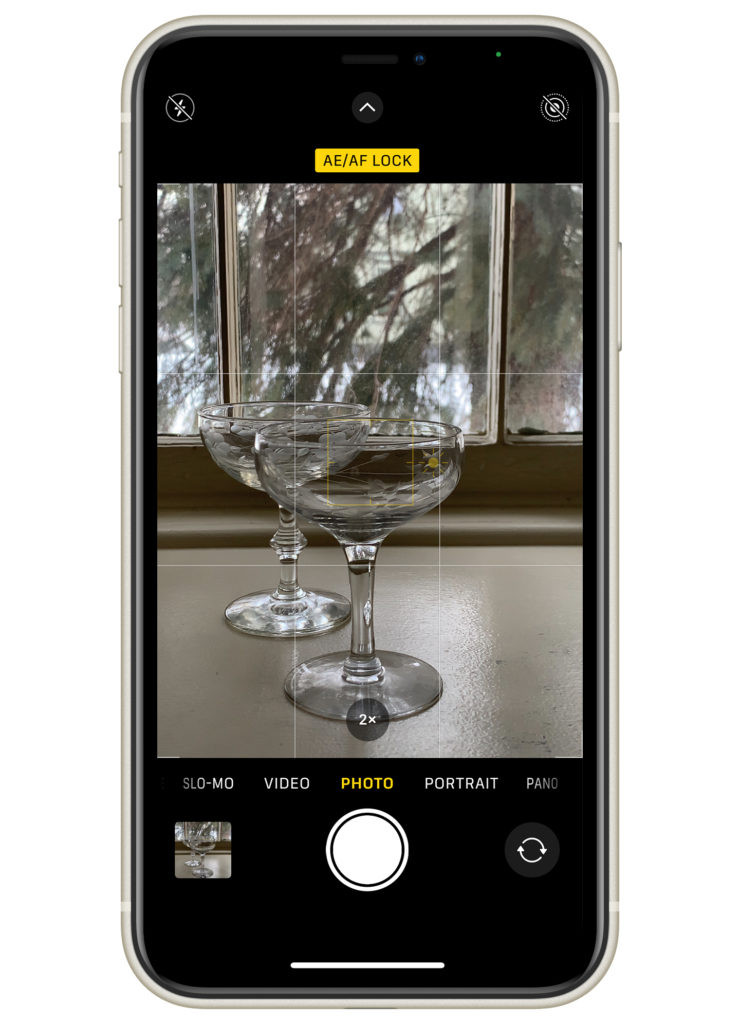 Screenshot of an iPhone screen displaying the "AE/AF Lock" notification at the top, indicating that focus and exposure have been locked for consistent shooting.
Tip 5: Secret Shutter Button – Volume Controls
Did you know your iPhone’s volume buttons double as shutter buttons? This often-overlooked feature offers a more tactile and stable way to take photos, especially when holding your phone in landscape orientation or when using gloves.
When the Camera app is active, pressing either the volume up (+) or volume down (-) button will trigger the shutter, capturing a photo. Using the volume buttons minimizes camera shake compared to tapping the on-screen shutter button, leading to sharper images, particularly in low light. Experiment with this alternative shutter release method for improved stability and comfort.
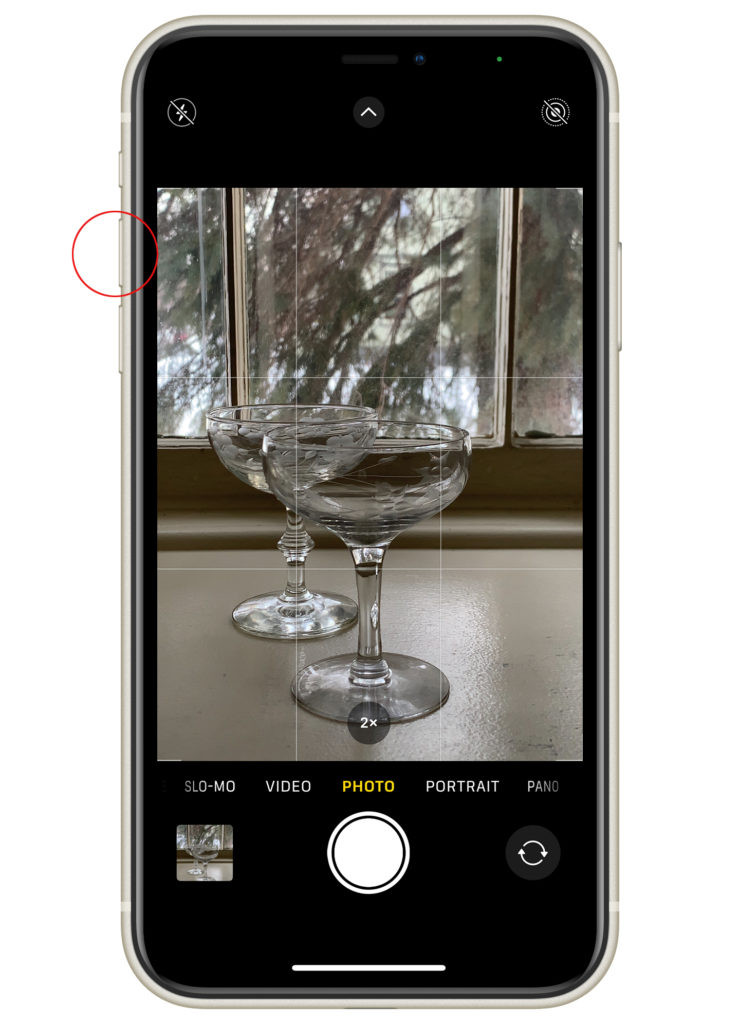 Close-up of fingers pressing the volume up button on an iPhone, demonstrating its use as a physical shutter button for taking photos.
Tip 6: Unleash Depth with Portrait Mode
Portrait mode is a game-changer for iPhone photography, allowing you to create images with a beautifully blurred background, known as bokeh. This effect, traditionally achieved with expensive DSLR lenses and wide apertures, is now readily available on your iPhone, adding a professional touch to your portraits and close-up shots.
Portrait mode simulates a shallow depth of field, artistically blurring the background to draw attention to your subject. This is particularly effective for portraits, food photography, and highlighting details in still life images.
Adjusting Portrait Mode Blur:
- Select Portrait Mode: Swipe left or right in the Camera app to select “Portrait.”
- Control the Depth: Tap the ” f ” icon in the top right corner of the screen.
- Refine Blur: Use the slider below the image preview to adjust the aperture value, controlling the amount of background blur.
The iPhone’s Portrait mode offers a range from f/1.8 to f/16 (approximate DSLR equivalent). Lower f-numbers (e.g., f/1.8, f/2.8) create a stronger background blur, while higher f-numbers (e.g., f/8, f/16) reduce blur, keeping more of the scene in focus. Experiment with different aperture settings to achieve your desired level of background separation.
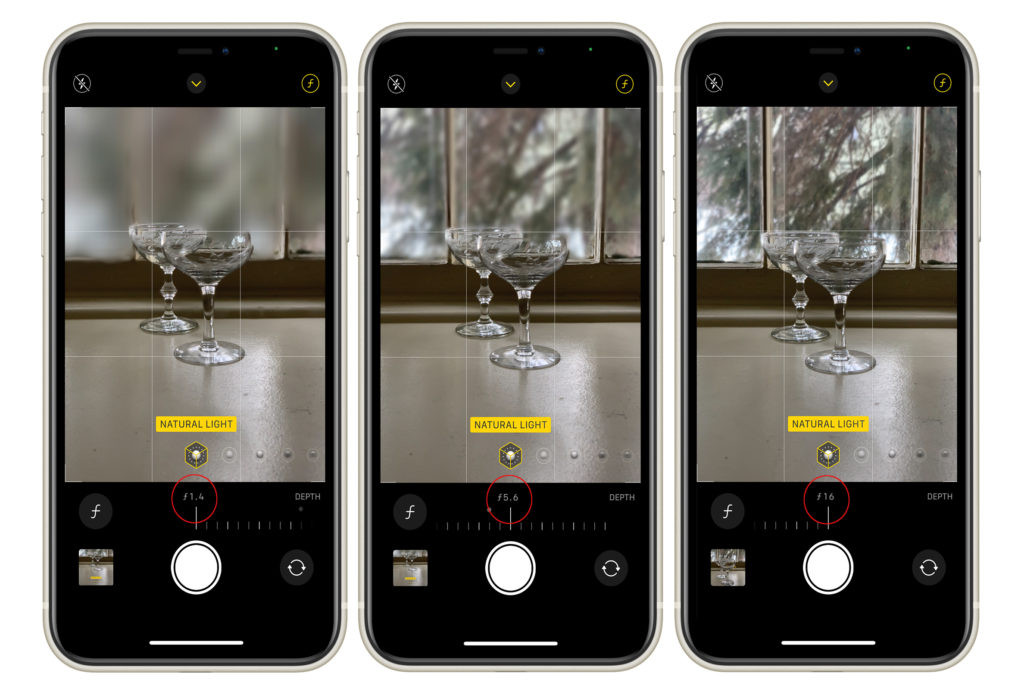 Comparison of three iPhones displaying the same subject in Portrait Mode but with different aperture settings (f/1.4, f/5.6, f/16), visually demonstrating the varying degrees of background blur.
Tip 7: Refine Your Images with Editing
Editing is an integral part of the photographic process, regardless of the camera you use. Straight out of the camera, even iPhone photos can appear somewhat flat and lack vibrancy. Basic editing can significantly enhance your images, bringing out their full potential.
The iPhone’s built-in Photos app offers surprisingly powerful and user-friendly editing tools. Don’t underestimate their capabilities!
Accessing iPhone Editing Tools:
- Open Photo: Select the image you want to edit in the Photos app.
- Tap “Edit”: Tap the “Edit” button in the top right corner.
- Explore Tools: Three icons appear below your image, representing the main editing categories: Adjust, Filters, and Crop.
Editing Tool Breakdown:
-
Adjust (Circle with Dots): This comprehensive toolset allows you to fine-tune various aspects of your image, including:
- Exposure: Brightness and darkness adjustments.
- Brightness: Overall image luminance.
- Highlights: Adjusts the brightest areas.
- Shadows: Adjusts the darkest areas.
- Contrast: Difference between light and dark tones.
- Saturation: Intensity of colors.
- Vibrance: Subtle color intensity adjustments, especially for muted tones.
- Warmth: Color temperature adjustments (cooler/warmer).
- Tint: Green/magenta color balance.
- Sharpness: Increases or decreases image sharpness.
- Definition: Enhances detail and texture.
- Noise Reduction: Reduces graininess, especially in low light.
- Vignette: Darkens or lightens image edges.
Experiment with these adjustments to understand how they affect your images. Subtle tweaks can often make a significant difference.
-
Filters (Intersecting Circles): The Filters tool provides a range of pre-designed looks that you can apply to your photos with a single tap. These filters can quickly alter the mood and style of your image. While filters can be fun to experiment with, use them judiciously and aim for subtle enhancements rather than heavy filtering.
-
Crop (Square with Arrows): The Crop tool allows you to:
- Crop: Remove unwanted edges and refine composition.
- Straighten: Correct tilted horizons or vertical lines.
- Rotate: Rotate your image in 90-degree increments.
- Aspect Ratio: Choose different aspect ratios (e.g., square, 4:3, 16:9).
Proper cropping can dramatically improve the impact of your photo by focusing attention on the subject and eliminating distractions.
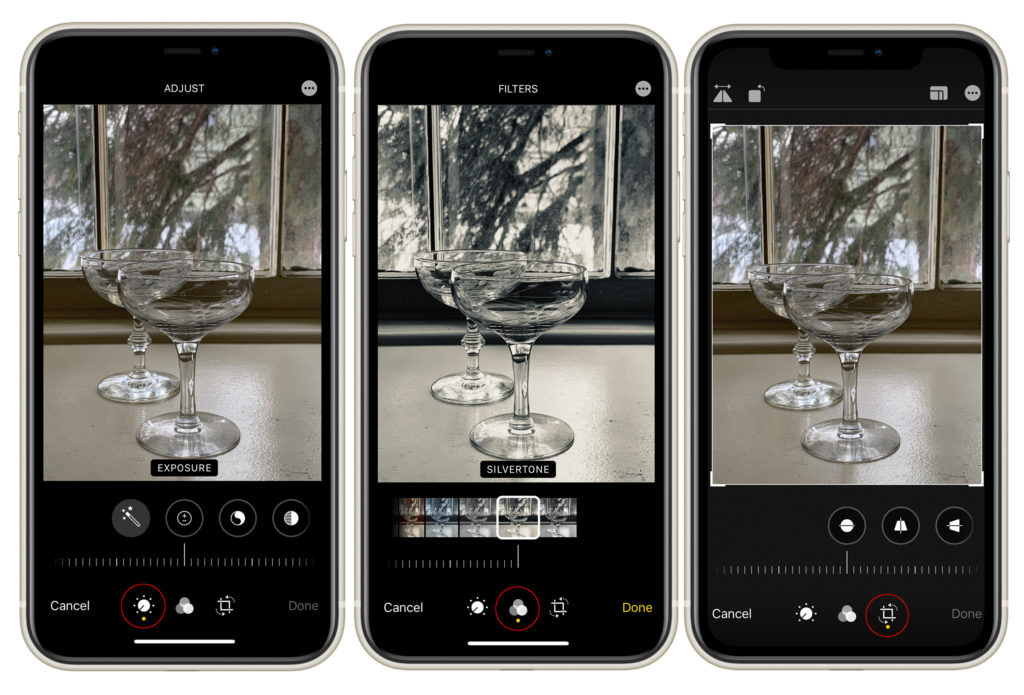 Screenshot of the iPhone's standard editing app interface, highlighting the Adjust, Filters, and Crop tools available for image enhancement.
Tip 8: Elevate Your Skills with Online Learning
To accelerate your iPhone photography journey and gain structured knowledge, consider investing in an online photography course. Online courses offer a wealth of information, from fundamental techniques to advanced creative strategies, all accessible at your own pace.
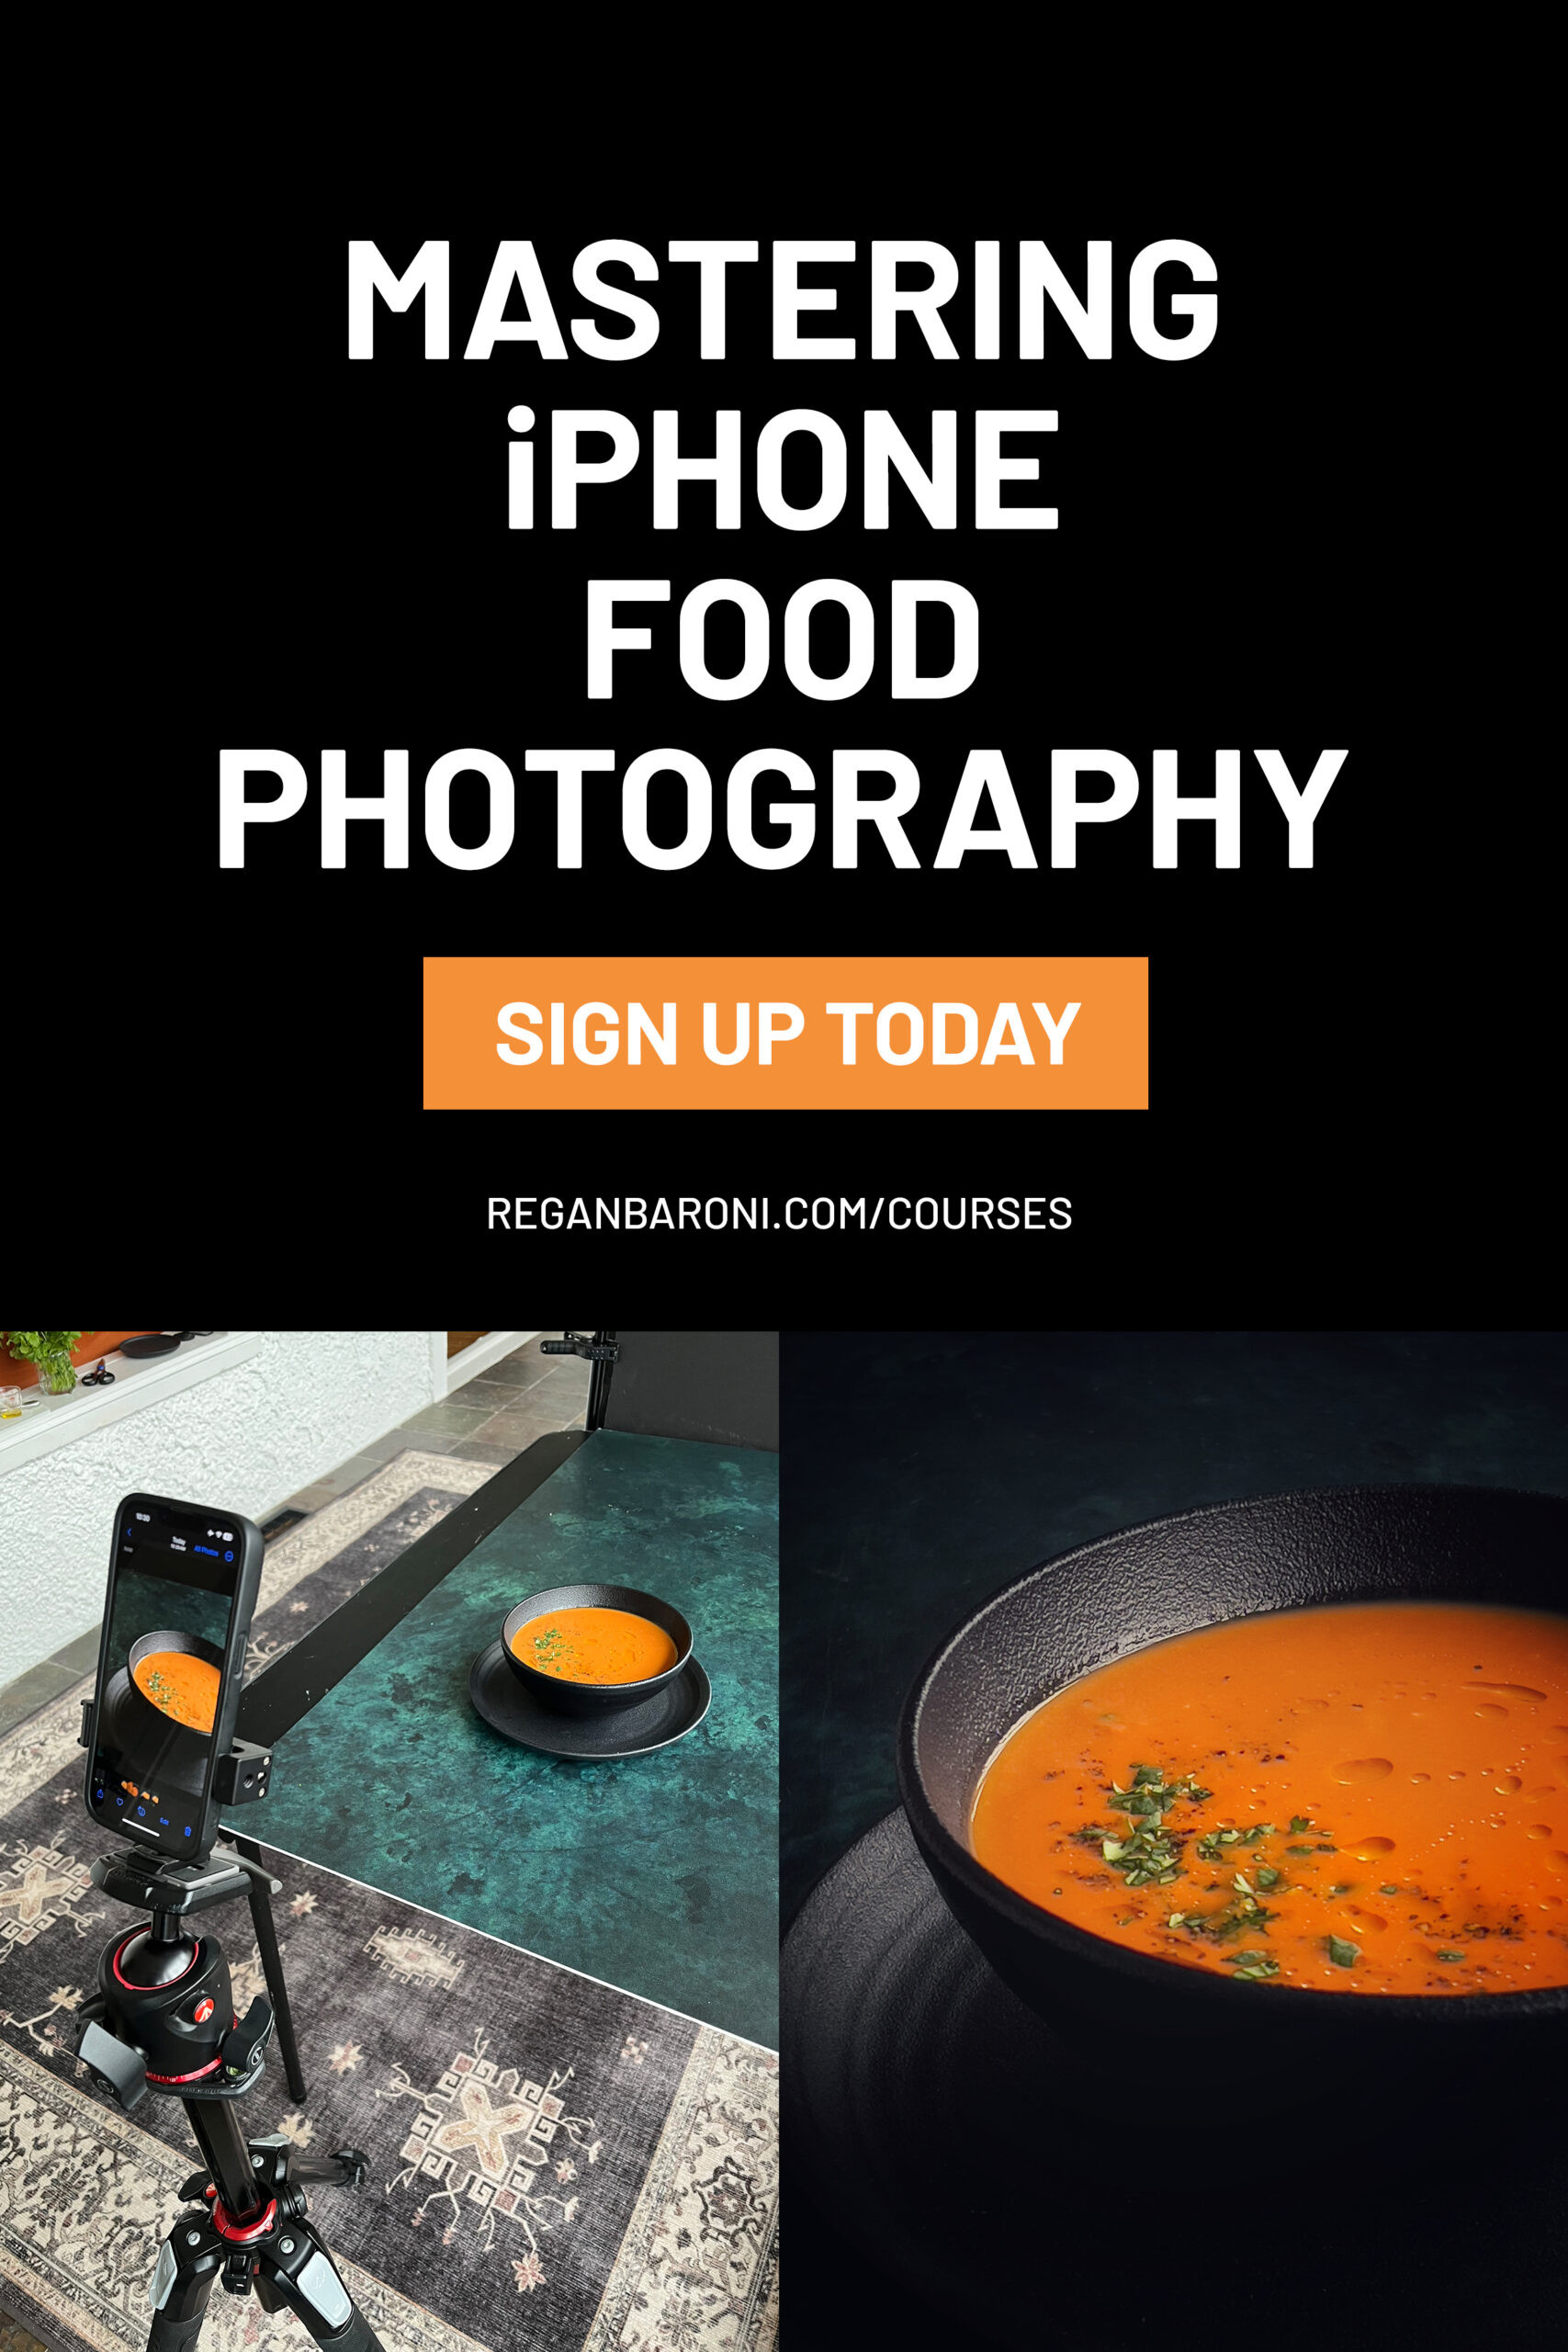 Promotional banner for an iPhone food photography online course, featuring an appealing image of food and course details.
Mastering iPhone Food Photography:
For those specifically interested in food photography using their iPhones, “Mastering iPhone Food Photography” is a comprehensive, beginner-friendly course designed to fast-track your learning. This course provides a complete toolkit for improving your iPhone food images, featuring video tutorials, screen recordings, and behind-the-scenes demonstrations. With lifetime access and ongoing updates, this course is a valuable resource for anyone serious about capturing stunning food photos with their iPhone.
Enroll in Mastering iPhone Food Photography
Essential iPhone Photography Accessories
Beyond software tips, certain accessories can significantly expand your iPhone’s photographic capabilities and make shooting easier and more versatile.
Tip 9: Light Shaping Tools: Diffusers and Foam Boards
When shooting with natural light, which is often the go-to light source for iPhone photographers, understanding how to modify and control that light is crucial. Natural light is beautiful but can be unpredictable and sometimes harsh. Light modifiers like diffusers and foam boards are essential tools for taming and shaping natural light to your advantage.
Diffusers: Softening Harsh Light
Diffusers are translucent materials that soften and spread out harsh, direct light, creating a more even and flattering illumination. Think of them as softening the intensity of the sun. Placing a diffuser between your light source (e.g., a window) and your subject will transform harsh sunlight into soft, gentle light, reducing harsh shadows and creating a more pleasing aesthetic. Diffusers are particularly useful when shooting outdoors in bright sunlight or indoors near a window with direct sun.
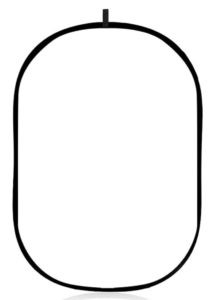 Product image of a large, collapsible photography diffuser, highlighting its portability and light-softening capabilities.
Foam Boards: Bouncing and Blocking Light
Foam boards are lightweight, rigid boards used to reflect or block light, giving you further control over illumination and shadows. They come in white and black, each serving a different purpose.
- White Foam Boards (Reflectors): White foam boards are used to bounce light back onto your subject, filling in shadows and brightening darker areas. If one side of your subject is too dark, position a white foam board opposite the light source to reflect light back and even out the illumination. This is a simple yet powerful technique for balancing light and shadows.
 Product image of a white foam board for photography, demonstrating its use as a reflector to bounce light.
View White Foam Boards on Amazon
- Black Foam Boards (Flags/Blocks): Black foam boards are used to block light and create shadows, adding contrast and depth to your images. Strategically placing a black foam board can sculpt the light and enhance the dimensionality of your subject by deepening shadows and creating mood.
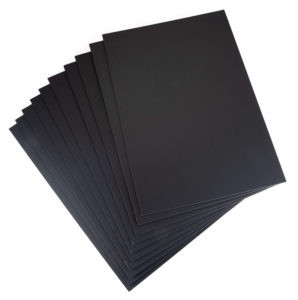 Product image of a black foam board, showcasing its use as a flag to block light and create shadows in photography.
View Black Foam Boards on Amazon
Tip 10: Stabilize Your Shots with a Tripod
While handheld shooting is convenient, using a tripod is a game-changer for iPhone photography, especially when sharpness and stability are paramount. A tripod eliminates camera shake, allowing for longer exposures in low light, sharper images overall, and precise framing, particularly for static subjects like landscapes, still life, and self-portraits.
A versatile tripod for iPhone photography should ideally include:
- Sturdy Legs: Provides stability on various surfaces.
- Center Column: Allows for height adjustment and, ideally, the ability to position the iPhone directly overhead for top-down shots.
- Ball Head: Enables smooth and flexible angle adjustments.
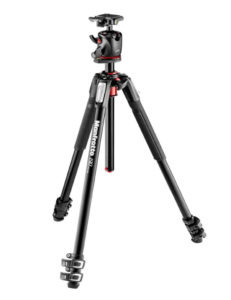 Product image of a Manfrotto tripod with a center column and ball head, illustrating its professional-grade stability and adjustability.
View Manfrotto Tripod on Amazon
Metal iPhone Tripod Mount: To securely attach your iPhone to a tripod, a dedicated iPhone tripod mount is essential. Metal mounts are generally more durable and secure than plastic ones. Look for a mount that allows for both vertical and horizontal orientation without obstructing the iPhone screen.
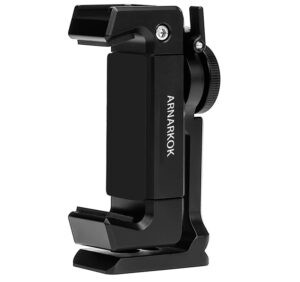 Product image of a metal iPhone tripod mount, highlighting its robust construction and secure phone grip.
View Metal iPhone Tripod Mount on Amazon
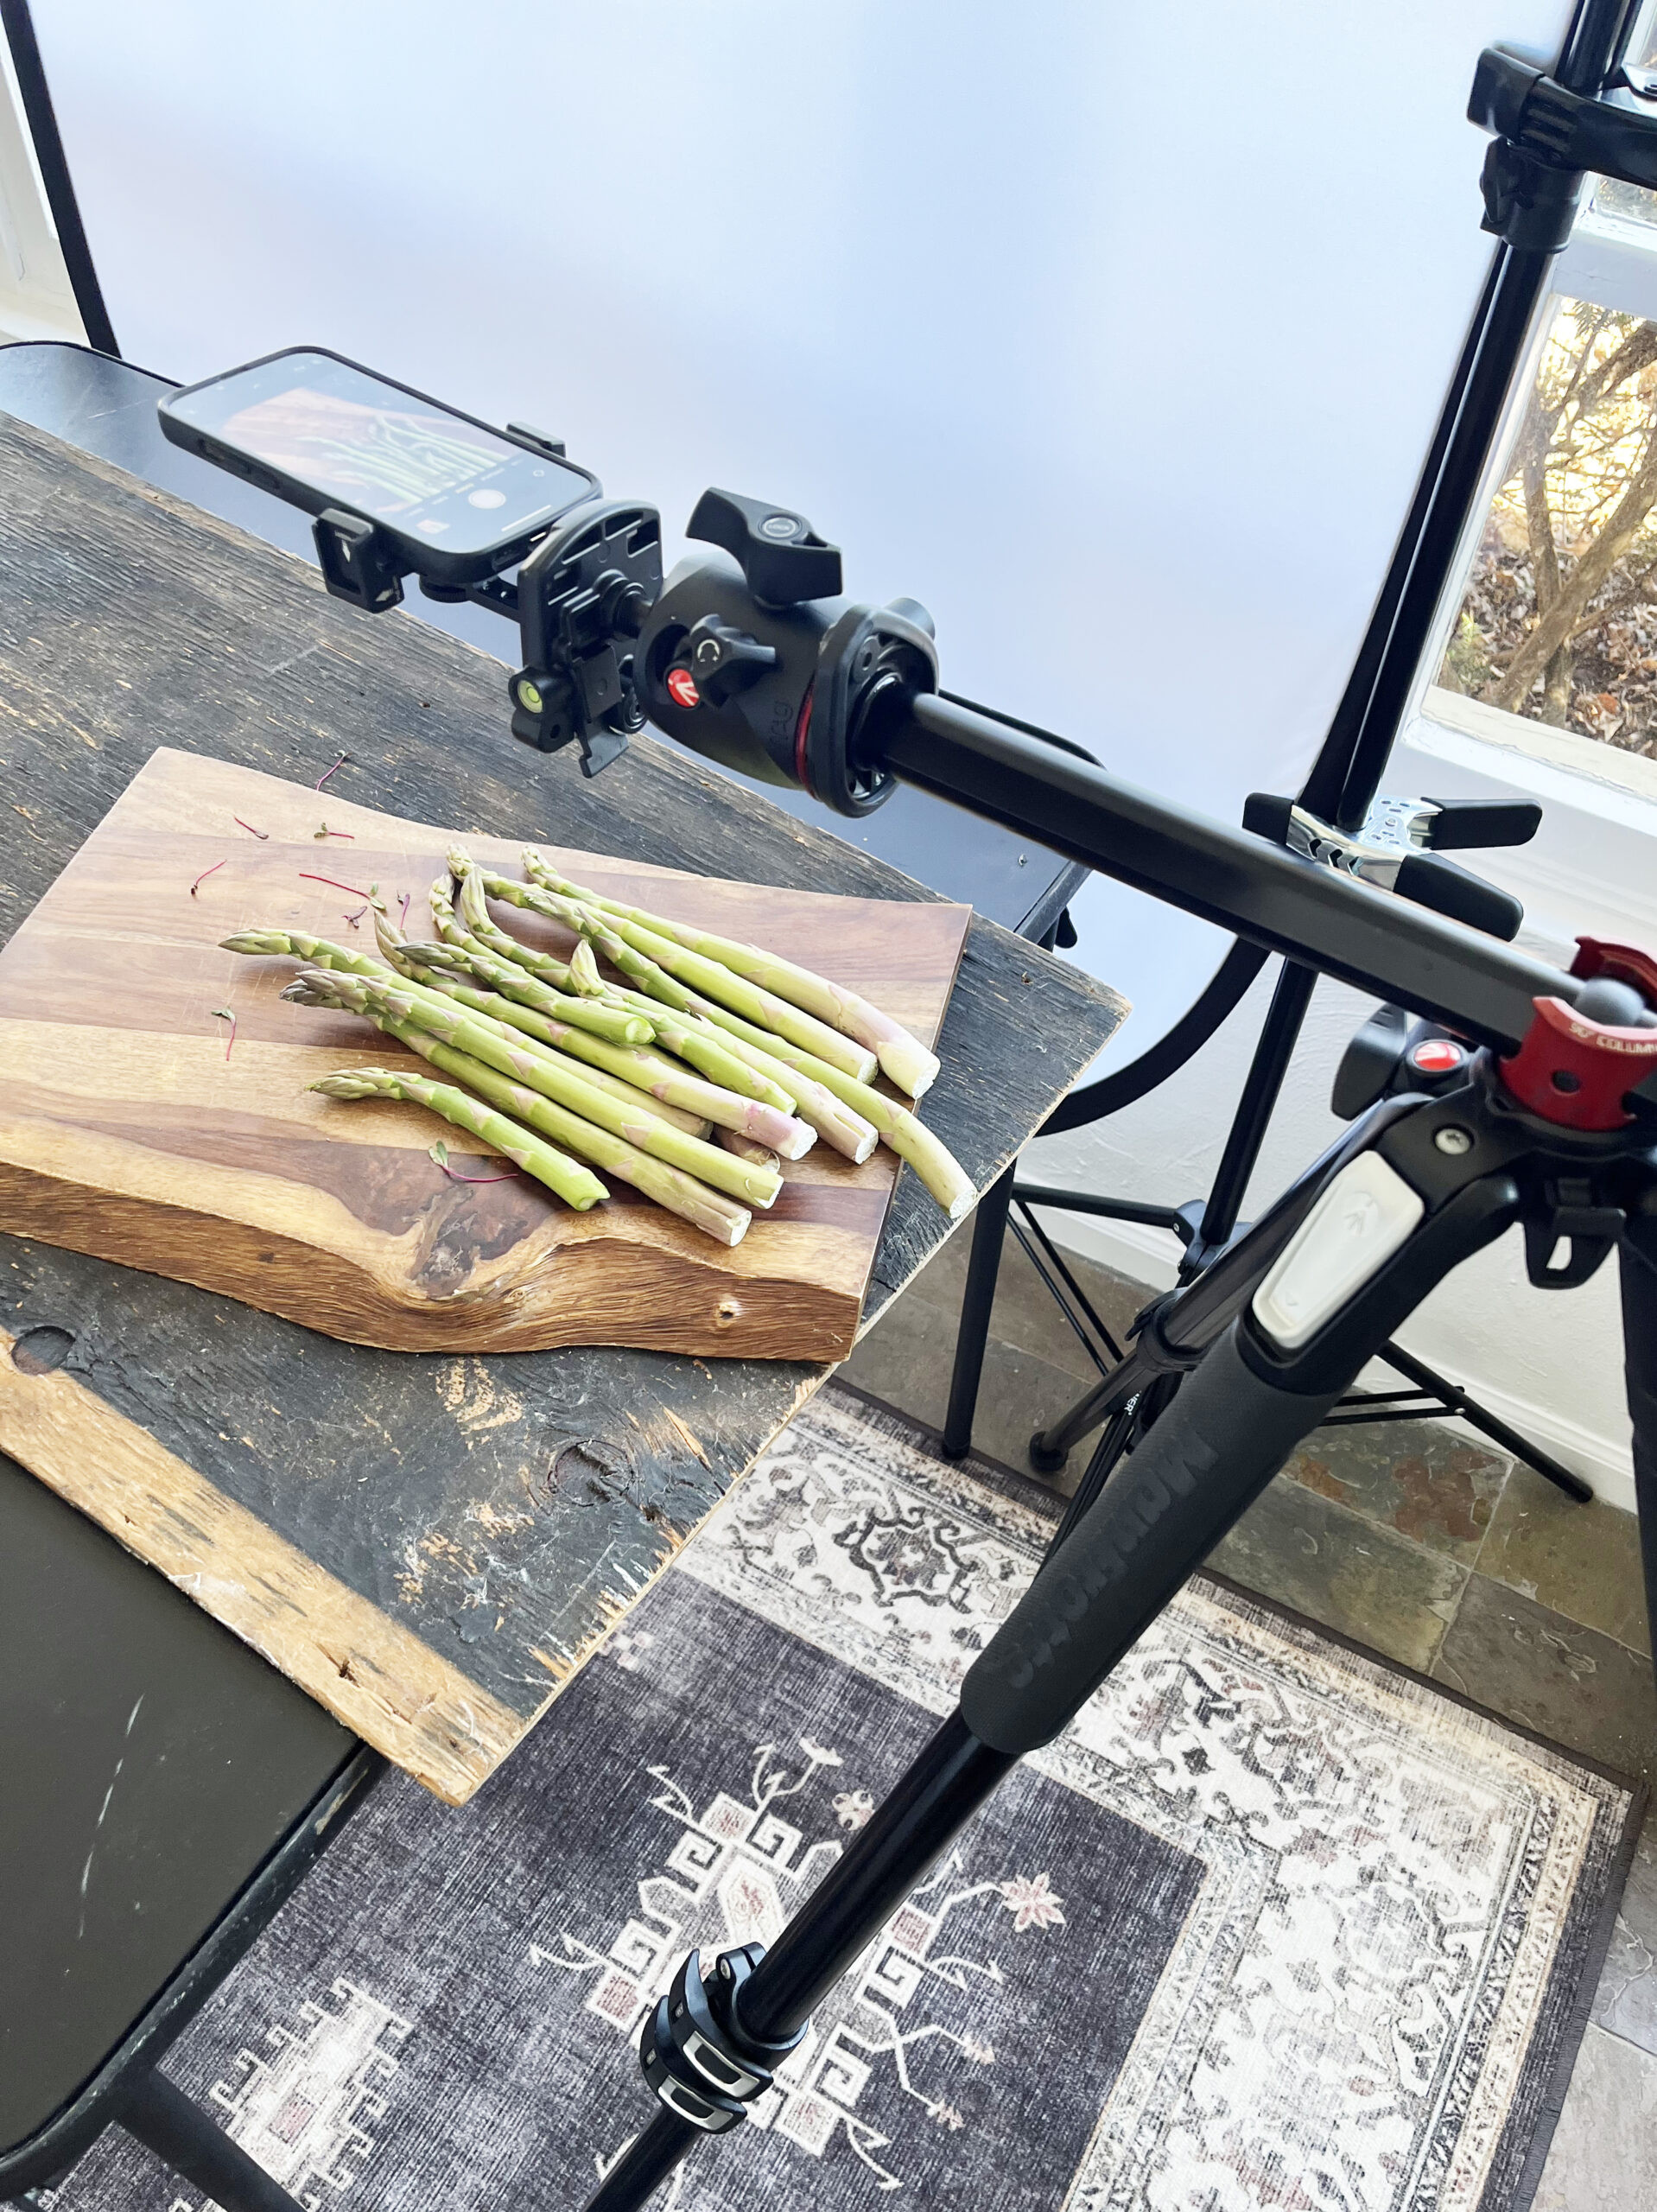 Image of an iPhone securely mounted on a tripod, set up for photography, demonstrating a stable shooting setup.
 Lifestyle image showing a complete iPhone photography setup with tripod, mount, and lighting equipment, illustrating a professional mobile photography workflow.
Tip 11: Remote Shutter Release for Hands-Free Control
Complementing a tripod, a Bluetooth remote shutter release further enhances stability and opens up creative possibilities. A remote shutter eliminates any camera shake caused by physically pressing the shutter button on your iPhone, resulting in sharper images, especially in tripod-based photography.
Furthermore, a remote shutter allows for self-portraits and group photos where you can be included in the shot. It also enables creative long exposures without touching your phone, preventing blur.
 Product image of a small, handheld Bluetooth remote shutter release for smartphones, emphasizing its compact size and ease of use.
View Bluetooth Remote Shutter on Amazon
Tip 12: Stay Powered Up with a Portable Charger
iPhone batteries, while improving, can still drain quickly, especially with heavy camera use. A portable charger is an indispensable accessory for any serious iPhone photographer, ensuring you don’t miss capturing that perfect moment due to a dead battery. A fast-charging portable charger will keep you powered up on the go, whether you’re shooting all day or simply want the peace of mind of having backup power.
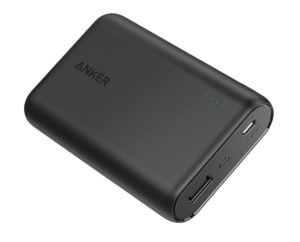 Product image of a compact portable charger for smartphones, showcasing its portability and ability to provide backup power.
View Portable Charger on Amazon
Tip 13: Expand Your Perspective with Smartphone Lenses
Did you know you can attach external lenses to your iPhone, significantly expanding its optical capabilities? While iPhone cameras are impressive on their own, external lenses offer different perspectives and creative effects, similar to using interchangeable lenses on a DSLR or mirrorless camera.
While numerous clip-on lenses are available, quality varies greatly. Cheaper clip-on lenses can often introduce distortion, vignetting, and reduced image sharpness. For optimal image quality, consider investing in high-quality smartphone lens systems like Moment lenses.
Moment Lenses:
Moment lenses are widely regarded as some of the best smartphone lenses available, known for their exceptional optical quality and robust build. They require a dedicated Moment phone case for secure attachment. While the case and lenses represent a higher investment than clip-on options, the image quality improvement is well worth it for serious iPhone photographers. To fully utilize Moment lenses, download the Moment Pro Camera app for optimal compatibility and features.
Moment Wide Angle Lens: A wide-angle lens expands your field of view, allowing you to capture more of the scene in your frame. The Moment Wide Lens is excellent for landscapes, architecture, interiors, and situations where you need to capture a broader perspective without distortion.
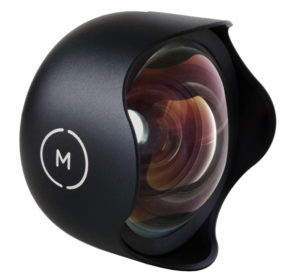 Product image of a Moment Wide Angle Lens for iPhone, highlighting its high-quality optics and wide field of view.
View Moment Wide Angle Lens on Amazon
 Example image taken with an iPhone and a wide-angle lens, showcasing a broadened perspective and expansive view.
 Interior shot of a restaurant taken with a wide-angle lens, demonstrating the ability to capture expansive interior spaces.
Moment Macro Lens: A macro lens allows you to capture extreme close-up images, revealing intricate details invisible to the naked eye. The Moment Macro Lens enables you to focus incredibly close to your subject, capturing stunning detail and sharpness in subjects like flowers, insects, textures, and food details.
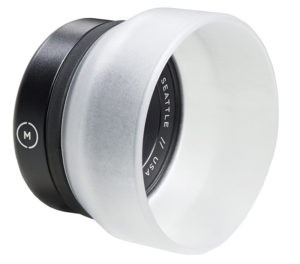 Product image of a Moment Macro Lens for iPhone, emphasizing its ability to capture extreme close-up detail.
View Moment Macro Lens on Amazon
 Example image taken with an iPhone and a macro lens, showcasing extreme close-up detail of a tomato, revealing its texture and surface details.
 Example food photograph showcasing shallow depth of field and artistic composition, demonstrating the potential of iPhone food photography.
Final Thoughts: Unlock Your iPhone Photography Potential
These tips and tricks are just the beginning of your iPhone photography journey. Remember, the most crucial element in photography isn’t the camera itself, but your understanding of how to use it creatively. Take the time to explore your iPhone’s camera features, experiment with these techniques, and practice consistently. You’ll be amazed at the stunning images you can create with the camera you already carry in your pocket.
Don’t hesitate to reach out with any questions, and be sure to follow dfphoto.net on social media for more photography inspiration and tips!
Note: This post may contain affiliate links. If you click or purchase through these links, dfphoto.net may earn a small commission at no extra cost to you. We only recommend products and equipment that we genuinely believe in and use. Your support helps us continue to provide valuable photography content.
All images © dfphoto.net 2024.