Taking a photo with your iPad can be a gateway to expressing your creativity and capturing stunning images, blending technology with the art of photography. At dfphoto.net, we are dedicated to guiding you through the process of unlocking your iPad’s photographic potential and mastering the art of mobile photography.
Dive into the world of digital imaging, explore composition techniques, and discover editing tips that will transform your snapshots into masterpieces. Join dfphoto.net today to unleash your photographic talent and become part of a vibrant community of photography enthusiasts!
1. Can You Take Good Photos With an iPad?
Yes, you can definitely take good photos with an iPad! The quality of iPad cameras has improved significantly over the years, making them capable of capturing impressive images. The image quality is suitable for social media, casual photography, and even some professional applications.
-
Technological Advancements: The latest iPad models boast advanced camera systems, including features like Smart HDR, wide apertures, and improved sensors. These advancements allow for better low-light performance, enhanced dynamic range, and sharper images.
-
Software Enhancements: iPads come equipped with powerful image processing software that enhances photos automatically. Features like noise reduction, color correction, and computational photography algorithms contribute to improved image quality.
-
Creative Versatility: iPads offer various shooting modes and creative tools within the Camera app, such as Panorama, Time-Lapse, and Slo-mo. These modes enable users to capture diverse types of photos and videos, adding creative flair to their photography.
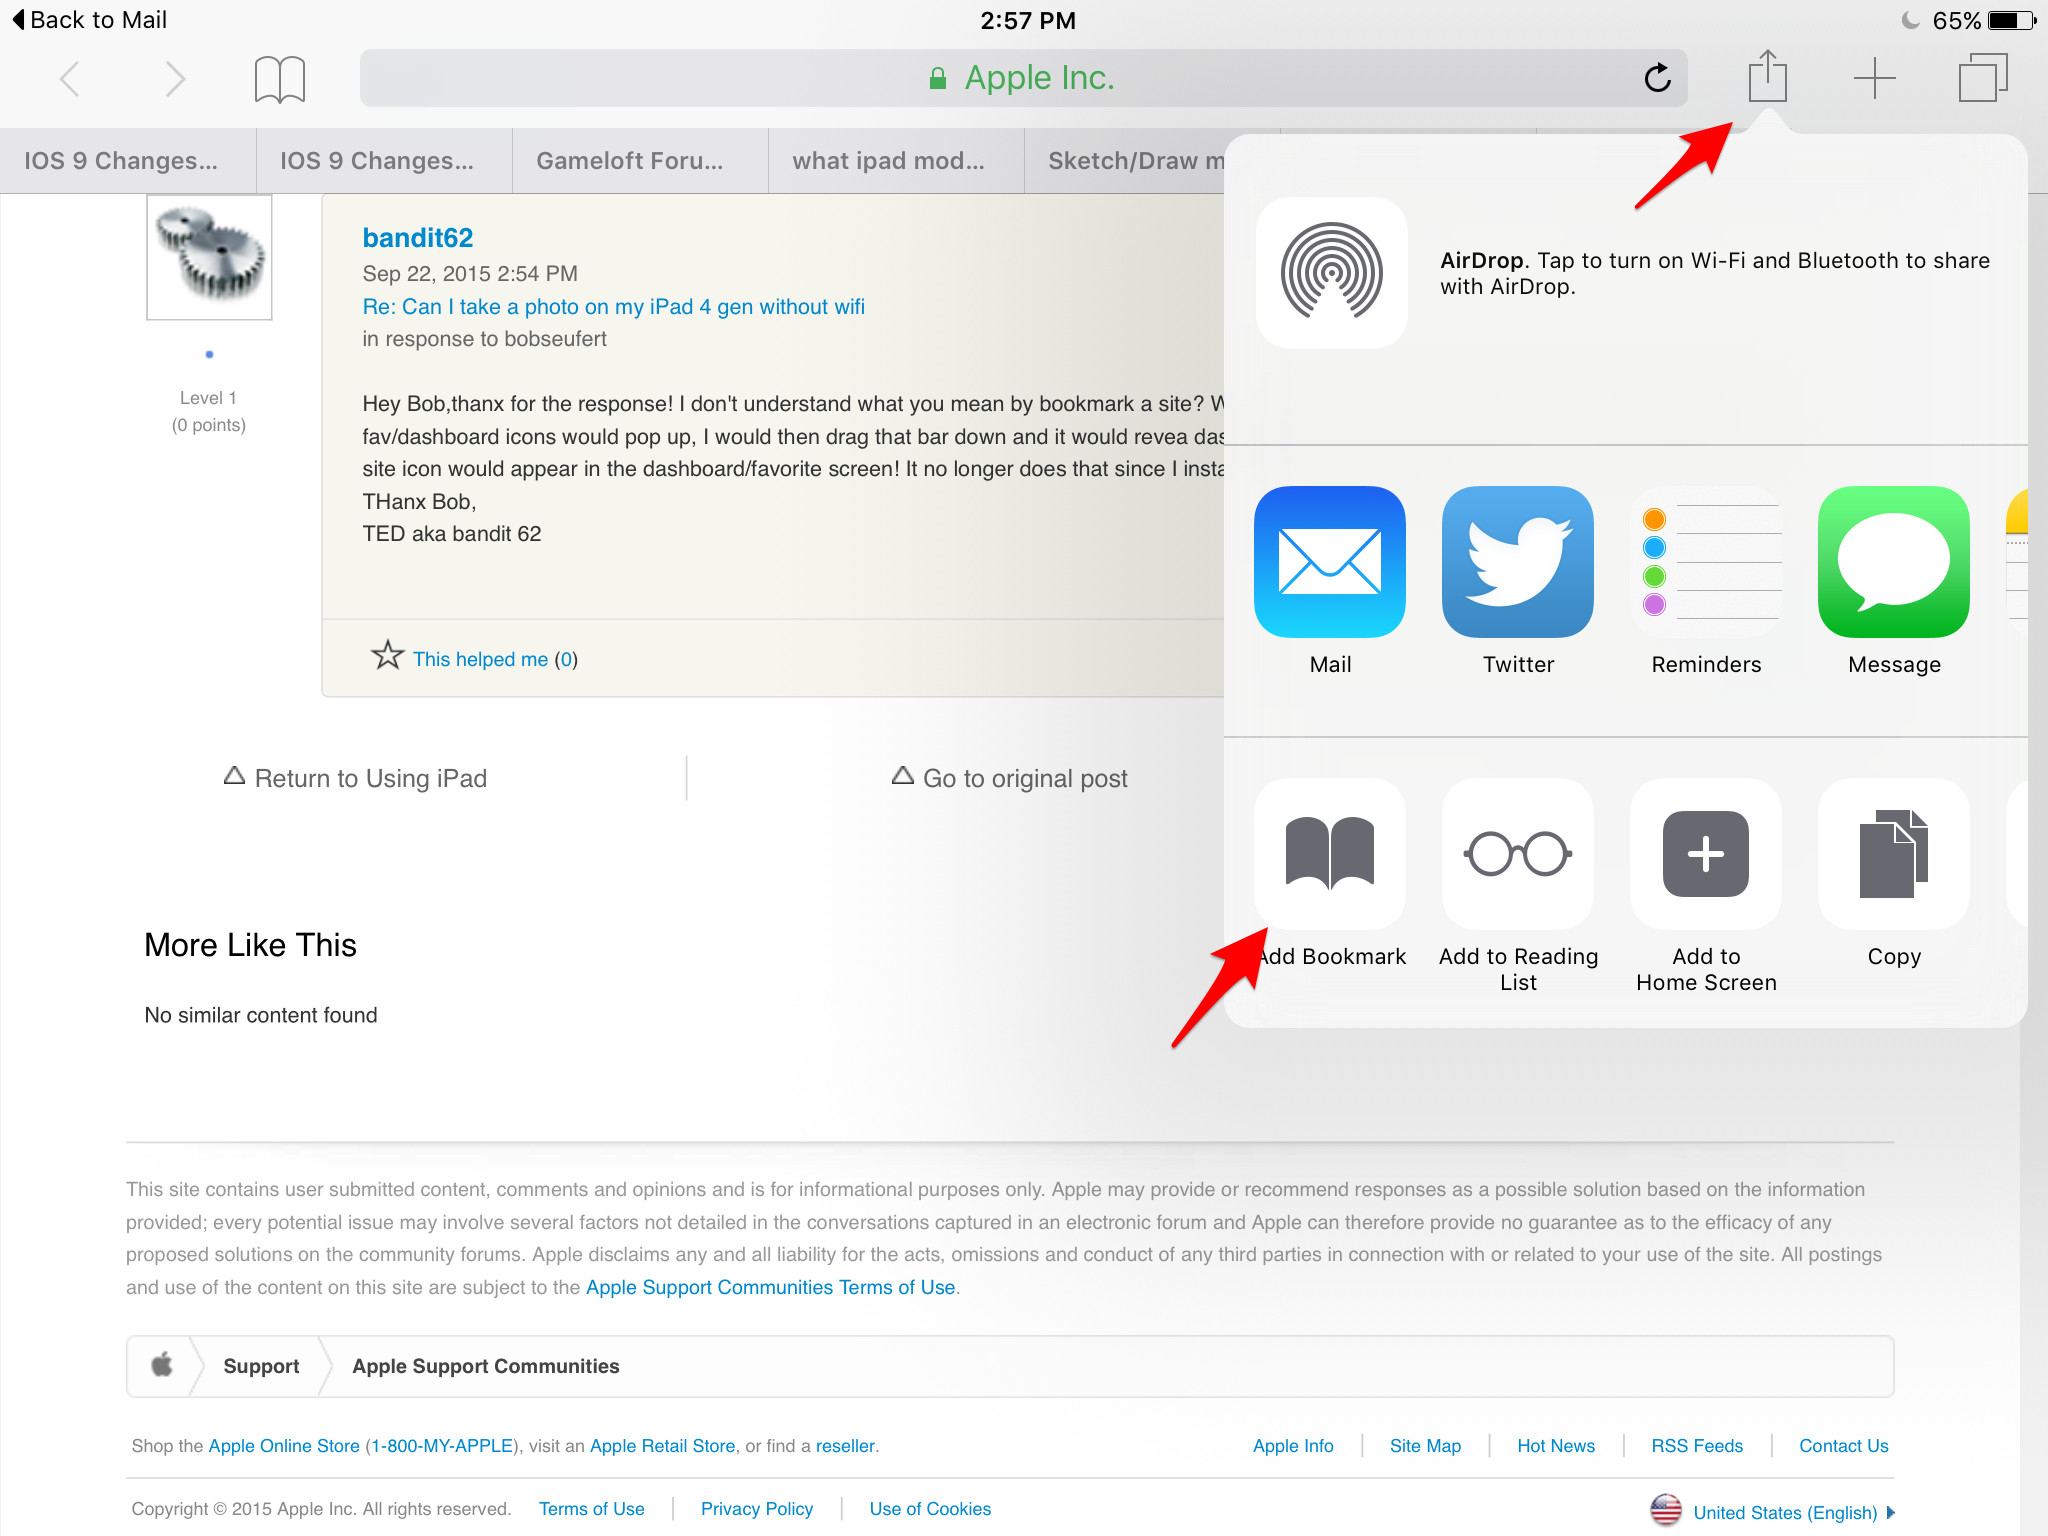 iPad Share Sheet for adding a bookmark
2. What iPad Models Have The Best Cameras?
The iPad Pro models generally have the best cameras due to their advanced features and technology. These models usually include the latest camera innovations from Apple.
2.1 iPad Pro 12.9-inch (6th Generation)
- Camera Specs: Features a 12MP Wide camera and a 10MP Ultra Wide camera, along with a LiDAR Scanner for enhanced depth sensing.
- Image Quality: Offers excellent image quality with Smart HDR 4, which optimizes photos for better dynamic range and detail.
- Video Capabilities: Supports 4K video recording at up to 60 fps, ProRes video recording, and extended dynamic range for video up to 30 fps.
2.2 iPad Pro 11-inch (4th Generation)
- Camera Specs: Similar to the 12.9-inch model, it includes a 12MP Wide camera, a 10MP Ultra Wide camera, and a LiDAR Scanner.
- Image Quality: Delivers comparable image quality with Smart HDR 4, ensuring vibrant and detailed photos.
- Video Capabilities: Matches the 12.9-inch model in video recording capabilities, including 4K video at 60 fps and ProRes video recording.
2.3 iPad Air (5th Generation)
- Camera Specs: Features a 12MP Wide camera with an ƒ/1.8 aperture.
- Image Quality: Provides good image quality with Smart HDR 3, which enhances colors and details in photos.
- Video Capabilities: Supports 4K video recording at up to 60 fps and extended dynamic range for video up to 30 fps.
3. How Do I Access The Camera On My iPad?
Accessing the camera on your iPad is straightforward and can be done in several ways, ensuring you never miss a photo opportunity.
3.1 From The Home Screen
- Camera App Icon: Locate the Camera app icon on your home screen. It’s a black icon with a camera lens symbol. Tap the icon to launch the Camera app directly.
- Quick Launch (if available): Some iPad models allow you to access the camera directly from the Lock Screen by swiping left on the screen.
3.2 From The Control Center
- Open Control Center: Swipe down from the top-right corner of your screen to open the Control Center.
- Tap The Camera Icon: Look for the camera icon in the Control Center. Tap it to quickly open the Camera app.
3.3 Using Siri
- Activate Siri: Press and hold the Side button (or the Home button on older models) to activate Siri.
- Give The Command: Say “Take a photo” or “Open the camera”. Siri will launch the Camera app for you.
4. What Are The Basic Camera Settings On My iPad?
Understanding the basic camera settings on your iPad allows you to take more control over your photography and capture better images.
4.1 Exposure
- What It Is: Exposure refers to the amount of light that reaches the camera sensor. Adjusting exposure can brighten or darken your photos.
- How To Adjust: Tap on the screen in the Camera app to set the focus. A sun icon will appear next to the focus square. Drag the sun icon up to increase exposure (brighten the image) or down to decrease exposure (darken the image).
4.2 Focus
- What It Is: Focus ensures that the subject of your photo is sharp and clear.
- How To Adjust: Tap on the screen where you want the focus to be. The camera will adjust to make that area sharp. You can also use “tap to focus” and then lock the focus by holding your finger on the screen until “AE/AF Lock” appears.
4.3 HDR (High Dynamic Range)
- What It Is: HDR combines multiple exposures to capture a wider range of tones, preserving detail in both bright and dark areas of the image.
- How To Adjust:
- Automatic: In the Camera app, tap “HDR” at the top of the screen to set it to “Auto.” The iPad will automatically decide when to use HDR based on the lighting conditions.
- On/Off: You can also manually turn HDR on or off by tapping the “HDR” button and selecting your preferred setting.
4.4 Flash
- What It Is: The flash provides additional light when shooting in low-light conditions.
- How To Adjust:
- Automatic: Tap the flash icon in the Camera app and select “Auto.” The flash will fire automatically when the iPad detects low light.
- On/Off: You can manually turn the flash on or off by tapping the flash icon and selecting your preferred setting.
4.5 Live Photos
- What It Is: Live Photos capture a few seconds of video and audio before and after you take a still photo, bringing your images to life.
- How To Adjust:
- Enable/Disable: Tap the Live Photos icon (concentric circles) in the Camera app to turn Live Photos on or off. When enabled, the icon will be yellow.
5. What Are Some Basic Composition Tips For iPad Photography?
Mastering composition is essential for taking visually appealing photos with your iPad. Here are some fundamental tips to enhance your photography:
5.1 Rule Of Thirds
- What It Is: The Rule of Thirds involves dividing your frame into nine equal parts using two horizontal and two vertical lines. Placing key elements along these lines or at their intersections creates a more balanced and interesting composition.
- How To Use: Imagine the grid in your viewfinder and position your subject at one of the intersections or along one of the lines. For example, when photographing a landscape, place the horizon line along the top or bottom horizontal line.
5.2 Leading Lines
- What It Is: Leading lines are lines within the photo that draw the viewer’s eye towards the main subject. They can be roads, fences, rivers, or any other linear element.
- How To Use: Position your camera so that the lines lead from the foreground to the background, guiding the viewer’s gaze to the focal point of the image. This technique adds depth and dimension to your photos.
5.3 Symmetry And Patterns
- What It Is: Symmetry involves capturing images where elements are mirrored, creating a sense of balance and harmony. Patterns are repeating elements that can add visual interest to your photos.
- How To Use: Look for symmetrical scenes, such as reflections in water or architectural designs. Capture patterns in nature or urban environments to create visually appealing compositions.
5.4 Fill The Frame
- What It Is: Filling the frame means getting close to your subject so that it occupies most of the image. This technique eliminates distractions and emphasizes the subject’s details.
- How To Use: Move closer to your subject or use the iPad’s zoom feature to fill the frame. This works well for portraits, close-ups of objects, and detailed shots of textures.
5.5 Use Negative Space
- What It Is: Negative space is the empty area around your subject. It can help to isolate the subject and create a sense of simplicity and calm.
- How To Use: Position your subject off-center and allow plenty of empty space around it. This technique is effective for minimalist photography and highlighting the subject’s form.
6. How Do I Use Different Shooting Modes On My iPad?
The iPad offers various shooting modes that allow you to capture different types of photos and videos. Understanding these modes can enhance your creativity and the quality of your images.
6.1 Photo Mode
- What It Is: The standard mode for capturing still images.
- How To Use: Simply open the Camera app and ensure that “Photo” is selected at the bottom of the screen. Tap the white circle (shutter button) to take a photo.
6.2 Video Mode
- What It Is: Used for recording videos.
- How To Use: Swipe left from Photo mode to select “Video”. Tap the red circle (record button) to start recording and tap it again to stop.
6.3 Square Mode
- What It Is: Captures photos in a square format, ideal for social media platforms like Instagram.
- How To Use: Swipe right from Photo mode to select “Square”. Frame your shot within the square and tap the shutter button.
6.4 Panorama Mode
- What It Is: Allows you to capture wide, sweeping landscapes by stitching together multiple images.
- How To Use:
- Swipe to “Panorama” mode.
- Tap the shutter button and slowly move your iPad horizontally, keeping the arrow on the center line.
- The camera will automatically capture and stitch the images together. Tap the shutter button again to stop.
6.5 Time-Lapse Mode
- What It Is: Records video over a long period, condensing hours or days into a short video.
- How To Use:
- Swipe to “Time-Lapse” mode.
- Set up your iPad on a stable surface or tripod.
- Tap the record button to start recording. The iPad will automatically take photos at intervals and create a time-lapse video.
- Tap the record button again to stop.
6.6 Slo-Mo Mode
- What It Is: Records video at a high frame rate, allowing you to play it back in slow motion.
- How To Use:
- Swipe to “Slo-Mo” mode.
- Tap the record button to start recording.
- Capture the action you want to slow down.
- Tap the record button again to stop.
- In the Photos app, you can adjust which parts of the video play in slow motion by adjusting the vertical lines below the video timeline.
7. How Do I Use The iPad Camera For Portrait Photography?
Taking great portraits with your iPad involves understanding how to use the camera’s features to highlight your subject and create flattering images.
7.1 Portrait Mode (If Available)
- What It Is: Portrait mode uses depth-of-field effects to keep the subject sharp while blurring the background, creating a professional look.
- How To Use:
- Select “Portrait” mode in the Camera app.
- Frame your subject, ensuring they are within the recommended distance.
- Adjust the lighting effects by swiping through the options at the bottom of the screen (e.g., Natural Light, Studio Light, Contour Light).
- Tap the shutter button to take the photo.
7.2 Lighting
- Natural Light: Whenever possible, use natural light for portraits. Position your subject near a window or in open shade to avoid harsh shadows.
- Avoiding Harsh Light: Avoid direct sunlight, as it can create unflattering shadows and cause your subject to squint.
- Fill Flash: In situations where the lighting is uneven, use the iPad’s flash in “Auto” mode to fill in shadows and balance the exposure.
7.3 Focus And Exposure
- Tap To Focus: Tap on your subject’s face in the Camera app to ensure they are in sharp focus.
- Adjust Exposure: Use the exposure adjustment feature (the sun icon) to brighten or darken the image as needed. Ensure that the subject’s face is well-lit without being overexposed.
7.4 Composition
- Rule Of Thirds: Position your subject according to the Rule of Thirds to create a balanced and visually appealing composition.
- Eye Contact: Encourage your subject to look directly at the camera to create a connection with the viewer.
- Background: Choose a background that complements your subject and doesn’t distract from them. A blurred background (using Portrait mode) can help to isolate the subject.
8. How Can I Improve Low-Light Photography On My iPad?
Low-light photography can be challenging, but there are several techniques you can use to improve the quality of your images on your iPad.
8.1 Use Night Mode (If Available)
- What It Is: Night mode automatically brightens and clarifies images taken in low-light conditions by increasing the exposure time.
- How To Use:
- The Night mode icon (a crescent moon) will appear automatically in the Camera app when the iPad detects low light.
- Hold your iPad steady while taking the photo. The iPad will indicate the exposure time (e.g., 2s, 3s) at the top of the screen.
- The longer the exposure time, the brighter the image will be, but it also requires the iPad to be held more steadily to avoid blur.
8.2 Adjust Exposure Manually
- How To Adjust: Tap on the screen to focus, and then drag the sun icon down to decrease the exposure. This can help to reduce noise and prevent overexposure.
8.3 Use A Tripod
- Why Use It: A tripod helps to stabilize the iPad, allowing you to take longer exposures without blur. This is particularly useful in Night mode.
- How To Use: Attach your iPad to a tripod using a compatible mount. Ensure the tripod is stable and level before taking the photo.
8.4 Clean The Lens
- Why Clean It: A dirty lens can cause flares and reduce image clarity, especially in low light.
- How To Clean: Use a soft, lint-free cloth to gently clean the lens before taking photos.
8.5 Shoot In RAW (If Available)
- What It Is: RAW format captures more data than JPEG, allowing for greater flexibility in post-processing.
- How To Use:
- Go to Settings > Camera > Formats.
- Select “Most Compatible” for JPEG or “High Efficiency” for HEIF.
- To shoot in RAW, you may need to use a third-party camera app that supports RAW capture.
9. What Are Some Recommended Apps For Editing Photos On My iPad?
Editing apps can transform your iPad photos, offering tools to adjust exposure, color, and detail. Here are some highly recommended apps:
9.1 Adobe Lightroom Mobile
- Features: Offers a comprehensive suite of editing tools, including exposure adjustments, color correction, selective edits, and preset filters.
- Why Use It: Ideal for both beginners and advanced users, with a user-friendly interface and powerful editing capabilities.
- Cost: Free with subscription options for premium features.
9.2 Snapseed
- Features: A free, powerful editing app with a wide range of tools, including selective adjustments, healing brush, HDR scape, and perspective correction.
- Why Use It: Great for quick edits and more advanced manipulations, with an intuitive interface.
- Cost: Free.
9.3 VSCO
- Features: Known for its film-like filters and editing tools, VSCO offers a curated selection of presets and manual adjustments.
- Why Use It: Perfect for creating a consistent aesthetic and adding a unique style to your photos.
- Cost: Free with subscription options for additional filters and tools.
9.4 Affinity Photo
- Features: A professional-grade photo editing app with advanced features like layers, masking, retouching tools, and RAW processing.
- Why Use It: Ideal for users who need more control over their edits and want to perform complex manipulations.
- Cost: Paid app.
9.5 Darkroom
- Features: Offers a range of editing tools, including color adjustments, curves, and selective edits, with a focus on non-destructive editing.
- Why Use It: Great for users who want to maintain the original quality of their photos while making detailed edits.
- Cost: Free with subscription options for premium features.
10. How Do I Transfer Photos From My iPad To Other Devices?
Transferring photos from your iPad to other devices is essential for backing up your images, sharing them, or editing them on a different platform.
10.1 iCloud Photos
- How It Works: iCloud Photos automatically syncs your photos and videos across all your Apple devices, including iPhones, iPads, and Macs.
- How To Use:
- Go to Settings > [Your Name] > iCloud > Photos.
- Turn on “iCloud Photos.”
- Your photos will automatically upload to iCloud and be available on all your devices signed in with the same Apple ID.
10.2 AirDrop
- How It Works: AirDrop allows you to wirelessly transfer photos and videos to nearby Apple devices.
- How To Use:
- Open the Photos app and select the photos you want to transfer.
- Tap the Share button (the square with an arrow pointing up).
- Select “AirDrop” from the share options.
- Choose the device you want to send the photos to.
- The recipient will need to accept the transfer on their device.
10.3 Email
- How It Works: You can email photos directly from your iPad to any email address.
- How To Use:
- Open the Photos app and select the photos you want to transfer.
- Tap the Share button.
- Select “Mail” from the share options.
- Enter the recipient’s email address and send the email.
10.4 USB Cable
- How It Works: You can connect your iPad to a computer using a USB cable and transfer photos manually.
- How To Use:
- Connect your iPad to your computer using a USB cable.
- On a Mac, the Photos app will open automatically. On a Windows PC, open File Explorer.
- Import the photos from your iPad to your computer.
10.5 Cloud Storage Services
- How It Works: Services like Google Photos, Dropbox, and OneDrive allow you to upload photos to the cloud and access them from any device.
- How To Use:
- Download and install the cloud storage app on your iPad.
- Upload your photos to the app.
- Access the photos from the app on your other devices or through a web browser.
11. What Are Some Creative Projects I Can Do With My iPad Camera?
Your iPad camera offers endless opportunities for creative projects. Here are some ideas to inspire you:
11.1 Photo Journal
- What It Is: Document your daily life with photos, capturing moments, people, and places that are meaningful to you.
- How To Do It: Take a photo every day and write a short caption to describe it. Use a photo editing app to enhance your images and create a cohesive look.
11.2 Street Photography
- What It Is: Capture candid moments in public places, documenting the everyday life of your city or town.
- How To Do It: Explore your surroundings with your iPad, looking for interesting subjects and scenes. Pay attention to composition, lighting, and the stories you can tell through your photos.
11.3 Macro Photography
- What It Is: Take close-up photos of small objects, revealing intricate details and textures.
- How To Do It: Use a macro lens attachment for your iPad camera to get closer to your subjects. Photograph flowers, insects, textures, and other small details.
11.4 Food Photography
- What It Is: Capture beautiful images of food, whether it’s a home-cooked meal or a dish from a restaurant.
- How To Do It: Pay attention to lighting, composition, and styling. Use natural light whenever possible and experiment with different angles and arrangements.
11.5 Portrait Series
- What It Is: Create a series of portraits of different people, capturing their unique personalities and stories.
- How To Do It: Ask friends, family, or even strangers if you can take their portrait. Focus on capturing their expressions and features, and tell their stories through your images.
12. How Do I Maintain My iPad Camera For Optimal Performance?
Maintaining your iPad camera ensures that it continues to deliver high-quality images and perform optimally.
12.1 Clean The Lens Regularly
- Why Clean: Dust, fingerprints, and smudges on the lens can reduce image clarity and cause flares.
- How To Clean: Use a soft, lint-free cloth to gently clean the lens. Avoid using harsh chemicals or abrasive materials.
12.2 Protect The Lens From Scratches
- How To Protect: Use a screen protector that covers the camera lens, or store your iPad in a case that protects the lens when not in use.
12.3 Keep Software Up To Date
- Why Update: Software updates often include improvements to the camera’s performance and features.
- How To Update: Go to Settings > General > Software Update to check for and install the latest updates.
12.4 Avoid Extreme Temperatures
- Why Avoid: Extreme temperatures can damage the camera’s components and affect its performance.
- How To Avoid: Avoid leaving your iPad in direct sunlight or in a hot car for extended periods.
12.5 Manage Storage Space
- Why Manage: Running out of storage space can affect the camera’s ability to save photos and videos.
- How To Manage: Regularly transfer photos and videos to other devices or cloud storage services to free up space on your iPad.
13. What Accessories Can Enhance My iPad Photography?
Several accessories can enhance your iPad photography, providing additional functionality and improving the quality of your images.
13.1 Tripod
- What It Is: A tripod provides stability, allowing you to take sharper photos, especially in low light or when using long exposures.
- Why Use It: Essential for time-lapses, panoramas, and any situation where you need to keep the iPad perfectly still.
- Recommendations: Look for tripods designed for tablets or use a universal tablet mount.
13.2 Lens Attachments
- What They Are: Lens attachments can expand the iPad camera’s capabilities, offering wide-angle, macro, and telephoto options.
- Why Use Them: Wide-angle lenses are great for landscapes, macro lenses for close-ups, and telephoto lenses for distant subjects.
- Recommendations: Research reputable brands that offer high-quality lens attachments for iPads.
13.3 External Flash
- What It Is: An external flash provides additional light when the built-in flash is insufficient.
- Why Use It: Can improve the lighting in portraits and other indoor shots.
- Recommendations: Look for portable LED lights that can be easily attached to your iPad.
13.4 Bluetooth Shutter Remote
- What It Is: A Bluetooth shutter remote allows you to take photos without touching the iPad, reducing the risk of camera shake.
- Why Use It: Useful for self-portraits, group photos, and long exposures.
- Recommendations: Choose a remote that is compatible with your iPad model.
13.5 Tablet Case With Stand
- What It Is: A tablet case with a built-in stand can make it easier to position your iPad for taking photos and videos.
- Why Use It: Provides a stable base for shooting and makes it easier to frame your shots.
- Recommendations: Look for cases with adjustable viewing angles.
14. How Do I Share My iPad Photos On Social Media?
Sharing your iPad photos on social media is a great way to showcase your work and connect with others.
14.1 Direct Sharing From The Photos App
- How To Do It:
- Open the Photos app and select the photo you want to share.
- Tap the Share button.
- Choose the social media platform you want to share to (e.g., Instagram, Facebook, Twitter).
- Add a caption and any relevant hashtags.
- Post the photo.
14.2 Using Social Media Apps
- How To Do It:
- Open the social media app you want to use (e.g., Instagram, Facebook, Twitter).
- Tap the button to create a new post.
- Select the photo from your iPad’s photo library.
- Add a caption and any relevant hashtags.
- Post the photo.
14.3 Best Practices For Sharing
- Use High-Quality Images: Ensure your photos are well-lit, sharp, and visually appealing.
- Edit Your Photos: Use editing apps to enhance your photos before sharing them.
- Write Engaging Captions: Tell a story, ask a question, or share a relevant tip in your caption.
- Use Relevant Hashtags: Hashtags help people discover your photos. Research and use popular and relevant hashtags for your niche.
- Engage With Your Audience: Respond to comments and messages, and engage with other users’ content.
15. What Are The Legal And Ethical Considerations For iPad Photography?
As a photographer, it’s important to be aware of the legal and ethical considerations when taking and sharing photos with your iPad.
15.1 Privacy
- Respect Individuals’ Privacy: Avoid taking photos of people without their permission, especially in private places.
- Be Mindful Of Children: Be extra cautious when photographing children, and always obtain consent from their parents or guardians.
15.2 Property Rights
- Respect Property Owners: Obtain permission before taking photos on private property, especially if you plan to use the photos for commercial purposes.
- Be Aware Of Restrictions: Some locations may have restrictions on photography, such as museums, galleries, and government buildings.
15.3 Copyright
- Protect Your Own Work: Watermark your photos to prevent unauthorized use, and register your copyright if necessary.
- Respect Others’ Copyright: Do not use or distribute copyrighted material without permission.
15.4 Accuracy And Authenticity
- Avoid Misrepresentation: Be honest about the context of your photos and avoid manipulating them to misrepresent reality.
- Disclose Alterations: If you significantly alter a photo, disclose the alterations to maintain transparency.
15.5 Ethical Considerations
- Avoid Exploitation: Be mindful of vulnerable populations and avoid taking photos that could exploit or harm them.
- Be Respectful Of Cultural Norms: Be aware of and respect cultural norms and sensitivities when photographing in different communities.
16. What Are Some Common Problems And Solutions When Taking Photos With An iPad?
Even with advanced technology, you might encounter some common issues while using your iPad camera. Here’s how to troubleshoot them:
16.1 Blurry Photos
- Problem: Photos are not sharp and appear blurry.
- Solutions:
- Stabilize The iPad: Use a tripod or hold the iPad steady while taking the photo.
- Clean The Lens: Wipe the lens with a soft, lint-free cloth.
- Ensure Proper Focus: Tap on the screen to focus on your subject.
- Avoid Zooming: Zooming can reduce image quality. Move closer to the subject instead.
16.2 Poor Lighting
- Problem: Photos are too dark or too bright.
- Solutions:
- Adjust Exposure: Use the exposure adjustment feature (the sun icon) to brighten or darken the image.
- Use Flash Or External Light: In low-light conditions, use the iPad’s flash or an external light source.
- Shoot In Natural Light: Whenever possible, shoot in natural light to avoid harsh shadows and overexposure.
16.3 Camera App Freezing
- Problem: The Camera app freezes or crashes.
- Solutions:
- Close And Reopen The App: Force quit the Camera app and reopen it.
- Restart The iPad: Restarting the iPad can resolve temporary software glitches.
- Update Software: Ensure your iPad’s software is up to date.
- Free Up Storage Space: Running out of storage space can cause apps to crash.
16.4 Lens Flare
- Problem: Bright spots or streaks appear in the photo due to light reflecting off the lens.
- Solutions:
- Adjust Your Angle: Change your shooting angle to avoid direct light hitting the lens.
- Use A Lens Hood: A lens hood can block stray light from entering the lens.
- Clean The Lens: A dirty lens can exacerbate lens flare.
16.5 Storage Issues
- Problem: The iPad runs out of storage space while taking photos or videos.
- Solutions:
- Transfer Photos And Videos: Transfer photos and videos to other devices or cloud storage services to free up space.
- Delete Unnecessary Files: Delete old photos, videos, and apps that you no longer need.
- Use iCloud Photos: Enable iCloud Photos to automatically upload your photos to the cloud.
17. How Can I Stay Updated On The Latest iPad Photography Trends And Techniques?
Staying updated on the latest trends and techniques in iPad photography helps you improve your skills and stay creative.
17.1 Follow Photography Blogs And Websites
- Why Follow: Blogs and websites often publish articles, tutorials, and reviews on the latest photography trends and techniques.
- Recommendations: dfphoto.net, Popular Photography, Digital Photography Review.
17.2 Subscribe To Photography Magazines
- Why Subscribe: Magazines provide in-depth coverage of photography gear, techniques, and trends.
- Recommendations: Digital Photographer, Outdoor Photographer, American Photo.
17.3 Join Online Photography Communities
- Why Join: Online communities provide a platform to share your work, get feedback, and learn from other photographers.
- Recommendations: Flickr, 500px, Reddit’s r/photography.
17.4 Attend Photography Workshops And Seminars
- Why Attend: Workshops and seminars offer hands-on training and the opportunity to learn from experienced photographers.
- Recommendations: Look for workshops offered by local photography clubs, schools, and professional photographers.
17.5 Follow Photographers On Social Media
- Why Follow: Social media platforms like Instagram, Facebook, and Twitter are great for discovering new photographers and seeing their latest work.
- Recommendations: Search for photographers who specialize in iPad photography or mobile photography.
18. What Are Some Inspiring Examples Of iPad Photography?
Seeing examples of outstanding iPad photography can inspire you and give you ideas for your own work.
18.1 Landscapes
- Example: David Guttenfelder is known for his stunning landscape photos taken with an iPhone and iPad. His work showcases the beauty of natural environments and urban landscapes.
- Inspiration: Experiment with composition techniques like the Rule of Thirds and leading lines to capture breathtaking landscapes.
18.2 Portraits
- Example: Platon is a renowned portrait photographer who has captured iconic images of world leaders and celebrities using mobile devices.
- Inspiration: Focus on capturing the personality and emotions of your subjects in your portraits. Use natural light and simple backgrounds to highlight their features.
18.3 Street Photography
- Example: Richard Koci Hernandez is a street photographer who uses his iPhone and iPad to document the everyday life of urban environments.
- Inspiration: Explore your city or town with your iPad, looking for interesting moments and scenes to capture. Pay attention to composition, lighting, and the stories you can tell through your photos.
18.4 Macro Photography
- Example: Guido Gutierrez Ruiz is a macro photographer who captures stunning close-up images of flowers, insects, and other small details with his iPhone.
- Inspiration: Use a macro lens attachment for your iPad camera to get closer to your subjects and reveal intricate details and textures.
18.5 Fine Art Photography
- Example: Damien Hirst is a contemporary artist who has created fine art pieces using an iPad and its camera.
- Inspiration: Experiment with different techniques and effects to create unique and artistic images. Use editing apps to manipulate your photos and express your creative vision.
19. How Can dfphoto.net Help Me Improve My iPad Photography Skills?
At dfphoto.net, we are committed to helping you enhance your iPad photography skills and unlock your creative potential.
19.1 Comprehensive Tutorials And Guides
- What We Offer: We provide detailed tutorials and guides on various aspects of iPad photography, including camera settings, composition techniques, editing tips, and creative projects.
- How It Helps: Our tutorials are designed to help both beginners and experienced photographers improve their skills and master the art of mobile photography.
19.2 Inspiring Photo Galleries
- What We Offer: We showcase a curated collection of outstanding iPad photos from talented photographers around the world.
- How It Helps: Our photo galleries provide inspiration and ideas for your own work, and allow you to see what’s possible with an iPad camera.
19.3 Community Forums
- What We Offer: Our community forums provide a platform to connect with other iPad photographers, share your work, get feedback, and ask questions.
- How It Helps: Our forums create a supportive and collaborative environment where you can learn from others and grow as a photographer.
19.4 Equipment Reviews And Recommendations
- What We Offer: We provide reviews and recommendations on the latest iPad photography accessories, including tripods, lens attachments, external flashes, and editing apps.
- How It Helps: Our reviews help you choose the right equipment to enhance your iPad photography and get the most out of your camera.
19.5 Exclusive Content For Members
- What We Offer: We offer exclusive content for our members, including advanced tutorials, behind-the-scenes videos, and access to special events and workshops.
- How It Helps: Our exclusive content provides you with advanced knowledge and resources to take your iPad photography to the next level