Stretching a photo on your iPhone involves adjusting its dimensions—making it wider or taller—without necessarily cropping out content. This can be achieved through various methods, using built-in tools or third-party apps. Whether you need to resize for social media, email, or storage optimization, this guide will show you How To Stretch A Photo on your iPhone effectively.
Understanding Image Resizing
Image resizing changes the dimensions of a photo by modifying the number of pixels. Stretching is a form of resizing where you enlarge the image, often disproportionately, to fit specific dimensions. This can be useful for filling a particular space or achieving a desired visual effect. However, excessive stretching can lead to pixelation and a loss of image quality.
Why Resize Images on iPhone?
Resizing, including stretching, offers several benefits:
- Easy Sharing: Smaller files are easier to send via email or messaging apps.
- Storage Optimization: Reduced file sizes save valuable storage space on your device.
- Social Media Compatibility: Resizing ensures images fit platform-specific requirements.
- Project Requirements: Images may need resizing for specific projects or presentations.
Reducing Image Size Before Taking Photos
To proactively manage image size:
- Open Settings > Camera > Formats.
- Select High Efficiency to save photos in HEIF format, which offers smaller file sizes compared to JPEG. Choosing “HEIF Max” will create smaller files, around 5MB each.
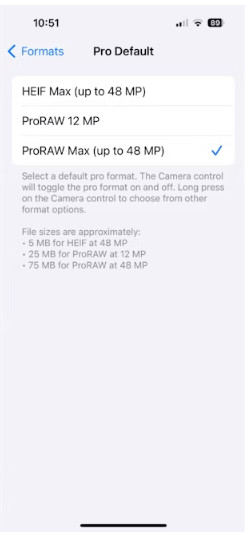 iPhone Camera Settings
Resizing Using Built-in iPhone Features
Resizing for Email
While not directly stretching, you can reduce image size for emailing:
- Open the Photos app and select your image.
- Tap the Share icon (upward arrow in a square).
- Choose Mail and enter the recipient’s address.
- Tap Send. A menu will appear with size options (Small, Medium, Large, Actual Size). Select the desired size.
 Share Sheet in Photos App
Resizing with the Shortcuts App
The Shortcuts app allows for custom resizing:
- Open the Shortcuts app.
- Tap Add Action and search for “Resize Image.”
- Choose the Resize Image action.
- Set the desired width or height. The app will maintain the aspect ratio.
- Rename the shortcut and enable Show in Share Sheet.
- Access the shortcut from the Share sheet in the Photos app.
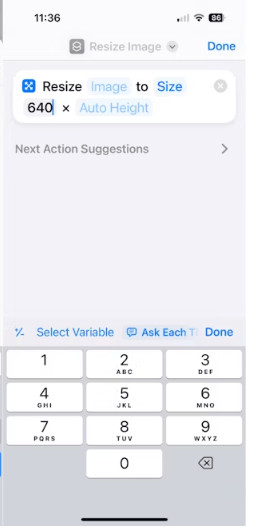 Resize Image Action in Shortcuts
Third-Party Apps for Stretching Photos
Several apps offer more advanced resizing and stretching capabilities:
Image Size App
This app provides precise control over dimensions:
- Download and open the Image Size app.
- Tap the photo icon to select an image.
- Enter the new width and height values.
- Choose units (pixels, inches, cm).
- Tap the arrow icon to save.
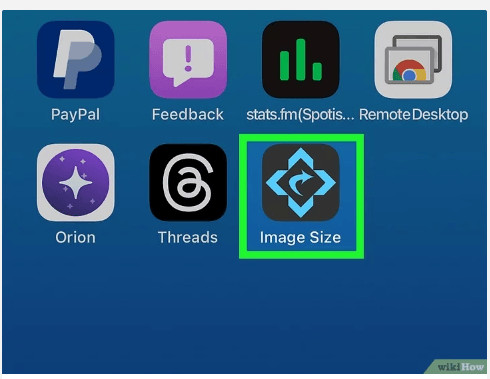 Image Size App Interface
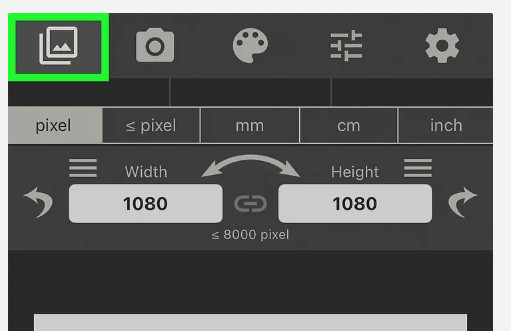 Choosing a Photo in Image Size App
 Choosing a Photo from Library
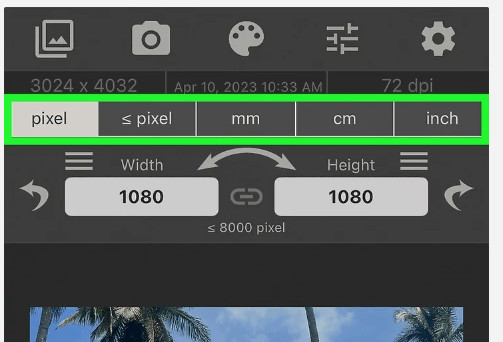 Entering Dimensions in Image Size App
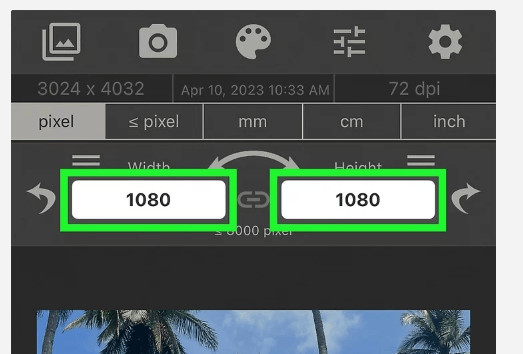 Choosing Units in Image Size App
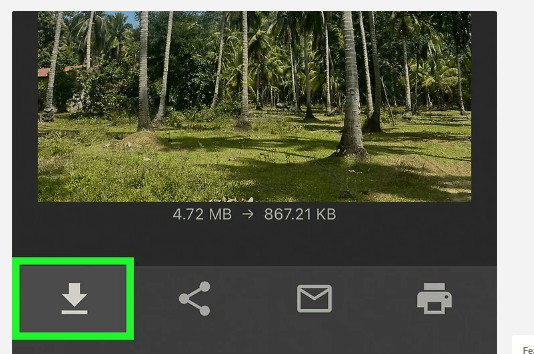 Saving Resized Image
Other Resizing Apps
- Desqueeze: Allows batch resizing of images and videos.
- CropSize: Offers batch cropping and resizing with additional editing features.
Conclusion
Stretching and resizing photos on your iPhone is easily achievable using various methods. From basic adjustments within the Photos app to precise control with third-party apps, you can tailor your images to meet your specific needs. Remember to balance stretching with image quality to avoid excessive pixelation. Choose the method that best suits your requirements and enjoy optimized images for sharing, storage, and various projects.