Sending photos via email from your iPhone is a straightforward process, whether you want to share vacation snapshots with family, submit images for work, or simply declutter your photo library. This guide will walk you through the different methods to attach photos, videos, and even documents to your emails using your iPhone’s Mail app.
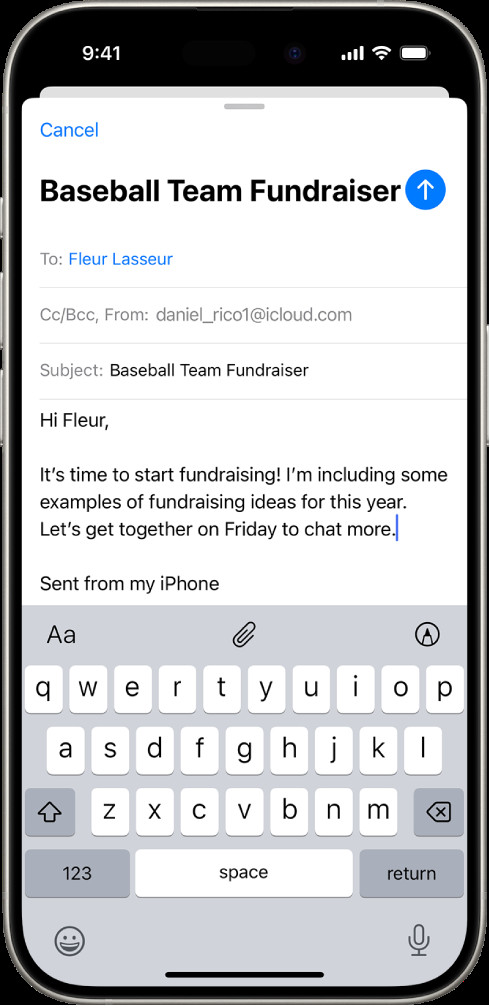 Draft email composition screen on iPhone with attachment options visible above the keyboard.
Attaching Photos, Videos, and Documents to Email on iPhone
The most common need is to attach existing photos and videos from your iPhone’s library or files. Here’s how you can do it seamlessly within the Mail app:
-
Open the Mail App: Start by launching the Mail application on your iPhone’s home screen.
-
Compose a New Email or Reply: Begin writing a new email or reply to an existing one. Position the cursor in the body of the email where you intend to insert the attachment.
-
Access the Attachment Options: Look for the Expand Toolbar button (^) located just above the keyboard. Tap this to reveal additional options. Then, tap the Attachment button (+).
-
Choose Your Attachment Type: You’ll be presented with several options to select your attachment:
-
Attach a Document from Files: To attach documents, tap the Attach File button. This will open the Files app, allowing you to browse through your saved documents. Navigate through locations like “Recent,” “Shared,” or “Browse” to find the desired file within folders or cloud services linked to your Files app.
-
Attach Saved Photos or Videos: To attach photos or videos already saved in your Photos app, tap the Photo or Video button. Select the photos or videos you wish to attach. You can select multiple items. Once chosen, tap “Done” to return to your email, and the selected media will be attached.
-
Take a New Photo or Video: If you need to capture a new image or video to send immediately, tap the Take Photo or Video button. This activates your iPhone’s camera. Take your photo or video, and then tap “Use Photo” or “Use Video” to attach it to your email. If you’re not satisfied, tap “Retake” to try again.
-
-
File Size Limits and Mail Drop: Be aware that email providers often have limits on attachment file sizes. If your attachment is too large, Mail will prompt you to use Mail Drop. Mail Drop is an Apple service that allows you to send large files (up to 5GB) via iCloud. Recipients will receive a link to download the attachment. Note that Mail Drop links expire after 30 days. For more details on limitations, refer to Apple Support’s Mail Drop limits article.
Scanning Paper Documents to Email as PDF on iPhone
Need to send a physical document? Your iPhone can scan it and attach it as a PDF directly within the Mail app:
-
Open Mail and Start Email: As before, open the Mail app and begin composing or replying to an email. Position your cursor in the email body.
-
Access Attachment Options and Scan Feature: Tap the Expand Toolbar button (^) above the keyboard, followed by the Attachment button (+). Then, tap the Scan Document button.
-
Scan Your Document: Position your iPhone camera over the document you want to scan. Your iPhone will automatically detect the document’s edges and capture the page.
- Automatic Capture: By default, iPhone automatically scans the document.
- Manual Capture: If needed, you can manually capture the scan by tapping the shutter button or pressing a volume button.
- Flash Control: Control the flash by tapping the flash icon if lighting conditions are poor.
-
Review and Save Scan: After scanning, review the captured image.
- Retake: Tap “Retake” if you are not satisfied with the scan quality.
- Keep Scan: Tap “Keep Scan” to accept the scan.
- Scan More Pages: If you have multiple pages, continue scanning each page.
- Save: Once you’ve scanned all pages, tap “Save.”
-
Edit Scanned Document (Optional): After saving, the scanned document is inserted as a single attachment. You can tap on the scan to edit it:
-
Crop: Use the Crop tool to adjust the document’s boundaries.
-
Filters: Apply filters to enhance readability or adjust the scan’s appearance.
-
Rotate: Rotate the image if the orientation is incorrect.
-
Delete: Delete the scanned page if necessary.
-
Creating and Sending Drawings via Email on iPhone
For times when visuals speak louder than words, you can create a quick drawing and send it as an attachment:
-
Open Mail and Start Email: Open the Mail app and start a new email or reply. Place the cursor where you want to insert your drawing.
-
Access Markup Toolbar: Tap the Expand Toolbar button (^) above the keyboard, then tap the Markup button. This will display the Markup toolbar at the bottom of your screen.
-
Create Your Drawing: Choose a drawing tool (pen, marker, pencil), select a color, and draw directly on the screen with your finger.
- Refer to Apple’s guide on using Markup on iPhone for more advanced Markup features.
-
Insert Drawing: Once your drawing is complete, tap “Done.” Then, tap “Insert Drawing” to attach it to your email.
-
Edit Existing Drawing: To continue working on a drawing you’ve already inserted, simply tap the drawing within the email and then tap the Insert Drawing button again to re-enter the Markup interface.
By following these steps, you can efficiently send photos and various attachments via email directly from your iPhone, enhancing your communication and productivity. Whether it’s photos, documents, scanned files, or quick sketches, your iPhone’s Mail app offers versatile attachment options.