Live Photos bring your still images to life by capturing a few seconds of motion and sound before and after you hit the shutter button. This feature on your iPhone adds a dynamic element to your photos, turning fleeting moments into vivid memories. While taking and viewing Live Photos on your device is straightforward, sharing them in their animated form might seem a bit less obvious. This guide will walk you through everything you need to know about sending Live Photos to your friends and family, ensuring they experience your photos exactly as you intended.
Understanding Live Photos: Capturing Motion
Before we dive into sharing, let’s quickly recap what Live Photos are and how to ensure you’re capturing them effectively.
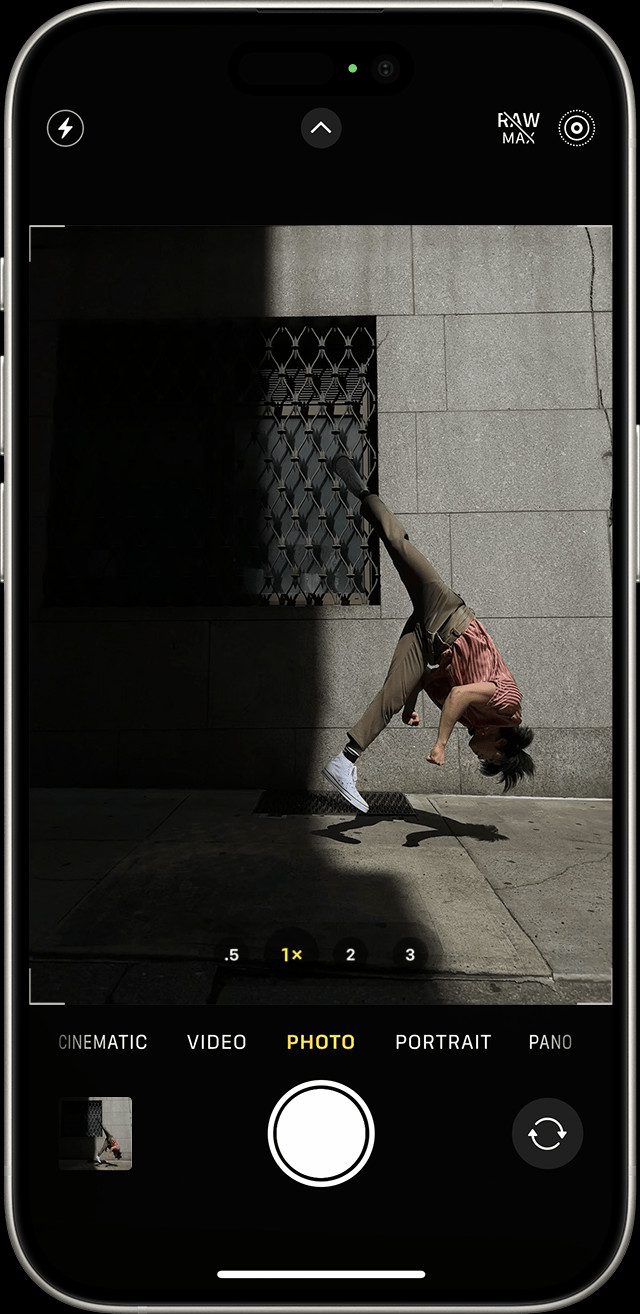
How to Take a Live Photo
-
Open the Camera app on your iPhone.
-
Ensure Photo mode is selected. Swipe left or right on the camera screen to switch modes if needed.
-
Check if Live Photos is enabled. Look for the Live Photo icon, which resembles concentric circles, at the top right of your viewfinder. If it has a line through it, tap the icon to turn Live Photos on. When active, the icon will be yellow (or white in dark mode) without a line.
 iPhone Camera app interface with Live Photos feature highlighted as active.
Image showing the iPhone camera interface with the Live Photos icon activated, indicating the feature is ready to capture motion.
-
Keep your iPhone steady as you prepare to take your photo. This is crucial to avoid blurry Live Photos.
-
Press the shutter button to capture your Live Photo. Your iPhone will record 1.5 seconds of action before and after this moment.
Live Photos is typically enabled by default, so you’re likely already capturing your photos in this format.
Finding and Playing Your Live Photos
Once you’ve taken some Live Photos, accessing and viewing them is simple within the Photos app.
-
Launch the Photos app from your iPhone’s home screen.
-
Navigate to the “Albums” tab at the bottom of the screen.
-
Scroll down to the “Media Types” section and tap on “Live Photos”. This album automatically collects all your Live Photos.
 Navigating to the Live Photos album within the Photos app on iPhone.
Screenshot showing the path to find the Live Photos album in the iPhone Photos app, under Media Types.
-
Tap on a Live Photo to open it.
-
Press and hold on the photo to play the Live Photo animation. Lifting your finger will stop the animation, allowing you to view it as a still image again.
Enhancing Your Live Photos Before Sending
Before sharing your Live Photos, you might want to enhance them with edits or fun effects.
Choosing a Key Photo
The key photo is the still image that represents your Live Photo. You can change this to a different frame if desired.
-
Open a Live Photo and tap “Edit” in the top right corner.
-
Tap the Live Photos icon () at the bottom of the editing screen.
Icon representing the Live Photos feature, used to access editing options like changing the key photo.
-
Slide the white frame in the timeline at the bottom to select a new frame as the key photo.
-
Release your finger and tap “Make Key Photo”.
-
Tap “Done” to save your changes.
You can also toggle the Live Photo animation on or off while editing by tapping the “LIVE” button at the top.
Adding Live Photo Effects: Loop, Bounce, and Long Exposure
Apple provides built-in effects to make your Live Photos even more engaging.
-
Open the Live Photo you want to modify.
-
Swipe up on the photo to reveal the effects menu, or tap the Live Photos icon () near the top left.
The Live Photos icon as it appears when accessing effects like Loop, Bounce, and Long Exposure.
-
Choose from three effects:
- Loop: Plays your Live Photo in a continuous video loop. Great for capturing repeating motions.
- Bounce: Plays your Live Photo forward and then in reverse, creating a back-and-forth animation.
- Long Exposure: Simulates a long exposure effect, blurring motion like flowing water or light trails. Ideal for creative shots of movement.
Basic Edits for Live Photos
Just like regular photos, you can adjust aspects like exposure, color, and filters on your Live Photos.
-
Open the Live Photo you wish to edit.
-
Tap “Edit”.
-
Use the editing tools available to adjust light, color, apply filters, and more.
-
Tap “Done” to save your edits. Remember that editing in third-party apps might remove Live Photo effects.
The Edit button icon in the iPhone Photos app, symbolized by three horizontal sliders, used to access photo editing tools.
Sharing Your Animated Memories: How to Send Live Photos
Now, let’s get to the core topic: sending your Live Photos so others can enjoy the motion and sound.
-
Select the Live Photo you want to share and tap the Share button (the upward-pointing arrow in a box).
-
Choose your preferred sharing method from the Share Sheet. Common options include:
- Messages: Ideal for sending to other iPhone users. Live Photos are sent in full animation.
- AirDrop: Quickly share with nearby Apple devices (iPhones, iPads, Macs) maintaining the Live Photo format.
- Social Media (Instagram, Facebook, etc.): Most social media platforms convert Live Photos into short videos when sharing. Select the platform’s icon in the Share Sheet.
- Email: Be aware that sharing via Mail sends the Live Photo as a still image. To send the animation via email, you would need to convert it to a video first (see below).
- Cloud Services (iCloud, Google Drive, Dropbox): Sharing via cloud services allows recipients to download the Live Photo file, preserving the Live Photo format.
-
Complete the sharing process according to the chosen method (e.g., select contacts in Messages, choose AirDrop recipient, etc.).
Important Note: When sharing via platforms that don’t fully support the Live Photo format, the animation may be converted to a video or still image. Always consider your recipient and the platform to ensure they can experience your Live Photo as intended.
Converting Live Photos to Videos for Broader Sharing
If you need to send a Live Photo to someone who may not be able to view it as a Live Photo (e.g., Android users, email recipients) or want to ensure it plays on any platform, converting it to a video is the best solution.
- Open the Live Photo.
- Tap the Share button.
- Scroll down in the Share Sheet and select “Save as Video”. This will save a video version of your Live Photo to your Photos library.
- You can now share this video file through any platform, including email, social media, and messaging apps, ensuring everyone can see the animation.
Turning Live Photos Off (and On)
While Live Photos are a fantastic feature, there might be times you want to capture still photos only.
Temporarily Disabling Live Photos
-
In the Camera app, tap the Live Photos button ().
Live Photos icon as displayed in the camera app, used to quickly turn the feature on or off.
-
When Live Photos is off, the icon will have a slash through it. Tap it again to re-enable. Note that Live Photos will automatically turn back on the next time you open the Camera app unless you set it to preserve settings.
Permanently Keeping Live Photos Off (Preserving Settings)
To prevent Live Photos from automatically turning back on:
- Open Settings app.
- Scroll down and tap “Camera”.
- Tap “Preserve Settings”.
- Toggle the switch next to “Live Photo” to the on position (green).
By enabling this, your iPhone will remember whether you had Live Photos on or off the last time you used the Camera app.
Live Photos offer a unique way to capture and share memories with motion and sound. By understanding how to take, edit, and send them effectively, you can make the most of this engaging iPhone feature and bring your photos to life for everyone you share them with.