Selling stock photos and generating income involves understanding the market, optimizing your images, and choosing the right platforms. At dfphoto.net, we offer comprehensive resources to help photographers like you navigate this exciting opportunity. This guide is for aspiring and professional photographers seeking ways to monetize their photographic skills and build a sustainable source of revenue through stock photography, covering everything from selecting the right platforms to optimizing your images for maximum visibility and sales.
1. What Are The Best Websites For Selling Photos Online?
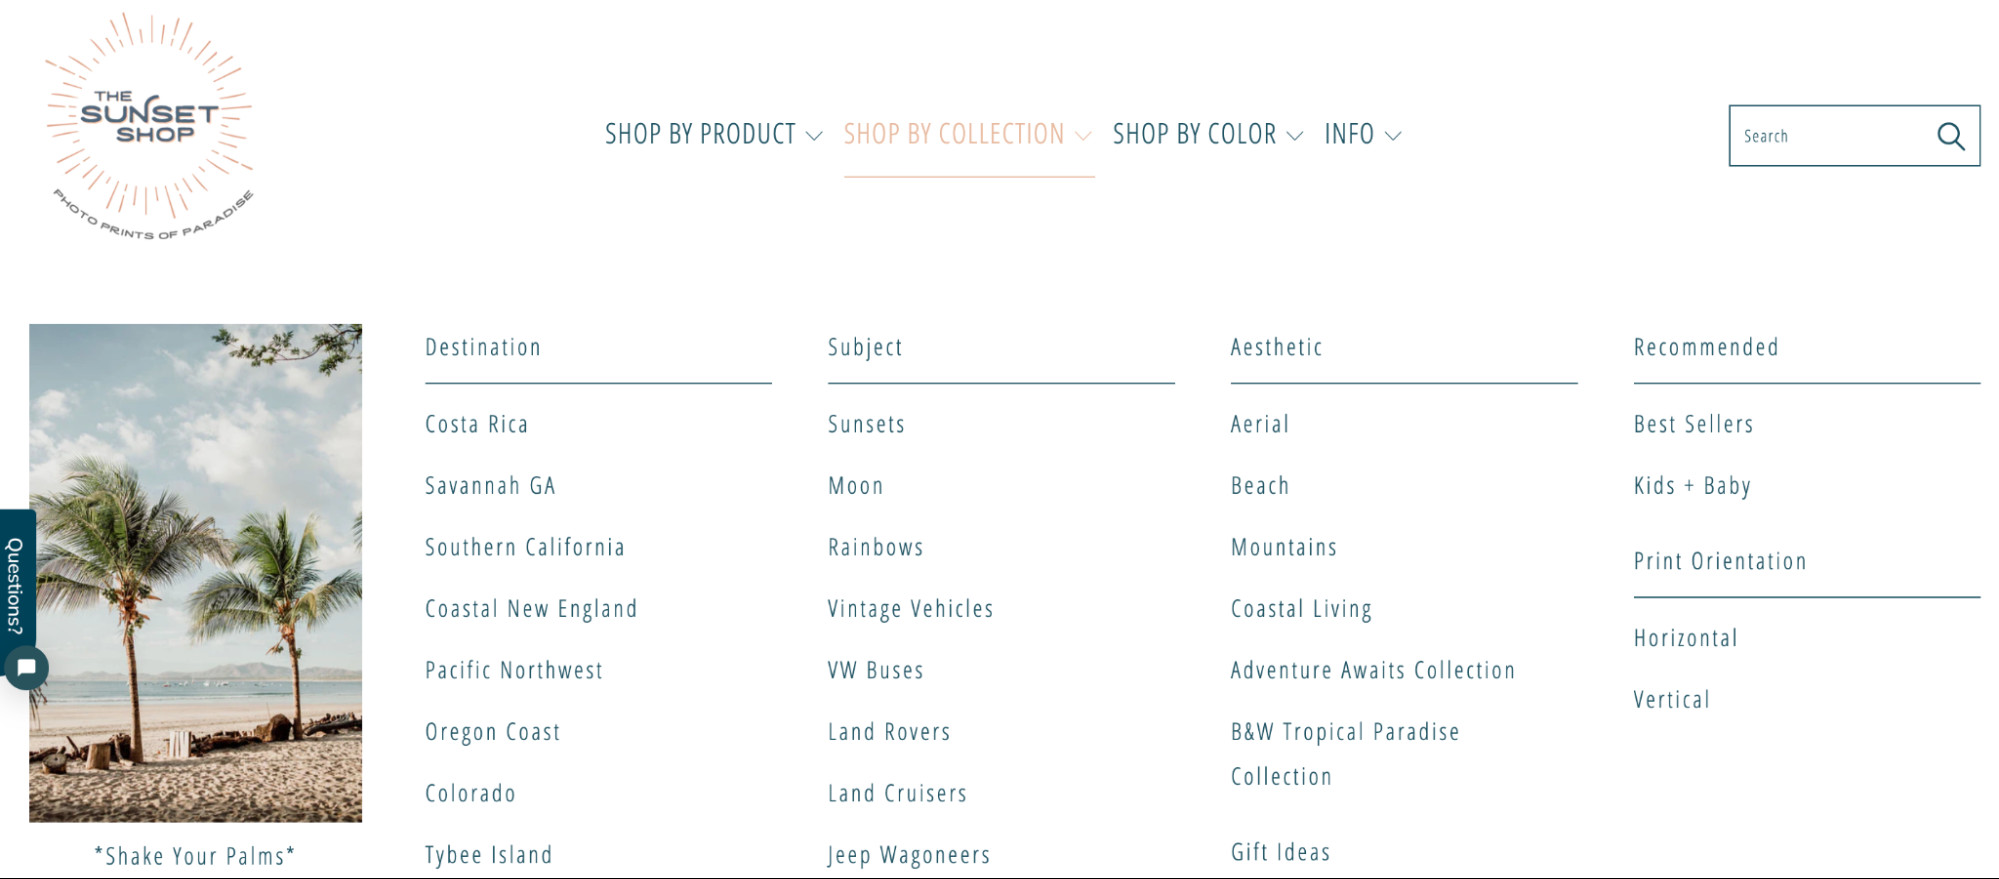
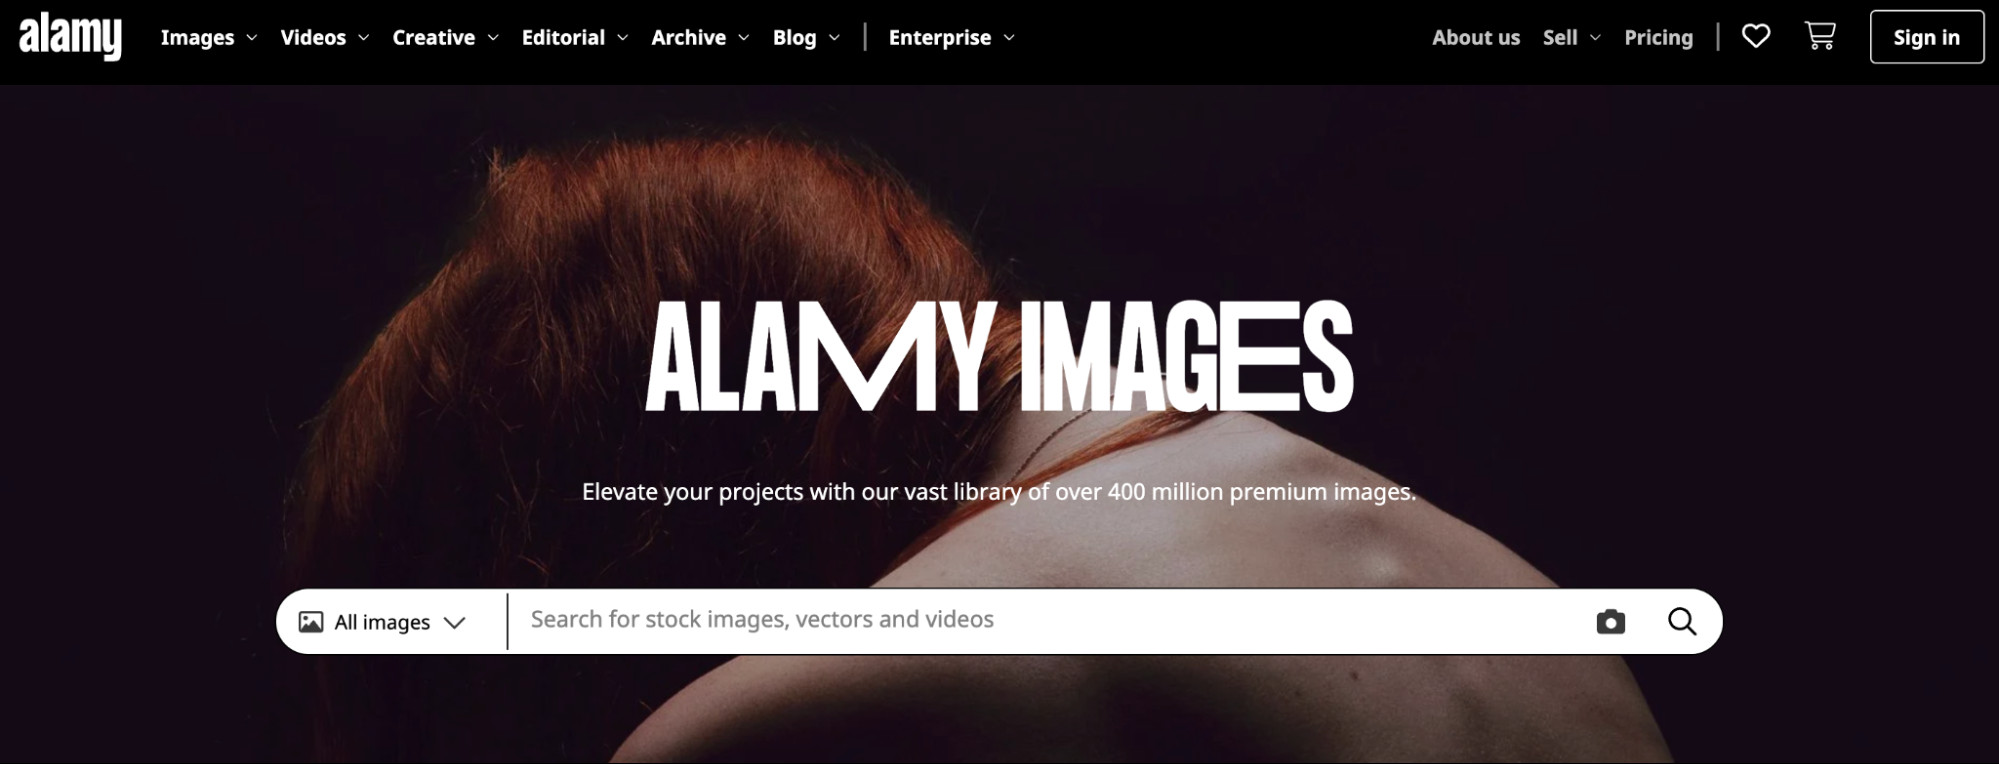
The best websites for selling photos online include Alamy, 500px, Shutterstock, Getty Images, iStock, Stocksy, Picfair, Adobe Stock, Envato Elements, Unsplash+, Dreamstime, Snapped4U, Foap, EyeEm, and Pond5 (for videos). Each platform offers different commission rates, target audiences, and exclusivity requirements, catering to a wide range of photographers, so selecting the one that aligns with your goals will increase your success and revenue generation.
-
Alamy:
- Overview: Alamy boasts one of the most diverse stock photo collections online.
- Commission: Photographers earn between 17% and 50% of sales, depending on image popularity and license type.
- Payment: Monthly payments with options for multiple currencies.
- Note: No long-term contracts are required.
-
500px:
- Overview: Combines stock photo licensing with community features.
- Commission: Paying members can earn up to 100% royalties for exclusive photos.
- Note: Includes features like the Pulse algorithm for surfacing new talent and photography competitions.
-
Shutterstock:
- Overview: One of the most popular photography websites, having paid out over $1 billion to its community.
- Commission: Payouts range from 15% to 40% based on earnings over time.
- Note: It is a micro-stock site where a large quantity of images is key to increasing downloads.
-
Getty Images:
- Overview: Attracts brands and online publishers seeking high-quality and exclusive images.
- Commission: Between 15% and 45% of an image’s license fee.
- Note: Has stricter standards for submissions to maintain its reputation.
-
iStock:
- Overview: An offshoot of Getty Images, allowing non-exclusive photos.
- Commission: Ranges from 15% to 45%, depending on contributor agreements.
-
Stocksy:
- Overview: An artist-owned cooperative offering high payouts to contributors.
- Commission: 50% royalty on standard licenses and 75% on extended licenses.
- Note: All photos must be exclusive to the platform.
-
Picfair:
- Overview: Offers control over your online photo portfolio, allowing you to set your own prices.
- Payment: Through a Plus plan priced at $4 per month when billed annually.
-
Adobe Stock:
- Overview: Integrates with Adobe’s popular photography software.
- Commission: Contributors can earn 33% royalties on photos and 35% on videos.
-
Envato Elements:
- Overview: Allows you to sell photos online and connect with potential clients.
- Commission: Contributors earn between 25% and 50% of net subscription revenue.
-
Unsplash+:
- Overview: Pays photographers for submitting images for specific assignments.
- Payment: Rates range, on average, between $5 and $30 per image.
-
Dreamstime:
- Overview: A microstock platform with a vast library of royalty-free media.
- Commission: Revenue sharing of 25% to 50% for non-exclusive content.
-
Snapped4U:
- Overview: A marketplace for portrait and event photographers.
- Commission: Charges a one-time $10 registration fee and retains a 10% to 12% commission on sales.
-
Foap:
- Overview: Allows photographers to sell directly to brands and individuals.
- Commission: Foap takes a 50% commission on all sales.
-
EyeEm:
- Overview: Combines a marketplace with a photographer community.
- Commission: Contributors earn a 50% commission on each sale.
-
Pond5 (for videos):
- Overview: A marketplace for selling royalty-free videos, music, and sound effects.
- Commission: Video artists earn a 40% royalty share, with the option to earn up to 60% for exclusive content.
Each platform offers different benefits, so consider your specific needs and goals when deciding where to sell your photos.
2. How Do You Define Your Stock Photography Niche?
To define your stock photography niche, identify your consistent style or theme, research the demand for topics using keyword research tools like Google Trends, and evaluate your passion and enjoyment of the subject. Specializing in a niche, such as travel, fashion, nature, or food, can help you stand out and attract a specific audience, as confirmed by studies from the Santa Fe University of Art and Design’s Photography Department. Focusing on a niche allows you to become an expert in that area, producing high-quality, in-demand content.
Here’s how to define your niche:
- Identify Your Passion: Begin by pinpointing the subjects and styles you genuinely enjoy shooting. Your enthusiasm will shine through in your work, making it more authentic and appealing.
- Assess Market Demand: Utilize keyword research tools like Google Trends to gauge the popularity and search volume of potential niches. This will ensure there is a viable market for your photographs.
- Analyze Competition: Examine what other photographers are doing in your chosen niche. Look for gaps or underserved areas where you can offer a unique perspective or style.
- Consistency is Key: Maintain a consistent style and theme throughout your work. This will help build your brand and attract a loyal audience who knows what to expect from you.
- Evaluate Profitability: Consider the potential income each niche can generate. High-demand niches may offer more opportunities for sales and licensing.
- Seek Feedback: Share your work with other photographers and potential customers to get feedback on your chosen niche. This can provide valuable insights and help you refine your approach.
- Adapt and Evolve: Be prepared to adapt and evolve your niche as market trends change. Staying flexible and open to new ideas will help you remain competitive and relevant.
Defining your niche allows you to become an expert in that area, producing high-quality, in-demand content. As research from the Santa Fe University of Art and Design’s Photography Department indicates, photographers who specialize often find it easier to market their work and attract consistent buyers.
 Nature Photography Niche Example
3. How Can You Leverage Instagram To Sell Photos Online?
To leverage Instagram for selling photos online, build a wide audience by using visual social platforms like Instagram, use Instagram tools to engage with popular hashtags, link your social media accounts, and grow a following of potential customers. Instagram is a powerful tool for photographers because of its visual nature and wide reach.
Here’s a detailed plan to effectively use Instagram:
- Optimize Your Profile:
- Username: Choose a username that is recognizable and relevant to your photography brand.
- Profile Picture: Use a high-quality headshot or logo.
- Bio: Write a compelling bio that highlights your niche, expertise, and unique selling proposition. Include a call to action and a link to your portfolio or online store.
- Create High-Quality Content:
- Visual Consistency: Maintain a consistent style and aesthetic in your posts to create a cohesive and visually appealing feed.
- Engaging Captions: Write engaging captions that tell a story, provide context, or ask questions to encourage interaction.
- Variety: Mix up your content with different types of posts, such as single images, carousels, videos, and Reels.
- Use Relevant Hashtags:
- Research: Identify popular and niche-specific hashtags related to your photography.
- Mix It Up: Use a combination of broad and targeted hashtags to reach a wider audience and attract specific customers.
- Limit: Use a reasonable number of hashtags (around 5-10) to avoid looking spammy.
- Engage With Your Audience:
- Respond to Comments: Promptly reply to comments and messages to show that you value your audience.
- Ask Questions: Encourage engagement by asking questions in your captions and stories.
- Run Contests and Giveaways: Host contests and giveaways to attract new followers and reward your existing audience.
- Utilize Instagram Stories:
- Behind-the-Scenes: Share behind-the-scenes content to give your audience a glimpse into your process and personality.
- Polls and Quizzes: Use polls and quizzes to engage your audience and gather feedback.
- Promotions: Promote your latest photos, products, or services in your stories.
- Collaborate With Others:
- Influencers: Partner with influencers in your niche to reach a wider audience and gain credibility.
- Other Photographers: Collaborate with other photographers on joint projects or shoutouts.
- Brands: Work with brands that align with your style and target audience.
- Use Instagram Shopping:
- Set Up a Shop: Create an Instagram Shop to sell your photos directly on the platform.
- Tag Products: Tag your photos with product links to make it easy for customers to purchase.
- Run Ads: Use Instagram Ads to promote your shop and reach a larger audience.
- Analyze Your Performance:
- Instagram Insights: Use Instagram Insights to track your performance and identify what’s working.
- Adjust Your Strategy: Based on your insights, adjust your strategy to optimize your content and engagement.
- Experiment: Don’t be afraid to experiment with different types of content, hashtags, and engagement techniques to see what resonates with your audience.
Leveraging Instagram effectively requires a consistent effort to create high-quality content, engage with your audience, and stay up-to-date with the latest trends and features. According to Popular Photography magazine, photographers who actively use Instagram to showcase their work often see a significant increase in their visibility and sales.
 Instagram Example
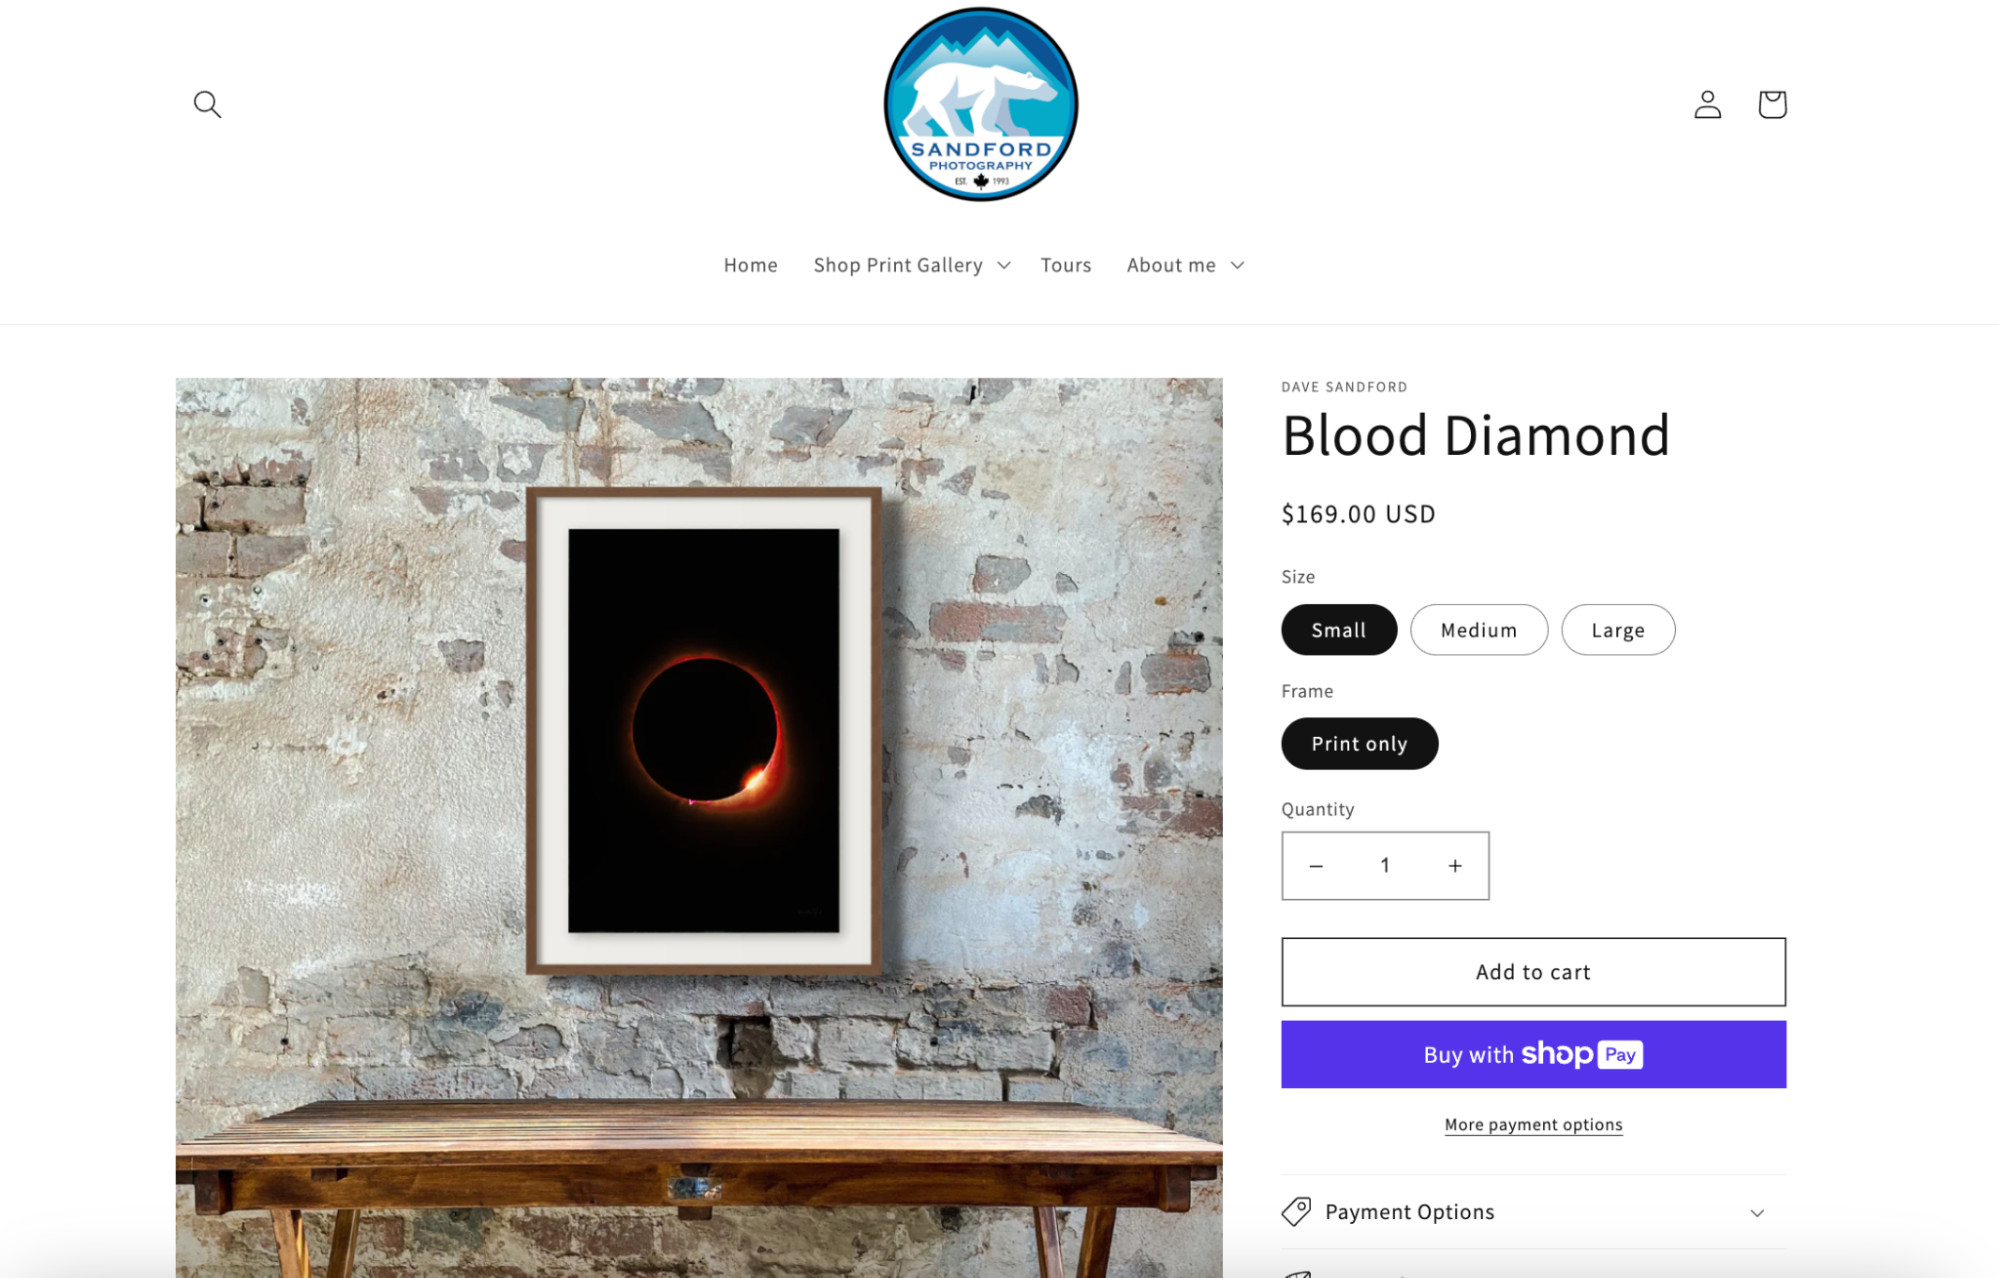
4. Why Should You Integrate Ecommerce Into Your Photography Website?
Integrating ecommerce into your photography website allows you to sell stock images directly to customers, offer prints and other products, and control your brand and pricing. Adding a Shopify Buy Button to your site can simplify the purchasing process for customers. Ecommerce integration provides photographers with a powerful tool to diversify their income streams and build a sustainable business.
Here’s how to effectively integrate ecommerce into your website:
- Choose the Right Platform:
- Shopify: An excellent choice for photographers looking for a comprehensive ecommerce solution. It offers customizable themes, integrated payment processing, and marketing tools.
- Squarespace: Known for its user-friendly interface and visually appealing templates, making it ideal for showcasing your photography.
- WordPress with WooCommerce: Provides flexibility and customization options for those familiar with WordPress.
- Design an Appealing Online Storefront:
- Visual Focus: Ensure your website design is clean, modern, and puts your photographs front and center.
- High-Quality Images: Use high-resolution images of your products to attract customers.
- Mobile Responsiveness: Make sure your website is fully responsive and looks great on all devices.
- Set Up Product Pages:
- Detailed Descriptions: Write detailed and engaging descriptions for each photograph, including information about the location, story behind the image, and printing options.
- Pricing: Clearly display the pricing for different sizes, formats, and licensing options.
- Call-to-Action: Use clear and compelling call-to-action buttons, such as “Buy Print” or “Download Now.”
- Implement a Secure Payment Gateway:
- SSL Certificate: Ensure your website has an SSL certificate to encrypt sensitive data and protect your customers’ information.
- Payment Options: Offer a variety of payment options, such as credit cards, PayPal, and other popular payment gateways.
- Optimize for SEO:
- Keywords: Use relevant keywords in your product descriptions, page titles, and meta descriptions to improve your website’s search engine ranking.
- Alt Text: Add descriptive alt text to your images to help search engines understand what they depict.
- Create a Blog:
- Share Your Expertise: Write blog posts about your photography techniques, travels, and inspirations to attract and engage your audience.
- SEO: Use your blog to target relevant keywords and improve your website’s SEO.
- Promote Your Website:
- Social Media: Share your latest photographs, promotions, and blog posts on social media platforms like Instagram, Facebook, and Pinterest.
- Email Marketing: Build an email list and send out newsletters to inform your subscribers about new products, promotions, and events.
- Collaborations: Partner with other photographers, influencers, or brands to reach a wider audience.
Integrating ecommerce effectively requires a focus on visual appeal, user experience, and marketing. According to research from dfphoto.net, photographers who have successfully integrated ecommerce into their websites have seen a significant increase in their sales and brand recognition.
 Ecommerce Example
5. How Do You Understand Your Target Market For Stock Photos?
Understanding your target market involves identifying the specific group of people most likely to buy your photos, considering their interests, needs, and purchasing behavior. For example, wedding photography stock images are often purchased by wedding stationery brands or suit wholesalers, not necessarily by brides and grooms. Identifying your buyer persona helps tailor your images and marketing efforts effectively.
Here’s a step-by-step approach to understanding your target market:
- Identify Your Niche:
- Specialize: Determine the specific areas of photography you excel in, such as nature, portraits, lifestyle, or business.
- Trends: Stay updated on current trends and topics that are in demand.
- Define Your Buyer Persona:
- Demographics: Consider the age, gender, location, and income level of your potential buyers.
- Industry: Determine the industries that are most likely to need your photos, such as advertising, publishing, or web design.
- Job Titles: Identify the specific job titles of the people who make purchasing decisions, such as marketing managers, creative directors, or website developers.
- Research Their Needs and Pain Points:
- Interviews: Conduct interviews with potential customers to understand their needs, challenges, and preferences.
- Surveys: Create online surveys to gather feedback from a larger audience.
- Online Forums and Social Media: Monitor online forums and social media groups where your target market discusses their needs and challenges.
- Analyze Competitors:
- Identify Competitors: Research other photographers and stock photo websites that target the same market.
- Study Their Customers: Analyze the types of customers they attract and the types of photos they sell.
- Find Opportunities: Look for gaps in the market that your photos can fill.
- Use Keyword Research:
- Identify Keywords: Use keyword research tools to identify the terms that your target market uses to search for photos online.
- Analyze Search Volume: Determine the search volume for each keyword to identify the most popular topics.
- Incorporate Keywords: Use these keywords in your photo titles, descriptions, and tags to improve your search engine ranking.
- Create Sample Photos:
- Test the Market: Create a small collection of sample photos that cater to your target market.
- Gather Feedback: Share these photos with potential customers and ask for their feedback.
- Refine Your Approach: Based on their feedback, refine your approach and create more photos that meet their needs.
- Monitor Trends and Adapt:
- Stay Informed: Stay updated on the latest trends and changes in your target market.
- Adapt Your Strategy: Be prepared to adapt your strategy and create new photos that reflect these changes.
- Continuous Learning: Continuously learn about your target market and their evolving needs.
Understanding your target market is crucial for creating photos that sell and building a successful stock photography business. According to Getty Images, photographers who understand their market and tailor their photos accordingly often see a significant increase in their sales and royalties.
6. What Steps Should You Follow To Set Up Your Online Photography Portfolio?
Setting up an online photography portfolio involves choosing the right platform, planning the portfolio’s structure, optimizing images for the web, creating an “About” page, implementing ecommerce functionality, and ensuring mobile compatibility. Your portfolio serves as your résumé and should showcase your best work in a visually appealing and user-friendly manner.
Follow these steps to create an effective online photography portfolio:
- Choose the Right Platform:
- Evaluate Options: Consider platforms like Shopify, Squarespace, WordPress, or dedicated photography portfolio sites like Zenfolio or SmugMug.
- Select Based on Needs: Choose a platform that aligns with your goals and technical skills. Shopify is ideal for ecommerce, while Squarespace offers ease of use and visual appeal.
- Plan Your Portfolio’s Structure:
- Layout: Design a clean and visually appealing layout that puts your photos front and center.
- Categories: Organize your photos into categories based on subject, style, or client.
- Social Proof: Include testimonials, client logos, and other forms of social proof to build credibility.
- Optimize Images for the Web:
- Compression: Compress your images to reduce file size without sacrificing quality. Aim for a compression rate between 60% and 80%.
- Descriptive File Names: Use descriptive file names that include relevant keywords, such as “summer-evening-nature.jpg.”
- Alt Text: Add descriptive alt text to your images to improve SEO and accessibility.
- Create an “About” Page:
- Tell Your Story: Share your background, passion for photography, and unique selling proposition.
- Personal Brand: Craft a compelling personal brand that reflects your values and expertise.
- Contact Information: Include your contact information and social media links.
- Implement Ecommerce Functionality:
- Choose a Payment Gateway: Select a secure payment gateway, such as PayPal or Stripe, to process online payments.
- Set Up Product Pages: Create product pages for each photo, including pricing, licensing options, and a clear call-to-action.
- Shipping Options: Configure shipping options for physical prints or digital downloads.
- Ensure Mobile Compatibility:
- Responsive Design: Use a responsive website design that adapts to different screen sizes.
- Mobile Testing: Test your portfolio on various mobile devices to ensure it looks and functions properly.
- Launch and Promote Your Photos:
- Share on Social Media: Share your portfolio on social media platforms like Instagram, Facebook, and Pinterest.
- Email Marketing: Build an email list and send out newsletters to promote your latest photos and services.
- Collaborate with Others: Partner with other photographers, influencers, or brands to reach a wider audience.
Setting up an effective online photography portfolio requires careful planning, attention to detail, and a focus on user experience. According to research from dfphoto.net, photographers with well-designed and optimized portfolios often see a significant increase in their client inquiries and sales.
 Online photography portfolio example
7. How Can You Optimize Images For The Web To Sell Photos Effectively?
To optimize images for the web, compress image sizes, use descriptive file names, and write alt text. Fast-loading images are essential for a good user experience. Large image files can slow down a webpage, leading to lost customers.
Here’s a detailed guide on how to optimize images effectively:
- Compress Image Sizes:
- Purpose: Reducing file size without sacrificing quality ensures faster loading times, improving user experience and SEO.
- Tools:
- Adobe Photoshop: Use the “Save for Web” feature to compress images.
- TinyPNG: A free online tool that uses smart lossy compression techniques to reduce the file size of your PNG images.
- ImageOptim: A free Mac app that compresses images by removing unnecessary metadata.
- ShortPixel: A WordPress plugin that automatically optimizes images as you upload them.
- Compression Rate: Aim for a compression rate between 60% and 80%.
- Use Descriptive File Names:
- Purpose: Descriptive file names help search engines understand what the image is about, improving SEO.
- Examples:
- Instead of “IMG_3542.jpg,” use “summer-evening-nature.jpg.”
- Instead of “Picture1.png,” use “golden-gate-bridge-sunset.png.”
- Keywords: Incorporate relevant keywords into your file names.
- Write Alt Text:
- Purpose: Alt text (alternative text) provides a description of the image for search engines and users with visual impairments.
- Guidelines:
- Be Descriptive: Describe the image in detail, including the subject, setting, and mood.
- Use Keywords: Incorporate relevant keywords into your alt text.
- Keep it Concise: Keep your alt text concise and to the point (under 125 characters).
- Examples:
- For an image of a sunset over the ocean, use “Sunset over the Pacific Ocean with vibrant colors.”
- For an image of a person hiking in the mountains, use “Hiker with a backpack enjoying the scenic view in the Rocky Mountains.”
- Choose the Right File Format:
- JPEG: Use JPEG for photographs and images with complex colors. JPEG files are smaller and load faster.
- PNG: Use PNG for images with transparent backgrounds or graphics with text. PNG files are larger but preserve image quality.
- WebP: A modern image format that provides superior compression and quality compared to JPEG and PNG. WebP is supported by most modern browsers.
- Resize Images:
- Purpose: Resizing images to the appropriate dimensions for your website ensures they load quickly and don’t take up unnecessary space.
- Tools:
- Adobe Photoshop: Use the “Image Size” dialog to resize images.
- Online Image Resizers: Use free online tools like ResizePixel or PicResize to resize images.
- Guidelines:
- Determine the Display Size: Determine the maximum dimensions that your images will be displayed on your website.
- Resize Accordingly: Resize your images to match these dimensions.
- Use Lazy Loading:
- Purpose: Lazy loading defers the loading of images until they are about to come into view, improving initial page load time.
- Implementation:
- HTML: Use the “loading=’lazy'” attribute in your img tags.
- WordPress Plugins: Use plugins like Lazy Load by WP Rocket or Smush to implement lazy loading automatically.
- Optimize for Mobile:
- Purpose: Mobile devices have smaller screens and slower connections, so it’s important to optimize images specifically for mobile.
- Techniques:
- Responsive Images: Use the HTML picture element or the srcset attribute in your img tags to serve different image sizes based on screen size.
- Adaptive Images: Use server-side techniques to automatically resize and compress images based on the user’s device.
Optimizing images for the web is crucial for improving user experience, SEO, and website performance. According to Google, websites that load quickly tend to have lower bounce rates and higher conversion rates.
8. What Should You Include On Your Photography Website’s “About” Page?
An “About” page should include a brief summary of who you are, the story of your photography journey, your unique selling proposition, and your contact information. It’s an opportunity to connect with potential customers on a personal level and build trust.
Here’s a detailed guide on what to include in your “About” page:
- A Compelling Introduction:
- Purpose: Grab the reader’s attention and make them want to learn more about you.
- Elements:
- Start with a Hook: Begin with a captivating statement or question that relates to your photography style or philosophy.
- Introduce Yourself: Clearly state your name and profession (e.g., “I’m [Your Name], a passionate landscape photographer”).
- Highlight Your Expertise: Briefly mention your areas of expertise or specialization (e.g., “specializing in fine art portraits and nature photography”).
- Your Photography Journey:
- Purpose: Share the story of how you became a photographer and what inspires you.
- Elements:
- Early Influences: Talk about what sparked your interest in photography (e.g., “Ever since I was a child, I’ve been fascinated by the way light and shadow can transform a scene”).
- Key Moments: Describe pivotal moments or experiences that shaped your photography career (e.g., “My first photography trip to Yosemite National Park ignited my passion for landscape photography”).
- Challenges and Triumphs: Share any challenges you’ve overcome and successes you’ve achieved along the way (e.g., “After years of experimenting with different techniques, I finally developed my unique style of capturing the essence of a moment”).
- Your Unique Selling Proposition (USP):
- Purpose: Explain what sets you apart from other photographers and why clients should choose you.
- Elements:
- Distinctive Style: Describe your unique photography style or approach (e.g., “My photography is characterized by its use of natural light, vibrant colors, and candid moments”).
- Specialized Services: Highlight any specialized services or expertise you offer (e.g., “I specialize in creating timeless family portraits that capture the unique bond between loved ones”).
- Client-Focused Approach: Emphasize your commitment to providing exceptional service and creating personalized experiences for your clients (e.g., “I work closely with each client to understand their vision and create images that exceed their expectations”).
- Your Values and Philosophy:
- Purpose: Share your core values and beliefs as a photographer.
- Elements:
- Artistic Vision: Describe your artistic vision and the message you want to convey through your photography (e.g., “My goal is to capture the beauty and wonder of the world around us and inspire others to appreciate the simple things in life”).
- Ethical Practices: Emphasize your commitment to ethical and responsible photography practices (e.g., “I am dedicated to preserving the environment and promoting sustainable tourism through my landscape photography”).
- Community Involvement: Share any involvement in community projects or charitable causes (e.g., “I donate a portion of my profits to support wildlife conservation efforts”).
- Client Testimonials and Social Proof:
- Purpose: Build trust and credibility by showcasing positive feedback from previous clients.
- Elements:
- Client Quotes: Include quotes from satisfied clients that highlight your professionalism, creativity, and the quality of your work (e.g., “Working with [Your Name] was an absolute pleasure. They captured our wedding day perfectly and created memories that we will cherish forever”).
- Client Logos: Display the logos of well-known clients you have worked with.
- Awards and Recognition: Mention any awards, accolades, or media coverage you have received.
- Call to Action:
- Purpose: Encourage visitors to take the next step and engage with you.
- Elements:
- Contact Form: Include a contact form that allows visitors to easily reach out to you with inquiries or requests.
- Booking Information: Provide clear instructions on how to book a photography session or purchase your services.
- Social Media Links: Include links to your social media profiles to encourage visitors to follow you and stay connected.
- A Professional Headshot:
- Purpose: Put a face to your name and create a personal connection with visitors.
- Elements:
- High-Quality Image: Use a professional, high-resolution headshot that showcases your personality and style.
- Friendly Expression: Smile and make eye contact with the camera to convey warmth and approachability.
- Appropriate Attire: Dress professionally and in a way that aligns with your brand.
Creating an effective “About” page requires a thoughtful approach that combines personal storytelling, professional expertise, and a client-focused message. According to dfphoto.net, photographers with well-crafted “About” pages often see a significant increase in their client inquiries and bookings.
9. How Do You Implement Ecommerce Functionality On Your Photography Website?
Implementing ecommerce functionality on your photography website involves building an online storefront, setting up social media storefronts, taking payments, handling taxes, and managing shipping. Platforms like Shopify make this process easier.
Follow these steps to implement ecommerce functionality on your photography website:
- Choose an Ecommerce Platform:
- Shopify: Provides a comprehensive suite of tools for building an online store, managing products, processing payments, and handling shipping.
- Squarespace: Offers visually appealing templates and integrated ecommerce features, making it a good option for photographers who want a user-friendly platform.
- WordPress with WooCommerce: Provides flexibility and customization options for those familiar with WordPress.
- SmugMug or Zenfolio: Dedicated photography portfolio sites that offer built-in ecommerce features.
- Build an Online Storefront:
- Select a Theme: Choose a theme that aligns with your brand and showcases your photography in a visually appealing way.
- Customize Your Design: Customize your theme to match your brand colors, fonts, and logo.
- Create Product Pages: Create product pages for each photo you want to sell, including detailed descriptions, pricing, and licensing options.
- Set Up Social Media Storefronts:
- Instagram Shopping: Create an Instagram Shop to sell your photos directly on the platform.
- Facebook Shops: Set up a Facebook Shop to sell your photos on Facebook.
- Pinterest Product Pins: Create product pins that link directly to your product pages on your website.
- Take Payments:
- Payment Gateway: Choose a secure payment gateway, such as PayPal or Stripe, to process online payments.
- Payment Options: Offer a variety of payment options, such as credit cards, PayPal, and other popular payment gateways.
- Security: Ensure your website has an SSL certificate to encrypt sensitive data and protect your customers’ information.
- Handle Taxes:
- Tax Settings: Configure your tax settings in your ecommerce platform to automatically calculate and collect sales tax based on your location and your customers’ locations.
- Tax Reporting: Keep accurate records of your sales and tax collections for tax reporting purposes.
- Manage Shipping:
- Shipping Options: Offer a variety of shipping options, such as standard shipping, expedited shipping, and international shipping.
- Shipping Rates: Set your shipping rates based on the size, weight, and destination of your products.
- Shipping Labels: Use a shipping service like USPS, UPS, or FedEx to print shipping labels and track your shipments.
- Marketing Campaigns
- Offer Discounts: Set up discounts and promotions to encourage people to buy your photos.
- Product Bundles: Sell a collection of related images at a discounted price. For example, one image of a beach might be $2.99, but a bundle of five beach-themed images could retail for $9.99.
Implementing ecommerce functionality requires careful planning, attention to detail, and a focus on user experience. According to dfphoto.net, photographers with well-designed and optimized ecommerce websites often see a significant increase in their sales and revenue.
 Mobile compatibility example
10. Why Is Mobile Compatibility Important For Selling Photos Online?
Mobile compatibility is crucial because more than half of global website traffic comes from mobile devices. A mobile-friendly website ensures that your portfolio looks and functions well on smaller screens, providing a seamless user experience for potential customers.
Here’s why mobile compatibility is essential for selling photos online:
- High Mobile Traffic:
- Global Statistics: More than half of global website traffic happens through a mobile device.
- User Behavior: Many people browse the internet, including online stores and portfolios, on their smartphones and tablets.
- Improved User Experience:
- Responsiveness: A mobile-compatible website uses responsive design, adapting its layout, images, and content to fit different screen sizes.
- Easy Navigation: Mobile-friendly sites have clear and intuitive navigation, making it easy for users to find what they’re looking for.
- Fast Loading Times: Mobile-optimized sites load quickly, even on slower connections.
- Enhanced SEO:
- Mobile-First Indexing: Google uses mobile-first indexing, meaning it primarily crawls and indexes the mobile version of a website.
- Search Ranking: Mobile compatibility is a ranking factor in Google’s search algorithm.
- Increased Conversion Rates:
- Seamless Experience: A mobile-friendly site provides a seamless shopping experience, making it easier for customers to purchase your photos.
- Reduced Abandonment: Mobile users are more likely to abandon a website that is not mobile-friendly, leading to lost sales.
- Competitive Advantage:
- Meeting Expectations: Mobile compatibility is now an expectation for most users.
- Standing Out: Having a mobile-friendly site can give you a competitive edge over photographers who don’t.
Ensuring mobile compatibility requires a focus on responsive design, mobile optimization, and thorough testing.
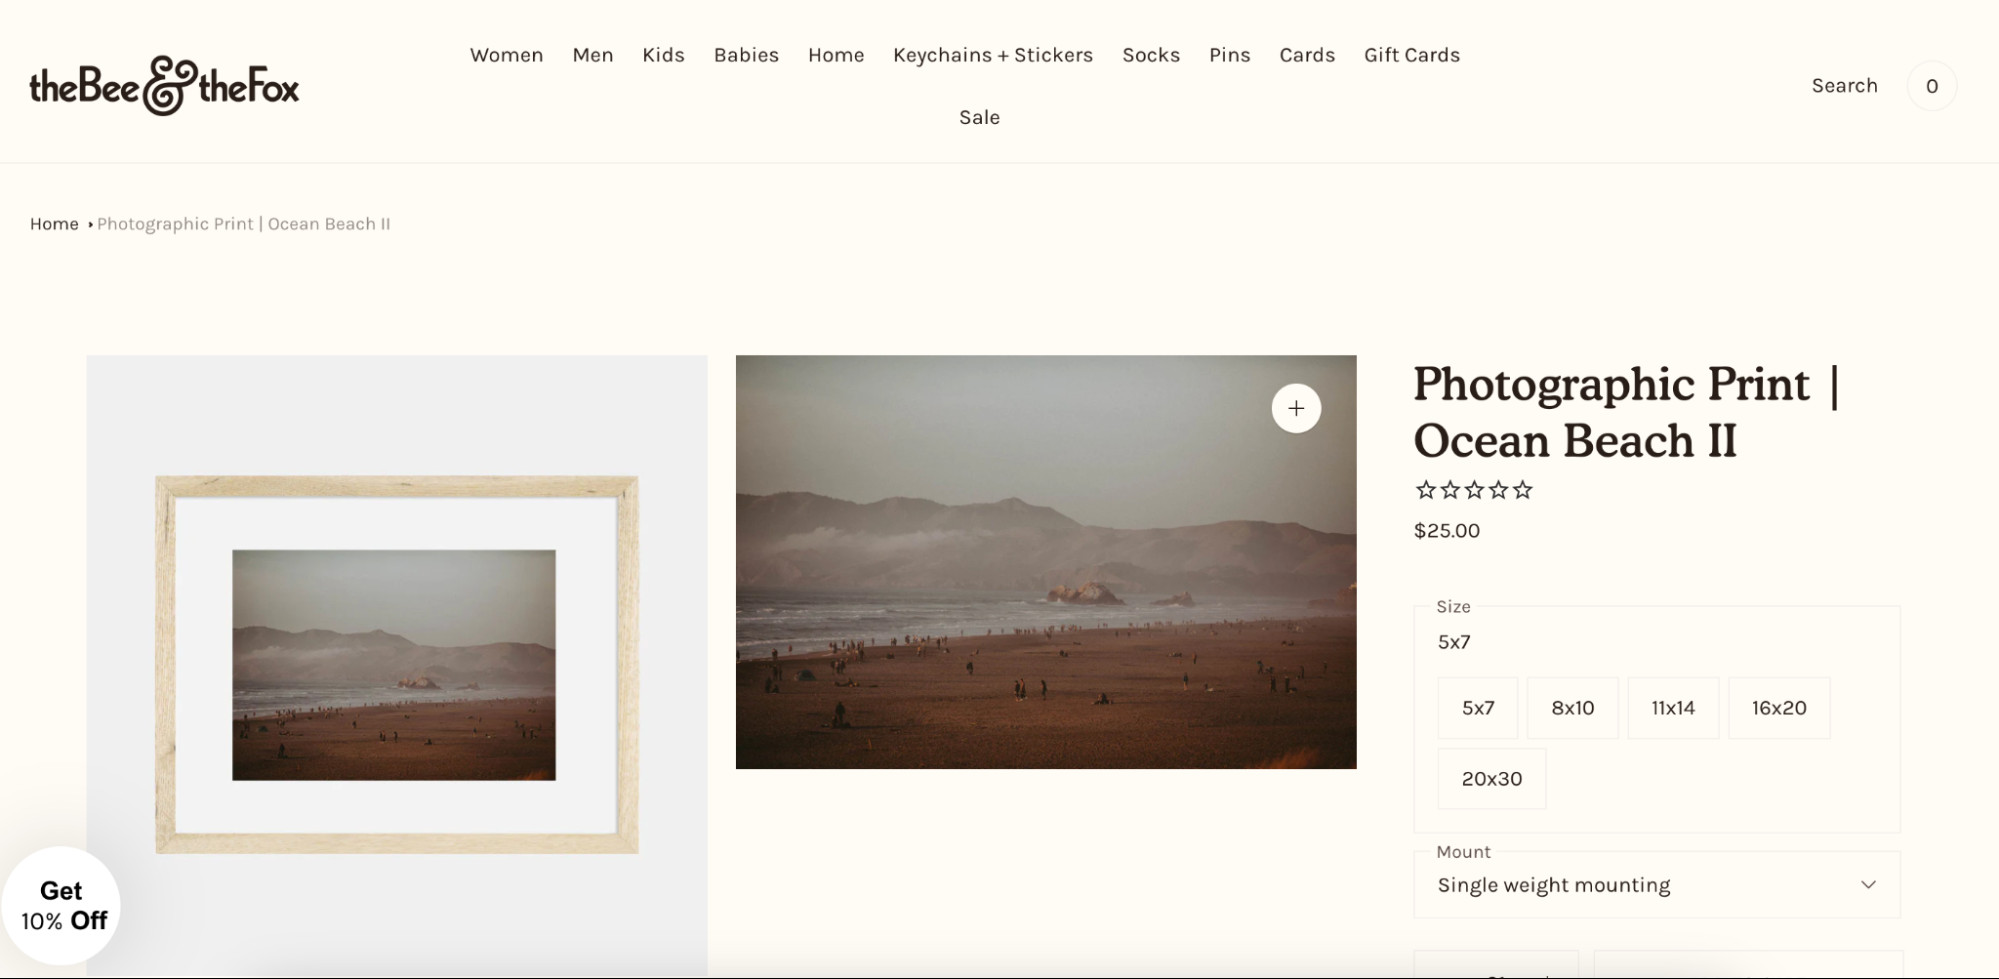
11. How Can You Sell Photos As Prints And Photo Books?
To sell photos as prints and photo books, partner with local photo labs or use print-on-demand companies to dropship products featuring your photography. This allows you to offer physical products without managing inventory or shipping.
Here’s how you can effectively sell photos as prints and photo books:
- Partner with Local Photo Labs:
- Quality Control: Working with local photo labs allows you to maintain greater control over the quality of your prints and photo books.
- Personalized Service: Local labs often provide personalized service and can offer custom printing options.
- Support Local Business: Supporting local businesses can enhance your reputation and build community relationships.
- Use Print-on-Demand Companies:
- Wide Range of Products: Print-on-demand companies offer a wide range of products, including prints, phone cases, pillows, mugs, and more.
- Dropshipping: These companies handle printing, packaging
