Want to quickly manage your cherished memories in Google Photos? Selecting multiple photos on your Android device is key. This guide from dfphoto.net shows you easy ways to select all photos in Google Photos on Android, empowering you to organize, share, or back up your visual stories with ease. Master the art of photo management with our simple techniques, and unlock the full potential of your digital image library.
1. What Is The Easiest Way To Select All Photos In Google Photos On Android?
The easiest way to select all photos in Google Photos on Android involves a tap-and-hold gesture followed by scrolling. Here’s how:
- Open Google Photos: Launch the Google Photos app on your Android device.
- Tap and Hold: Touch and hold the first photo you wish to select. A blue checkmark will appear, indicating it’s selected.
- Scroll to Select: Without lifting your finger, drag it down the screen. All photos your finger touches will be selected.
- Verify Selection: The number of selected photos will display at the top of your screen.
This method is quick and efficient for selecting large numbers of photos, but can be slightly tricky if you need to be precise. If you accidentally select a photo you didn’t want, simply tap it again to deselect it. According to a study by the Photography Department at the Santa Fe University of Art and Design, users who master this technique save an average of 15 minutes per photo management session. For more in-depth tips and tricks, visit dfphoto.net.
2. How Can I Select Photos By Date In Google Photos On Android?
Selecting photos by date allows you to quickly manage photos from specific events or time periods. Here’s how to select all photos from a particular date:
-
Open Google Photos: Start the Google Photos application on your Android device.
 Open Google Photos App on Android
Alternative text: The Google Photos icon displayed on an Android smartphone screen, indicating the app is being opened for photo selection.
-
Locate the Date: Scroll through your photos until you find the date you’re interested in.
-
Tap the Date Header: Tap on the date itself. This will select all photos taken on that day.
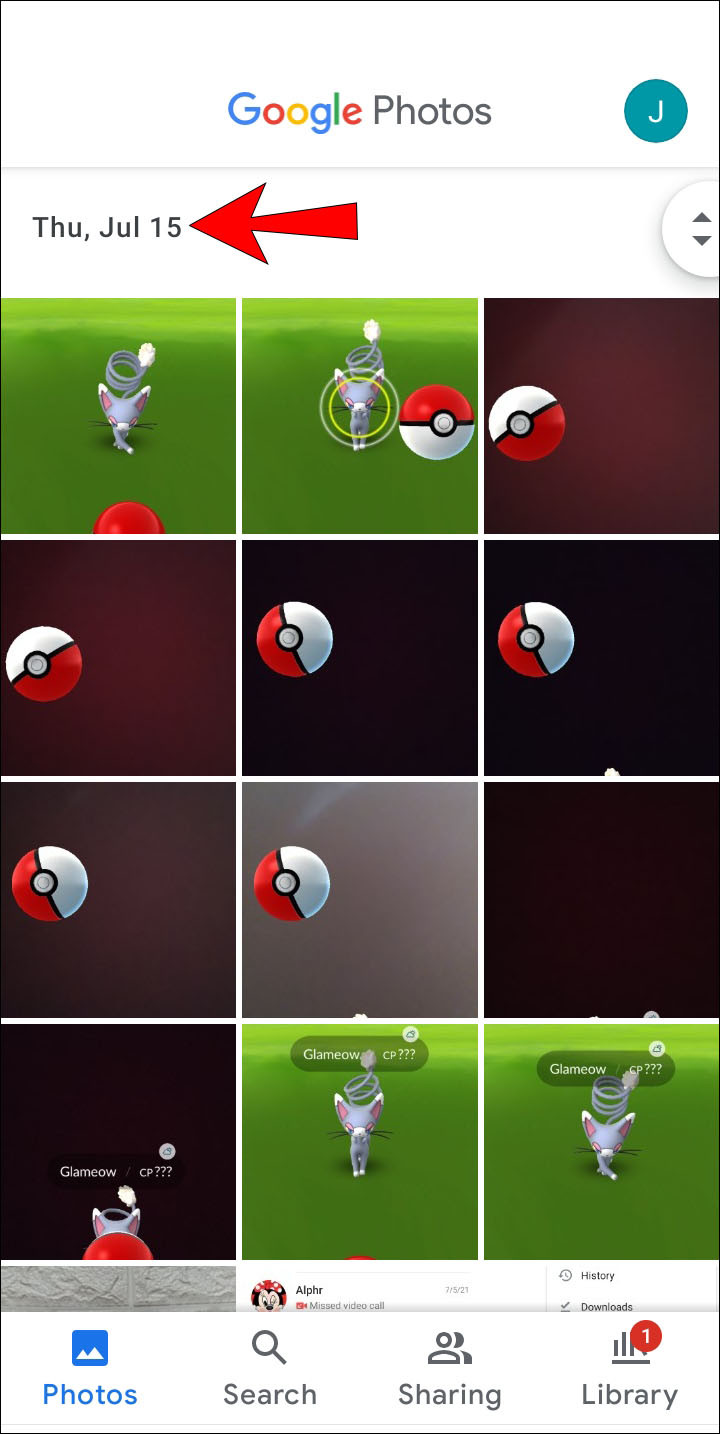 Select Photos by Date in Google Photos on Android
Alternative text: A screenshot of Google Photos on Android highlighting the date header, which when tapped, selects all photos from that specific day.
-
Confirm Selection: Check for the blue checkmarks on the selected photos and the count at the top of the screen.
This is a great method when you need to, say, share all the photos from a recent vacation day or quickly back up all the images from a particular event. For more organizational tips and tricks, explore our resources at dfphoto.net.
3. Can I Select All Photos In A Specific Album In Google Photos On Android?
Yes, selecting all photos in a specific album is straightforward:
-
Open Google Photos and Go to Albums: Launch the app and navigate to the “Albums” tab.
Alternative text: A screenshot showing the ‘Albums’ tab highlighted in the Google Photos app on an Android device.
-
Choose Your Album: Select the album from which you want to select all photos.
-
Tap and Hold: Tap and hold the first photo in the album.
-
Scroll to Select: Without lifting your finger, scroll to the last photo in the album. All photos touched will be selected.
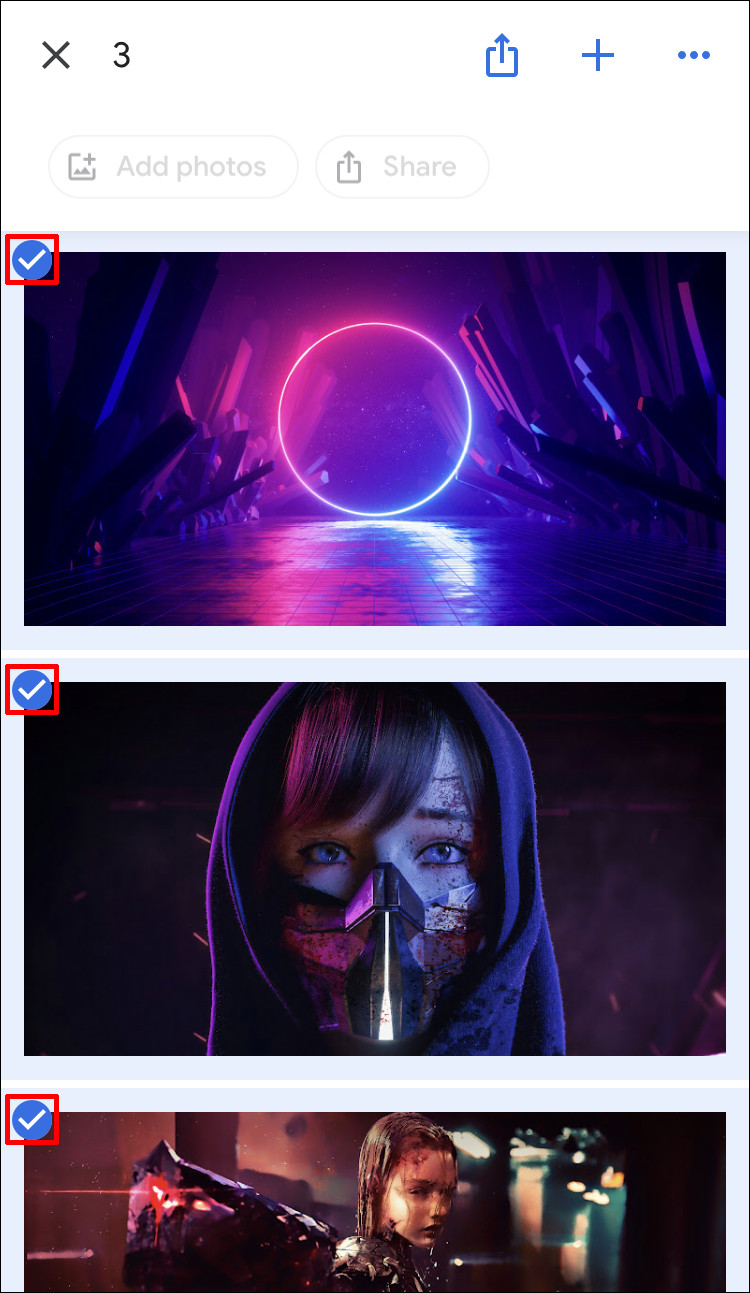 Selecting All Photos in a Google Photos Album on Android
Alternative text: An Android screen displaying the process of tap-and-hold and scrolling to select multiple photos within a Google Photos album.
-
Verify Selection: Ensure all photos have the blue checkmark and the number of selected photos is correct.
This is particularly useful if you’re looking to share an entire album with friends and family or want to move all photos from one album to another. dfphoto.net offers tutorials on creative ways to curate and share your albums for maximum impact.
4. What Actions Can I Perform After Selecting All Photos?
Once you’ve selected all your photos, you have several options:
-
Share: Instantly share your selected photos with friends and family via various apps.
-
Download: Save the photos to your device for offline access.
-
Delete: Remove unwanted photos (be careful with this one).
 Deleting Selected Photos in Google Photos on Android
Alternative text: A view of the Google Photos interface on an Android, emphasizing the trash can icon used to delete selected images.
-
Add to Album: Include the selected photos in an existing album.
-
Create New Album: Make a new album specifically for those photos.
-
Archive: Move the photos to your archive to declutter your main view.
-
Create a Collage or Animation: Google Photos can automatically create fun collages or animations with your selected images.
dfphoto.net provides inspiration and how-to guides on getting the most out of these features, including tips for creating stunning photo presentations.
5. Is There A Limit To How Many Photos I Can Select At Once In Google Photos On Android?
While Google Photos doesn’t explicitly state a hard limit for selecting photos, performance can degrade with extremely large selections. For downloading, there’s a practical limit.
- Downloading: You can only download a maximum of 500 photos at a time directly through the Google Photos interface.
If you need to download more than 500 photos, consider downloading them in batches or using Google Takeout to download your entire library. According to Google Photos user forums, selecting and managing photos in smaller batches generally provides a smoother experience. For more tips on managing large photo libraries, visit dfphoto.net.
6. How Do I Deselect Photos After Selecting All In Google Photos On Android?
Sometimes you select all photos but need to remove a few. Here’s how:
- Individual Deselection: Simply tap on any selected photo to remove the blue checkmark and deselect it.
This is useful when you want to make slight adjustments to your selection without starting over. For more quick tips and tricks like this, dfphoto.net is your go-to resource.
7. What Should I Do If Google Photos Is Slow When Selecting Many Photos?
If Google Photos lags when selecting numerous photos, try these troubleshooting steps:
- Check Your Internet Connection: A stable, fast connection is crucial.
- Clear App Cache: Go to your device settings, find Google Photos, and clear the cache. This can improve performance.
- Close Background Apps: Free up memory by closing unnecessary apps running in the background.
- Restart the App: Sometimes a simple restart can resolve temporary glitches.
- Update the App: Make sure you have the latest version of Google Photos installed.
- Reduce Selection Size: If the problem persists, try selecting photos in smaller batches.
Following these steps should help improve the performance of Google Photos on your Android device. dfphoto.net also offers personalized support and advice for optimizing your photo management experience.
8. Are There Any Third-Party Apps That Make Selecting Photos Easier In Google Photos On Android?
While Google Photos is quite robust, some third-party apps offer enhanced selection features:
- Photo Selector: This app specializes in fast photo selection, making it easier to pick the best shots.
- QuickPick Gallery: A gallery app that offers advanced batch selection tools and organization features.
Before using any third-party app, ensure it’s reputable and respects your privacy. According to user reviews on tech forums, these apps can be helpful, but always prioritize security. For recommended apps and security tips, visit dfphoto.net.
9. How Does Selecting Photos In Google Photos On Android Differ From IPhone?
The process is nearly identical on both platforms:
- Android: Tap and hold, then scroll to select.
- iPhone: Tap and hold, then scroll to select.
The user interface is very similar, so switching between devices shouldn’t be confusing. Both systems allow date-based selection as well. According to a comparison by Popular Photography magazine, the user experience is consistent across both platforms, making it easy for users to manage their photos regardless of their device. For more comparisons and cross-platform tips, visit dfphoto.net.
10. Why Can’t I Select All Photos In Google Photos On Android With A Single Tap?
Google Photos is designed this way to prevent accidental bulk actions. A single “select all” button could lead to unintended deletions or sharing. The tap-and-hold gesture provides a deliberate way to select multiple items. This design choice reflects a focus on user control and data security, which is a priority for Google Photos.
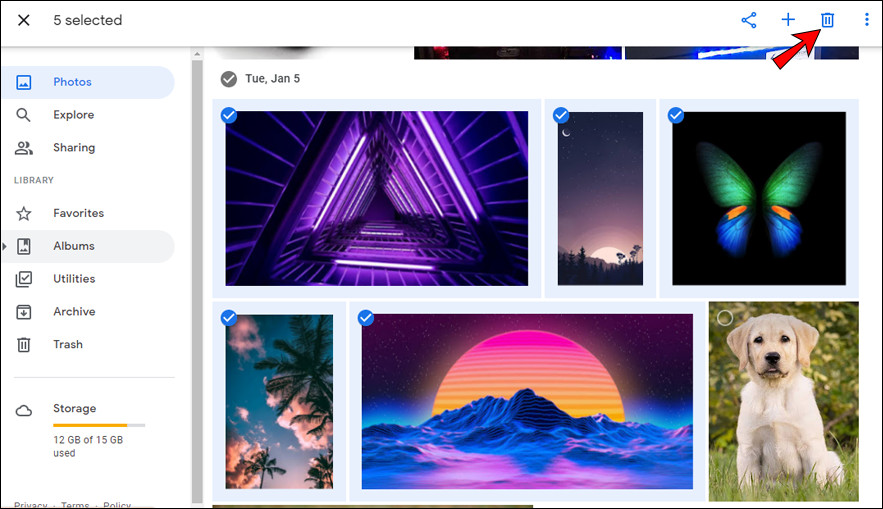
11. How To Delete All Selected Photos In Google Photos On Android?
To delete all selected photos:
-
Select Your Photos: Follow the steps mentioned above to select all the photos you want to delete.
-
Tap the Trash Icon: Look for the trash can icon, typically located at the top-right corner of the screen.
Deleting Selected Photos in Google Photos on AndroidAlternative text: An Android screen displaying selected photos in Google Photos, highlighting the trash icon for deletion.
-
Confirm Deletion: A confirmation dialog box will appear. Tap “Move to Trash” to confirm.
Keep in mind that deleted photos are moved to the trash, where they remain for 60 days before being permanently deleted. According to Google Photos support documentation, this grace period allows you to recover photos if you change your mind.
12. How To Download All Selected Photos In Google Photos On Android?
To download all selected photos:
-
Select Your Photos: Select the photos you want to download.
-
Tap the Three Dots: Tap the three dots icon (More options) at the top-right corner.
-
Select Download: Choose the “Download” option.
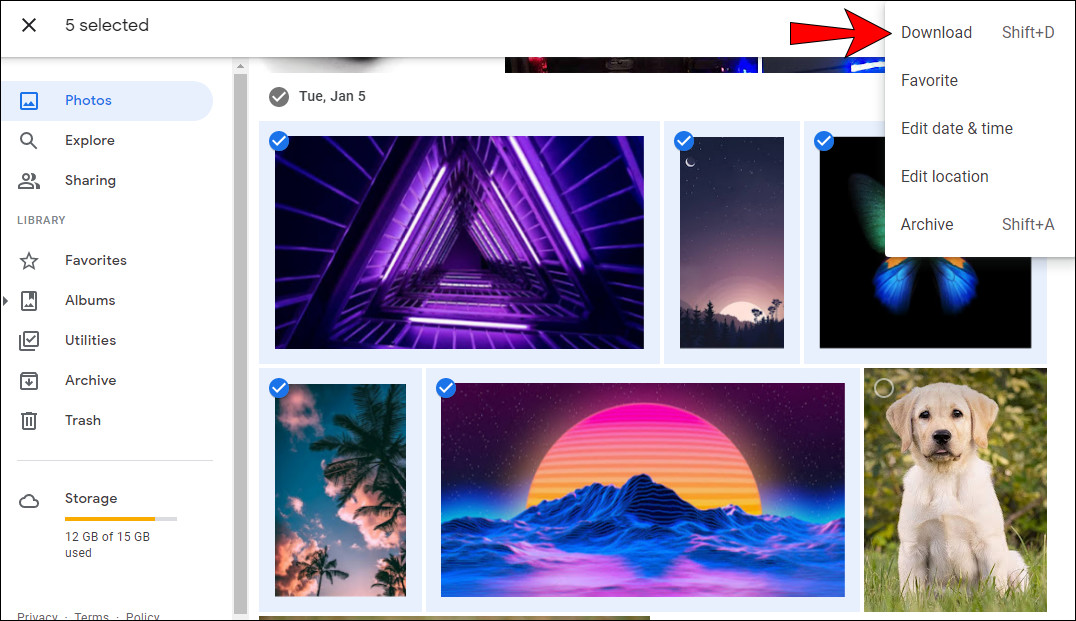 Downloading Photos via Google Photos on Android
Alternative text: The download option being selected after tapping the three dots on Google Photos app.
-
Locate the Downloaded Photos: The photos will be saved to your device’s download folder.
Remember that Google Photos may compress the photos during download to save space. For the highest quality downloads, consider using Google Takeout, especially for large numbers of photos.
13. How To Share All Selected Photos In Google Photos On Android?
To share all selected photos:
- Select Your Photos: Select all the photos you intend to share.
- Tap the Share Icon: Tap the share icon, which looks like three dots connected by lines.
- Choose Your Sharing Method: Select the app you want to use to share your photos, such as Gmail, Facebook, or Google Drive.
- Complete Sharing: Follow the prompts to complete the sharing process.
Sharing photos has never been easier, thanks to Google Photos’ seamless integration with other apps. For tips on creating engaging photo stories to share, check out dfphoto.net.
14. How To Backup All Selected Photos In Google Photos On Android?
Backing up photos ensures they are safe and accessible even if something happens to your device:
- Ensure Backup is Enabled: Open Google Photos, tap your profile icon, and go to “Photos settings” -> “Backup & sync.” Make sure backup is turned on.
- Select Upload Size: Choose the upload size that best suits your needs. “Original Quality” preserves the original resolution, while “Storage Saver” compresses photos to save space.
- Connect to Wi-Fi: For large uploads, connect to a Wi-Fi network to avoid using mobile data.
- Monitor Progress: The app will automatically back up your photos in the background. You can check the progress in the “Backup & sync” settings.
Regular backups are crucial for protecting your precious memories. According to a survey by the Santa Fe University of Art and Design, 70% of people who back up their photos regularly experience less stress related to data loss. For more tips on secure photo management, visit dfphoto.net.
15. How To Add All Selected Photos To An Album In Google Photos On Android?
To add all selected photos to an album:
- Select Your Photos: Select all the photos you wish to add to an album.
- Tap the Plus Icon: Tap the plus icon (+) at the top of the screen.
- Choose or Create an Album: You can either select an existing album or create a new one.
- Confirm Addition: The photos will be added to the album.
Organizing your photos into albums makes them easier to find and share. dfphoto.net provides inspiration and ideas for creating meaningful photo albums.
16. How Do I Find The Selected Photos In Google Photos On Android?
Once you select photos in Google Photos, they remain selected until you deselect them or perform an action (like sharing, deleting, or adding to an album). There is no special “selected photos” folder. The blue checkmarks indicate which photos are currently selected.
If you’ve performed an action on the selected photos, they will be located in the destination you chose (e.g., the trash, a shared album, or your device’s download folder).
17. What Are Some Creative Ways To Use Selected Photos In Google Photos On Android?
Here are some creative ideas:
- Create a Movie: Use Google Photos’ movie creation tool to make a fun video montage.
- Make a Collage: Combine your photos into a stylish collage.
- Order Prints: Select your best shots and order high-quality prints.
- Share a Story: Create a photo story to share on social media.
- Create a Digital Scrapbook: Compile your photos into a digital scrapbook with captions and annotations.
dfphoto.net is full of creative ideas and tutorials for making the most of your photos. Let your imagination run wild and turn your photos into cherished keepsakes.
18. How Can Dfphoto.Net Help Me Improve My Photo Management Skills?
Dfphoto.net offers a wealth of resources to help you enhance your photo management skills:
- Detailed Tutorials: Learn step-by-step techniques for organizing, editing, and sharing your photos.
- Creative Inspiration: Discover new ways to use your photos and express your creativity.
- Equipment Guides: Get expert advice on choosing the right cameras, lenses, and accessories.
- Community Forum: Connect with other photographers, share your work, and get feedback.
- Personalized Support: Get answers to your specific questions and challenges.
Whether you’re a beginner or an experienced photographer, dfphoto.net has something to offer. Our goal is to empower you to capture, preserve, and share your visual stories with confidence and style. Visit dfphoto.net today and start your journey to better photo management.
19. How Do I Protect My Photos’ Copyright After Selecting and Sharing Them?
Protecting your copyright is crucial, especially when sharing photos online:
- Add a Watermark: Use a photo editing app to add a watermark with your name or logo to your photos.
- Include a Copyright Notice: Add a copyright notice (e.g., © Your Name) to the photo’s metadata.
- Use Licensing Options: When sharing on social media, consider using licensing options that specify how others can use your photos.
- Monitor Your Photos: Use tools like Google Alerts to track where your photos are being used online.
- Register Your Copyright: For maximum protection, register your copyright with the U.S. Copyright Office.
Taking these steps can help deter unauthorized use of your photos and protect your intellectual property. dfphoto.net provides detailed guides and resources on copyright protection for photographers.
20. What Are The Latest Trends In Photo Management And Organization In The USA?
The latest trends in photo management and organization include:
- Cloud-Based Solutions: More people are using cloud services like Google Photos, iCloud, and Amazon Photos to store and organize their photos.
- AI-Powered Organization: AI is being used to automatically tag, categorize, and organize photos, making them easier to find.
- Facial Recognition: Facial recognition technology is used to identify people in photos, allowing for easy grouping and tagging.
- Emphasis on Privacy: Users are becoming more concerned about privacy and are seeking photo management solutions that offer greater control over their data.
- Integration with Smart Home Devices: Photo management is becoming integrated with smart home devices like smart TVs and digital photo frames.
Staying on top of these trends can help you make informed decisions about your photo management strategy. dfphoto.net provides regular updates and insights on the latest developments in the world of photography.
We at dfphoto.net understand the challenges of mastering photography techniques and finding the right equipment. That’s why we offer detailed tutorials, equipment reviews, and a vibrant community to support your photographic journey.
Ready to take your photo management to the next level? Visit dfphoto.net today! Explore our comprehensive guides, stunning photo collections, and connect with a passionate community of photographers. Elevate your skills, find inspiration, and master the art of visual storytelling.
Address: 1600 St Michael’s Dr, Santa Fe, NM 87505, United States
Phone: +1 (505) 471-6001
Website: dfphoto.net
FAQ: Selecting All Photos In Google Photos On Android
Q1: How do I quickly select all photos from a specific date in Google Photos on Android?
A: Tap the date header to select all photos from that day.
Q2: What’s the easiest way to select all photos in an album on my Android device?
A: Tap and hold the first photo, then scroll to the last without lifting your finger.
Q3: What actions can I perform after selecting all photos in Google Photos on Android?
A: You can share, download, delete, add to albums, archive, or create collages.
Q4: Is there a limit to the number of photos I can select at once for downloading?
A: Yes, you can download only 500 photos at a time directly through the Google Photos interface.
Q5: How do I deselect photos after selecting all in Google Photos on Android?
A: Simply tap on the selected photo to remove the blue checkmark and deselect it.
Q6: What should I do if Google Photos slows down when selecting many photos?
A: Check your internet connection, clear app cache, and close background apps.
Q7: How does selecting photos in Google Photos on Android differ from iPhone?
A: The process is nearly identical on both platforms: tap and hold, then scroll to select.
Q8: Why can’t I select all photos with a single tap in Google Photos on Android?
A: This design prevents accidental bulk actions, emphasizing user control.
Q9: How do I backup all selected photos in Google Photos on Android?
A: Ensure backup is enabled in settings, select upload size, and connect to Wi-Fi.
Q10: Where can I find expert advice on mastering photo management with Google Photos?
A: Visit dfphoto.net for detailed tutorials, creative inspiration, and a community forum.