In today’s digital age, preserving our physical photographs is more important than ever. Scanning photos allows you to safeguard precious memories from fading, damage, or loss, and makes them easily shareable with family and friends online. Whether you want to archive old family albums, create digital backups, or share vintage prints on social media, understanding How To Scan A Photo correctly is the first step. This guide will walk you through various methods and best practices to digitize your photos effectively.
Why Scan Your Photos? Unlocking the Benefits of Digitalization
Before diving into the “how,” let’s explore the “why.” Scanning your photos offers numerous advantages:
- Preservation: Physical photos are susceptible to damage from light, moisture, and time. Scanning creates digital copies that can last indefinitely when stored properly, protecting your memories for future generations.
- Accessibility and Sharing: Digital photos are easily accessible on all your devices – smartphones, tablets, and computers. Sharing them with loved ones across the globe becomes effortless through email, social media, or cloud storage.
- Organization and Space Saving: Bulky photo albums take up valuable physical space. Digitizing your collection allows you to organize thousands of photos digitally, freeing up space and making your memories easily searchable.
- Enhancement and Restoration: Once scanned, digital photos can be easily edited and enhanced using photo editing software. You can correct colors, remove blemishes, and even restore faded or damaged photos to their former glory.
Methods to Scan Your Photos: Choosing the Right Approach
There are several methods to scan your photos, each with its own advantages and disadvantages. The best method for you will depend on your budget, the volume of photos you need to scan, and the desired quality.
1. Using Your Smartphone or Tablet: Convenience at Your Fingertips
For occasional scanning or smaller collections, your smartphone or tablet offers a convenient and readily available option. Modern smartphone cameras are powerful enough to capture high-resolution images, and dedicated scanning apps enhance the process further.
Steps to Scan Photos with a Smartphone App:
-
Choose a Scanning App: Numerous free and paid photo scanning apps are available for both iOS and Android. Popular choices include:
- Google PhotoScan: A free app that uses AI to automatically crop, rotate, and remove glare from scanned photos.
- Adobe Scan: Another free option known for its excellent document scanning capabilities, also works well for photos.
- Microsoft Lens: A versatile scanning app that integrates with Microsoft Office and OneDrive.
- Pic Scanner (iOS): A paid app with features like batch scanning and automatic photo enhancement.
- Scanner Pro (iOS): A robust scanning app with advanced features and excellent image quality.
-
Prepare Your Photos: Clean your photos gently with a microfiber cloth to remove dust or fingerprints. Place the photo on a flat, well-lit surface with a neutral background. Avoid direct sunlight, which can create harsh shadows and glare.
-
Scan the Photo using the App: Open your chosen scanning app and follow its instructions. Typically, you will:
- Position your smartphone or tablet directly above the photo.
- Ensure the entire photo is within the app’s frame.
- Tap the capture button. Many apps automatically detect the photo edges and crop accordingly. Some apps like Google PhotoScan guide you to take multiple shots from different angles to minimize glare.
- Review the scanned image within the app. Most apps offer basic editing tools to adjust brightness, contrast, and color.
-
Save and Organize Your Scanned Photos: Once you are satisfied with the scan, save it to your device’s photo library or directly to a cloud storage service like Google Drive, Dropbox, or iCloud. Organize your scanned photos into folders for easy access and retrieval.
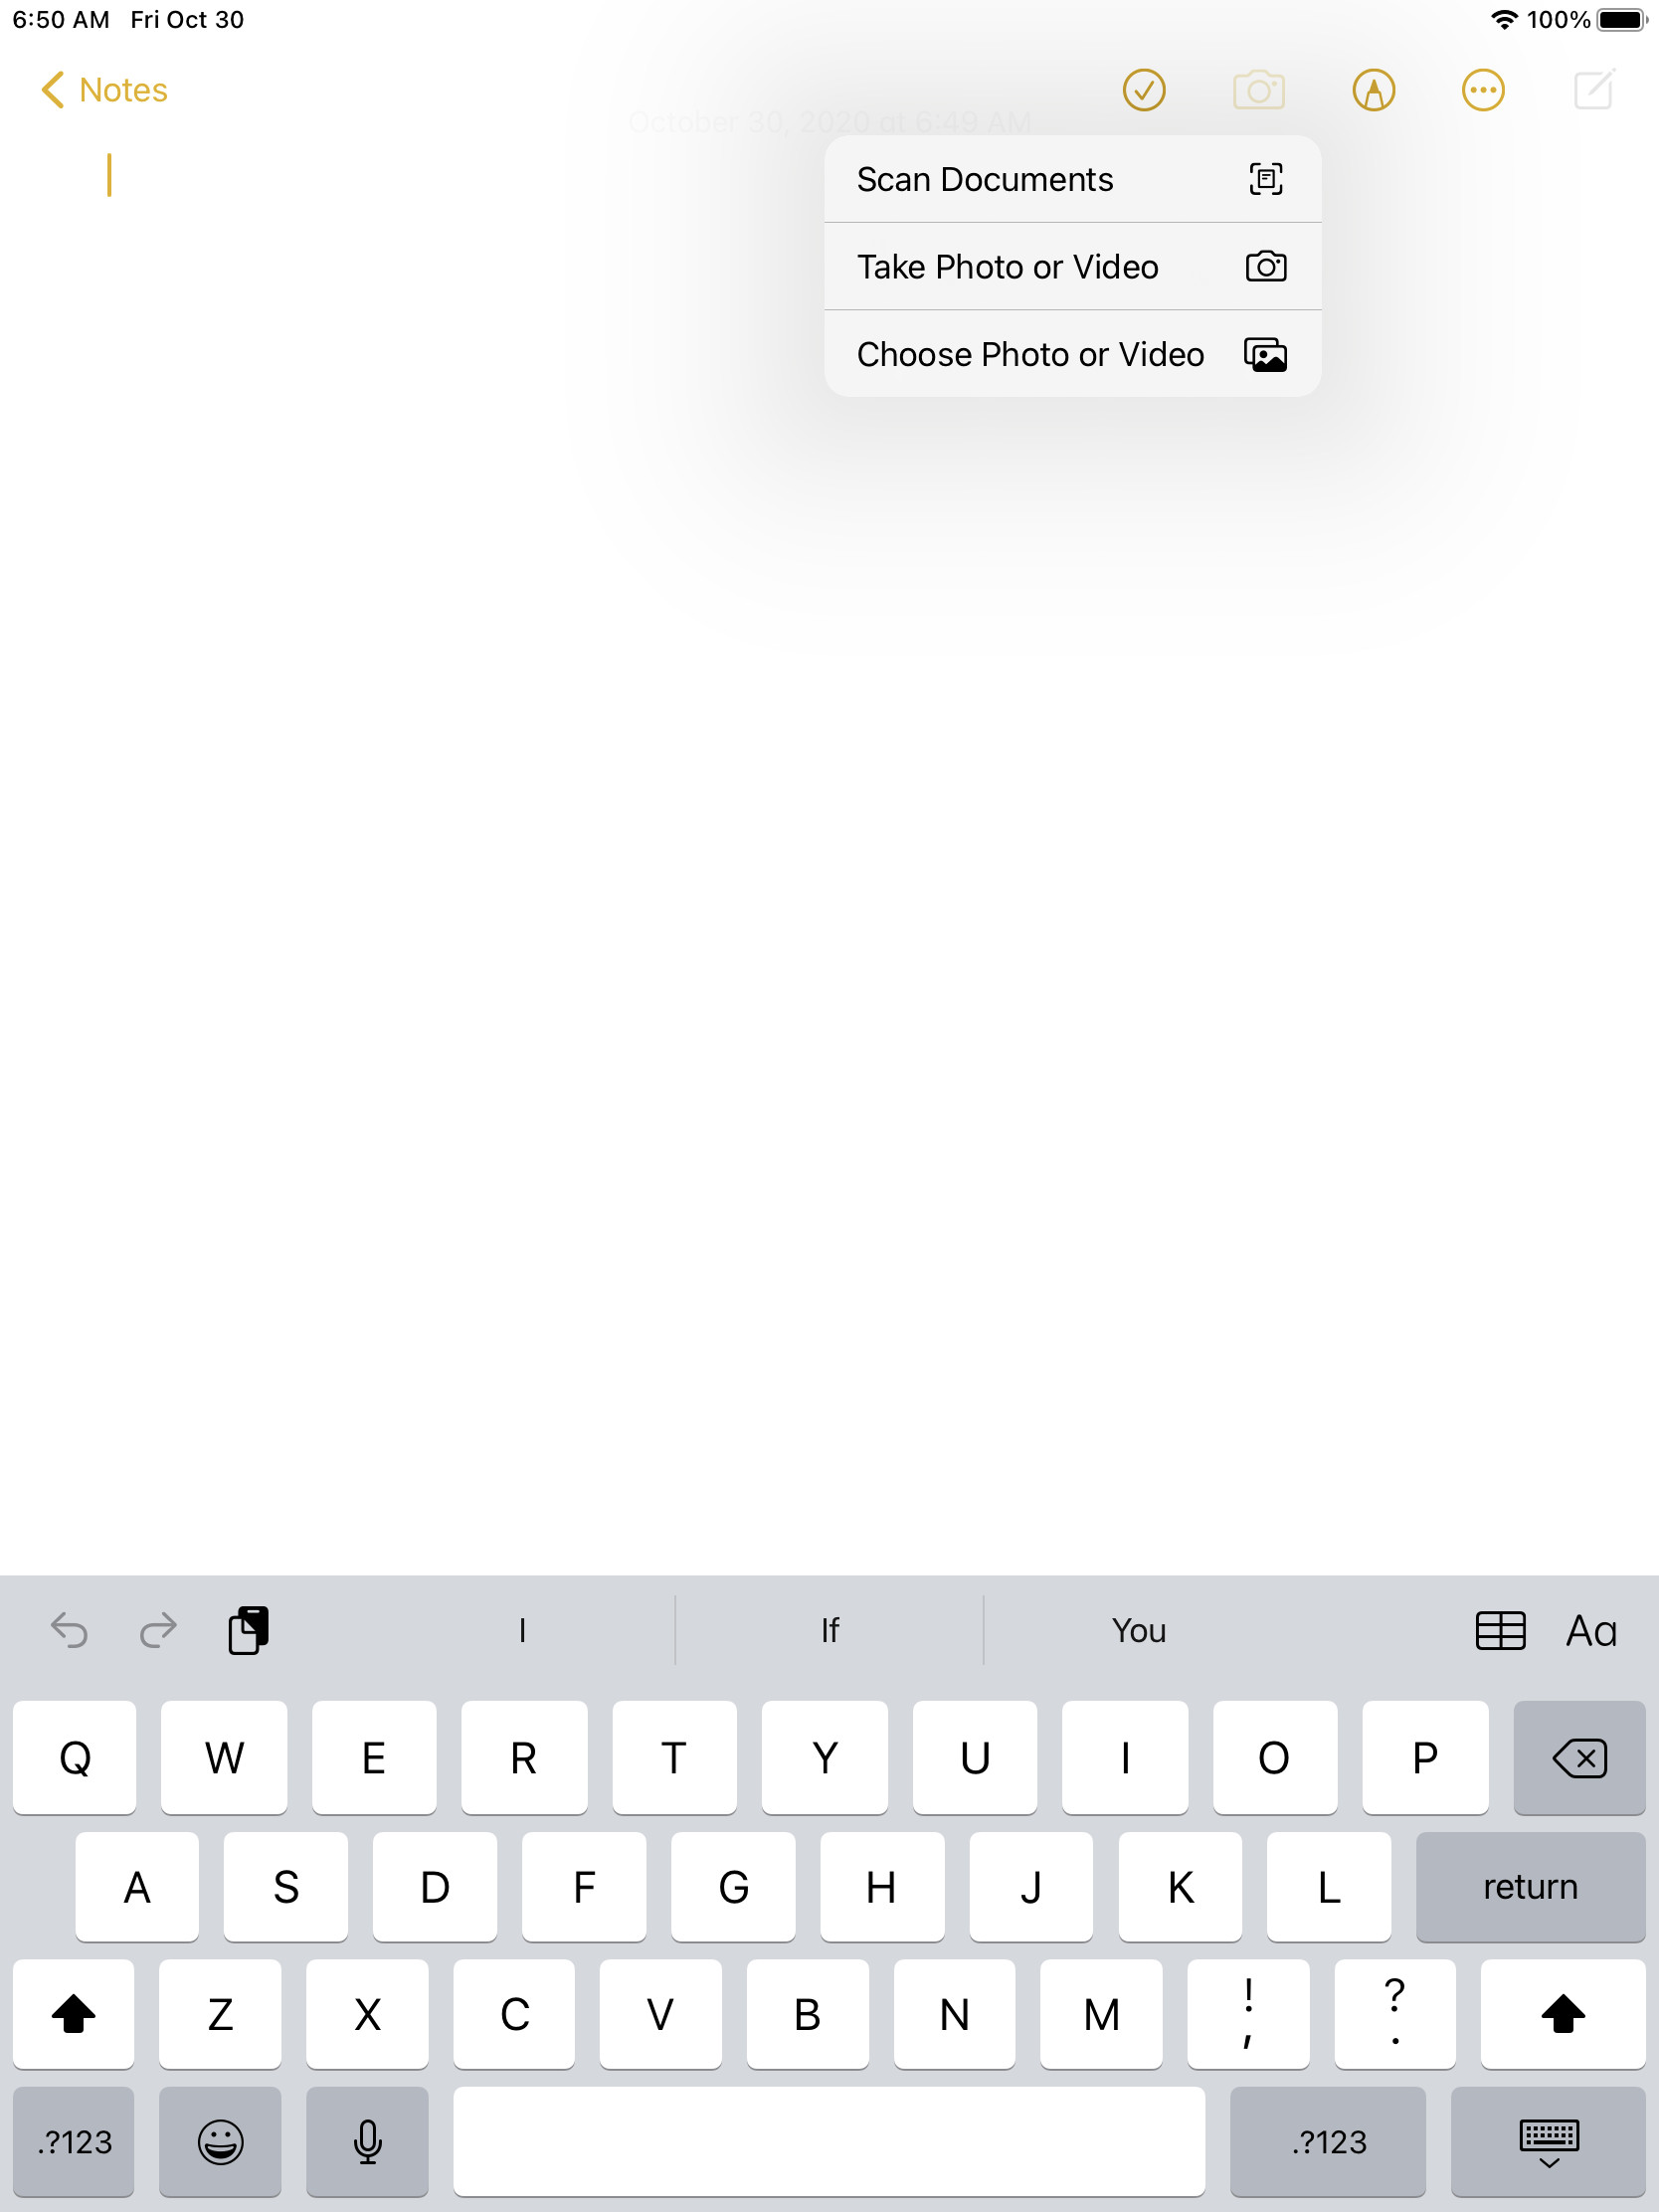 Screenshot of Apple Notes camera icon, highlighting the 'Scan Documents' option
2. Using a Flatbed Scanner: High Quality and Precision
For the highest quality scans, especially for archival purposes or large collections, a flatbed scanner is the ideal choice. Flatbed scanners offer superior resolution and color accuracy compared to smartphone cameras, and they are designed specifically for scanning documents and photos.
Steps to Scan Photos with a Flatbed Scanner:
-
Prepare Your Scanner and Photos: Connect your flatbed scanner to your computer and install the necessary drivers and software. Clean the scanner glass with a soft, lint-free cloth. As with smartphone scanning, clean your photos gently.
-
Place the Photo on the Scanner Bed: Open the scanner lid and place your photo face down on the glass bed. Align the photo with the scanner’s guides, usually located at the corners or edges of the glass. Close the lid.
-
Configure Scanner Settings: Open the scanner software on your computer. Adjust the settings for optimal photo scanning:
- Resolution (DPI): For general photo archiving and sharing, a resolution of 300 DPI (dots per inch) is usually sufficient. For prints larger than 8×10 inches or for creating high-quality enlargements, consider using 600 DPI or higher.
- Color Mode: Choose “Color” for color photos and “Grayscale” for black and white photos.
- File Format: JPEG is a common and efficient format for scanned photos, offering a good balance between file size and image quality. TIFF is a lossless format that preserves maximum detail but results in larger file sizes, suitable for archival purposes.
-
Preview and Scan: Use the scanner software’s preview function to see how the photo will be scanned. Adjust the photo’s position on the scanner bed if necessary. Once you are satisfied with the preview, initiate the scan.
-
Save and Organize Your Scanned Photos: After scanning, save the digital image to your computer in your desired file format and location. Rename the files descriptively and organize them into folders for easy management.
3. Using Professional Photo Scanning Services: Hands-Off and High Volume
If you have a very large collection of photos to scan and prefer a hands-off approach, consider using professional photo scanning services. These services handle the entire scanning process for you, often offering additional services like photo organization, editing, and digital albums.
Benefits of Professional Services:
- Time-Saving: Outsource the labor-intensive scanning process, freeing up your time.
- High-Quality Equipment and Expertise: Professional services use high-end scanners and have experienced technicians to ensure optimal scan quality.
- Bulk Scanning Capabilities: Efficiently handle large volumes of photos.
- Additional Services: Many services offer photo editing, organization, and digital album creation.
Considerations for Professional Services:
- Cost: Professional services are more expensive than scanning photos yourself.
- Shipping and Handling: You will need to ship your photos to the service provider, which involves packaging and potential risks during transit.
- Turnaround Time: Scanning large collections can take time, so factor in the turnaround time when choosing a service.
Tips for High-Quality Photo Scans: Making the Most of Digitization
Regardless of the scanning method you choose, following these tips will help you achieve the best possible results:
- Clean Your Photos and Scanner: Dust and fingerprints can negatively impact scan quality. Regularly clean your photos and scanner glass.
- Proper Lighting: Ensure good, even lighting when scanning with a smartphone. Avoid harsh shadows and glare. For flatbed scanners, ensure the scanner bed and lid are clean to prevent internal reflections.
- Choose the Right Resolution: Select a resolution that balances image quality and file size, typically 300 DPI for most purposes.
- Handle Photos Carefully: Handle photos by their edges to avoid fingerprints and damage. Consider wearing cotton gloves, especially when handling delicate or old photos.
- Batch Scan (if possible): Some apps and scanners offer batch scanning features to scan multiple photos at once, saving time.
- Backup Your Digital Photos: Once scanned, create backups of your digital photo collection on external hard drives, cloud storage, or DVDs to prevent data loss.
Editing and Enhancing Your Scanned Photos: Bringing Memories to Life
After scanning your photos, you can further enhance them using photo editing software. Basic editing tasks include:
- Cropping and Rotating: Straighten crooked scans and crop out unwanted borders.
- Color Correction: Adjust brightness, contrast, saturation, and white balance to restore faded colors or improve image vibrancy.
- Sharpening: Enhance image details and sharpness.
- Noise Reduction: Reduce graininess or digital noise in scans.
- Retouching: Remove blemishes, scratches, and dust spots.
Popular photo editing software options include Adobe Photoshop, Lightroom, GIMP (free), and online editors like Canva and Fotor.
Conclusion: Start Scanning and Preserve Your Photo Legacy
Scanning your photos is a worthwhile investment of time and effort to preserve your precious memories for the long term. Whether you choose the convenience of your smartphone, the high quality of a flatbed scanner, or the hands-off approach of a professional service, the important thing is to start digitizing your photo collection today. By following the steps and tips outlined in this guide, you can confidently scan your photos and create a digital archive that will be cherished for generations to come.