The iPhone’s camera is renowned for capturing life’s precious moments in stunning detail. But what happens to these memories as technology evolves and devices age? To ensure your photos last beyond the lifespan of your iPhone, transferring them to a flash drive is a smart and reliable backup strategy. This guide will walk you through several easy methods to save your iPhone photos to a flash drive, ensuring your visual memories are safely preserved.
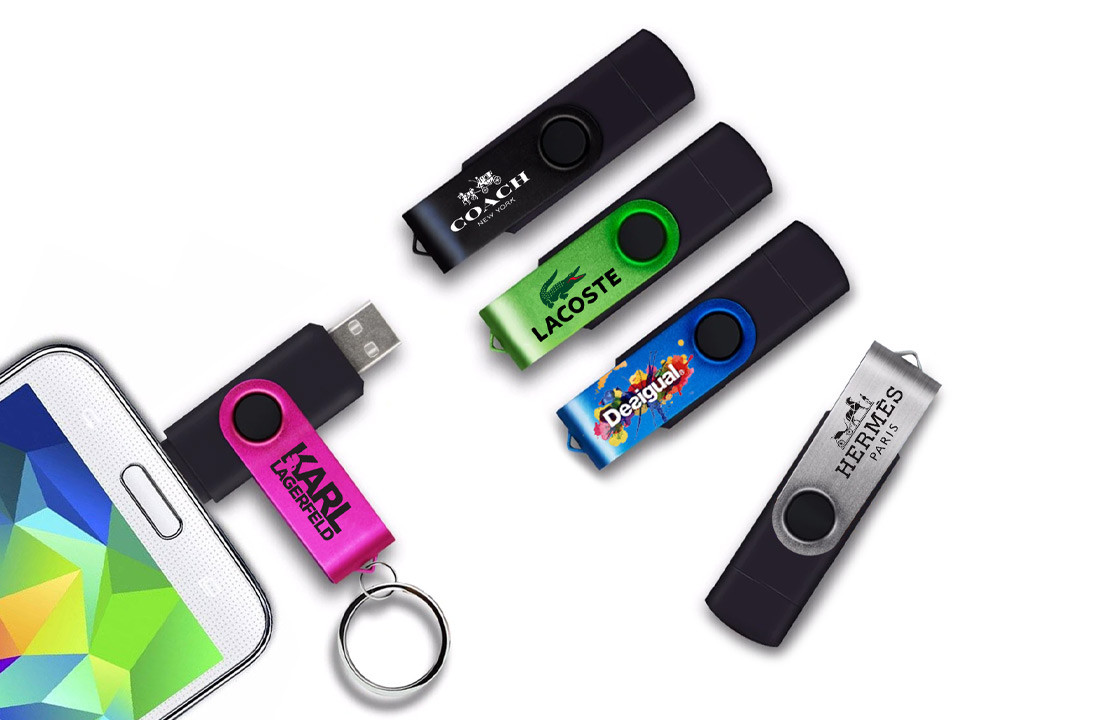
 Pink custom flash drive with solid print
Option 1: Transferring Photos Using the Windows Photos App
For PC users with Windows 7 or later, the built-in Photos app offers a straightforward way to move your iPhone photos to a flash drive. Here’s how:
- Connect Your iPhone: Plug your iPhone into your PC using a USB cable. Make sure your iPhone is unlocked.
- Launch Photos App: The Photos app should open automatically. If not, search for “Photos” in the Windows search bar and open it.
- Trust This Computer: If prompted on your iPhone, tap “Trust” to allow your PC to access your device.
- Initiate Import: In the Photos app, click “Import” and then select “From a USB device.” Your PC will recognize your iPhone as a USB device.
- Select Photos: The app will display all the photos on your iPhone. You can choose to import all new photos or manually select specific images you want to transfer. Uncheck any photos you don’t want to save to the flash drive.
- Import Selected Photos: Click “Import Selected.” Your chosen photos will be copied to the Pictures directory on your PC.
- Connect Flash Drive: Insert your flash drive into a USB port on your computer.
- Create a Folder: Open File Explorer and navigate to your flash drive. Create a new folder (e.g., “iPhone Photos [Month Year]”) to keep your photos organized.
- Copy Photos to Flash Drive: Go to your Pictures directory (where the Photos app saved your iPhone images). Select the newly imported photos and drag them to the folder you created on your flash drive.
Option 2: Saving Photos to Flash Drive via iCloud
iCloud, Apple’s cloud storage service, provides another avenue for transferring your photos to a flash drive. This method is useful if you prefer a wireless approach initially, but it requires an internet connection and sufficient iCloud storage.
- Enable iCloud Photos on iPhone: On your iPhone, go to “Settings,” tap your name at the top, then select “iCloud.” Tap “Photos” and toggle on “iCloud Photos.” This will upload your iPhone photos to iCloud. This process may take time depending on your photo library size and internet speed.
- Access iCloud on Computer: Once your photos are synced to iCloud, go to iCloud.com on your computer and log in with your Apple ID.
- Connect Flash Drive: Plug your flash drive into your computer.
- Download Photos from iCloud: In iCloud, click on “Photos.” Select the photos you want to save to your flash drive. You can select multiple photos by holding down the Ctrl key (or Command key on Mac) while clicking.
- Download Selected Photos: Click the download button (usually a cloud icon with a downward arrow) at the top of the iCloud Photos interface. Choose a location on your computer to save the downloaded photos temporarily (like your Desktop or Downloads folder).
- Transfer to Flash Drive: Once downloaded, locate the photos on your computer and copy them to your flash drive folder, similar to step 9 in Option 1.
- Verify Transfer (Optional): It’s a good practice to check if all photos have been transferred correctly to the flash drive before deleting them from iCloud if you intend to free up cloud storage space.
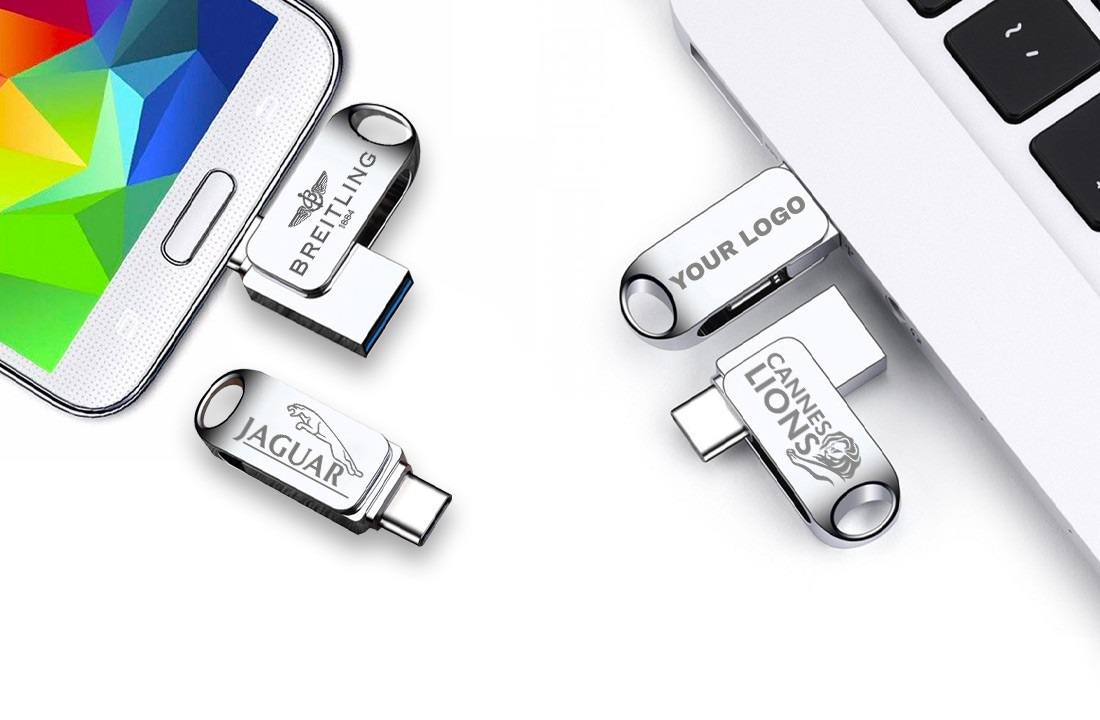
 Dual connector flash drives with laser engraving
Option 3: Using Mac Image Capture for Photo Transfer
Mac users have a dedicated tool called Image Capture, which simplifies transferring photos from iPhones to flash drives.
- Connect iPhone and Flash Drive to Mac: Connect both your iPhone and your flash drive to your MacBook or iMac.
- Open Image Capture: Open the Image Capture application. You can find it in the Applications folder or by using Spotlight search (Cmd + Spacebar and type “Image Capture”).
- Select Your iPhone: In Image Capture, your iPhone should appear in the “Devices” list on the left sidebar. Click on your iPhone. Your photos will load in the main window.
- Choose Import Destination: At the bottom of the Image Capture window, look for the “Import to” dropdown menu. Click on it and select your flash drive from the list of destinations. You can also choose “Other…” to select a specific folder on your flash drive.
- Import Photos: Select the photos you want to transfer. You can select all or specific photos. Click “Import” to transfer the selected photos, or “Import All” to transfer all photos from your iPhone to the flash drive.
Option 4: Accessing DCIM Folder via Windows Explorer
For a more direct approach on Windows, you can access your iPhone’s photos through Windows Explorer by navigating to the DCIM folder (Digital Camera Images).
- Connect iPhone to PC: Connect your iPhone to your Windows PC using a USB cable.
- Open File Explorer: Open Windows Explorer (or File Explorer in Windows 10/11).
- Locate iPhone in File Explorer: In the “This PC” section of the sidebar, you should see your iPhone listed as a device (it might appear under Apple iPhone or your iPhone’s name). Click on it.
- Access Internal Storage: Double-click on “Internal Storage.”
- Find the DCIM Folder: Look for the “DCIM” folder. This folder contains all your iPhone photos and videos, organized in subfolders (usually named with numbers like 100APPLE, 101APPLE, etc.).
- Connect Flash Drive: Connect your flash drive to your PC.
- Open Flash Drive in New Window: Open a new Windows Explorer window and navigate to your flash drive.
- Drag and Drop Photos: In the DCIM folder window, open the subfolders and find the photos you want to transfer. Drag and drop the selected photos or entire folders from the DCIM folder window to your flash drive’s window. This will copy the photos directly to your flash drive.
 Dual USB flash drive with full color print
Troubleshooting DCIM Folder Issues: If you encounter problems accessing the DCIM folder (e.g., it appears empty or doesn’t show up), ensure your iPhone is unlocked and you have tapped “Trust” when prompted to trust your computer. Sometimes restarting both your iPhone and computer can also resolve connectivity issues.
Keep Your Memories Safe
Saving your photos from your iPhone to a flash drive is a proactive step in safeguarding your cherished memories. By utilizing any of these methods, you can ensure your photos are securely backed up and readily accessible, regardless of device changes or technological advancements. Choose the method that best suits your needs and make photo backups a regular part of your digital routine. Remember to consider the type of USB drive compatible with your computer and the storage capacity you’ll need for your photo collection.

