Are you struggling to save your iPhone Live Photos as videos? Many users have found themselves confused after recent iOS updates, wondering where the “Save as Video” option has disappeared to. You’re not alone! While Apple sometimes shifts features around, the good news is that the ability to convert your Live Photos into shareable videos is still readily available. This guide will walk you through exactly how to save Live Photos as videos on your iPhone, whether you want to convert a single photo or multiple ones.
Saving a Single Live Photo as Video
If you have just one Live Photo that you want to convert into a standard video format, the process is straightforward and quick:
- Open the Photos App: Begin by launching the Photos app on your iPhone. This is where all your photos and videos are stored.
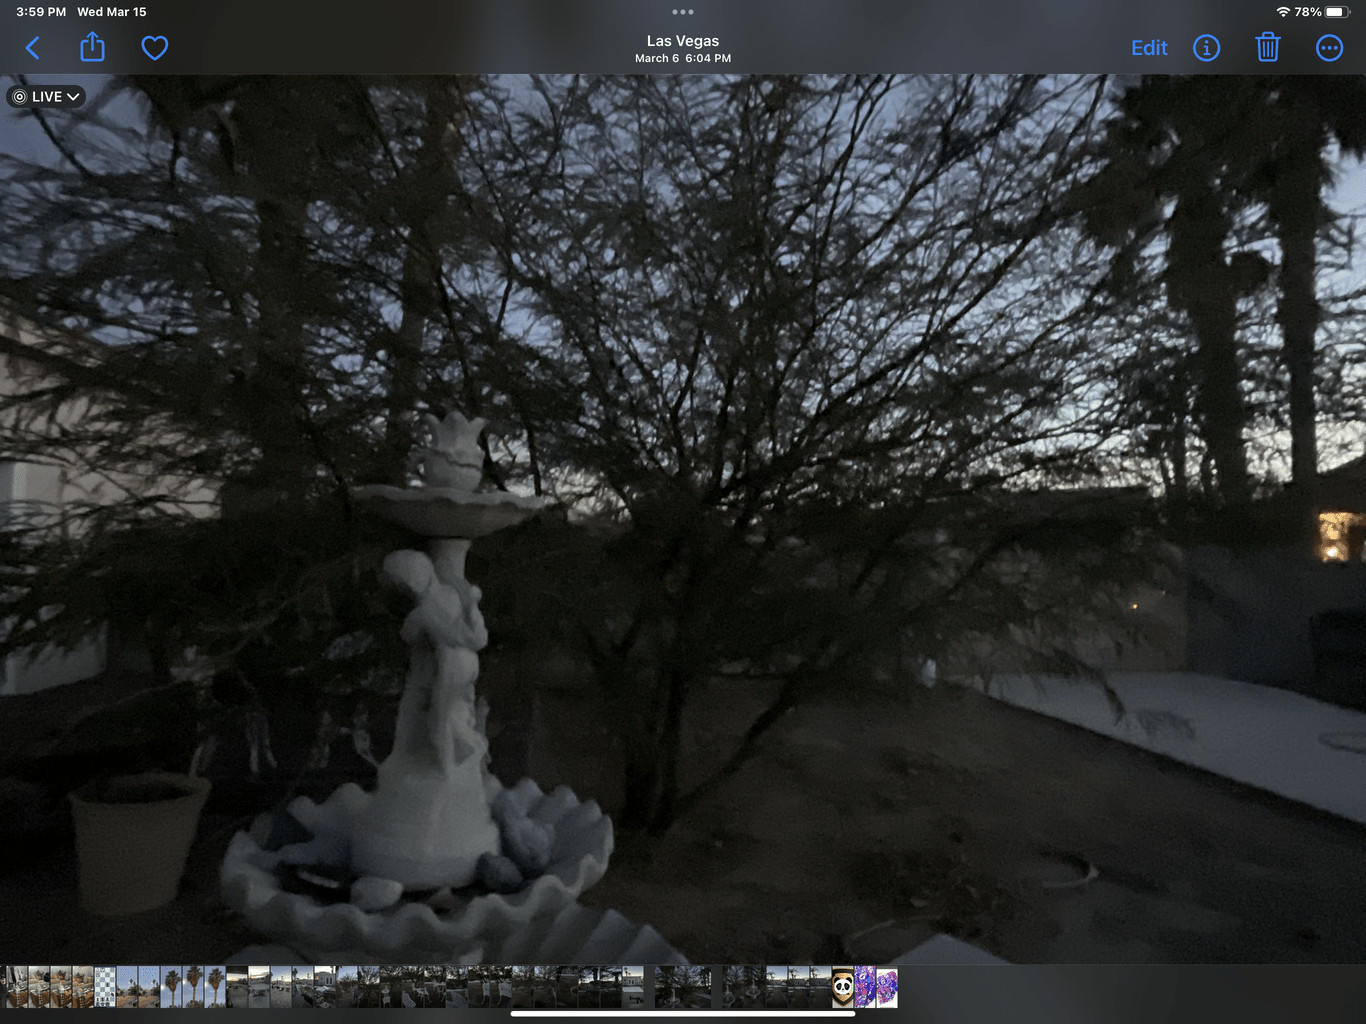
- Select Your Live Photo: Navigate through your albums or the “Photos” tab to find the Live Photo you wish to convert. Tap on it to open it in full-screen view.
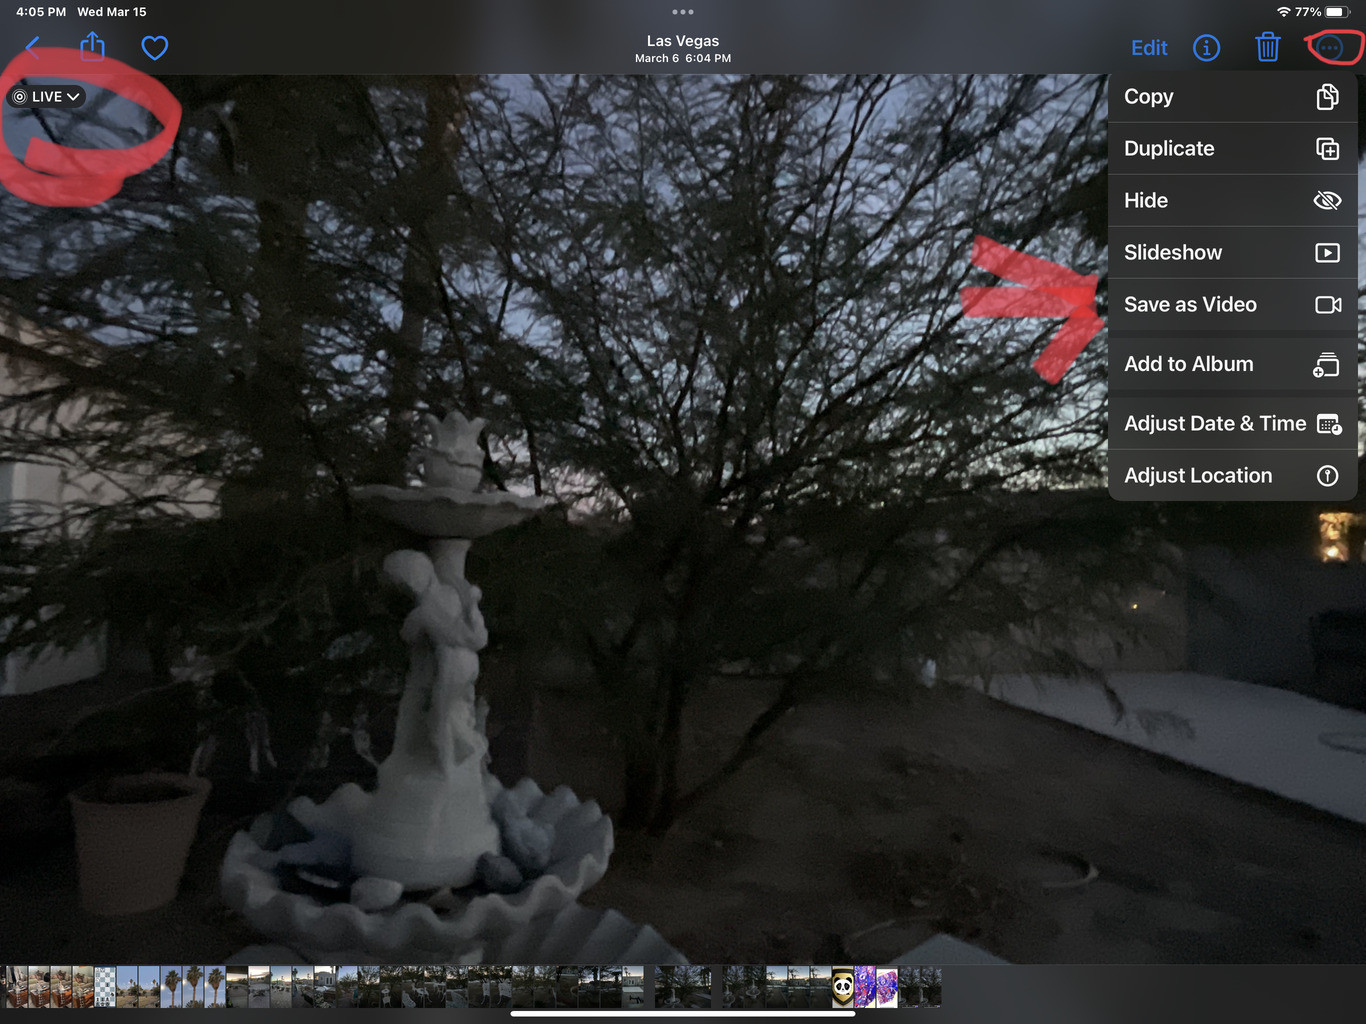
- Access the Options Menu: Look for the three-dot icon (…) located in the top right corner of the screen. Tap this icon to open the options menu for the photo.
- Choose “Save as Video”: From the menu that appears, you will see the option “Save as Video”. Tap on this.
 Three dots menu top right to save single Live Photo as video
Once you tap “Save as Video,” your iPhone will process the Live Photo and save it as a new video file in your Photos app. You can then find this video alongside your other videos and share it as needed.
Saving Multiple Live Photos as Video
Want to create a video compilation from several Live Photos? This is also possible, although the location of the “Save as Video” option is slightly different when dealing with multiple selections:
- Open the Photos App and Enter Select Mode: Just like before, start by opening the Photos app. Then, tap the “Select” button usually found in the top right corner of the screen when you are viewing your photos in grid view.
- Select Multiple Live Photos: Now, tap on each Live Photo you want to include in your video. A blue checkmark will appear on each selected photo. Ensure you are only selecting Live Photos; including a standard photo in your selection might remove the “Save as Video” option.
- Access the Options Menu (Bottom Right): After selecting your Live Photos, look for the three-dot icon (…) again, but this time it will be located in the bottom right corner of the screen. Tap this icon to open the menu for your selected items.
- Choose “Save as Video”: In this menu, you will find the “Save as Video” option. Tap it to proceed.
 Three dots menu bottom right to save multiple Live Photos as video
Your iPhone will now combine the selected Live Photos and save them as a single video file. This video will also be available in your Photos app, ready for sharing.
Important Notes
- Live Effects: Be aware that if any of your selected Live Photos have effects like “Loop” or “Bounce” applied, the “Save as Video” option might not be available. You may need to revert these Live Photos to their original state before converting them to video.
- iOS Version: These instructions are primarily for users on iOS 16 and later. Menu locations and options might vary slightly on older iOS versions.
Conclusion
Despite some interface changes in iOS updates, saving Live Photos as videos remains a useful and accessible feature on your iPhone. Whether you are preserving memories or creating engaging content, understanding how to use this feature is key. By following these simple steps, you can easily convert your Live Photos into videos and share them with anyone, regardless of the device they use. Enjoy capturing and sharing your moments!