Saving scanned documents from Notes to Photos can significantly enhance your ability to organize, share, and utilize these images. At dfphoto.net, we understand the importance of seamless integration between your scanned documents and your photo library. This comprehensive guide provides step-by-step instructions and valuable insights to ensure your scanning process is efficient and effective.
1. Understanding the Basics of Scanning with iPhone Notes
Scanning documents directly into your iPhone Notes app is a convenient way to digitize important papers, receipts, and photos. The Notes app uses your iPhone’s camera to capture images, which are then converted into a digital format. However, by default, these scanned documents are saved within the Notes app itself. If you want to access these scans from your Photos app for easier sharing, editing, or archiving, you need to adjust your settings. This section will cover the essentials of scanning with the Notes app and how to ensure your scans are properly saved.
1.1. Initial Setup for Scanning Documents
Before you begin scanning, it’s essential to configure your Notes app settings to streamline the process. This ensures that every scan seamlessly integrates into your photo library.
- Open the Settings app: Locate and tap the Settings icon on your iPhone’s home screen.
- Navigate to Notes: Scroll down until you find the Notes app option and tap it.
- Access Media Settings: Within the Notes settings, find the “Media” section.
- Enable Save to Photos: Under the Media section, you’ll see the “Save to Photos” option. Toggle this switch to the “on” position.
 Notes media setting to toggle on save to photos ensures that every scan seamlessly integrates into your photo library
Enabling this setting ensures that every document you scan within the Notes app will automatically be saved as an image in your Photos app. This eliminates the need for manual exporting, saving you time and effort.
1.2. Scanning Documents in Notes
With the “Save to Photos” setting enabled, you’re ready to start scanning documents. Follow these steps to scan effectively:
- Open the Notes app: Launch the Notes app on your iPhone.
- Create a New Note: Tap the new note icon in the bottom right corner of the screen.
- Access the Camera Option: In the new note, tap the camera icon located above the keyboard.
- Select “Scan Documents”: From the options that appear, choose “Scan Documents.” This will open your iPhone’s camera interface specifically for scanning.
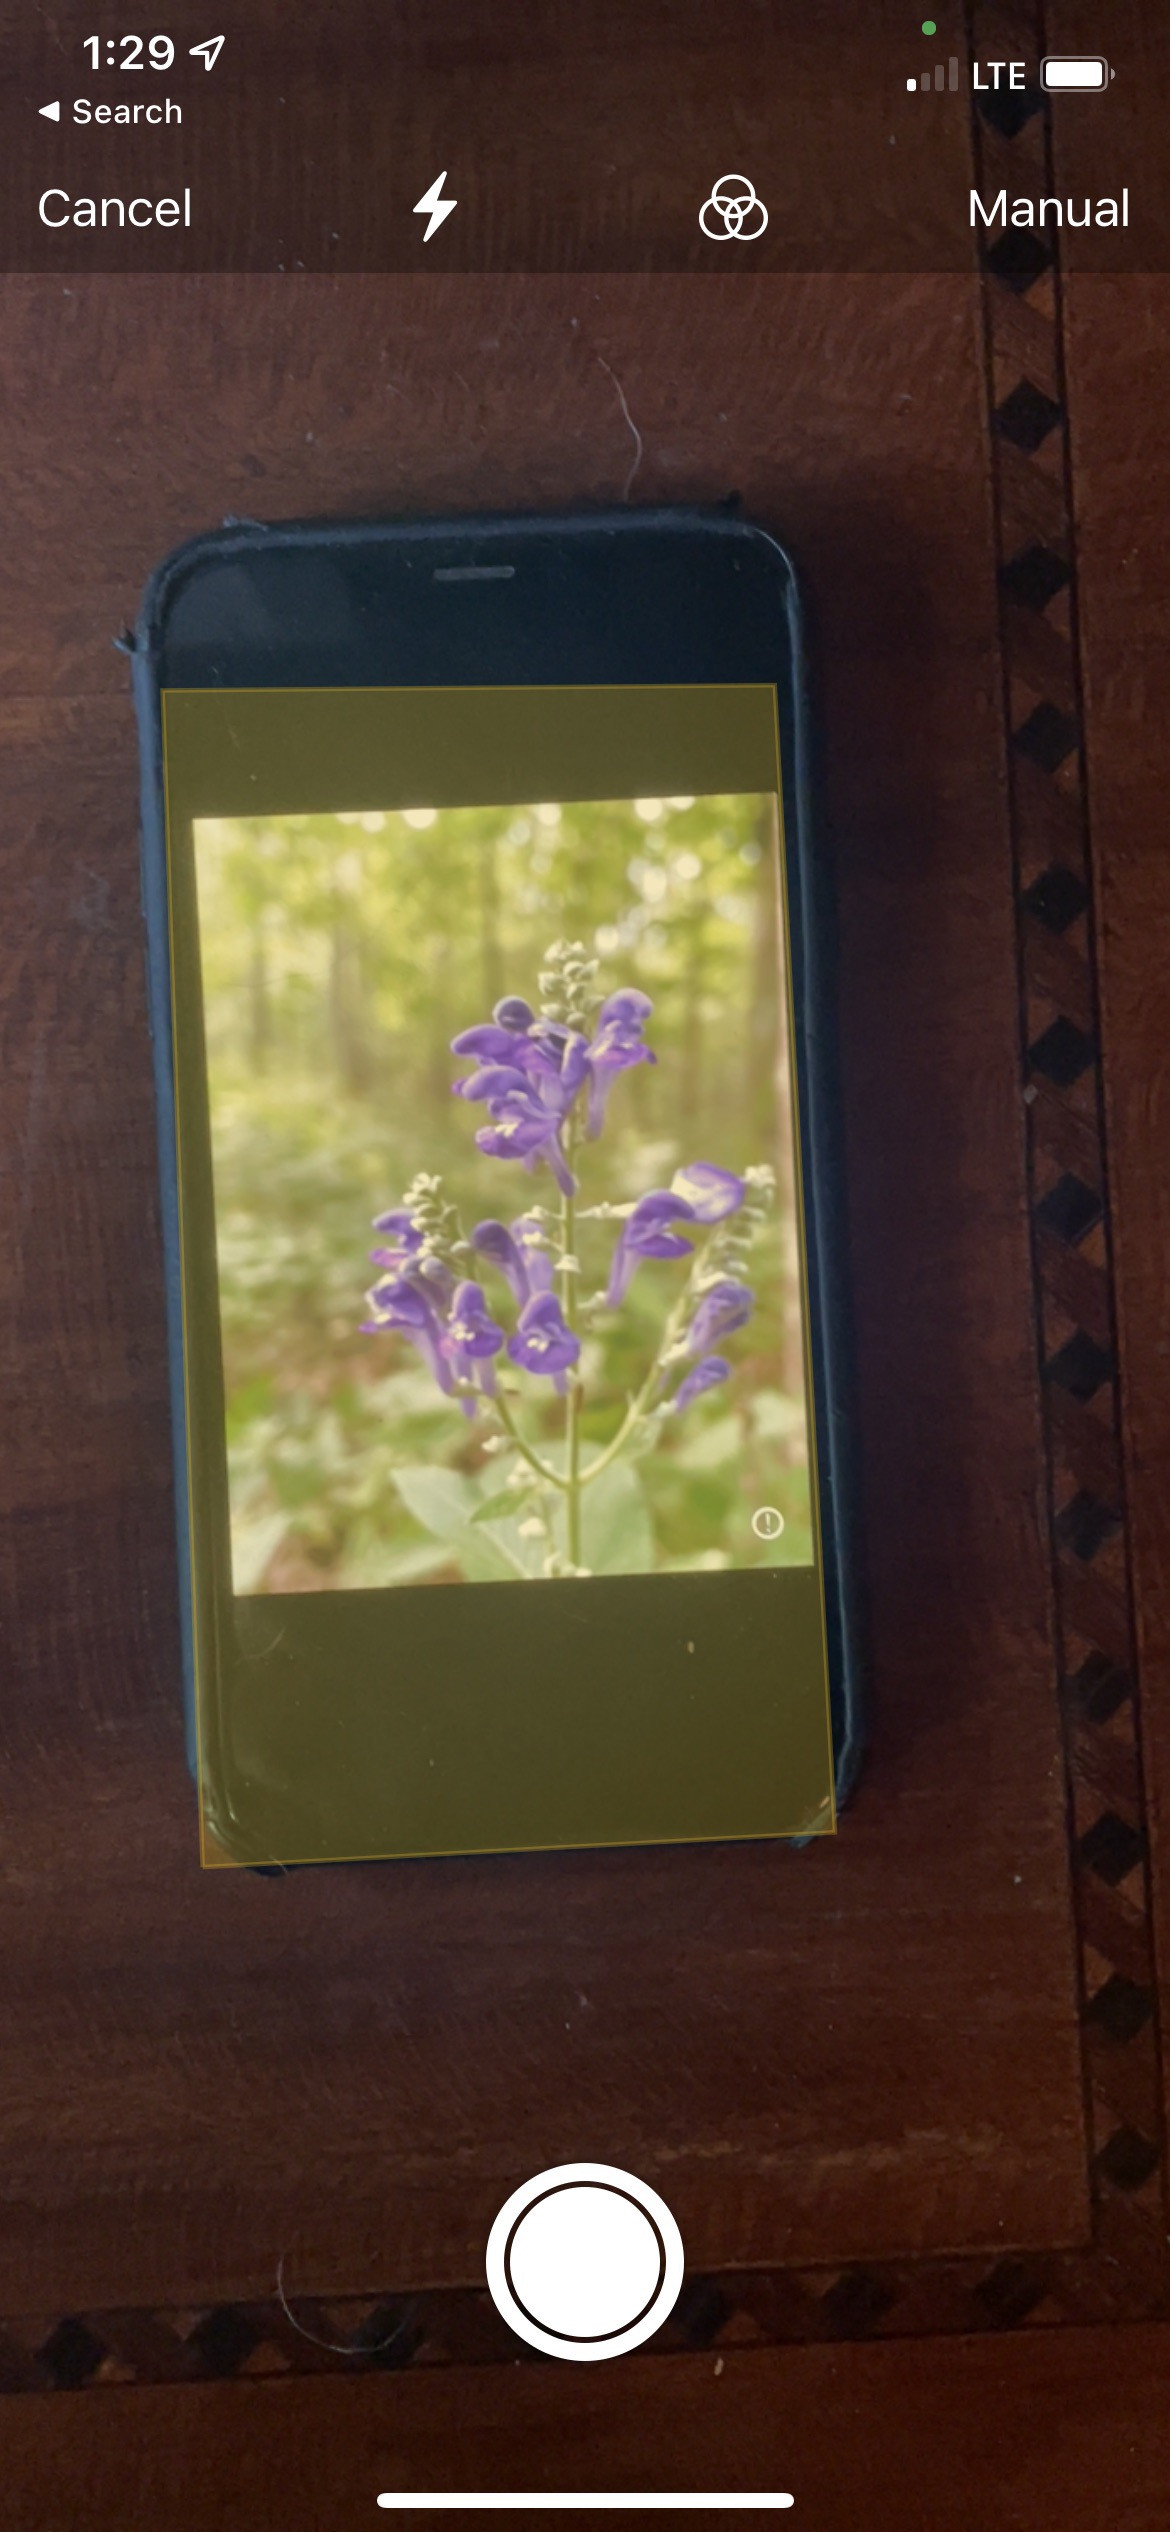
- Capture the Document: Position your iPhone over the document you want to scan. The camera will automatically detect the document’s edges and capture the image. You can also manually take the picture by pressing the shutter button.
- Adjust the Scan: After capturing the image, you can adjust the borders to ensure the entire document is included. You can also rotate the image, change the color settings, or retake the scan if necessary.
- Save the Scan: Once you’re satisfied with the scan, tap “Keep Scan” to save the image within the scanning interface.
- Save to Photos: After scanning all documents, click on ‘Done’. Because you enabled the ‘Save to Photos’ setting, all the scans are automatically saved in your Photos app.
1.3. Understanding Scan Settings
The iPhone Notes app offers several settings to optimize your scanning process. One crucial setting is the media type, which allows you to specify whether you’re scanning a document or a photo.
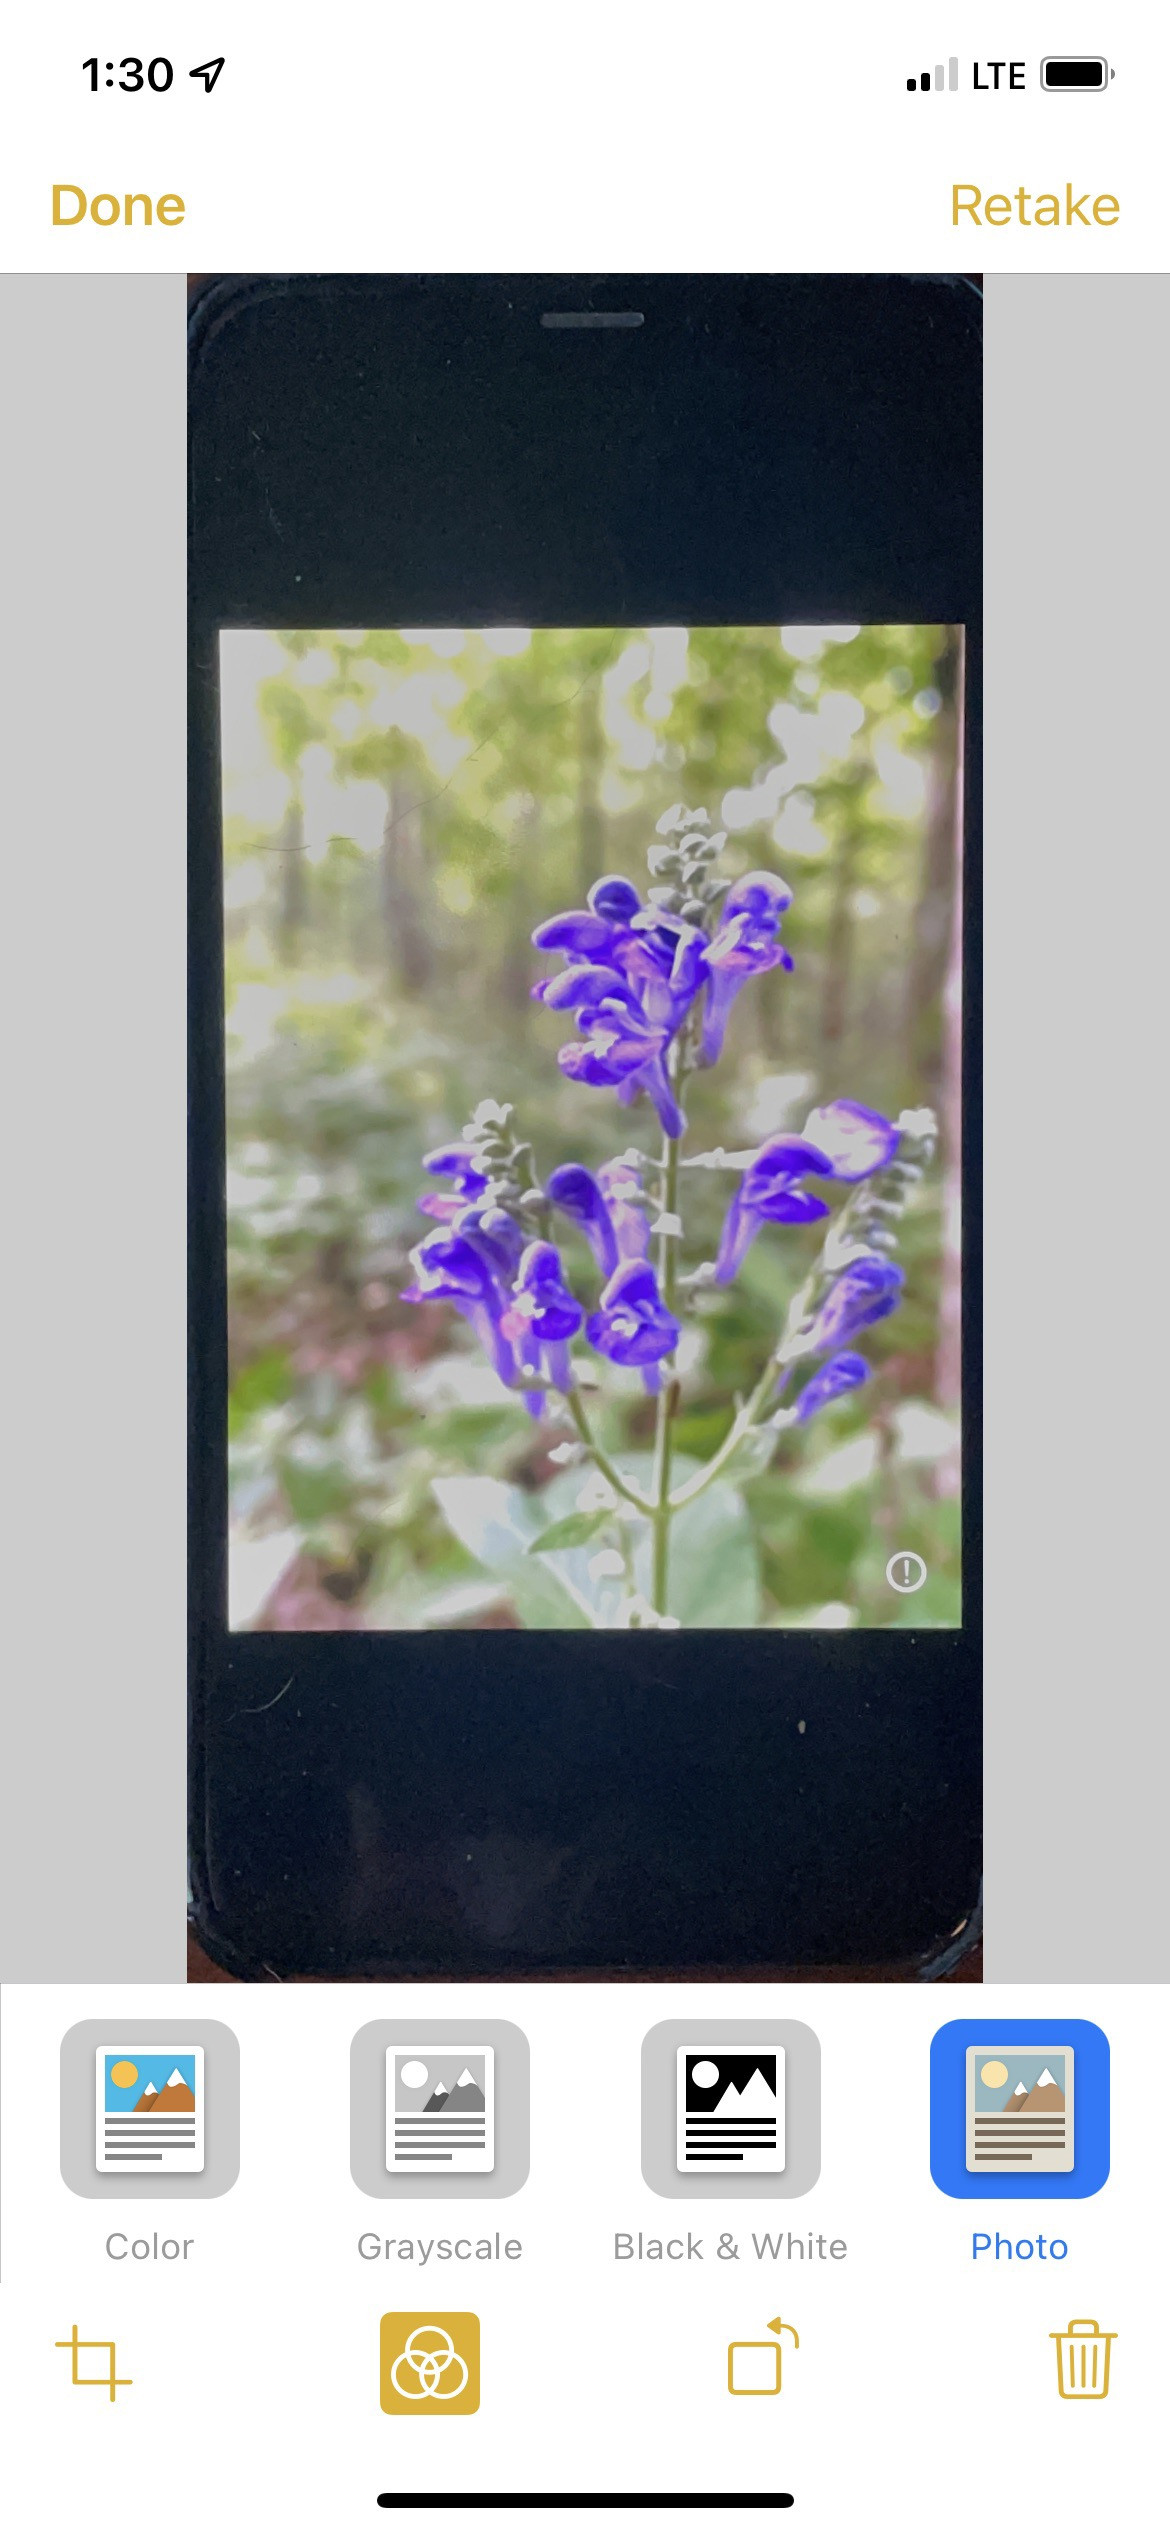
- Access Media Type: Within the scanning interface, you’ll see an icon with three overlapping circles. Tapping this icon opens the media type options.
- Choose the Correct Media Type: Select “Photo” if you’re scanning a photograph or an image. Select “Color” for color documents or “Grayscale” for black and white documents.
- Apply to All Scans: You can set the media type before or after scanning. If you’re scanning a batch of similar items, setting the media type beforehand can save time.
 Three overlapping circle to select media type
Selecting the correct media type ensures that your scans are optimized for the content being captured. For example, choosing “Photo” for a photograph will preserve its colors and details more accurately.
1.4. Troubleshooting Common Scanning Issues
Even with the correct settings, you might encounter occasional issues during the scanning process. Here are some common problems and their solutions:
- Poor Image Quality:
- Solution: Ensure adequate lighting. Shadows and poor lighting can significantly affect image quality. Try scanning in a well-lit area or using an external light source. Clean your iPhone’s camera lens to remove any smudges or dirt that might be blurring the image.
- Incorrect Edge Detection:
- Solution: Manually adjust the borders. If the app doesn’t correctly detect the document’s edges, you can manually adjust the borders by dragging the corners of the selection. Place the document on a contrasting background to help the app detect the edges more accurately.
- Scans Not Saving to Photos:
- Solution: Double-check your settings. Verify that the “Save to Photos” option is enabled in the Notes app settings. Restart your iPhone to refresh the system and ensure all settings are properly applied.
- Distorted Images:
- Solution: Hold your iPhone steady. Movement during scanning can cause distortion. Use a tripod or prop your iPhone against a stable surface to keep it steady. Ensure the document is flat and evenly lit to minimize distortions.
2. Converting Existing Scans from Notes to Photos
If you’ve already scanned documents into Notes without enabling the “Save to Photos” setting, don’t worry. There’s still a way to transfer those scans to your Photos app. This section will guide you through the process of exporting existing scans from Notes and saving them as images.
2.1. Identifying Scans in Notes
Before you can convert your scans, you need to identify the notes containing the documents you want to transfer.
- Open the Notes app: Launch the Notes app on your iPhone.
- Locate the Notes: Browse through your notes to find the ones containing the scanned documents. You can use the search function to quickly find notes with specific keywords or titles.
- Verify Scan Type: Open each note and tap on the scanned image to view it. Check the media type by tapping the three overlapping circles icon. Ensure that the media type is set to “Photo” for the best image quality.
2.2. Exporting Scans from Notes to Files
The first step in converting existing scans is to export them from Notes to your iPhone’s Files app.
- Select the Note: In the Notes app, long-press on the note containing the scans you want to export. This will open a context menu.
- Choose “Send a Copy”: From the context menu, select “Send a Copy.” This option allows you to share the note with other apps or save it to your Files app.
- Select “Save to Files”: From the list of sharing options, choose “Save to Files.” This will open the Files app interface, allowing you to select a location to save the note as a PDF.
- Choose a Location: Select a folder in the Files app where you want to save the PDF. You can create a new folder specifically for your exported scans to keep them organized.
- Save the PDF: Tap “Save” to save the note as a PDF in the selected location. If the note contains multiple scans, they will be saved as a multi-page PDF.
2.3. Using Shortcuts to Convert PDFs to Photos
To convert the exported PDFs into individual images in your Photos app, you can use a shortcut. Shortcuts is a powerful app on iOS that allows you to automate tasks and workflows.
- Install the Shortcut: Download and install the “Convert and save to photos” Shortcut from a trusted source. You can find this shortcut on various online forums or from the dfphoto.net website.
- Locate the PDF: Open the Files app and navigate to the folder where you saved the exported PDF.
- Share the PDF: Tap on the PDF file to open it. Then, tap the share icon in the bottom left corner of the screen.
- Select the Shortcut: From the list of sharing options, scroll down until you find the “Convert and save to photos” Shortcut. Tap on it to run the shortcut.
- Run the Shortcut: The shortcut will automatically convert the PDF into individual images and save them to your Photos app. If the PDF contains multiple pages, each page will be saved as a separate image.
- Verify the Conversion: Open the Photos app and check that the images have been successfully saved. You should see the converted images in your “Recents” album or in a new album created by the shortcut.
2.4. Alternative Methods for Converting PDFs to Photos
If you prefer not to use shortcuts, there are alternative methods for converting PDFs to photos.
- Using Third-Party Apps: Numerous apps on the App Store can convert PDFs to images. Some popular options include “PDF to JPG Converter,” “iLovePDF,” and “Smallpdf.” Download and install one of these apps, then follow its instructions to convert your PDF to images.
- Using Online Converters: Several online converters can convert PDFs to images without requiring any software installation. Websites like “Zamzar,” “Online2PDF,” and “Convertio” offer free PDF to image conversion services. Simply upload your PDF to the website, select the desired image format (such as JPG or PNG), and download the converted images.
- Taking Screenshots: As a last resort, you can take screenshots of each page of the PDF and save them as images. Open the PDF in the Files app or any PDF viewer, then take a screenshot of each page by pressing the side button and volume up button simultaneously. Crop the screenshots to remove any unnecessary borders or interface elements.
3. Organizing and Managing Scanned Photos
Once you’ve successfully saved your scanned documents as images in your Photos app, it’s essential to organize and manage them for easy access and future use. This section will provide tips and techniques for organizing your scanned photos, creating albums, and using metadata to enhance your photo library.
3.1. Creating Albums for Scanned Documents
Creating albums is a simple yet effective way to organize your scanned photos.
- Open the Photos app: Launch the Photos app on your iPhone.
- Go to Albums: Tap the “Albums” tab at the bottom of the screen.
- Create a New Album: Scroll down and tap the “+” icon next to “My Albums.”
- Name the Album: Enter a name for your album, such as “Scanned Documents,” “Receipts,” or “Family Photos.”
- Add Photos: Select the photos you want to add to the album. You can browse through your library or use the search function to quickly find the scanned images.
- Tap “Done”: Once you’ve selected all the photos, tap “Done” to create the album.
You can create multiple albums to further categorize your scanned photos. For example, you might create separate albums for different types of documents or for different years.
3.2. Using Metadata to Enhance Your Photo Library
Metadata is information embedded within a photo file that provides details about the image, such as the date taken, location, and description. Adding and editing metadata can significantly enhance your ability to search and organize your scanned photos.
- Open the Photo: In the Photos app, open the scanned photo you want to edit.
- Swipe Up: Swipe up on the photo to reveal the metadata information.
- Add a Description: Tap the “Add a Description” field to enter a description for the photo. Be specific and include relevant keywords that will help you find the photo later. For example, if you’ve scanned a receipt, you might include the store name, date, and amount.
- Adjust Date and Time: If the date and time are incorrect, you can adjust them by tapping the “Adjust” button.
- Add Location: If the photo was taken at a specific location, you can add the location information by tapping the “Add Location” field.
3.3. Implementing a Consistent Naming Convention
A consistent naming convention is crucial for organizing your scanned documents. When exporting PDFs or saving images, use descriptive file names that reflect the content of the document.
- Include the Date: Start with the date in YYYY-MM-DD format to easily sort the files chronologically.
- Add a Description: Include a brief description of the document, such as “Receipt,” “Invoice,” or “Contract.”
- Use Keywords: Use relevant keywords that will help you find the file later. For example, “2023-07-15_Receipt_GroceryStore” or “2023-08-01_Invoice_ElectricCompany.”
3.4. Backup and Cloud Storage Options
To protect your scanned documents, it’s essential to back them up regularly. There are several backup and cloud storage options available for iPhone users.
- iCloud Photos: iCloud Photos automatically syncs your photos and videos across all your Apple devices. When you enable iCloud Photos, your scanned documents will be automatically backed up to iCloud.
- Google Photos: Google Photos is another popular cloud storage option that offers free storage for photos and videos. You can set up Google Photos to automatically back up your scanned documents to your Google account.
- External Hard Drive: For a local backup solution, you can connect your iPhone to a computer and transfer your scanned photos to an external hard drive. This provides an extra layer of protection in case of device failure or data loss.
3.5. Sharing Scanned Photos
Once your scanned photos are organized and backed up, you can easily share them with others.
- Email: You can email scanned photos directly from the Photos app. Simply select the photos you want to share, tap the share icon, and choose the “Mail” option.
- Messaging Apps: You can also share scanned photos via messaging apps like iMessage, WhatsApp, or Telegram. Select the photos you want to share, tap the share icon, and choose the desired messaging app.
- Social Media: If you want to share your scanned photos on social media, you can select the photos, tap the share icon, and choose the desired social media platform, such as Facebook, Instagram, or Twitter.
4. Advanced Scanning Techniques and Tips
To take your scanning skills to the next level, consider these advanced techniques and tips.
4.1. Using Third-Party Scanning Apps
While the iPhone Notes app provides a convenient scanning solution, several third-party scanning apps offer advanced features and capabilities.
- Adobe Scan: Adobe Scan is a powerful scanning app that automatically detects document edges, corrects perspective, and enhances image quality. It also integrates seamlessly with Adobe Document Cloud, allowing you to save and access your scanned documents from any device.
- Microsoft Lens: Microsoft Lens is another excellent scanning app that offers similar features to Adobe Scan. It also integrates with Microsoft Office apps, allowing you to easily convert scanned documents to Word, Excel, or PowerPoint files.
- CamScanner: CamScanner is a popular scanning app that offers a wide range of features, including optical character recognition (OCR), which allows you to extract text from scanned documents.
4.2. Improving Scan Quality
To improve the quality of your scanned documents, consider these tips:
- Use a Document Scanner: For high-volume or critical scanning tasks, consider using a dedicated document scanner. Document scanners typically offer higher resolution and better image quality than smartphone cameras.
- Adjust Scan Settings: Experiment with different scan settings, such as resolution, color mode, and contrast, to find the optimal settings for your specific documents.
- Clean Your Scanner: Regularly clean your scanner’s glass plate to remove dust, smudges, or other debris that can affect image quality.
4.3. Optical Character Recognition (OCR)
Optical character recognition (OCR) is a technology that allows you to extract text from scanned documents. This can be useful for creating searchable PDFs or for converting scanned documents to editable text files.
- Using OCR Apps: Several apps offer OCR capabilities, including Adobe Scan, Microsoft Lens, and CamScanner. Simply scan the document using the app, and then use the OCR feature to extract the text.
- Using Online OCR Tools: Several online OCR tools can convert scanned documents to editable text files. Websites like “OnlineOCR,” “NewOCR,” and “FreeOCR” offer free OCR services.
4.4. Automating the Scanning Process
To automate the scanning process, consider using a document feeder or a scanning robot.
- Document Feeders: A document feeder is an attachment for your scanner that automatically feeds documents into the scanner, allowing you to scan multiple pages without manually placing each page on the glass plate.
- Scanning Robots: Scanning robots are automated devices that can scan books and other documents without requiring human intervention.
5. Legal and Ethical Considerations
When scanning documents, it’s essential to consider legal and ethical issues.
5.1. Copyright and Intellectual Property
Be aware of copyright laws and intellectual property rights when scanning documents. Do not scan copyrighted material without permission from the copyright holder.
5.2. Privacy and Confidentiality
Protect the privacy and confidentiality of sensitive information when scanning documents. Do not scan personal or confidential documents without permission from the individuals involved.
5.3. Data Security
Ensure that your scanned documents are stored securely to prevent unauthorized access. Use strong passwords, encrypt your data, and back up your files regularly.
6. How dfphoto.net Can Help You Master Photography and Scanning
At dfphoto.net, we are dedicated to providing you with the knowledge and resources you need to excel in photography and digital imaging. Whether you’re a beginner or a seasoned professional, our website offers a wealth of information to help you enhance your skills and achieve your creative goals.
6.1. Explore Our Comprehensive Guides
Our website features a vast collection of comprehensive guides covering various aspects of photography and digital imaging. From basic photography techniques to advanced editing tips, we have everything you need to improve your skills and create stunning images.
6.2. Discover Expert Tips and Tutorials
Learn from our team of experienced photographers and digital imaging experts. We share insider tips, tricks, and tutorials to help you master the art of photography and digital imaging.
6.3. Stay Updated with the Latest Trends
Stay informed about the latest trends, technologies, and techniques in photography and digital imaging. We regularly update our website with new content to keep you ahead of the curve.
6.4. Join Our Community
Connect with other photographers and digital imaging enthusiasts in our online community. Share your work, ask questions, and get feedback from fellow creatives.
6.5. Get Personalized Support
Need personalized support? Contact our team of experts for one-on-one assistance. We’re here to help you with any questions or challenges you may encounter.
Address: 1600 St Michael’s Dr, Santa Fe, NM 87505, United States
Phone: +1 (505) 471-6001
Website: dfphoto.net
7. Conclusion: Streamlining Your Scanning Workflow
Saving scanned documents from Notes to Photos is a simple yet powerful way to enhance your digital organization and productivity. By following the steps outlined in this guide, you can seamlessly integrate your scanned documents into your photo library, making them easily accessible for sharing, editing, and archiving. Whether you’re digitizing old family photos, organizing important documents, or simply trying to declutter your life, mastering the art of scanning with your iPhone Notes app can significantly improve your workflow. At dfphoto.net, we’re committed to providing you with the knowledge and resources you need to succeed in the world of photography and digital imaging.
8. Call to Action
Ready to take your photography and scanning skills to the next level? Visit dfphoto.net today to explore our comprehensive guides, discover expert tips, and join our vibrant community. Whether you’re a beginner or a seasoned professional, we have everything you need to excel in the world of digital imaging. Don’t miss out on the opportunity to enhance your skills and create stunning images. Click here to start your journey with dfphoto.net now!
9. FAQs: Saving Scanned Documents from Notes to Photos
9.1. How do I enable the “Save to Photos” setting in the Notes app?
To enable the “Save to Photos” setting, open the Settings app, navigate to Notes, access the Media section, and toggle the “Save to Photos” switch to the “on” position.
9.2. Can I convert existing scans from Notes to Photos?
Yes, you can convert existing scans from Notes to Photos by exporting them to the Files app as PDFs and then using a shortcut or third-party app to convert the PDFs to images.
9.3. What is the best way to organize my scanned photos in the Photos app?
Create albums for different types of documents or for different years. Use descriptive file names and add metadata, such as descriptions, dates, and locations, to enhance your photo library.
9.4. How can I improve the quality of my scanned documents?
Use adequate lighting, clean your iPhone’s camera lens, manually adjust the borders, and experiment with different scan settings.
9.5. What is OCR, and how can I use it?
Optical character recognition (OCR) is a technology that allows you to extract text from scanned documents. You can use OCR apps or online OCR tools to convert scanned documents to editable text files.
9.6. How do I backup my scanned documents?
Use iCloud Photos, Google Photos, or an external hard drive to backup your scanned documents regularly.
9.7. Are there any legal considerations when scanning documents?
Be aware of copyright laws and intellectual property rights when scanning documents. Protect the privacy and confidentiality of sensitive information, and ensure that your scanned documents are stored securely.
9.8. What are some alternative scanning apps for iPhone?
Some popular scanning apps for iPhone include Adobe Scan, Microsoft Lens, and CamScanner.
9.9. How can I automate the scanning process?
Consider using a document feeder or a scanning robot to automate the scanning process.
9.10. Where can I find more information and resources about photography and digital imaging?
Visit dfphoto.net to explore our comprehensive guides, discover expert tips, and join our vibrant community.