Instagram is a vibrant hub for sharing life’s moments, connecting with others, and even showcasing products and services. It’s a space where visual storytelling thrives, but what happens when those cherished memories or crucial marketing materials vanish? Accidentally deleting Instagram photos can be a stressful experience. Fortunately, losing your Instagram content isn’t always permanent. This guide explores effective methods to recover your deleted Instagram photos, ensuring you can retrieve your precious visual content.
Simple Methods to Recover Deleted Instagram Photos and Videos
Before diving into more complex solutions, let’s explore the readily available options within Instagram and your devices that can help you recover your deleted photos and videos without needing extra software.
Utilize the “Recently Deleted” Feature on Instagram
Instagram has a built-in “Recently Deleted” folder, acting much like a recycle bin for your posts. This is the first place to check when you realize you’ve accidentally deleted content.
Steps to Access “Recently Deleted”:
- Go to Your Profile: Tap your profile picture icon located at the bottom right corner of the Instagram app.
- Access “Your Activity”: Tap the three horizontal lines menu icon at the top right, and then select “Your activity”.
- Find “Recently Deleted”: Scroll down and tap on “Recently deleted.” If you haven’t deleted anything recently, this option might not be visible.
- Restore or Permanently Delete: Open the photo or video you wish to recover. Tap the “More” option (three dots icon) in the bottom right corner. Select “Restore” to return the content to your profile or “Delete” to permanently remove it.
Alt text: Photo recovery icon displaying various image file types, representing the ability to recover different photo formats.
Check Your Phone’s Photo Gallery or Albums
Often, a copy of the photos you upload to Instagram is automatically saved on your phone. Before resorting to recovery software, check your phone’s native photo gallery.
- Android Users: Look for an “Instagram” folder within your Gallery app’s albums. Android systems typically create a dedicated folder for Instagram saves.
- iOS Users: Similarly, on iPhones, navigate to your Photos app and check the “Albums” section. You might find an “Instagram” album containing backups of your uploaded images.
Explore the Instagram Archive Feature
Instagram’s Archive feature is designed to hide posts from public view without deleting them. It’s a useful tool for decluttering your profile while preserving content. You might have mistakenly archived your photos instead of deleting them.
Steps to Recover from Archive:
- Open Your Profile: Launch the Instagram app and tap your profile picture at the bottom of the screen.
- Access Archive: Tap the menu icon (three horizontal lines) at the top right and select “Archive.”
- Check Your Archive: Browse through your archived Stories, Posts, or Live archives (accessible via the dropdown at the top).
- Restore to Profile: For any photo or video you want to restore, tap to open it, then tap the three-dots icon “More” and select “Show on Profile” to make it visible on your feed again.
Alt text: Icon depicting an SD card with a recovery symbol, highlighting SD card photo recovery capabilities.
File Manager Recovery on Android Devices
Android’s file manager can sometimes hold cached or backup copies of your Instagram photos, especially if you used a file manager app to interact with Instagram files.
Steps to Check File Manager:
- Open File Manager: Launch the “My Files” app or any file manager app on your Android device.
- Navigate to Pictures: Go to the “Pictures” folder.
- Look for Instagram Folder: Search for an “Instagram” folder within the “Pictures” directory.
- Restore Photos: If you find your missing photos, select and restore them to a desired location on your device.
“Recently Deleted” Album on iPhones and iPads
Similar to Instagram’s “Recently Deleted,” iPhones and iPads have a system-wide “Recently Deleted” album in the Photos app that retains deleted photos and videos for 30 days.
Steps to Recover from “Recently Deleted” on iOS:
- Open Photos App: Launch the Photos app on your iPhone or iPad.
- Go to Albums: Tap the “Albums” tab at the bottom.
- Find “Recently Deleted”: Scroll down to “Recently Deleted” under the Utilities section.
- Recover Photos: Locate the Instagram photos or videos you want to restore, tap on them, and then tap “Recover” to restore them to your main camera roll.
Restore from Backup Services
If you regularly back up your phone data to cloud services like iCloud, Google Drive, or Dropbox, or to a local storage device, your deleted Instagram photos might be included in these backups.
Steps to Restore from Backup:
- Access Backup Service: Open your chosen backup service app (e.g., iCloud, Google Drive) or connect to your local backup storage.
- Locate Backup Files: Find the most recent backup taken before you deleted the Instagram photos.
- Restore Photos: Follow the restoration process of your backup service. This might involve restoring your entire phone or selectively restoring photos and videos depending on the service and backup type.
Advanced Recovery with Photo Recovery Software
If the above methods don’t yield your deleted photos, specialized photo recovery software offers a more in-depth solution. These tools are designed to scan storage media for recoverable files, even after deletion.
DiskInternals Uneraser™ is a powerful software option specifically designed for photo recovery from various storage devices, including memory cards, hard drives, and USB drives. It can be particularly helpful if you originally saved your Instagram photos to an SD card or other external storage before uploading.
Alt text: Step-by-step manual infographic for recovering photos from SD cards using DiskInternals Uneraser software.
Key features of DiskInternals Uneraser™:
- Versatile Recovery: Recovers photos from SD cards, microSD cards, SDHC cards, CF cards, USB drives, hard drives, and more.
- Wide Format Support: Supports recovery of various digital camera formats and codecs.
- Preview Function: Allows you to preview recoverable photos before initiating the actual recovery process.
- User-Friendly Interface: Features a Recovery Wizard, making it accessible for users without advanced technical skills.
- Trial Version Availability: Offers a free trial version to scan and preview recoverable files, allowing you to assess its effectiveness before purchasing a license.
Steps to Recover Photos Using DiskInternals Uneraser™:
- Download and Install: Download the trial version of DiskInternals Uneraser™ from the official website and install it on your computer.
- Launch the Software: Run the DiskInternals Uneraser™ application.
- Select Drive: The Recovery Wizard will automatically launch, prompting you to select the drive or folder to scan. Choose the relevant drive (e.g., SD card, hard drive partition). Click “Next.”
- Choose Scan Mode: Select “Full Drive Scan (Recommended)” for a comprehensive search.
- Scanning Process: Allow the software to scan the selected drive for deleted photos. This may take some time depending on the drive size and scan depth.
- Preview Recovered Files: Once the scan is complete, you can preview the recovered files. Right-click on a photo and select “Preview” to ensure it’s the file you need.
- Initiate Recovery: Select the photos you want to recover and click the “Recovery” button (marked with a red cross).
- Save Recovered Photos: Purchase a license key if you are satisfied with the preview results and want to save the recovered photos. Choose a safe location to save your recovered files, preferably on a different drive than the one you scanned.
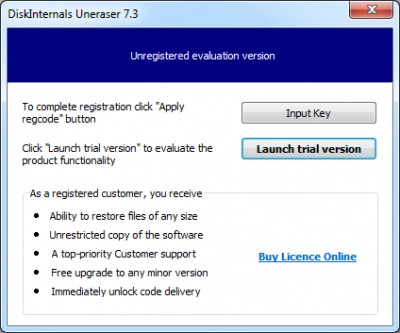 DiskInternals Uneraser installation.
Alt text: Screenshot of DiskInternals Uneraser software installation window, highlighting the “Launch Trial Version” option.
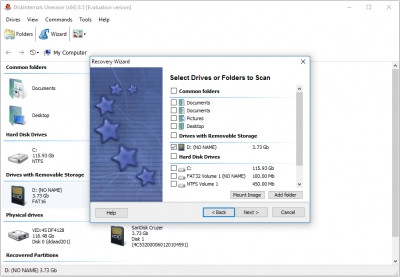 Recovery Wizard – select an SD card.
Alt text: Screenshot of the DiskInternals Uneraser Recovery Wizard interface, prompting the user to select an SD card for scanning.
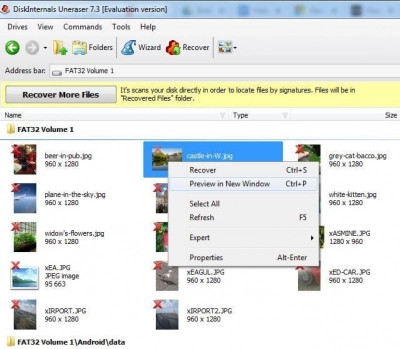 Recovery Wizard – preview the recovered files.
Alt text: Screenshot of DiskInternals Uneraser Recovery Wizard showing a preview of recovered files after scanning.
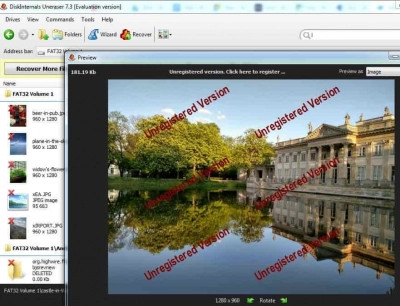 Preview the recovered files content.
Alt text: Close-up screenshot of DiskInternals Uneraser software, demonstrating the preview feature for recovered image files.
Conclusion
Accidentally deleting Instagram photos can be unsettling, but as you’ve seen, numerous recovery avenues exist. Start with Instagram’s “Recently Deleted” and your phone’s gallery. Explore the Archive and backup options. When these basic methods fall short, reliable photo recovery software like DiskInternals Uneraser™ can be a powerful asset. Remember to act promptly, as the chances of successful recovery diminish over time, especially when relying on software solutions. By following these steps, you significantly increase your odds of restoring your valuable Instagram memories and content.